00:00: This guide covers two tasks for Monyx Wallet:
00:02: setting up your refund message templates (a one-time setup) and issuing a refund to a
00:07: specific consumer.
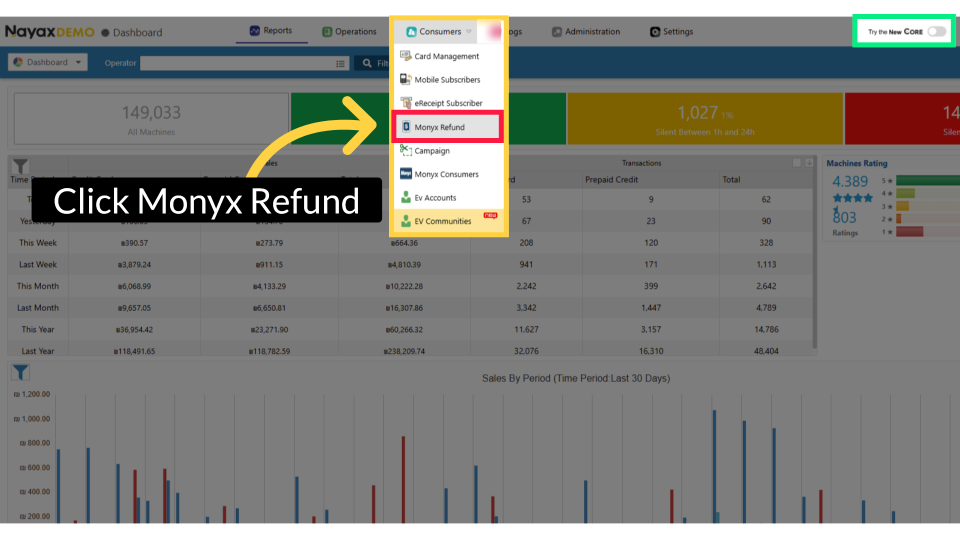
00:09: On your Classic Core platform,
00:10: click the Consumers tab and then select Monyx Refund from the drop-down menu.
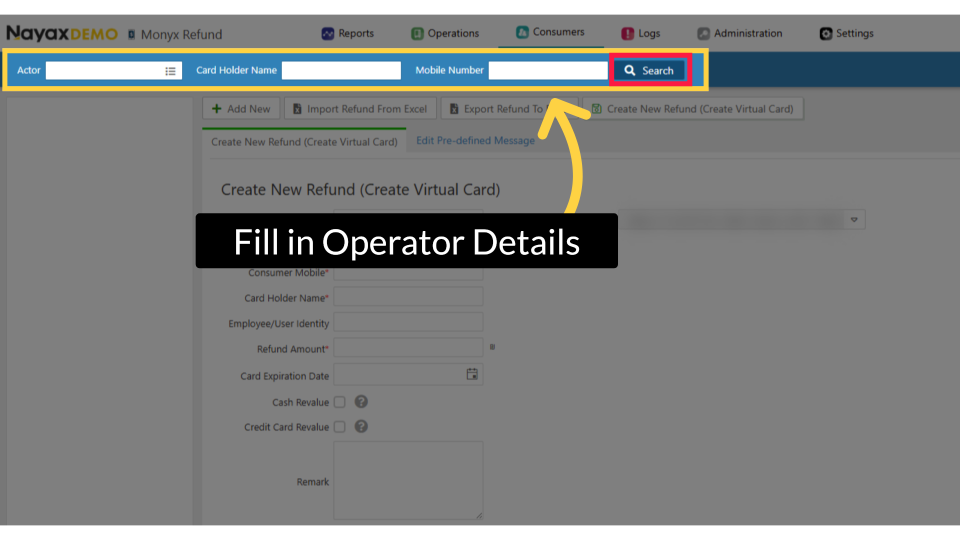
00:15: Enter your Operator's name along with any additional fields to find your machine,
00:20: then click the search button.
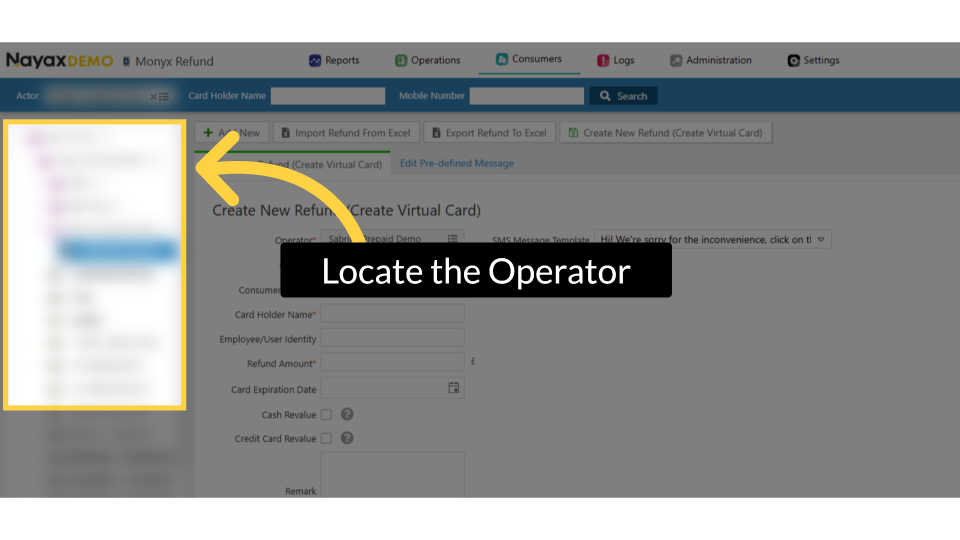
00:22: Locate and click on your operator and machine within the hierarchy tree.
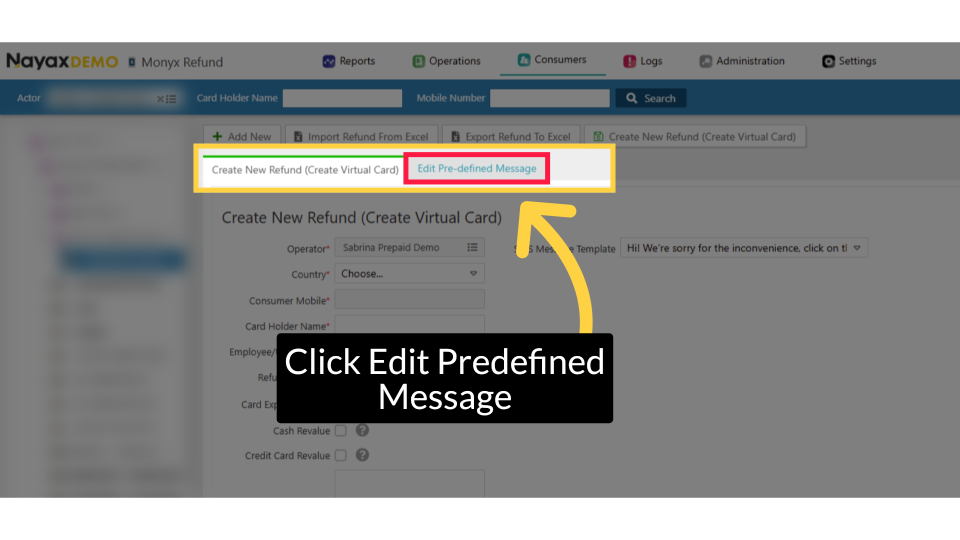
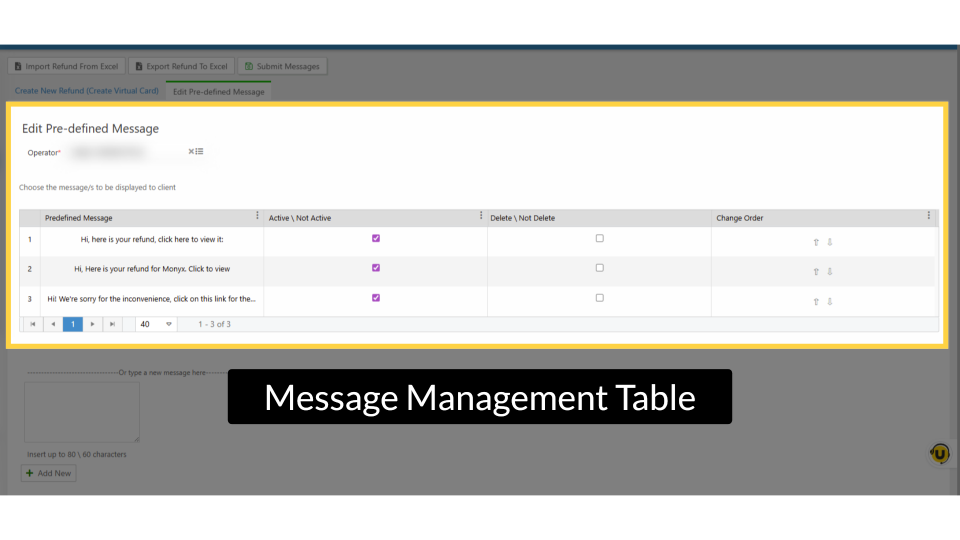
00:27: Click "Edit Pre-defined Message" to modify the messages shown to clients during the
00:32: refund process.
00:34: Use this table to review messages. From here,
00:36: you can select which messages to show to the client, manage predefined content,
00:41: update the active status, delete messages, and adjust their display order.
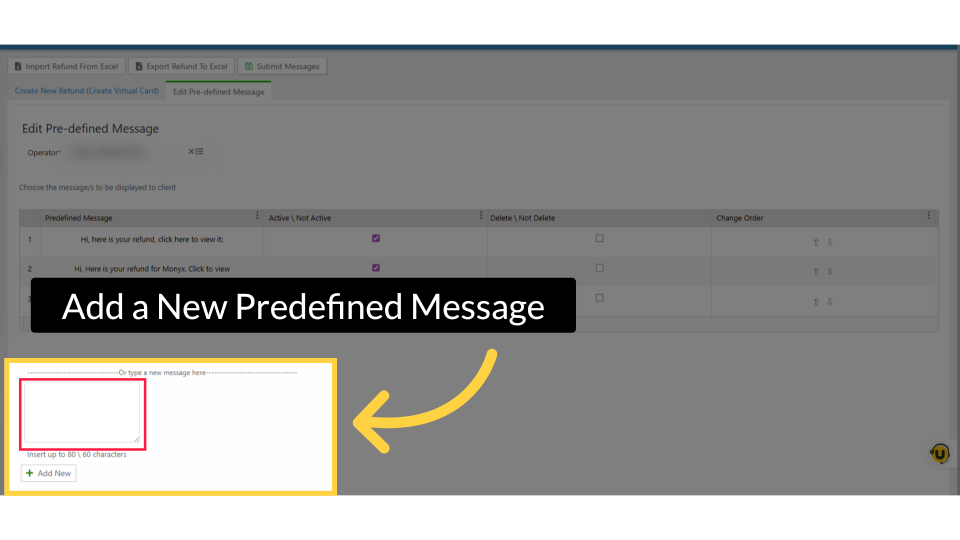
00:46: Use the text field below the table to create a new predefined message.
00:51: When the message is ready, click Add New to save and add it.
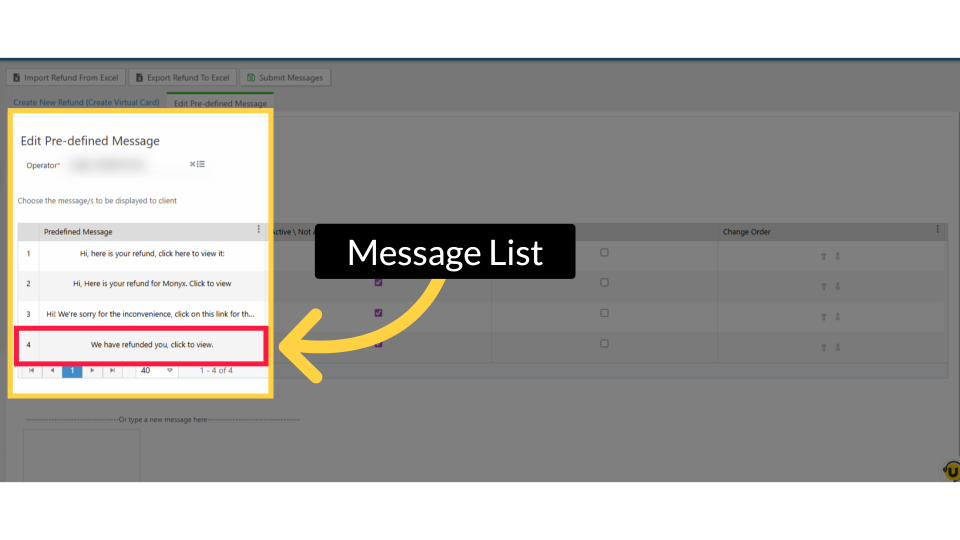
00:55: Your new message is now added to the table.
00:56: Use the table to review and customize
00:59: all predefined messages.
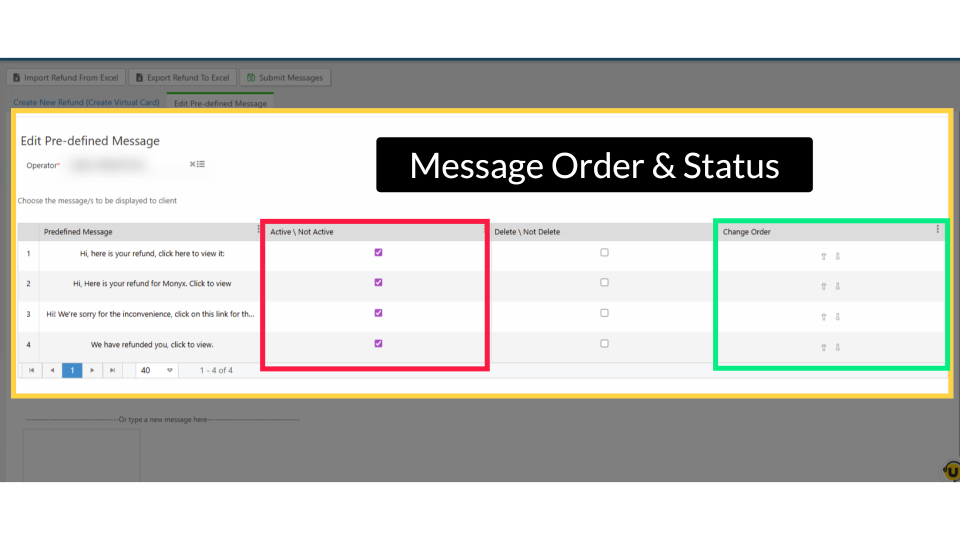
01:02: You can activate or deactivate messages by checking or unchecking them, and use the
01:06: arrows to adjust their display order.
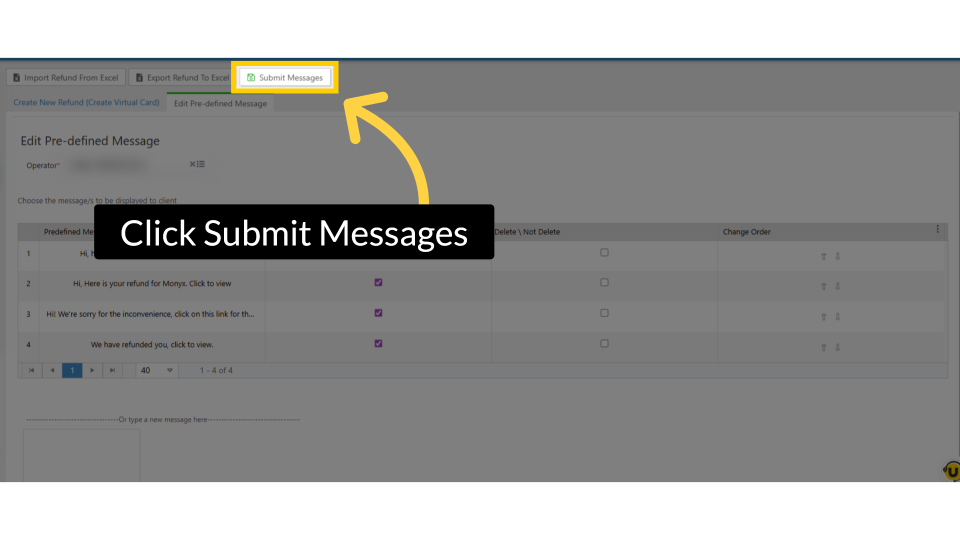
01:09: Click Submit Messages to apply your changes.
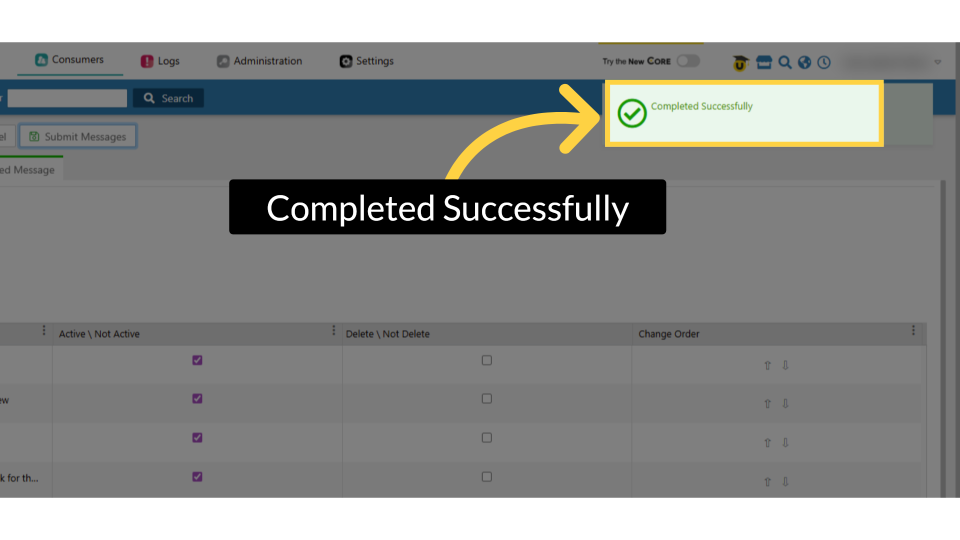
01:13: Once submitted, a “Completed Successfully” message confirms that your Monyx
01:17: predefined messages have been saved.
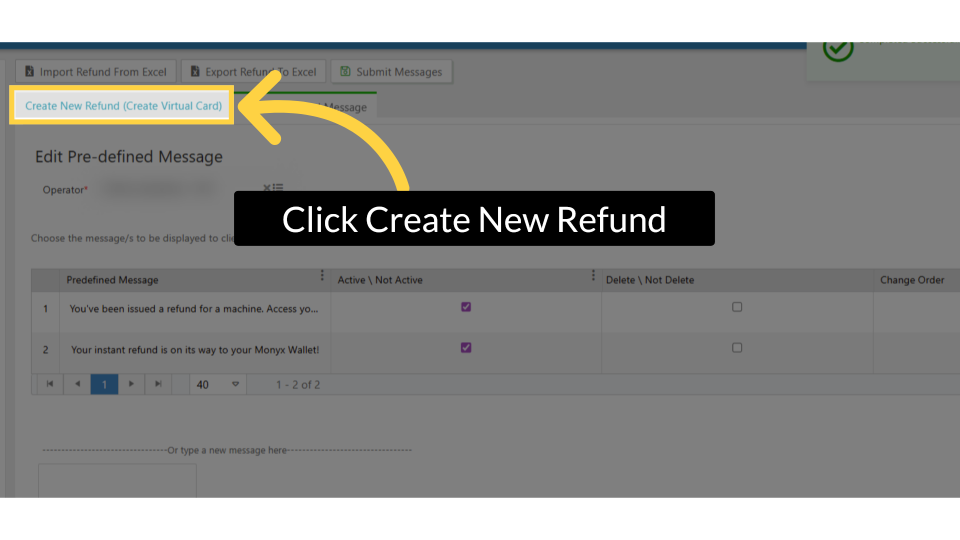
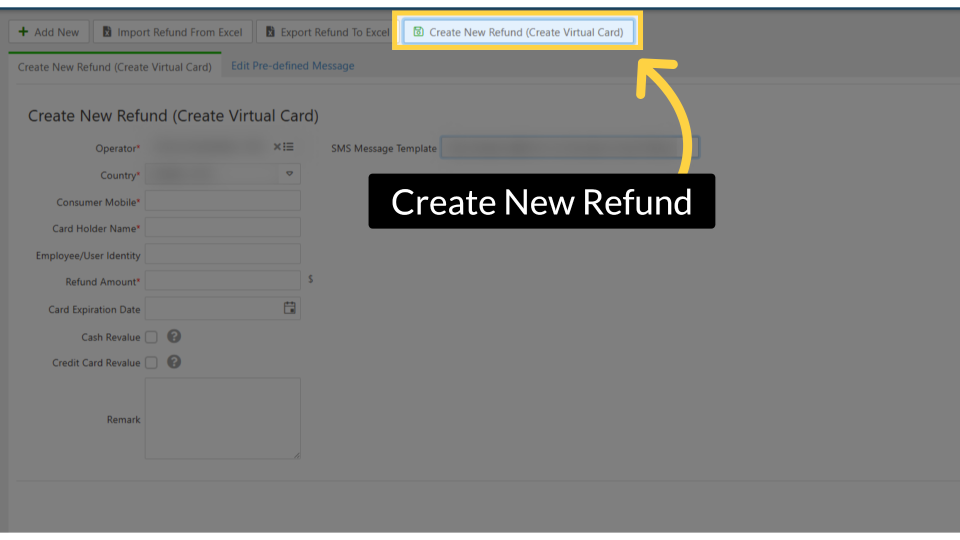
01:19: Now, to proceed with the refund, click 'Create New Refund (Create Virtual Card)' to
01:24: start the process of creating a new virtual card refund.
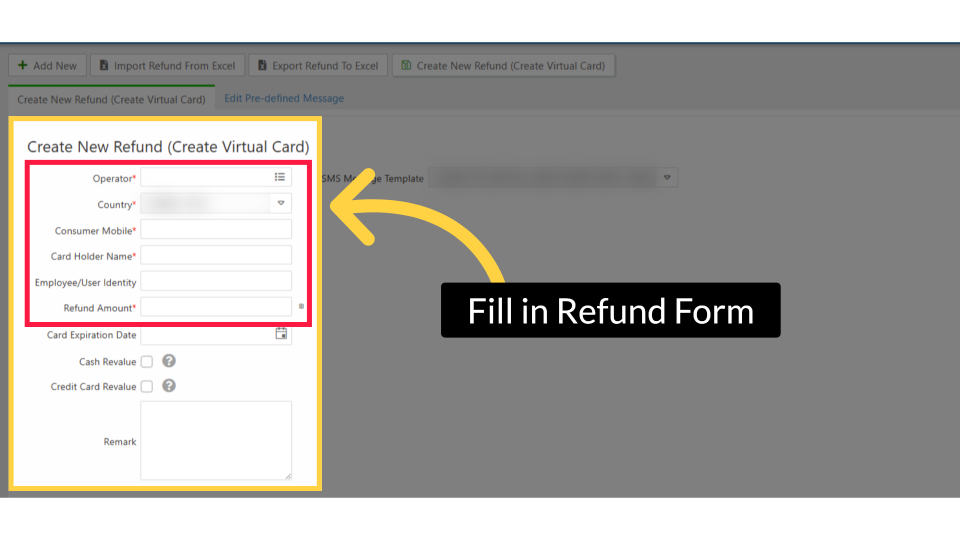
01:28: Enter your Operator name and complete
01:30: the other fields to initiate
01:31: the refund process. Ensure that all required fields marked with an asterisk are
01:36: filled out.
01:36: Click the 'Learn More' link to view a full explanation in Nayax U.
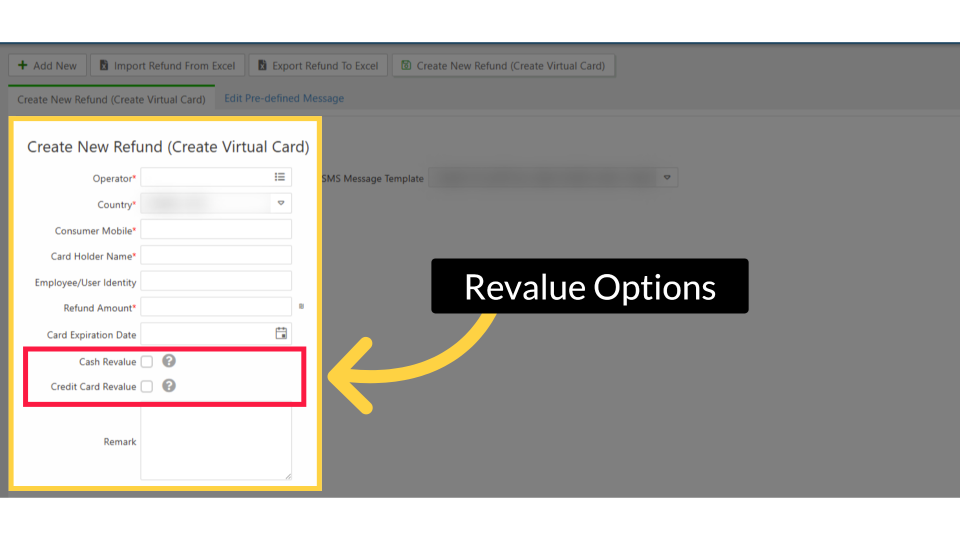
01:41: Check Cash Revalue to allow refund credit for cash
01:44: top-ups. Check Credit Card Revalue for credit card top-ups. You can check one or
01:49: both.
01:49: If neither is checked, credit can be used for purchases but not for revalue.
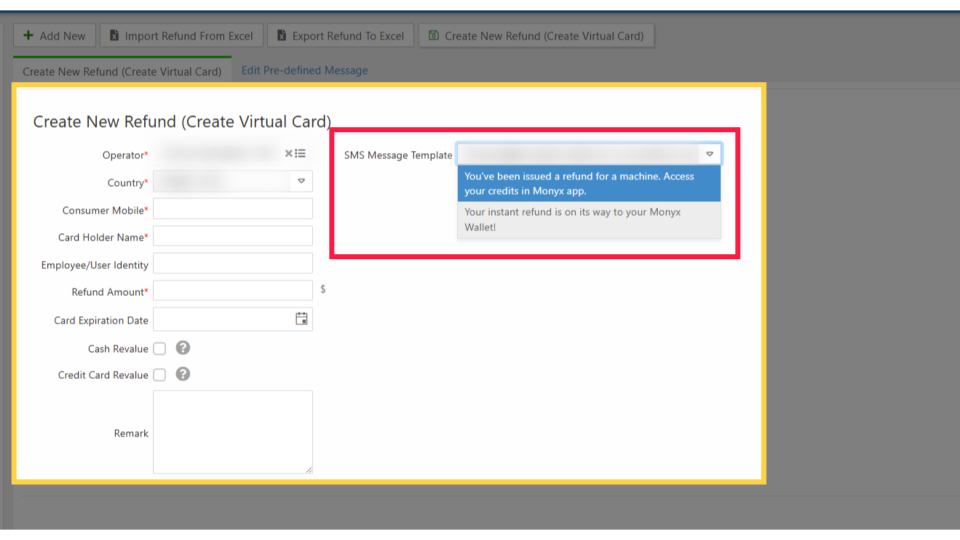
01:54: In the SMS Message Template field on the right side of the form, select the
01:58: template you want to send to the consumer from the dropdown. The consumer will
02:02: receive this message via SMS with a link to claim their refund in the Monyx
02:07: Wallet app.
02:08: Click Create New Refund (Create Virtual Card) to complete the process.
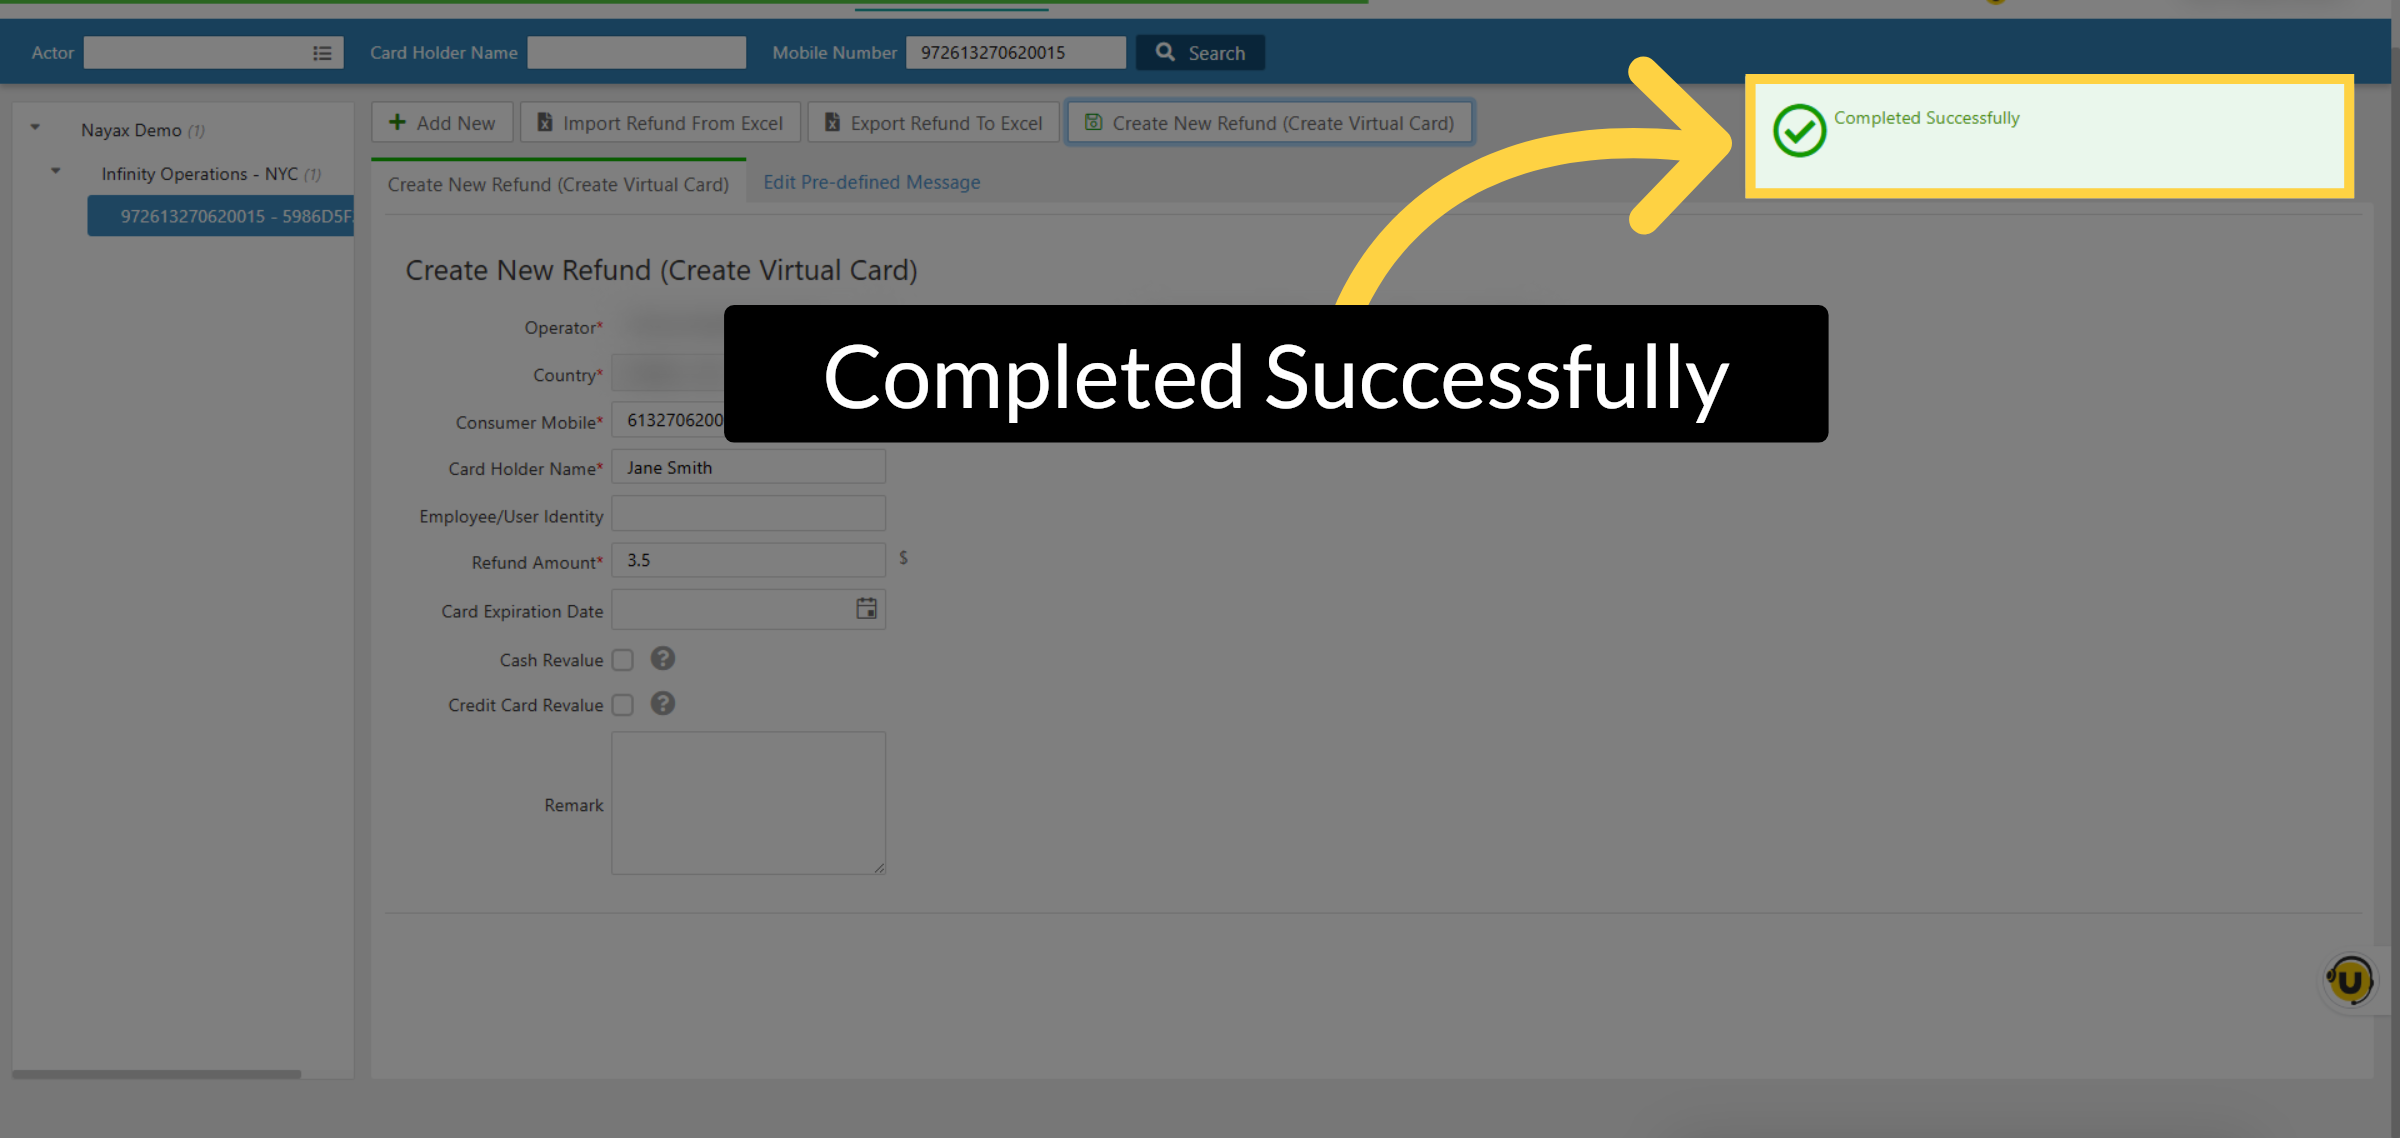
02:13: After submitting, a confirmation message will appear at the top of the page
02:17: confirming that the text message was sent to the consumer's mobile number.
02:21: This confirms the refund notification has been dispatched.
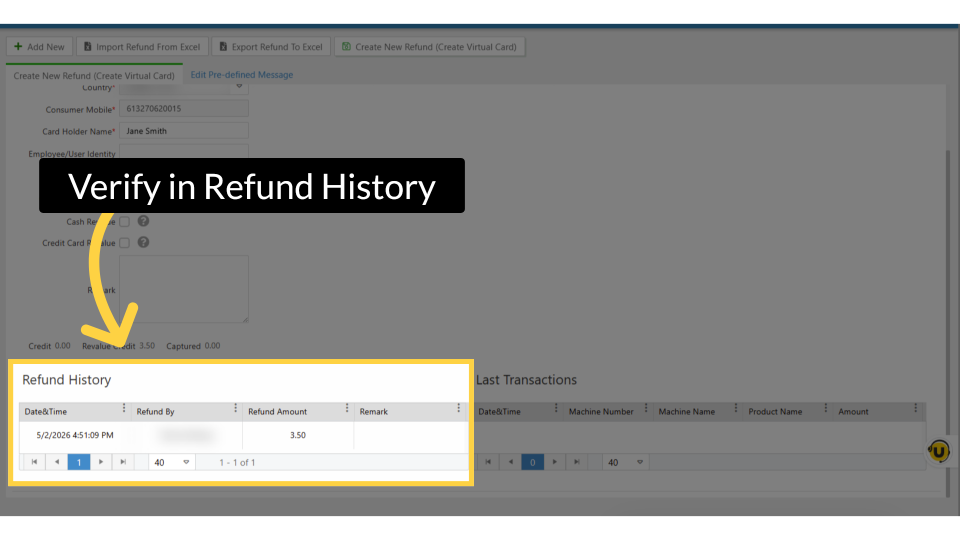
02:25: Scroll down the Monyx Refund page to the Refund History table.
02:28: Your new refund will appear in the list showing the date and time, the operator who
02:33: issued it, and the refund amount.