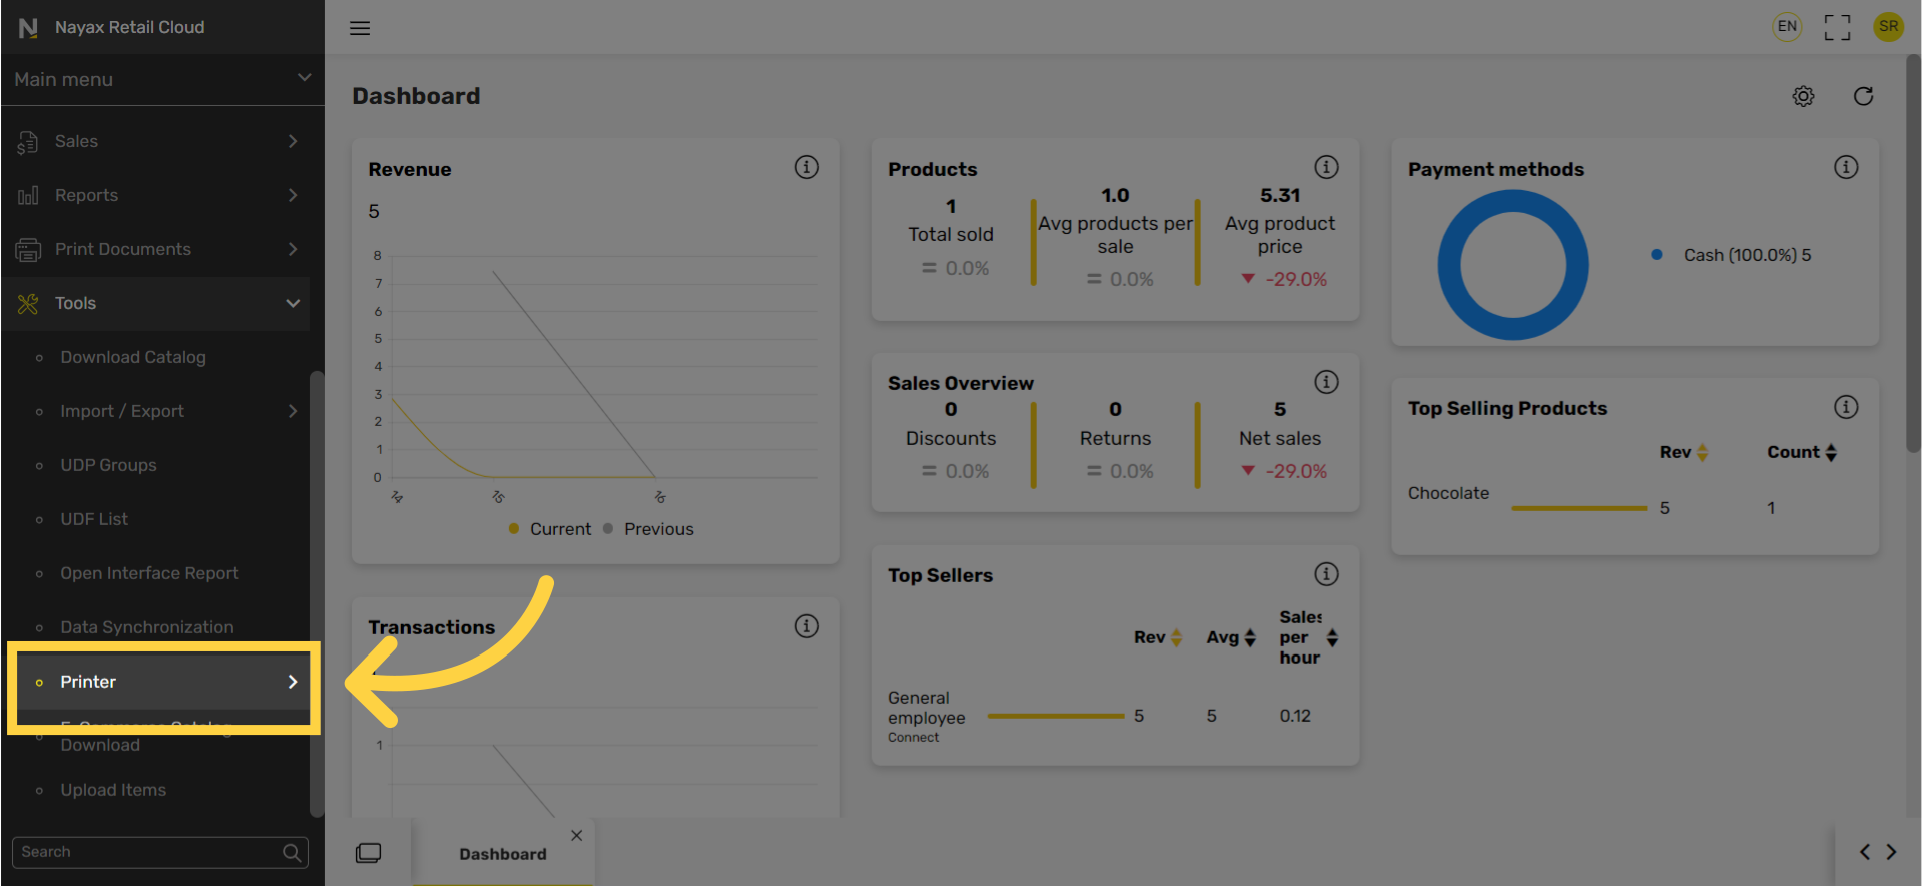
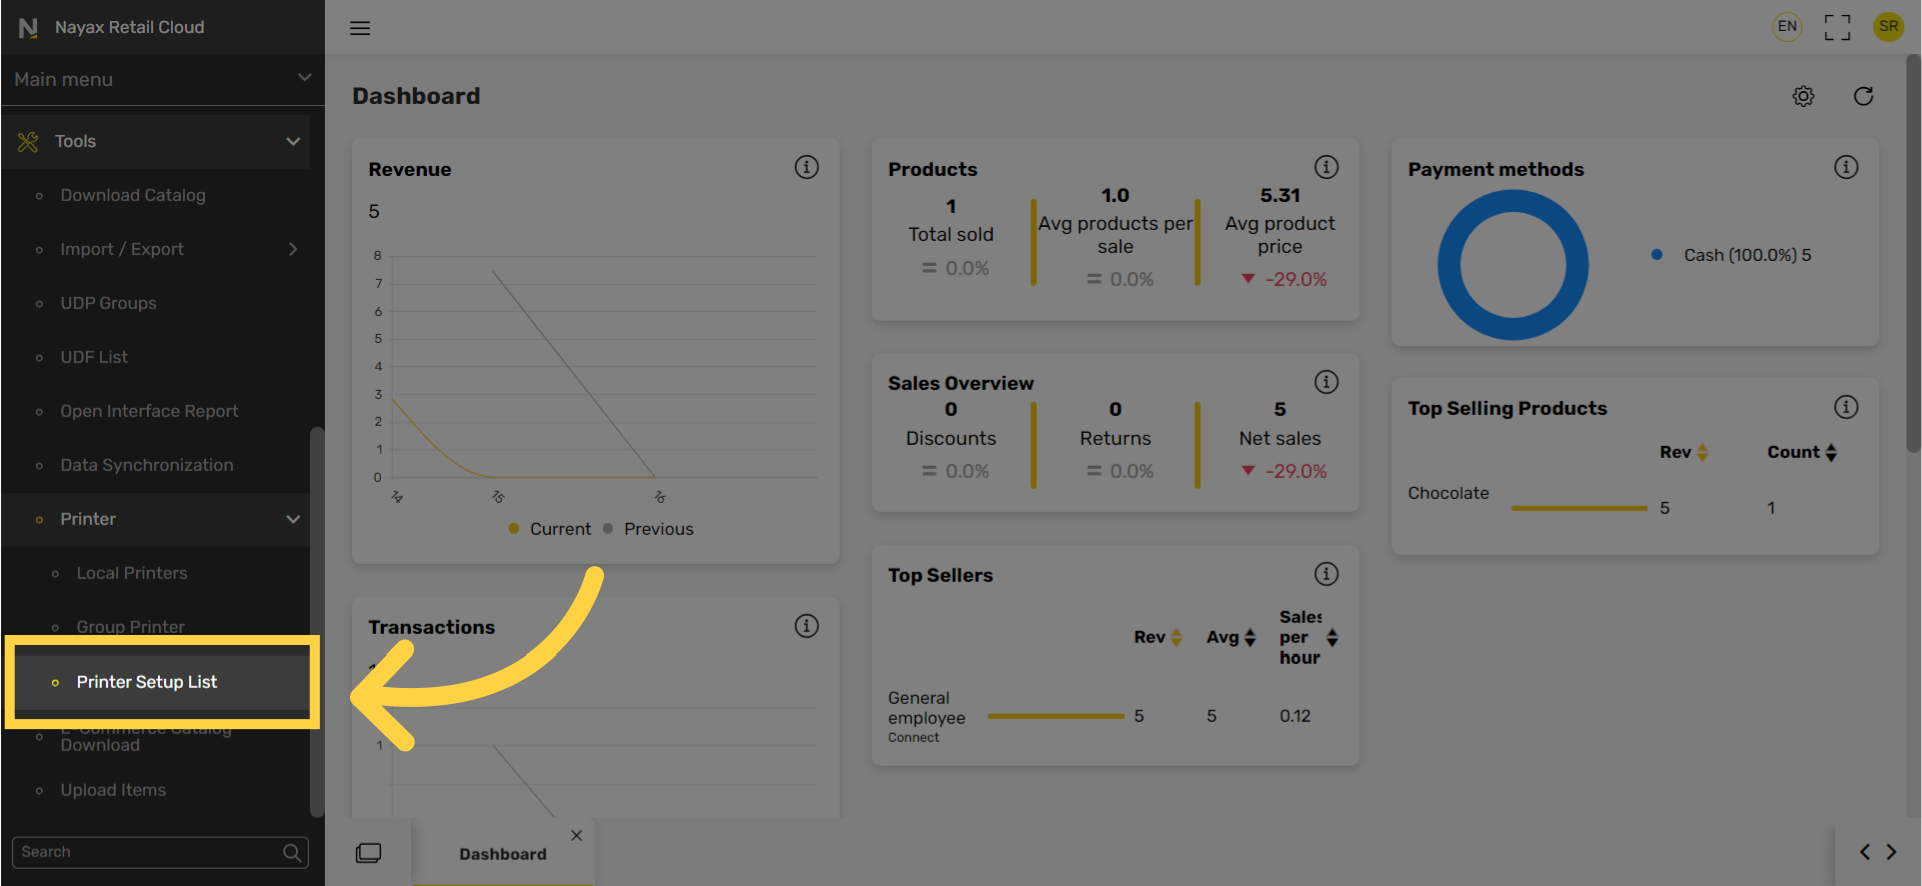
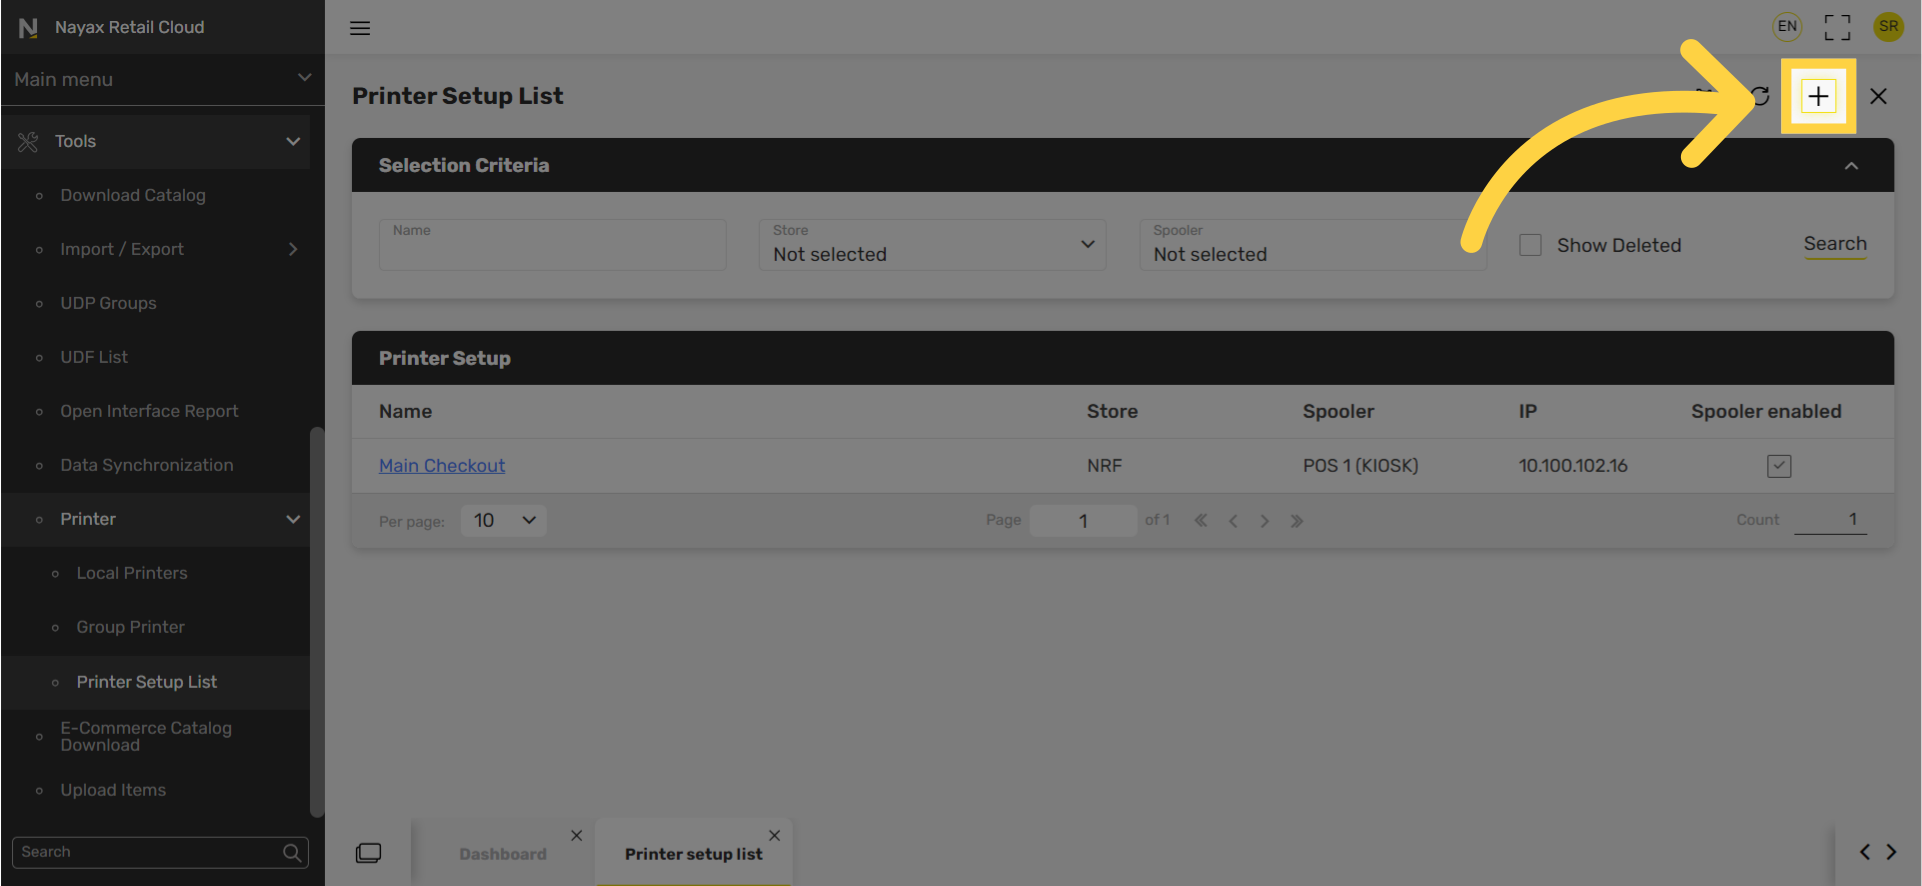
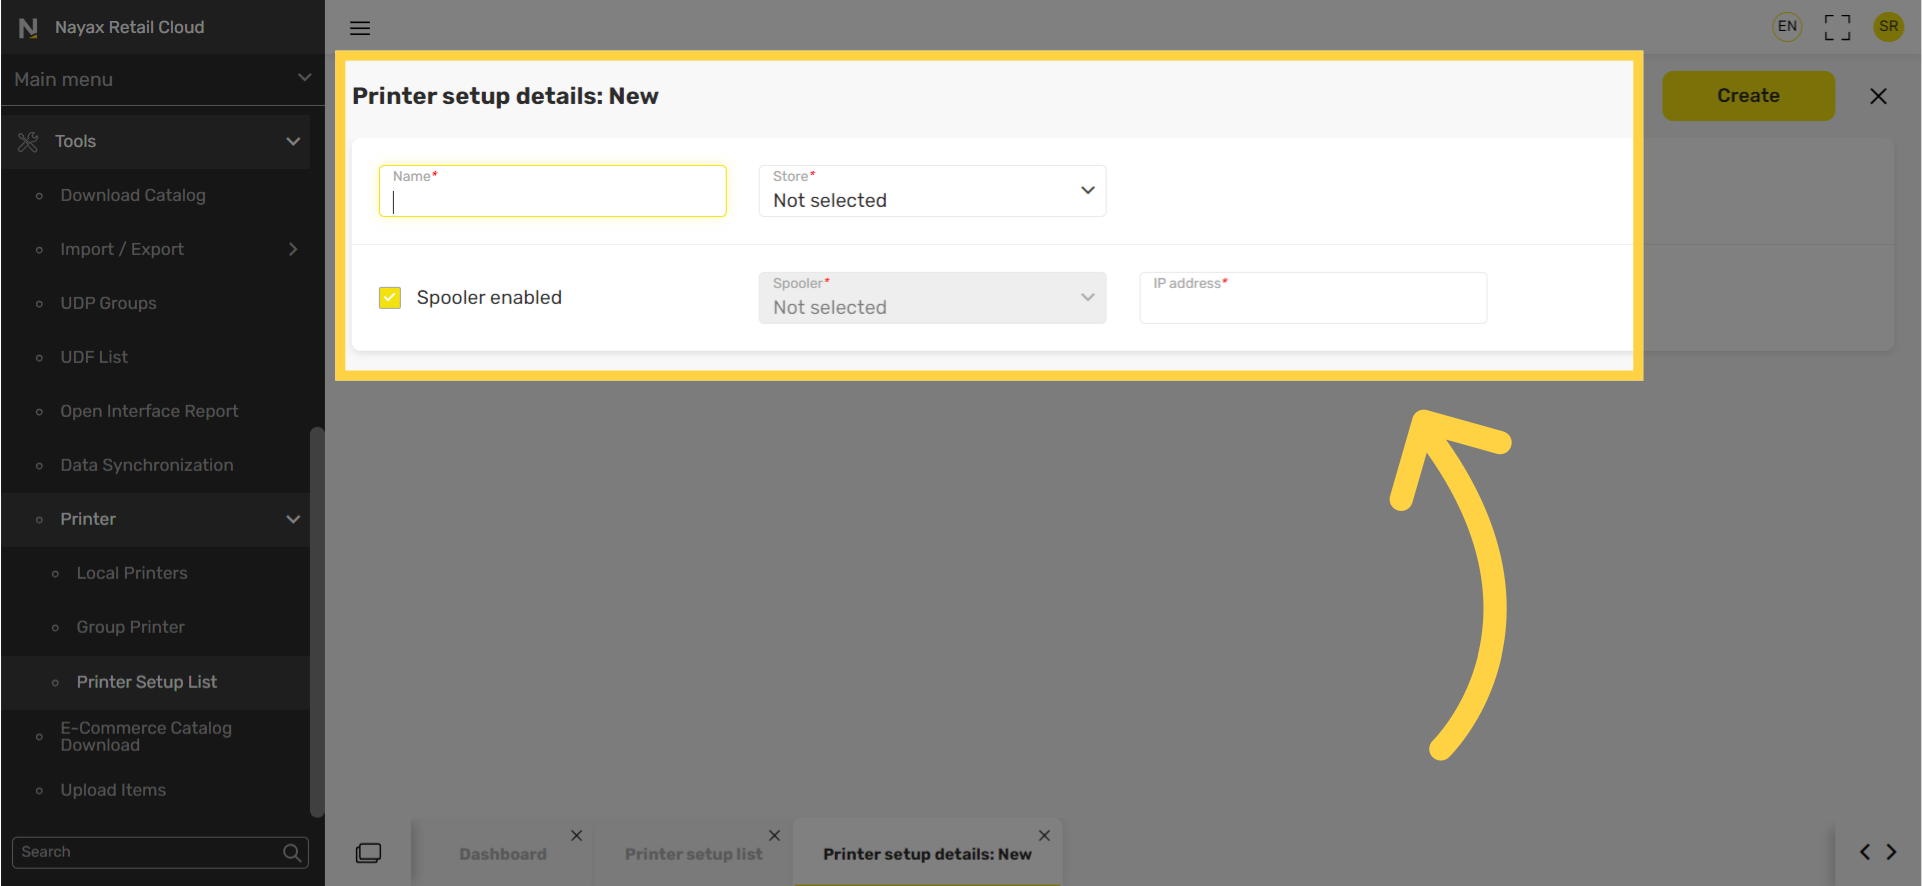
How to Set Up a Spooler | Tools
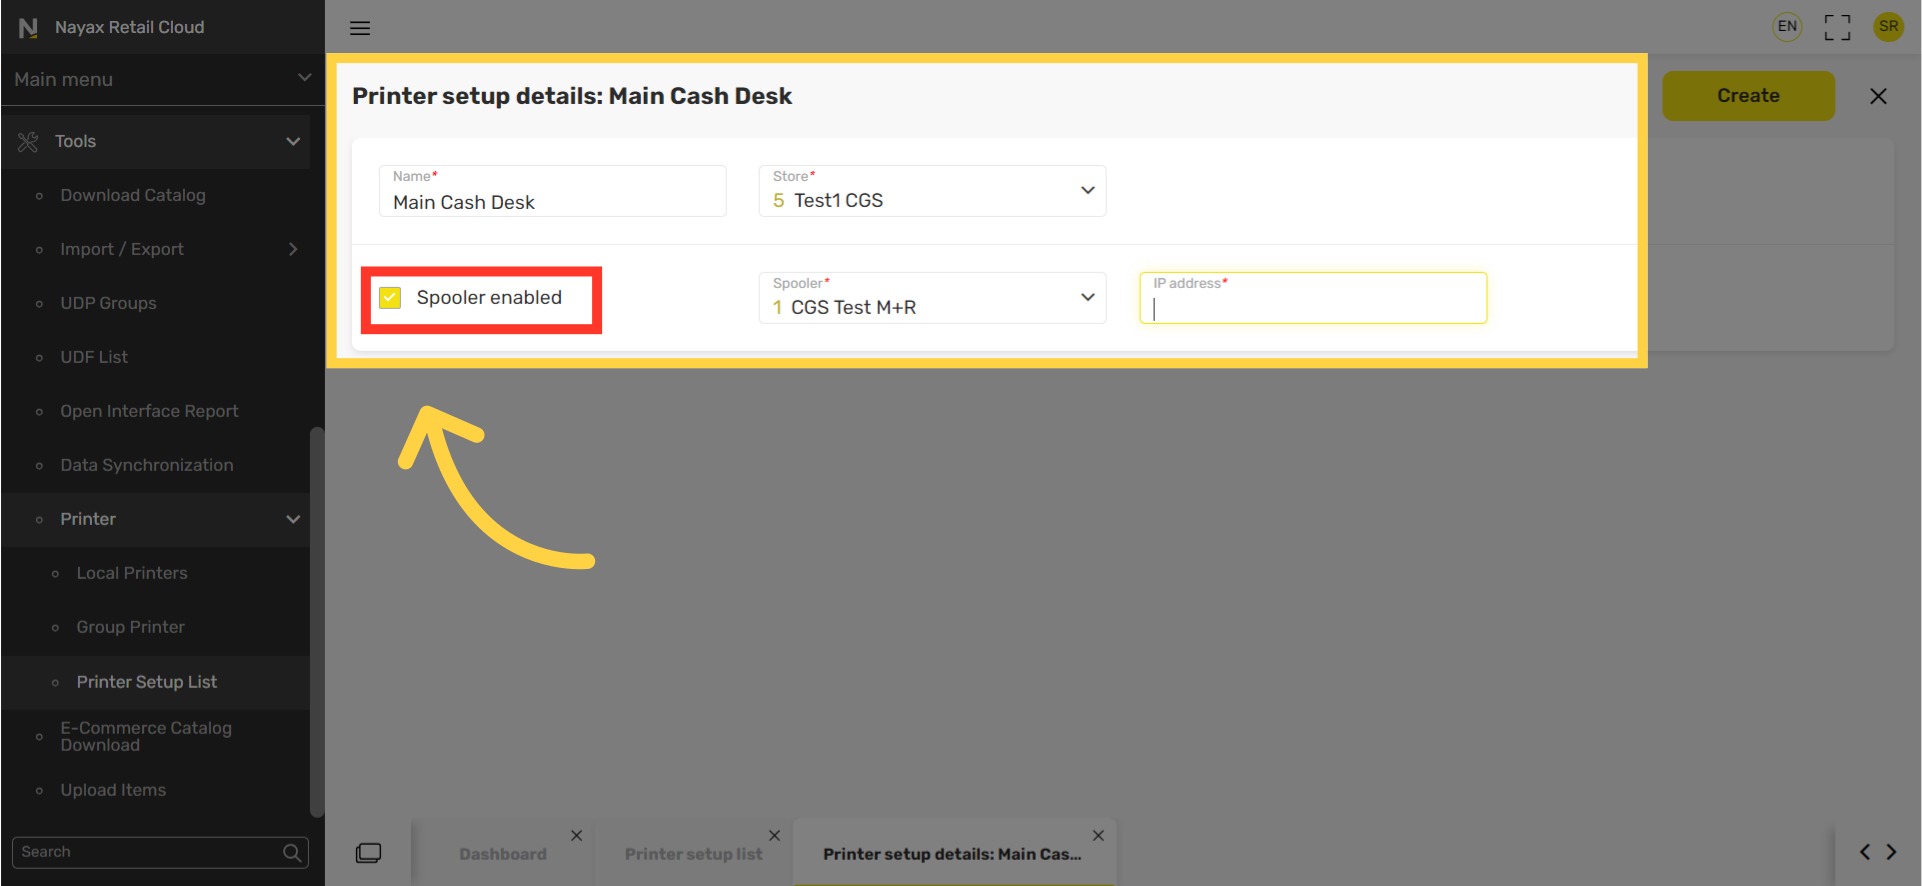
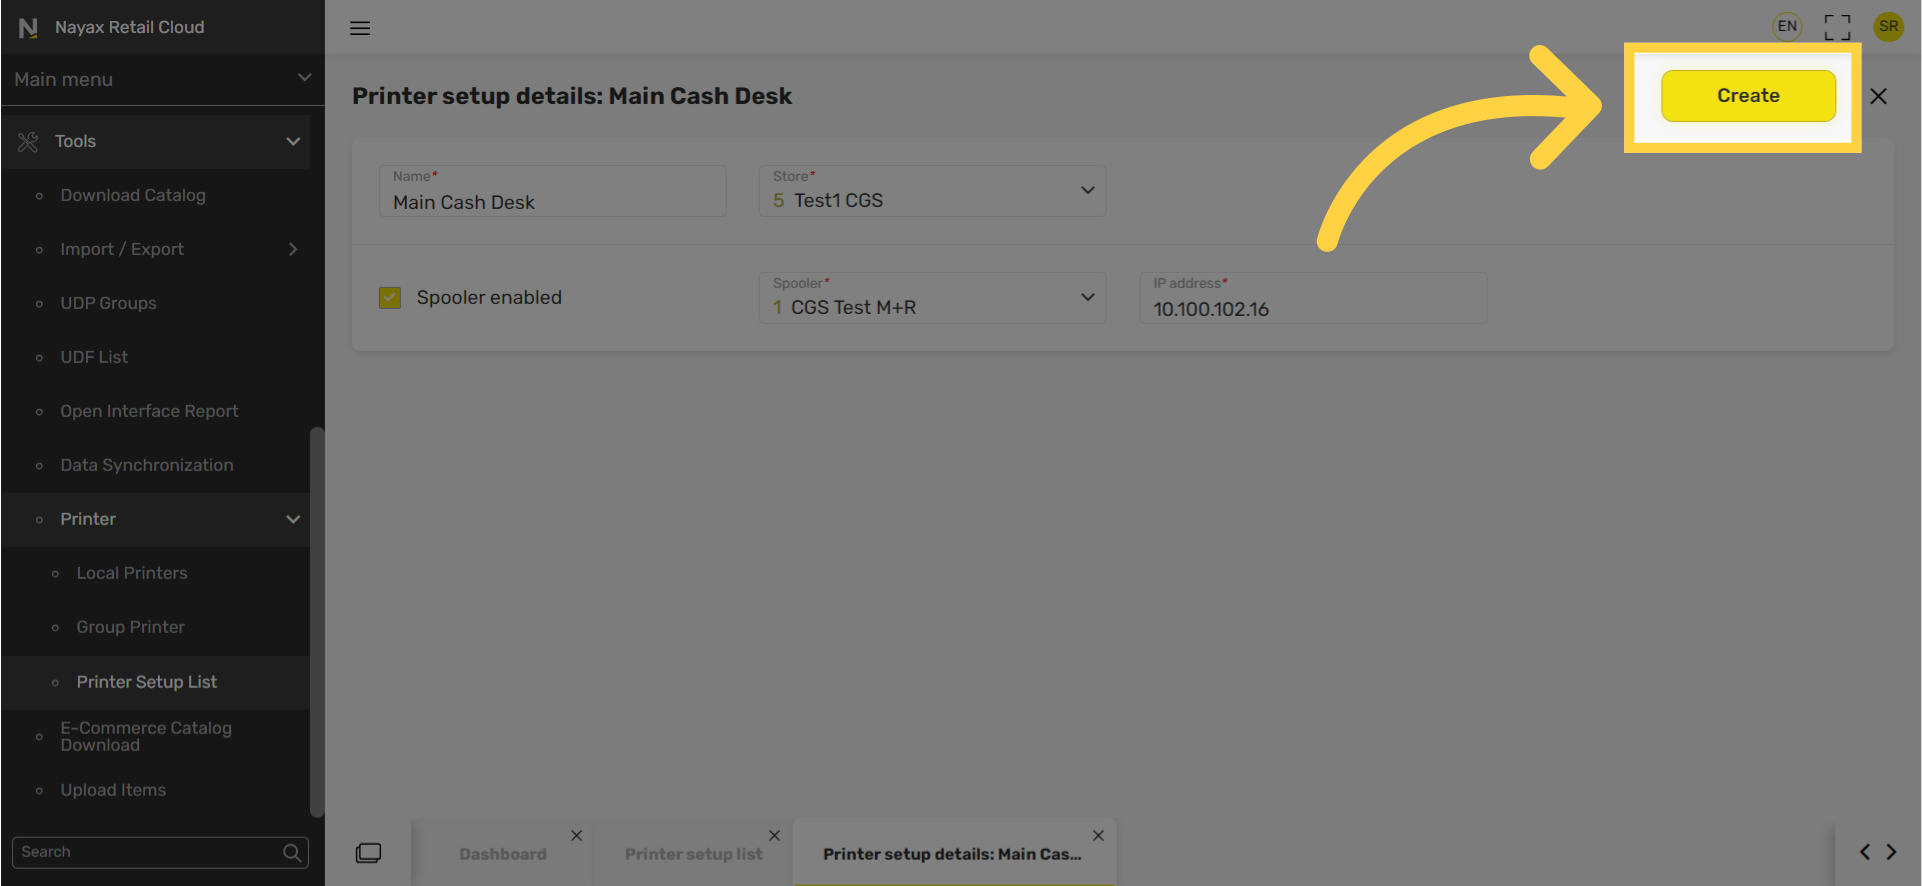
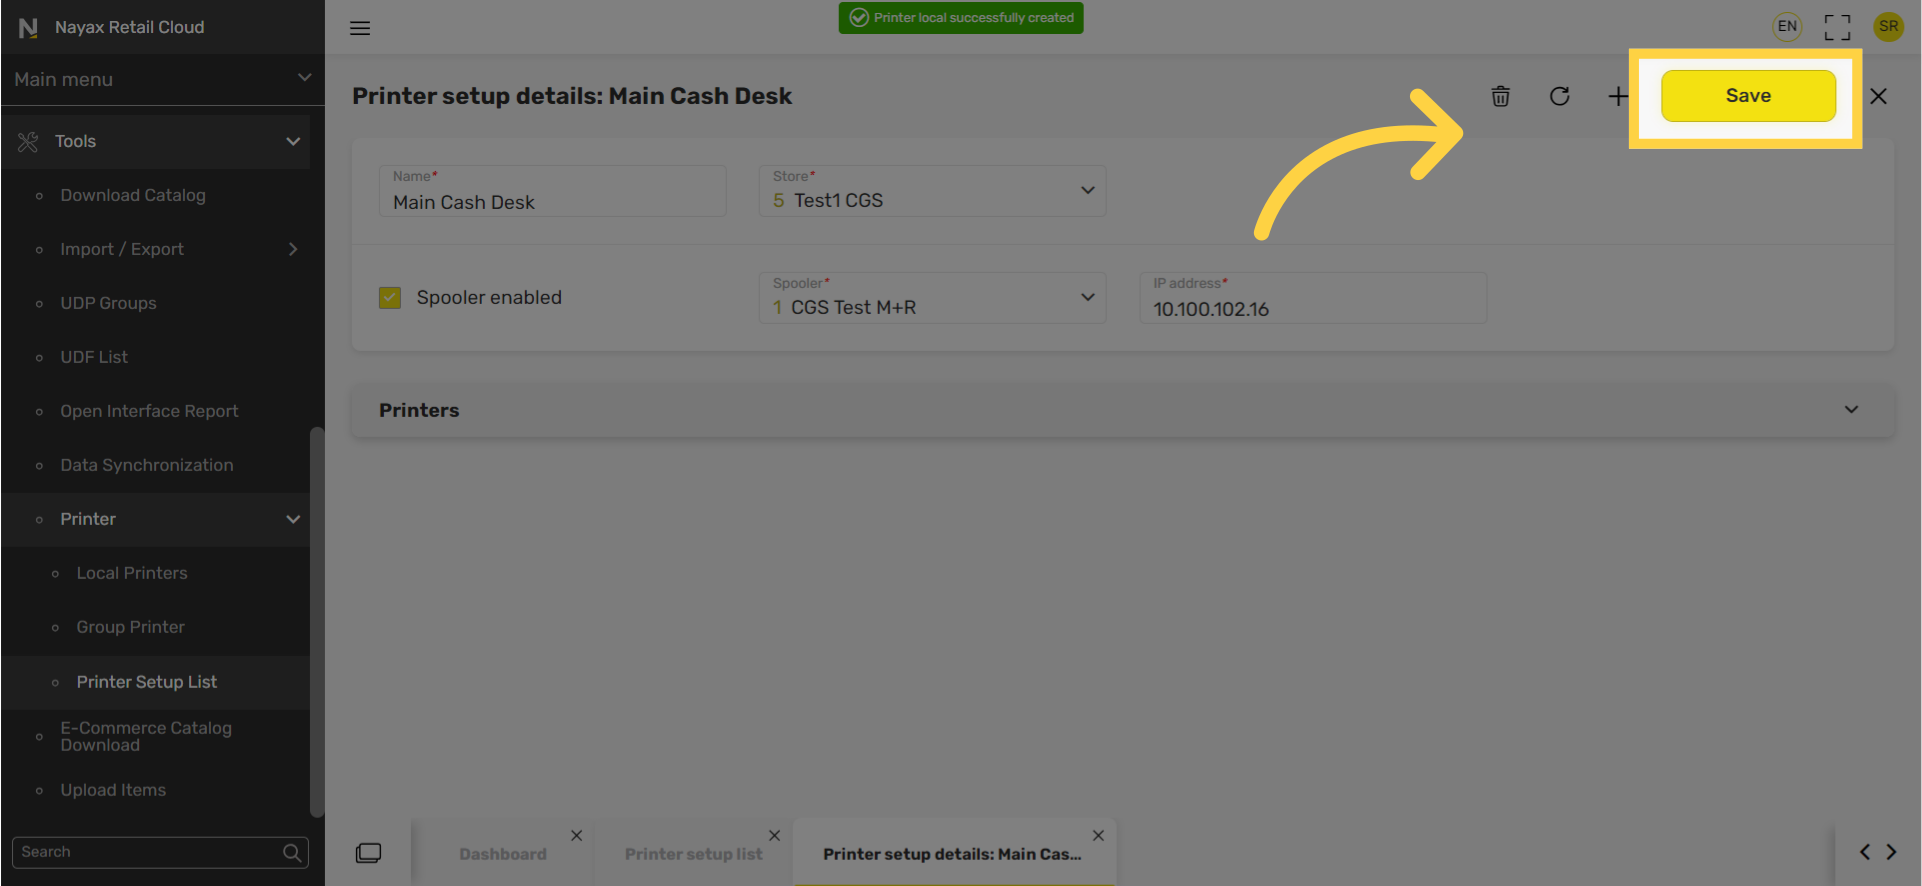
1
Video Guide
2
Click Tools Tab
Image Attached
On the dashboard of your Retail Core management suite click the Tools tab.

3
Click Printer
Image Attached
In the sub-menu click on Printer.

4
Click Printer Setup List
Image Attached
In the sub-menu click on Printer setup list.

5
Click + Icon
Image Attached
Click + icon at the top right of the screen.

6
Name and Associate
Image AttachedName the printer and associate it to a store.

7
Enter IP address
Image AttachedFill in the Spooler and IP address of the POS. Make sure Spooler enabled is active as highlighted in RED on the visual.

8
Click Create
Image AttachedClick Create button.

9
Click Save
Image Attached
Click the save button to save your progress!

Thank you!
Did you find this article helpful?