How to Create Table Seating Areas | Catalog
To create an environment for easy navigation of tables in a restaurant first create a area.
1
Video Guide
2
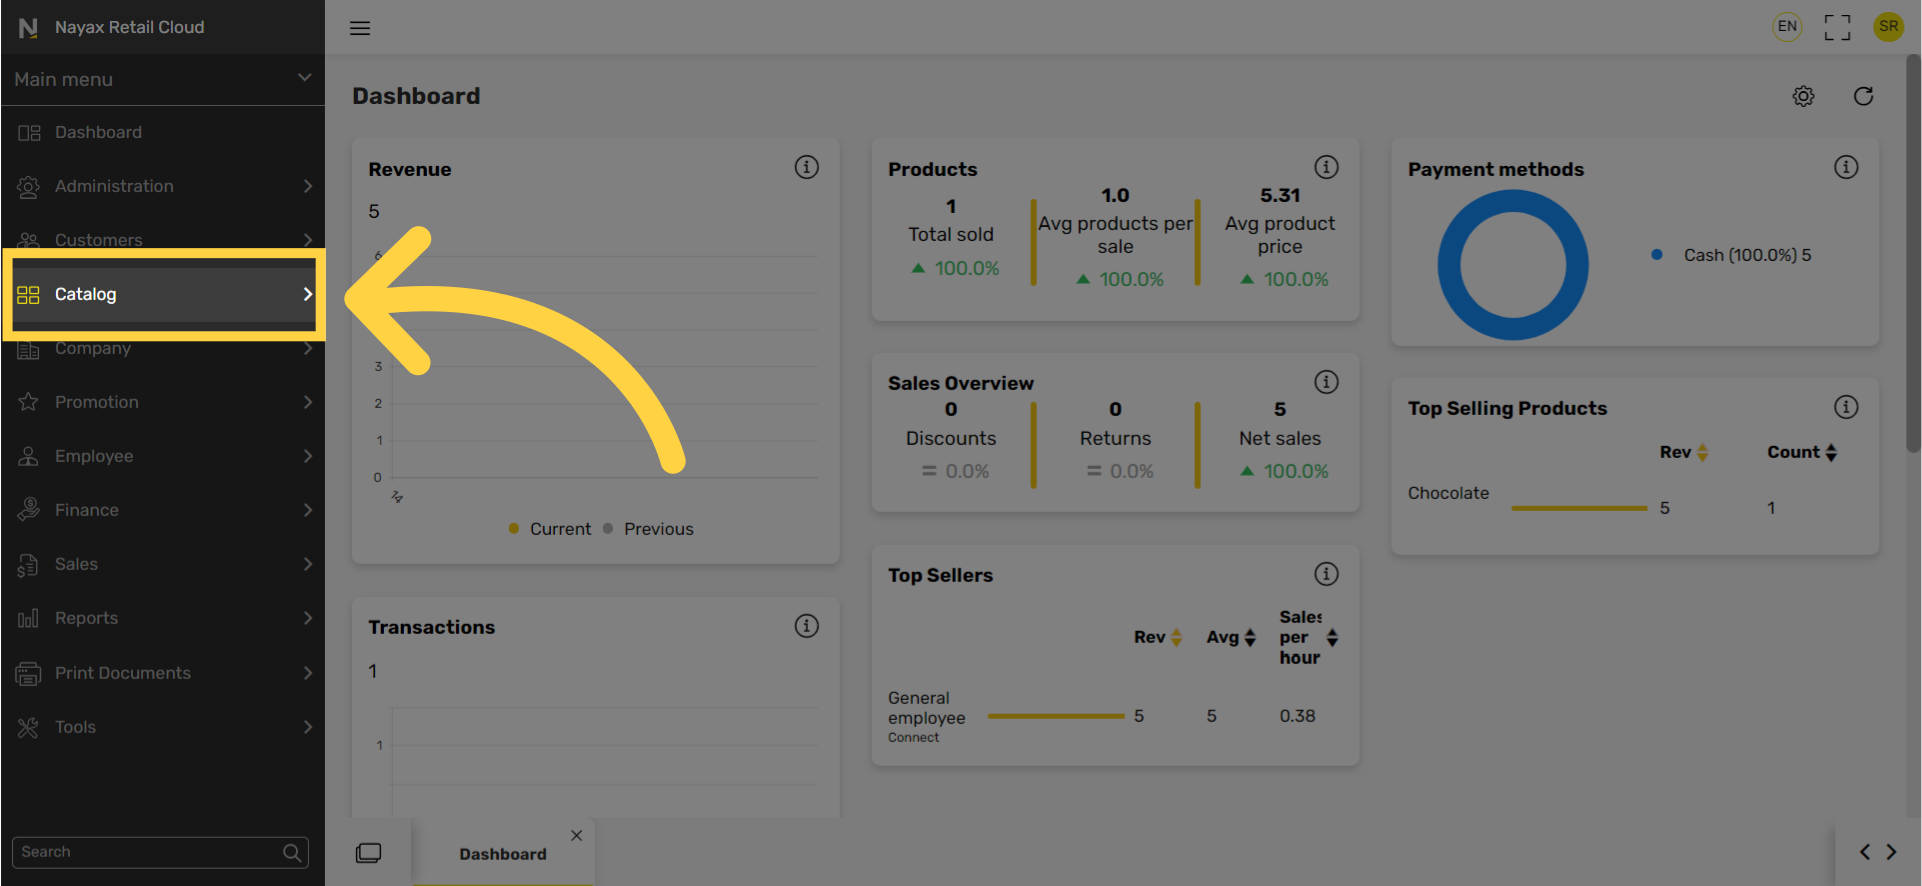
Click Catalog Tab
Image AttachedOn the dashboard of your Retail Core management suite click the Catalog tab.
3
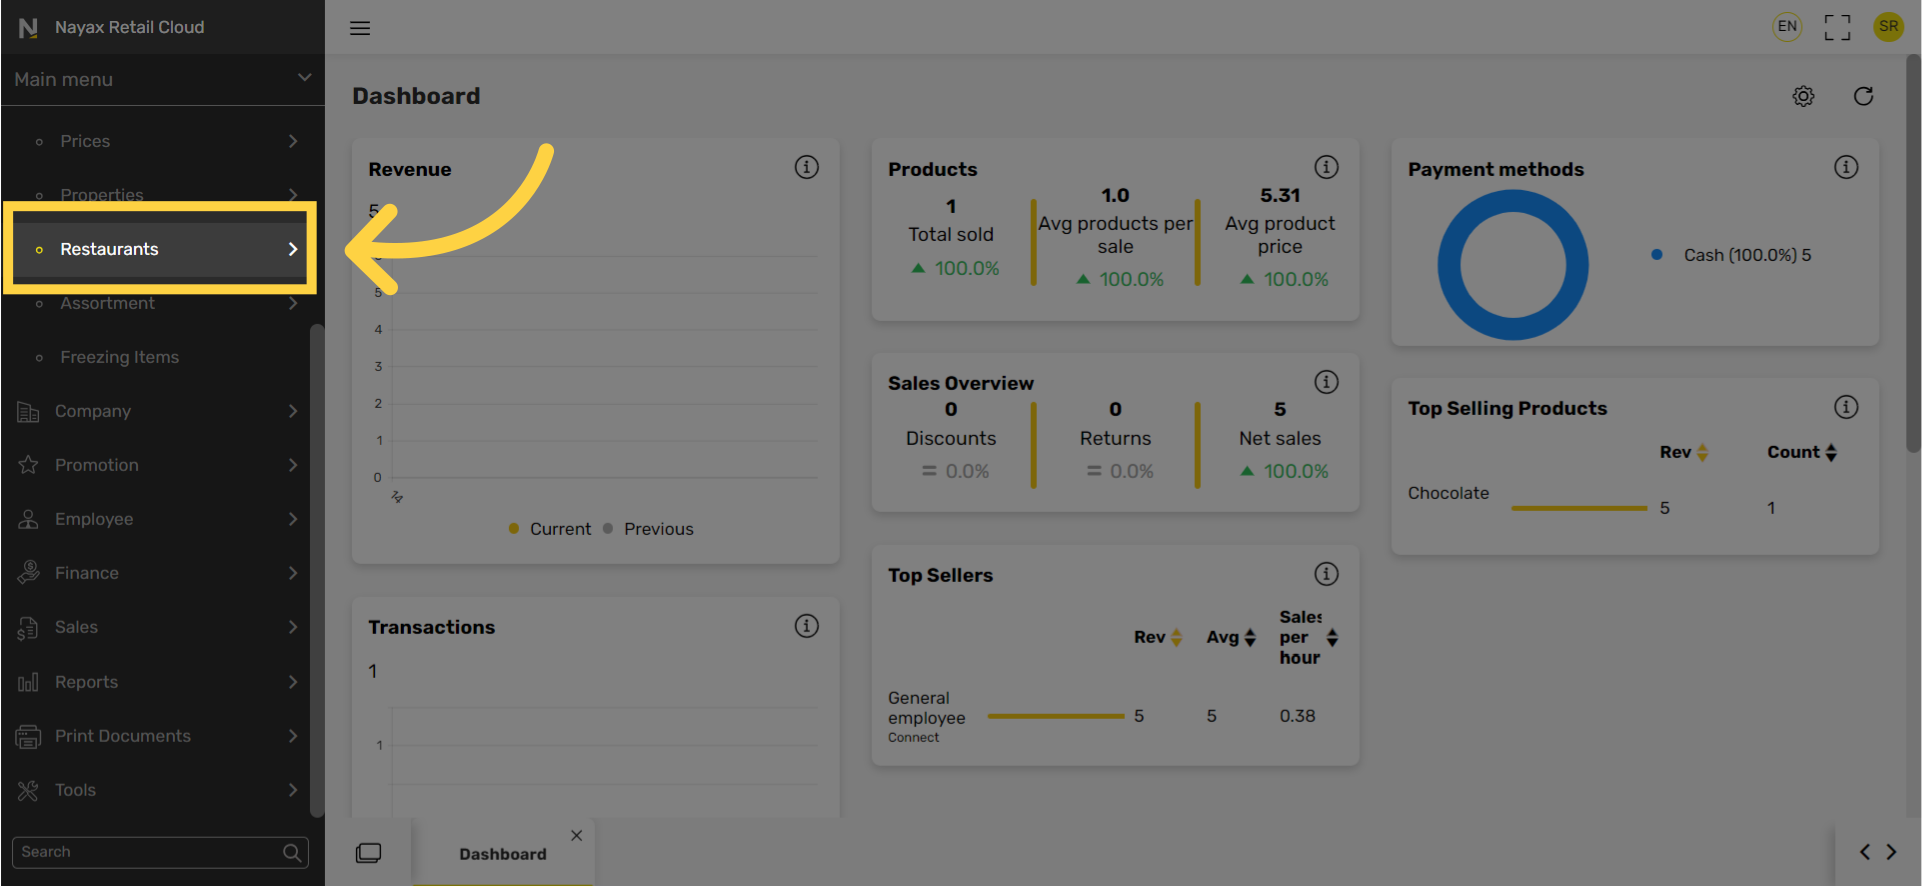
Click Restaurants Tab
Image AttachedIn the sub-menu click on Restaurants.
4
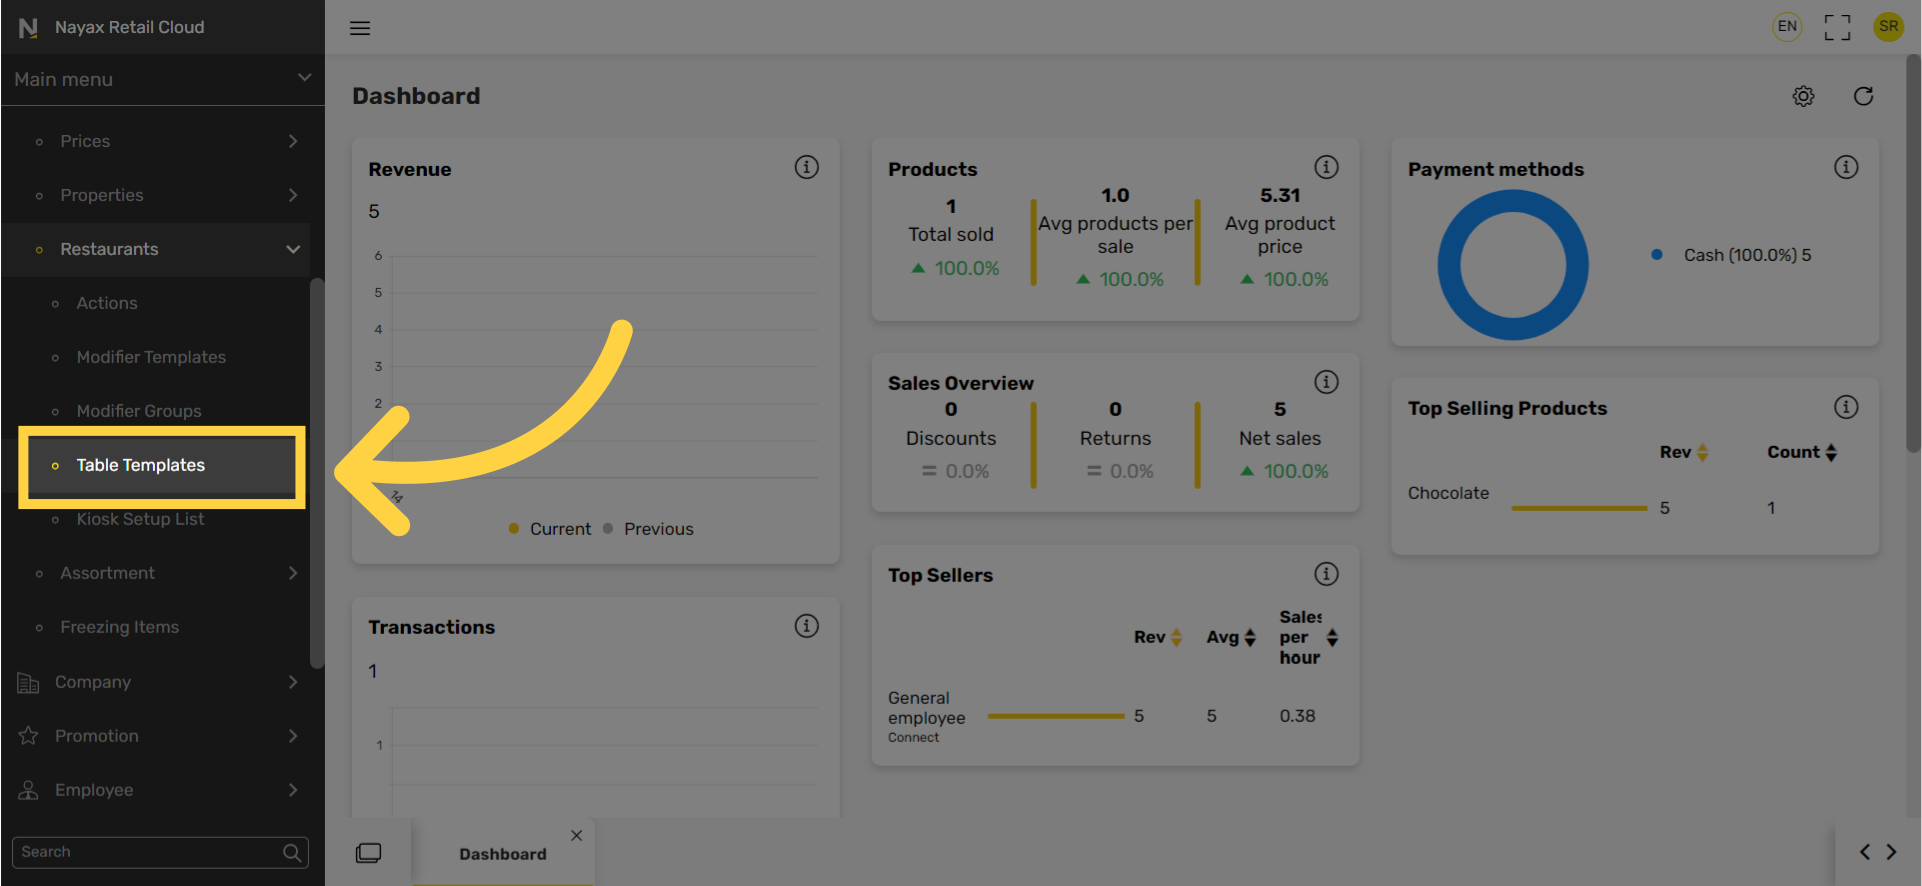
Click Table Templates
Image AttachedIn the sub-menu click on Table templates.
5
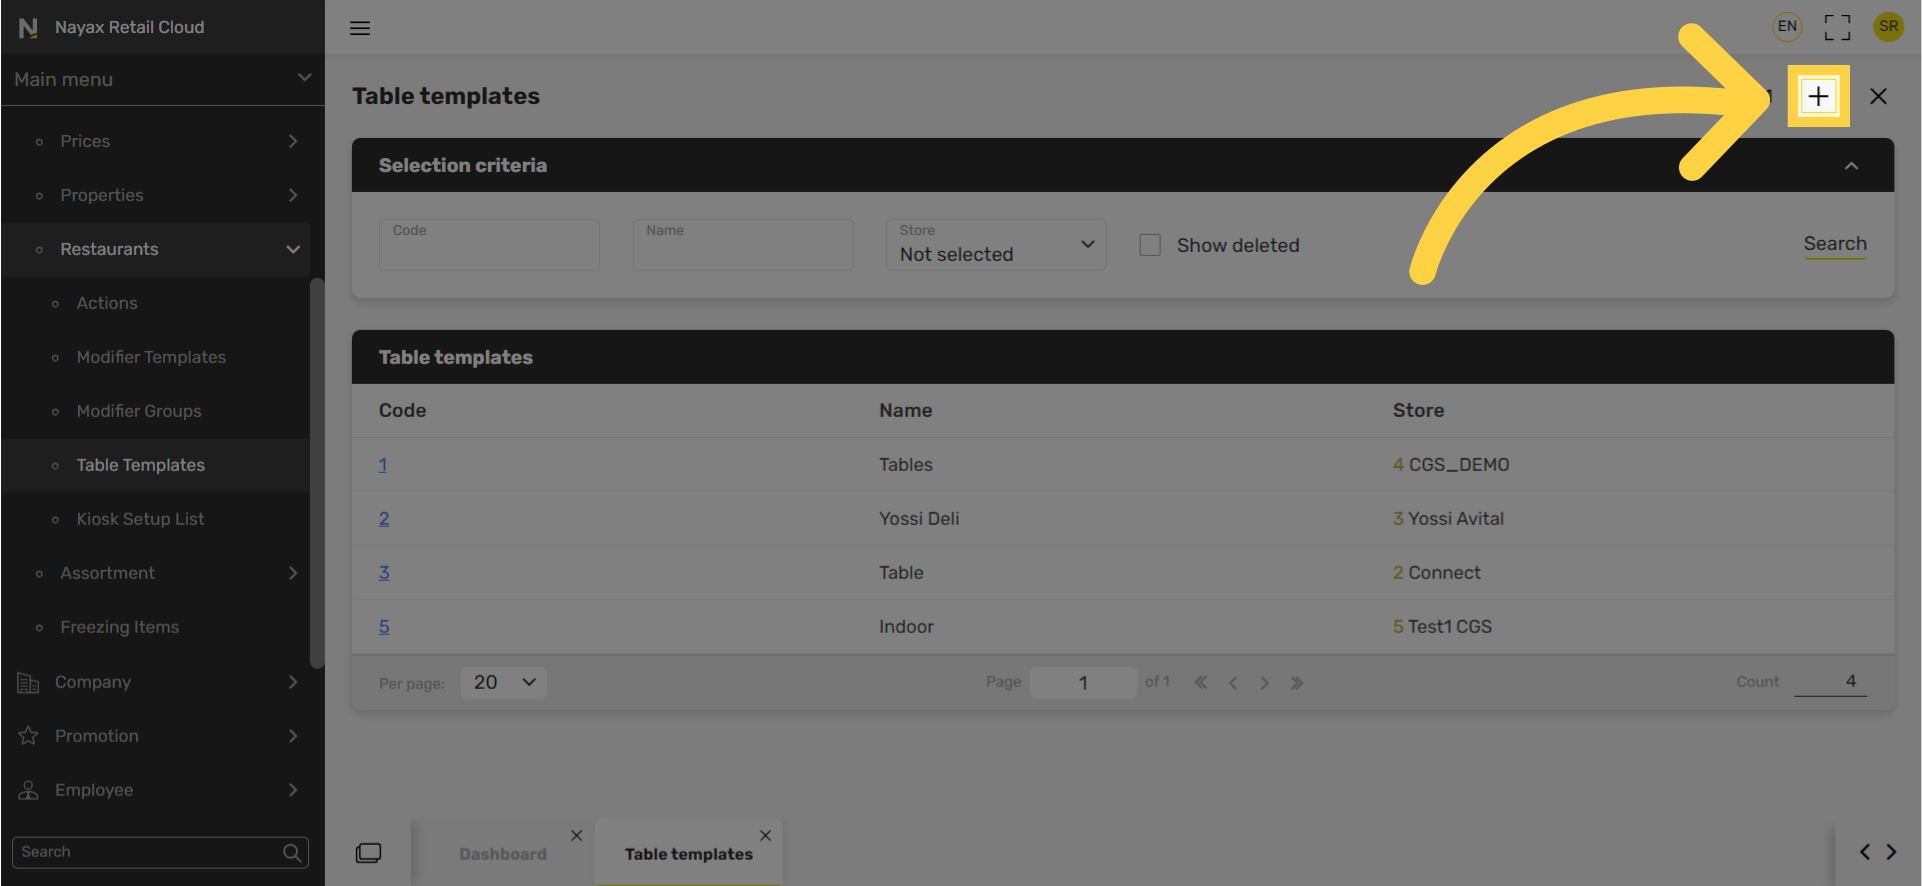
Click + Icon
Image AttachedClick the plus icon at the top right of the screen.
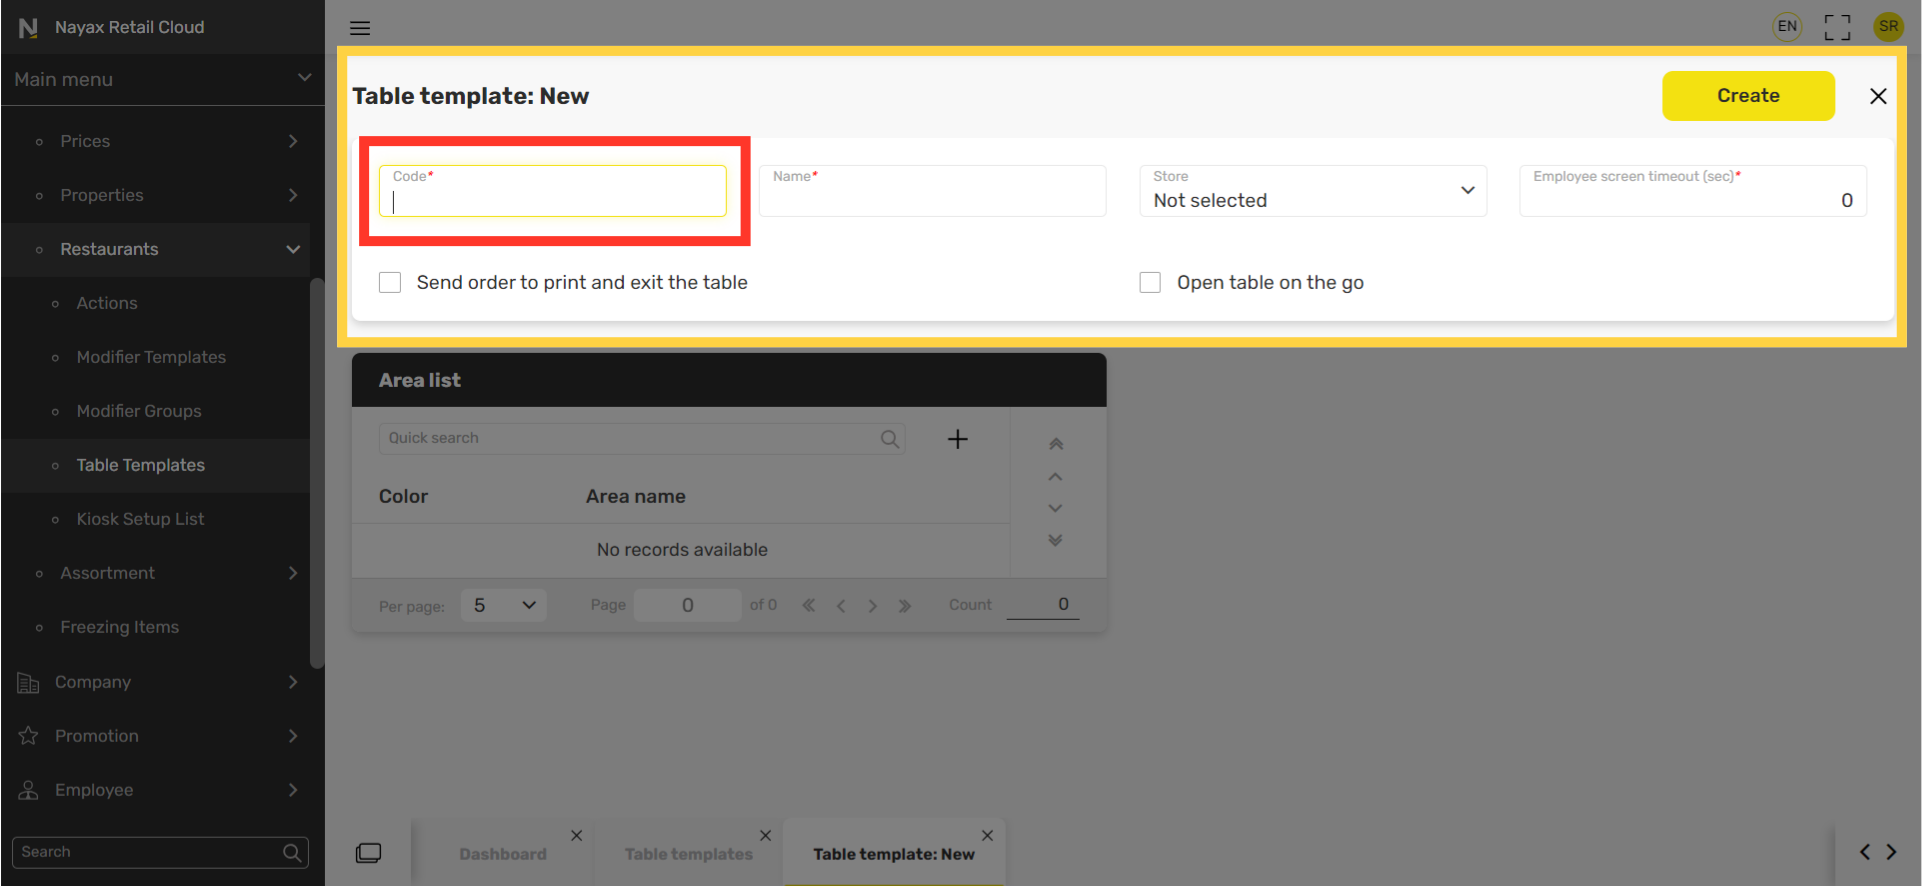
6
Set Code
Image AttachedType in a Code for a way to identify the template.
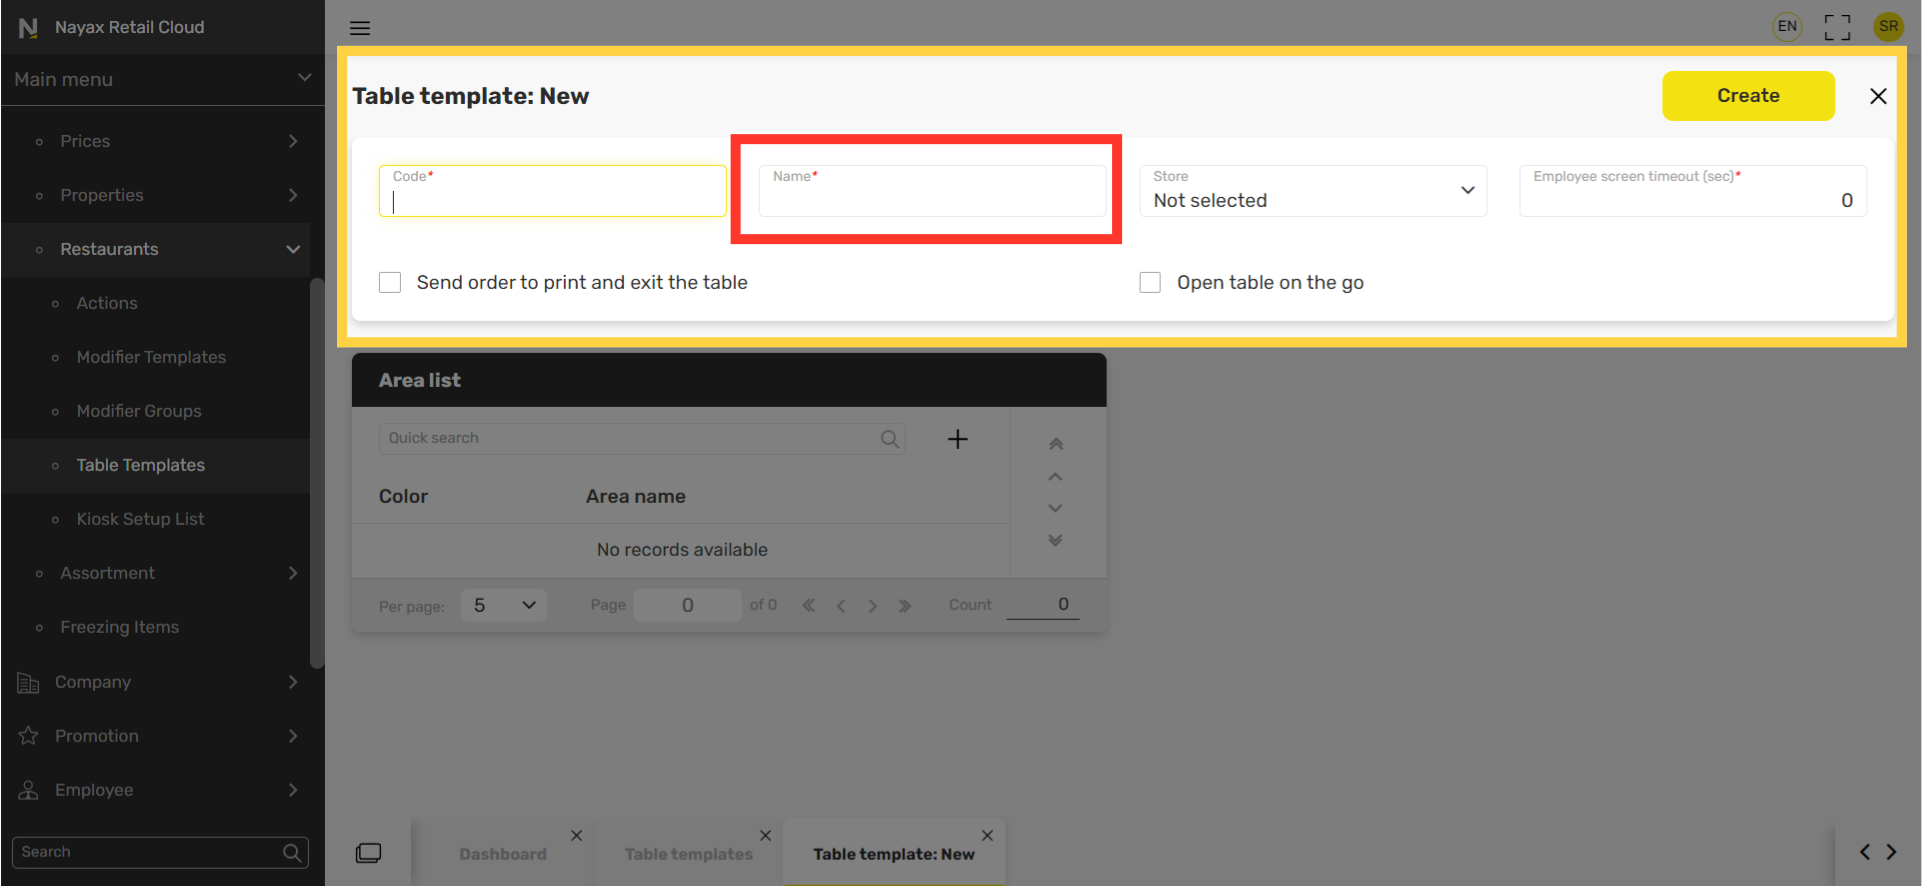
7
Name
Image AttachedType in a Name for the template.
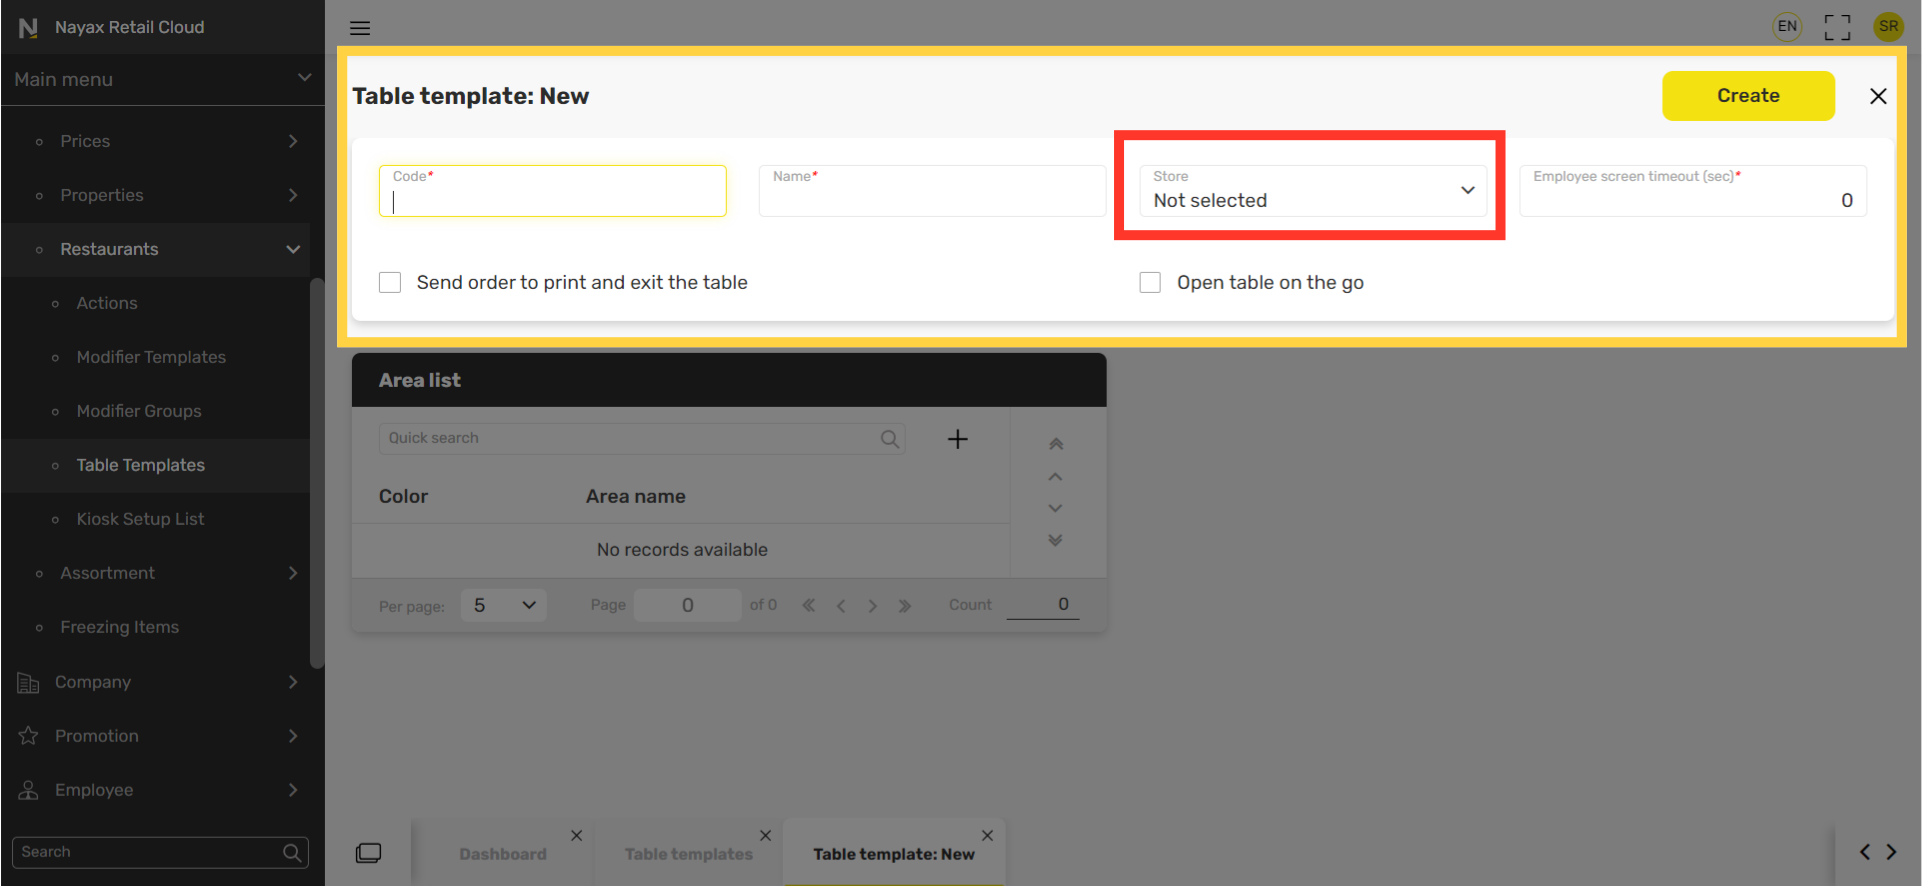
8
Choose Location
Image AttachedChoose for which location is this table seating template for.
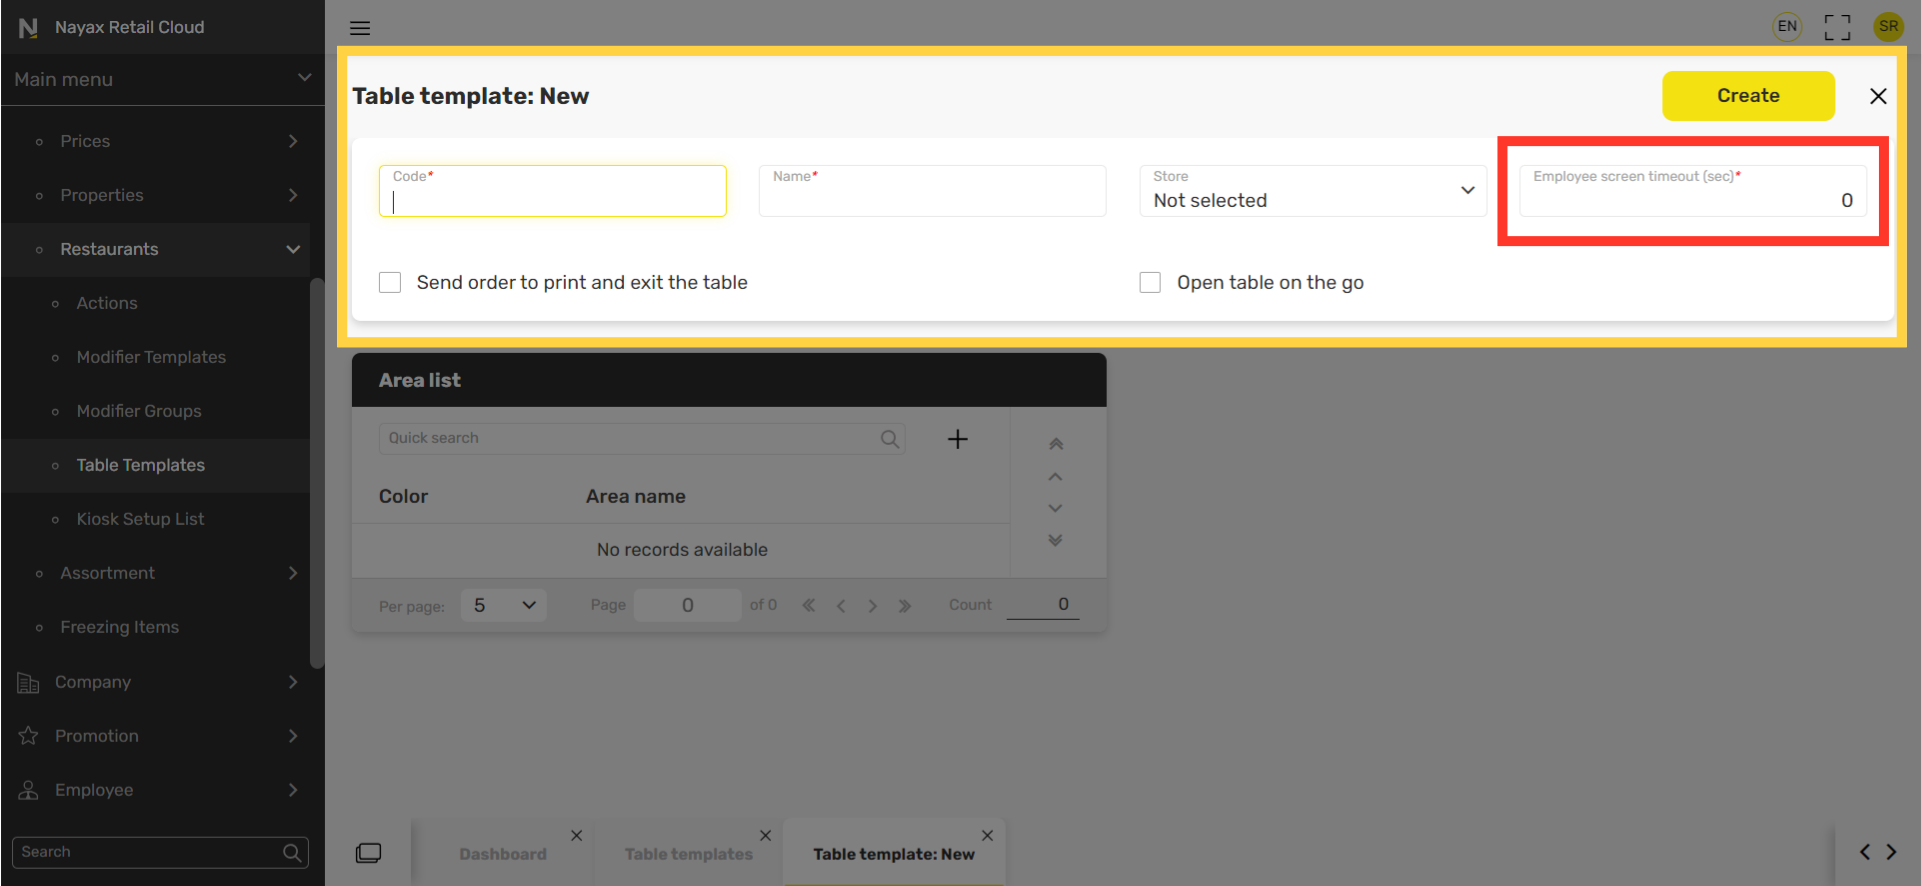
9
Set Screen Timeout
Image AttachedFor the employees screen timeout type in the number of seconds until the screen logs out of the employee’s user when not in use.
10
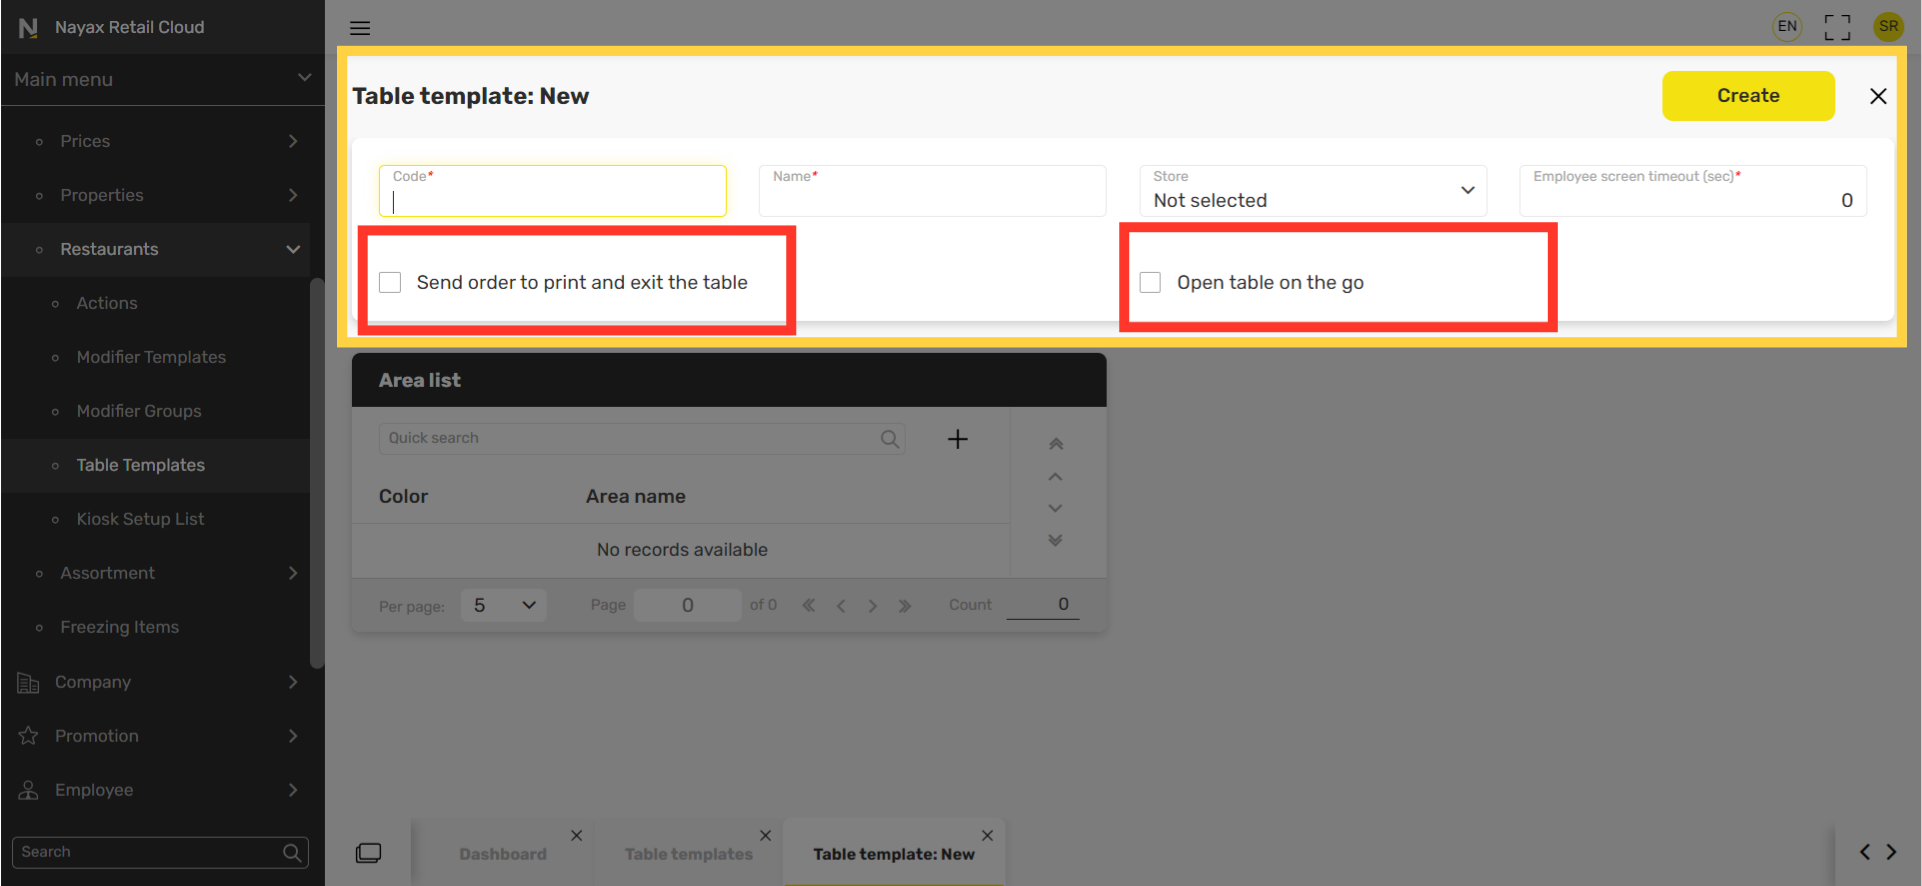
Checkbox Preferences
Image AttachedClick on the check boxes for your preferences for order configurations of this template.
11
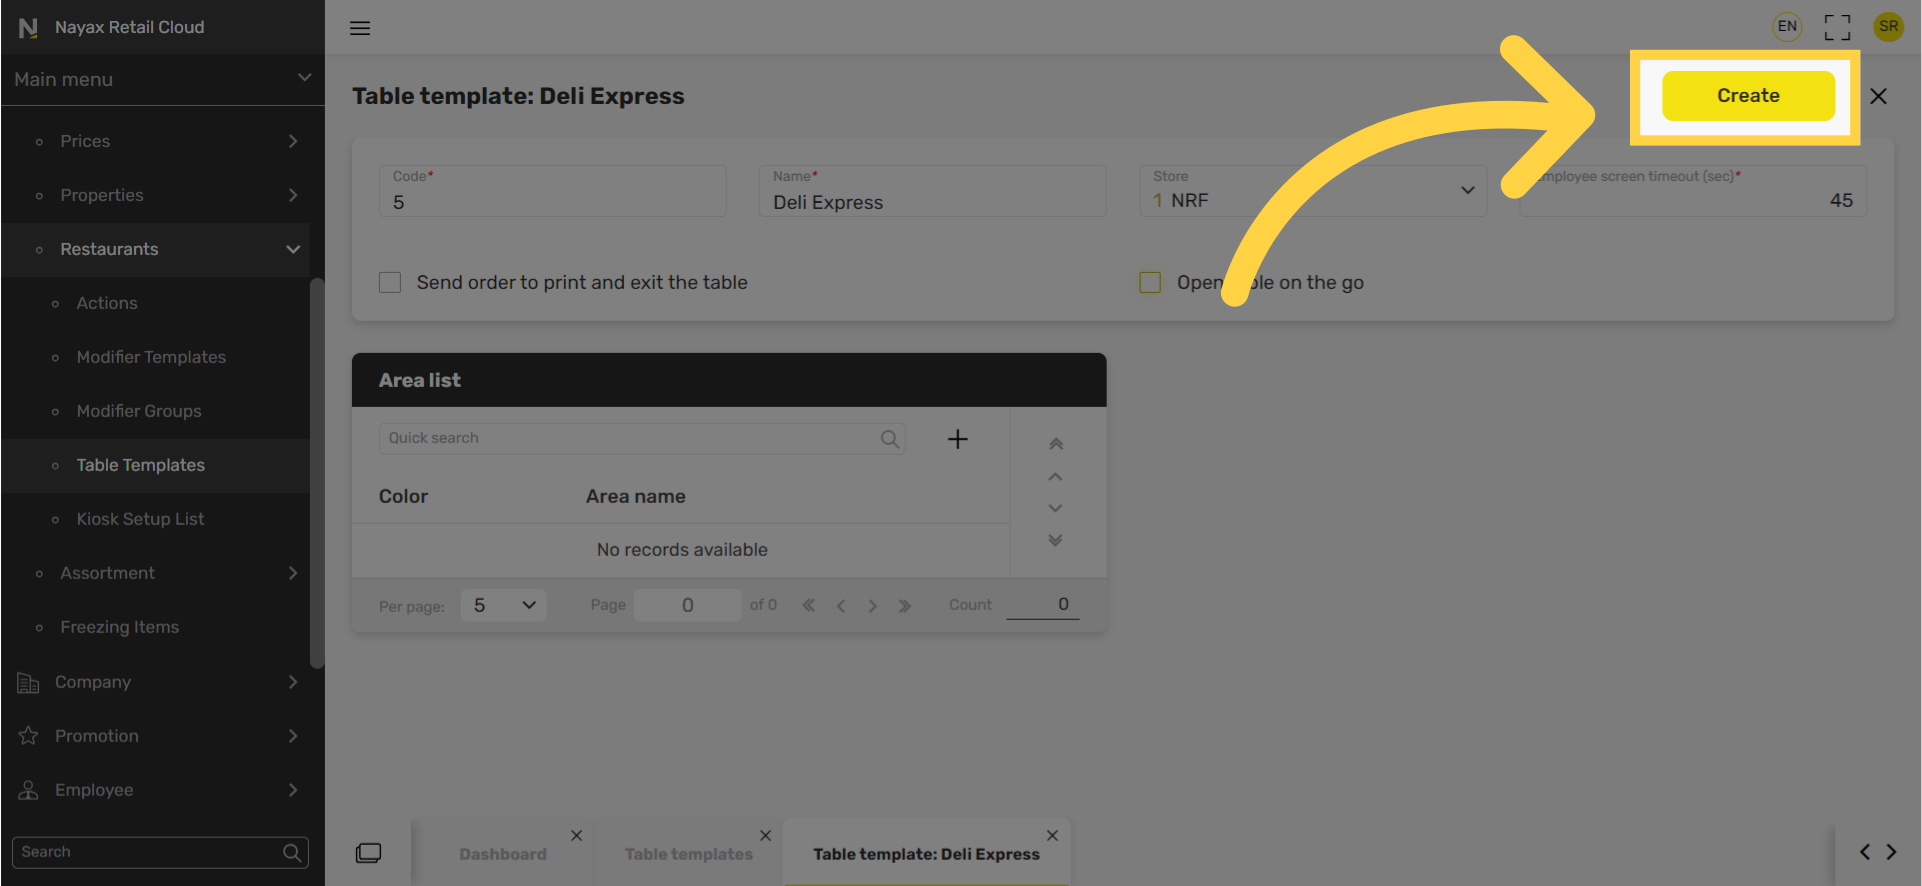
Click Create
Image Attached
When completed, click on the Create button.
12
When completed, click Create.
Image AttachedWhen completed, click Create.
13
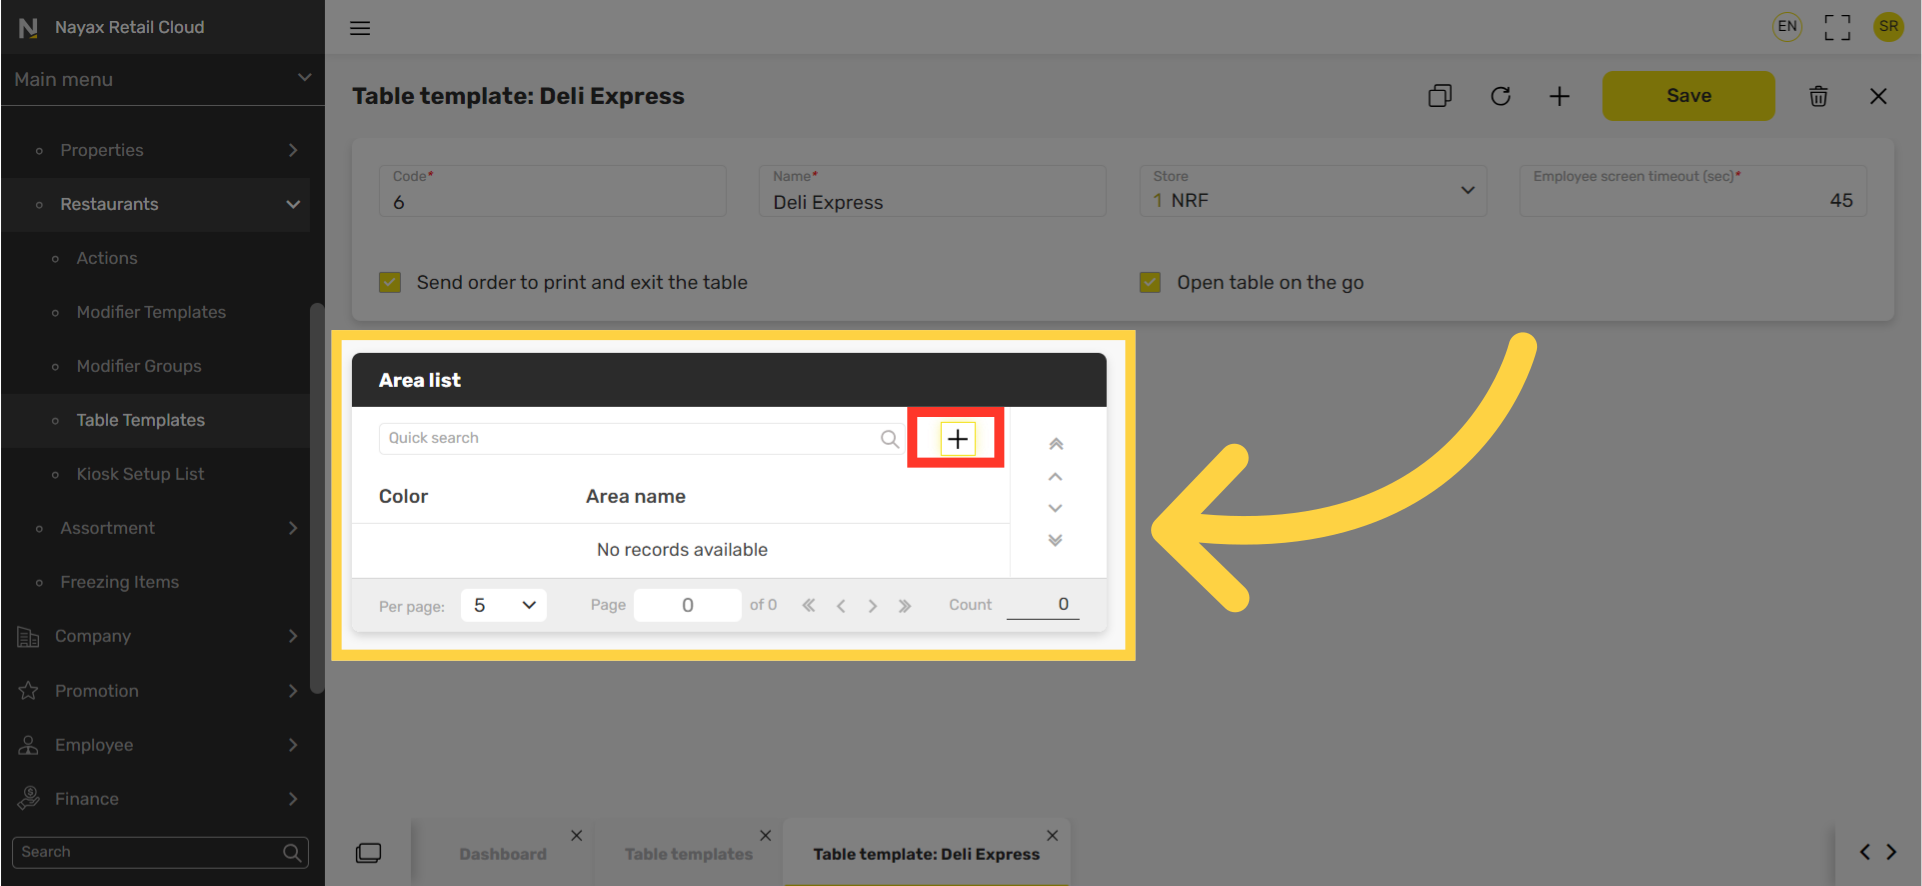
Scroll down to Area list table
Image AttachedAfter creating the template, you can now create areas.
Go to the Area list tab and click + icon highlighted in RED in the visual.
14
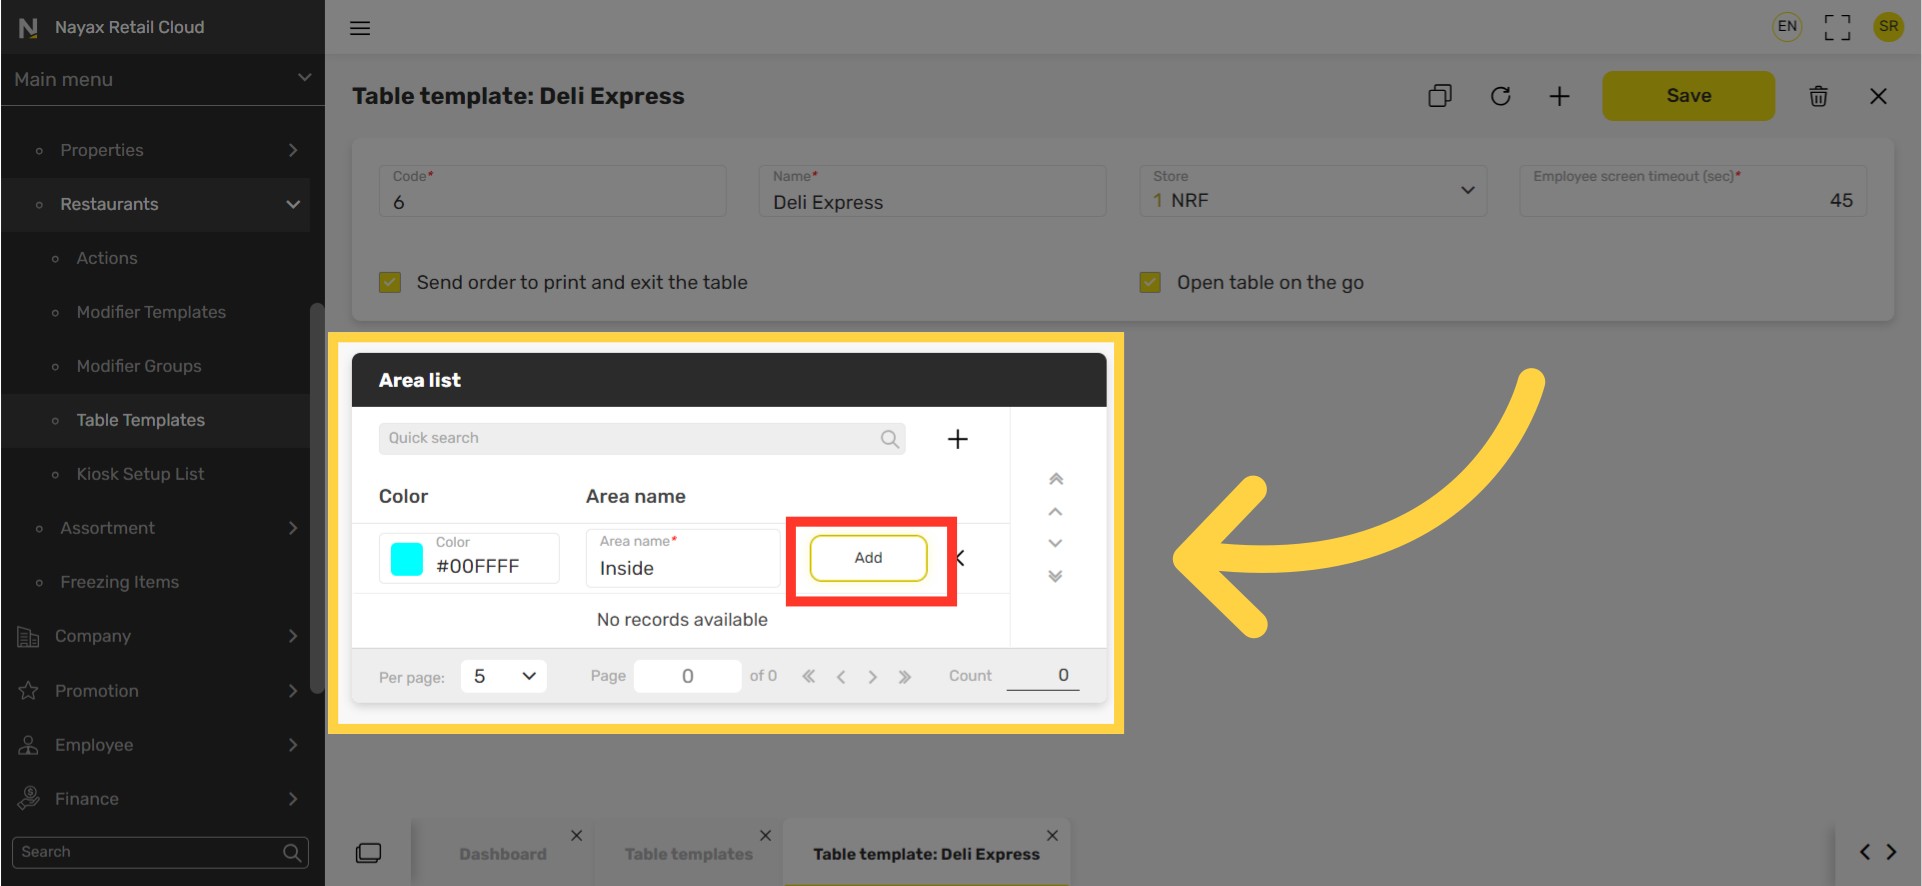
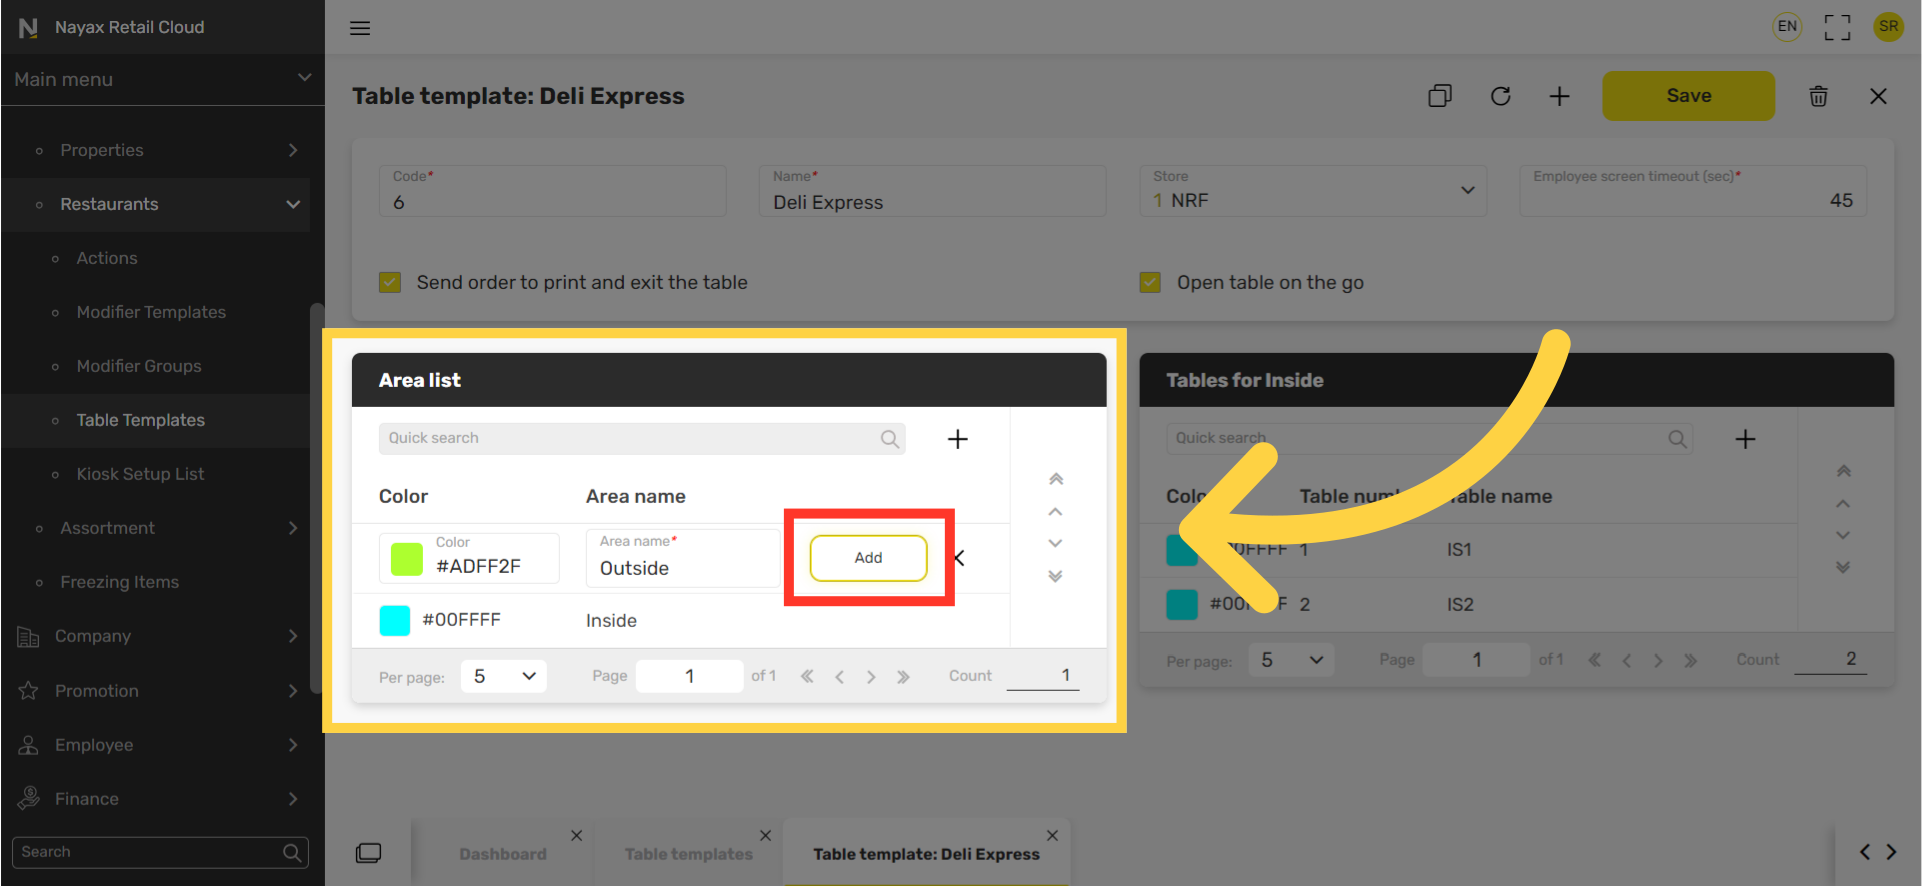
Create a name to identify areas.
Image AttachedCreate a name to identify areas and click on the Add button highlighted in RED on the visual to save your progress.
This process needs to be repeated to add additional areas.
For example: Indoors, Outdoors, Balcony, Smoking area etc.
15
Type in a color code with hashtag #
Image AttachedThis option is not yet available on Nayax Retail Core.
16
Click Add
Image Attached
Click the Add button and repeat to add additional areas.
17
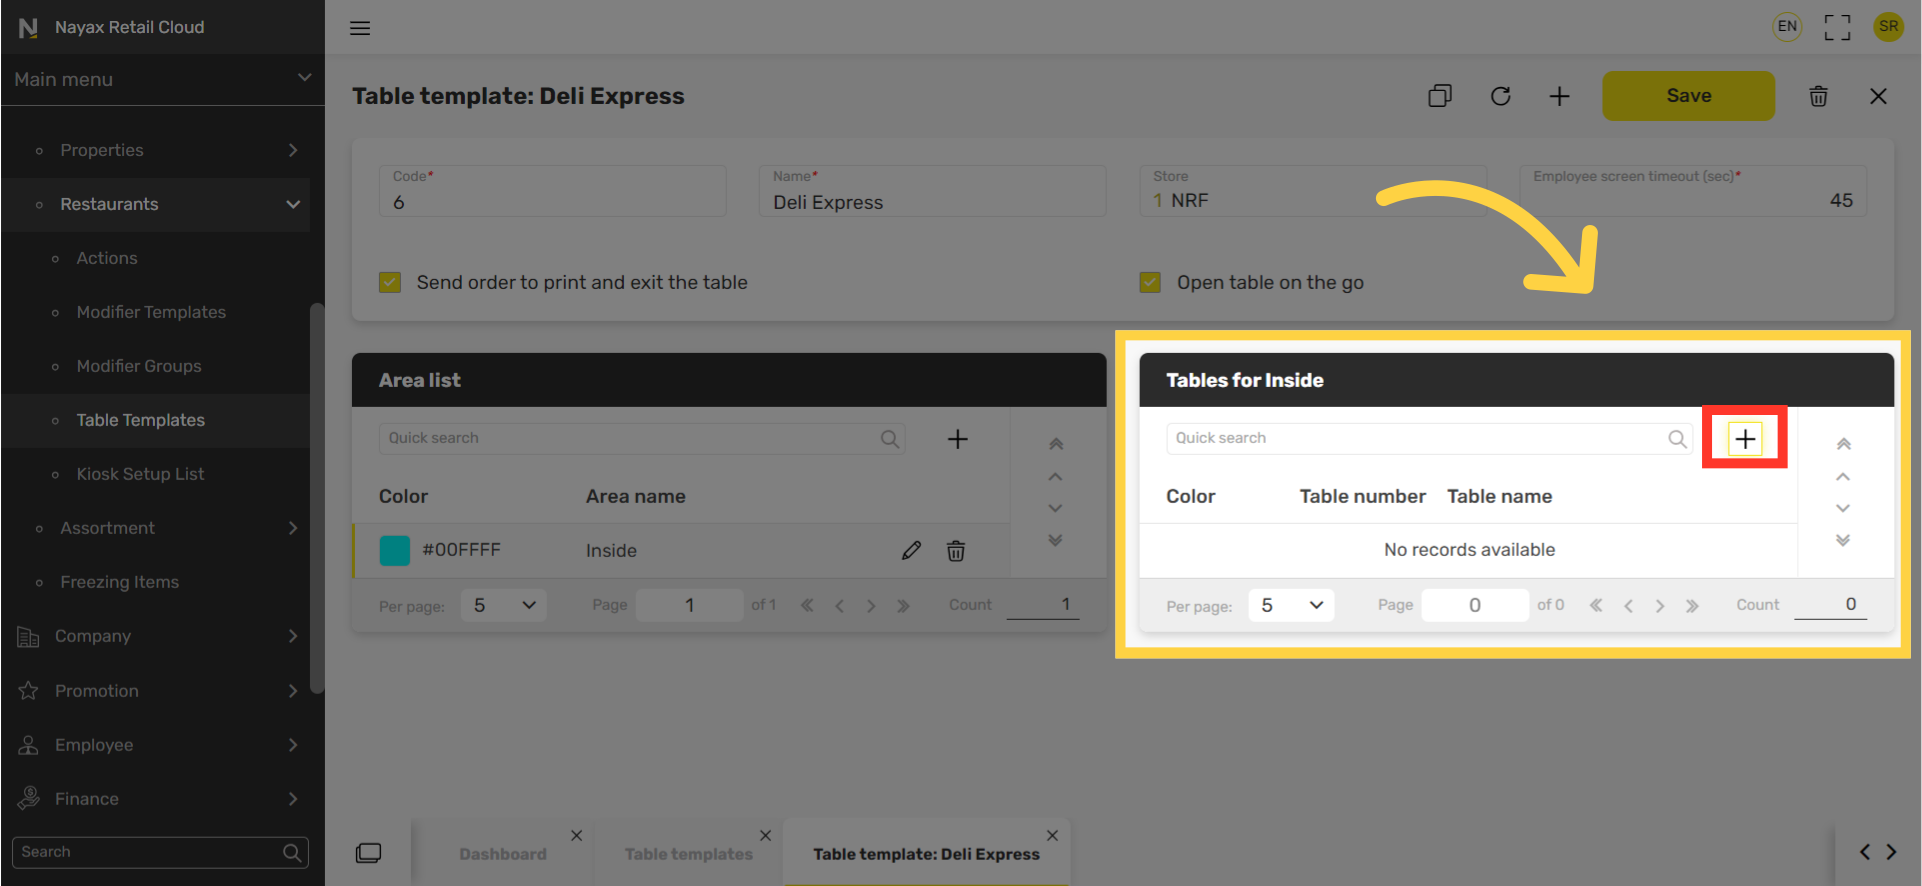
Creating Table Map for Area List
Image Attached
To set up the tables configuration for this area list template, click on the + icon highlighted in RED on the visual.
18
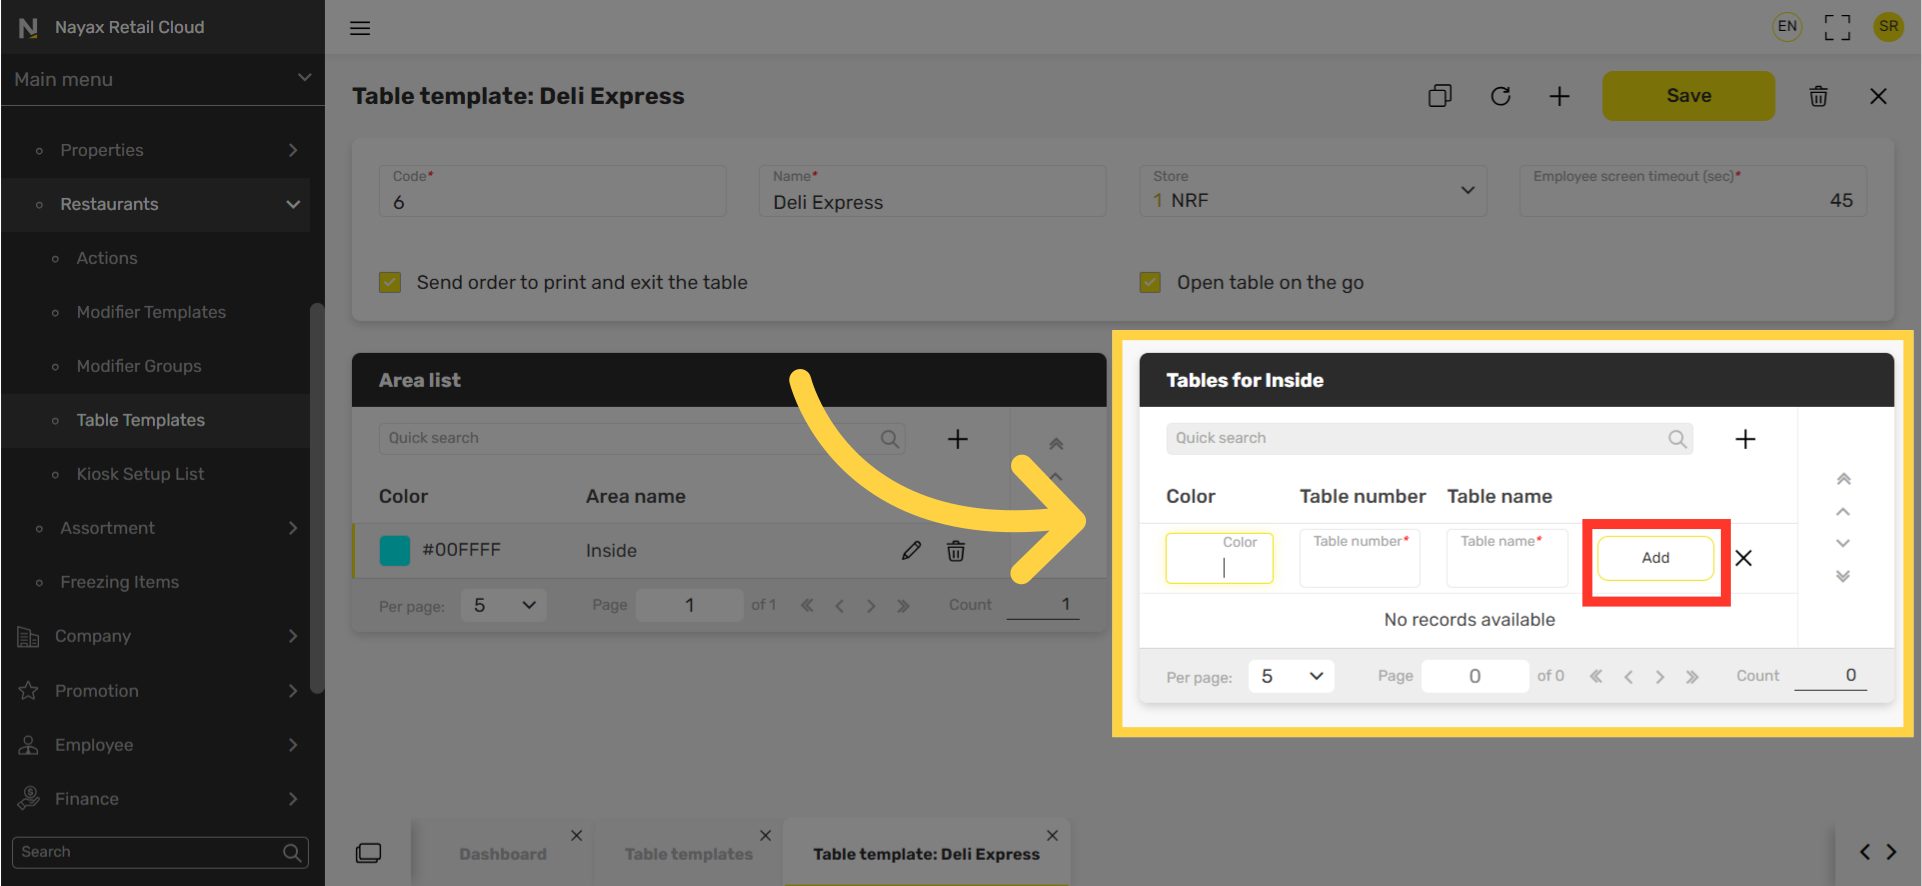
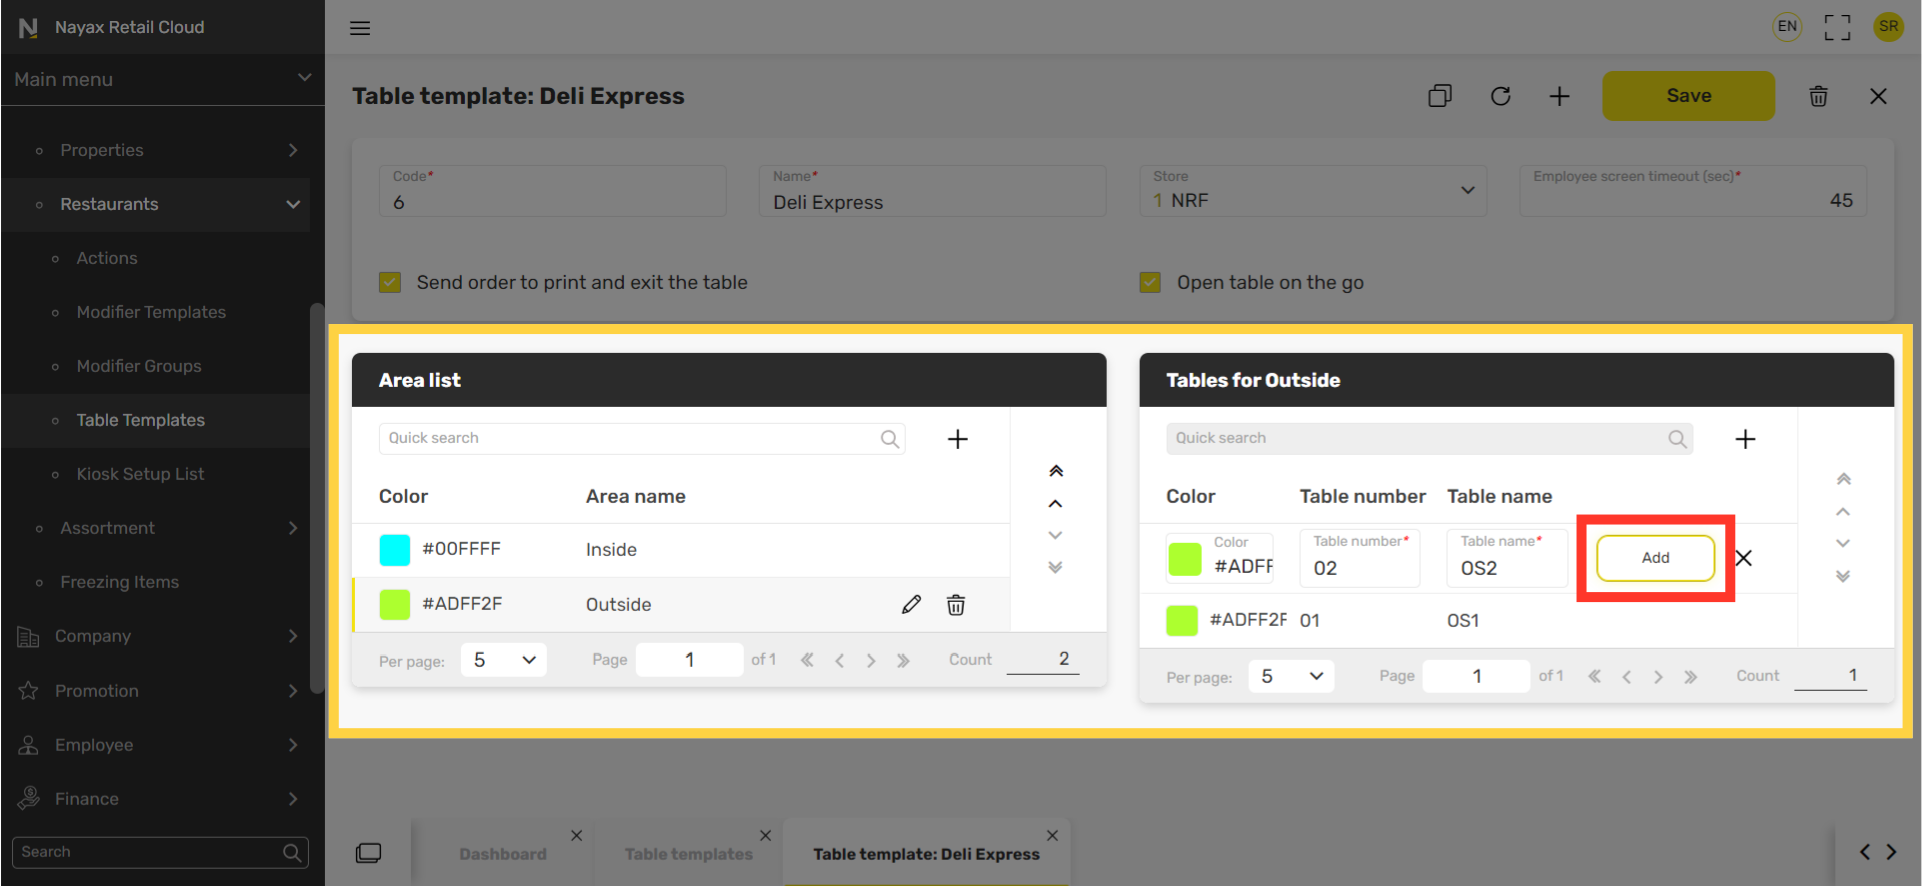
Table ID and Table Code
Image AttachedType in an Identifier code for each table number and table name creating your area map.
Once completed then press Add button highlighted in RED on the visual.
(Once color type is available, fill in the same color code with the hashtag you set for this area list.)
19
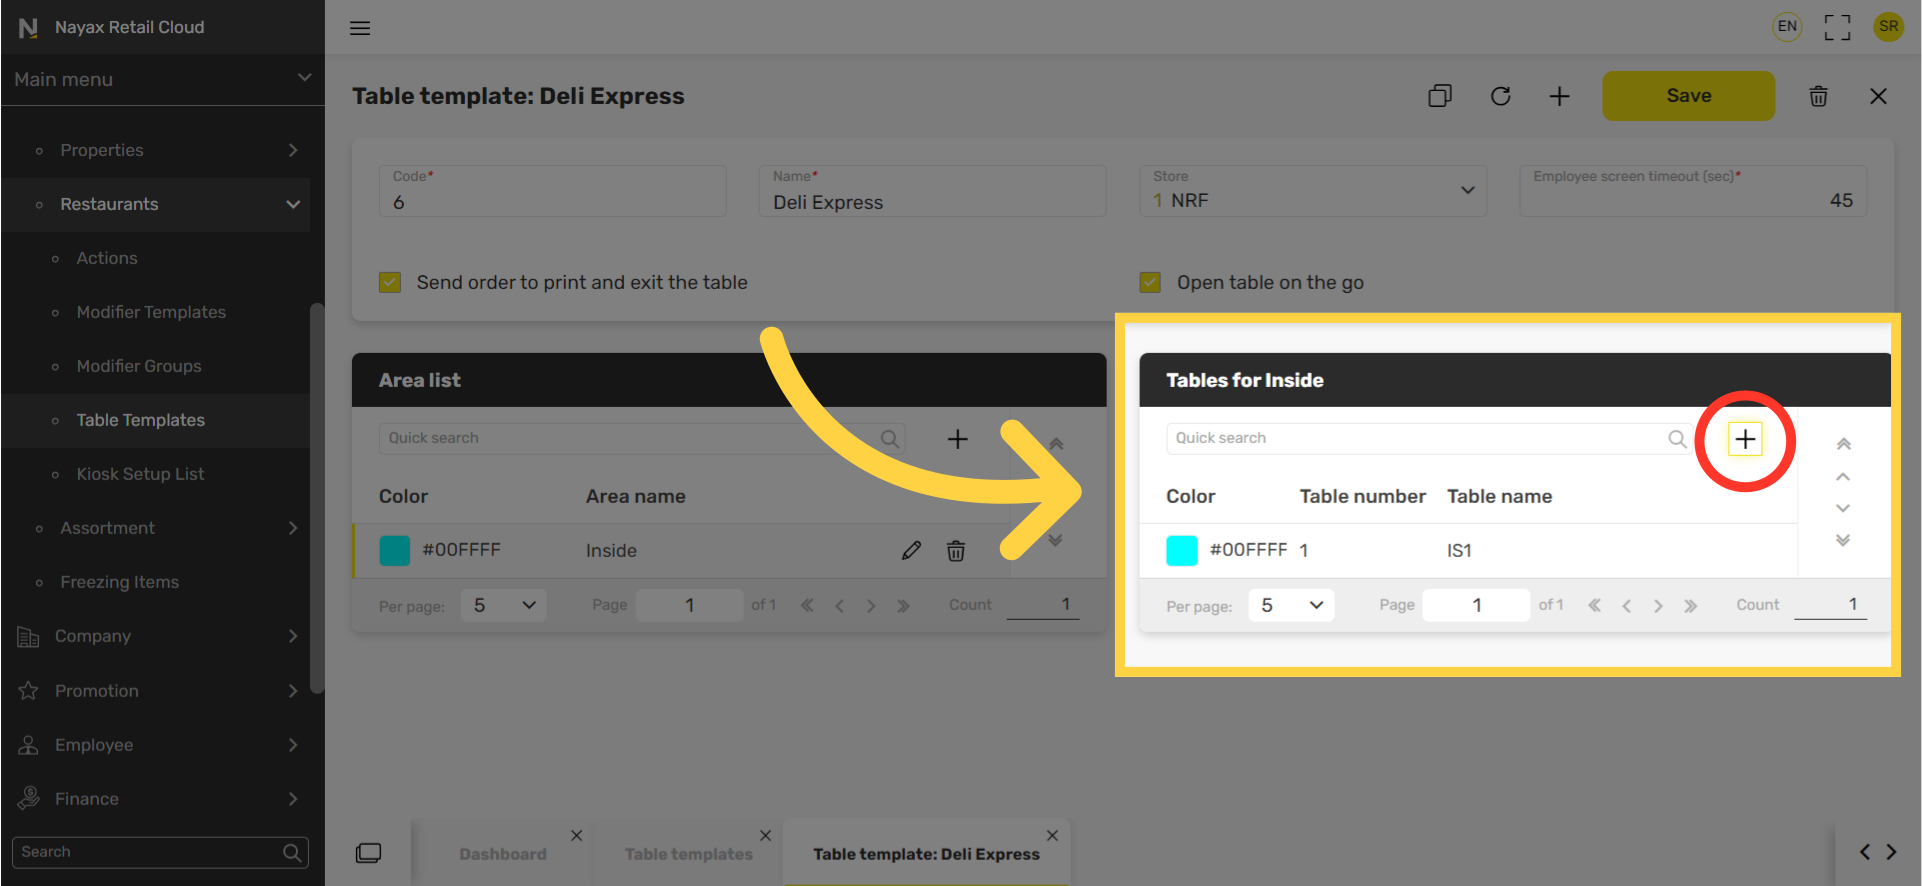
Click + Icon
Image AttachedClick the + option to repeat the process to add more tables.
20
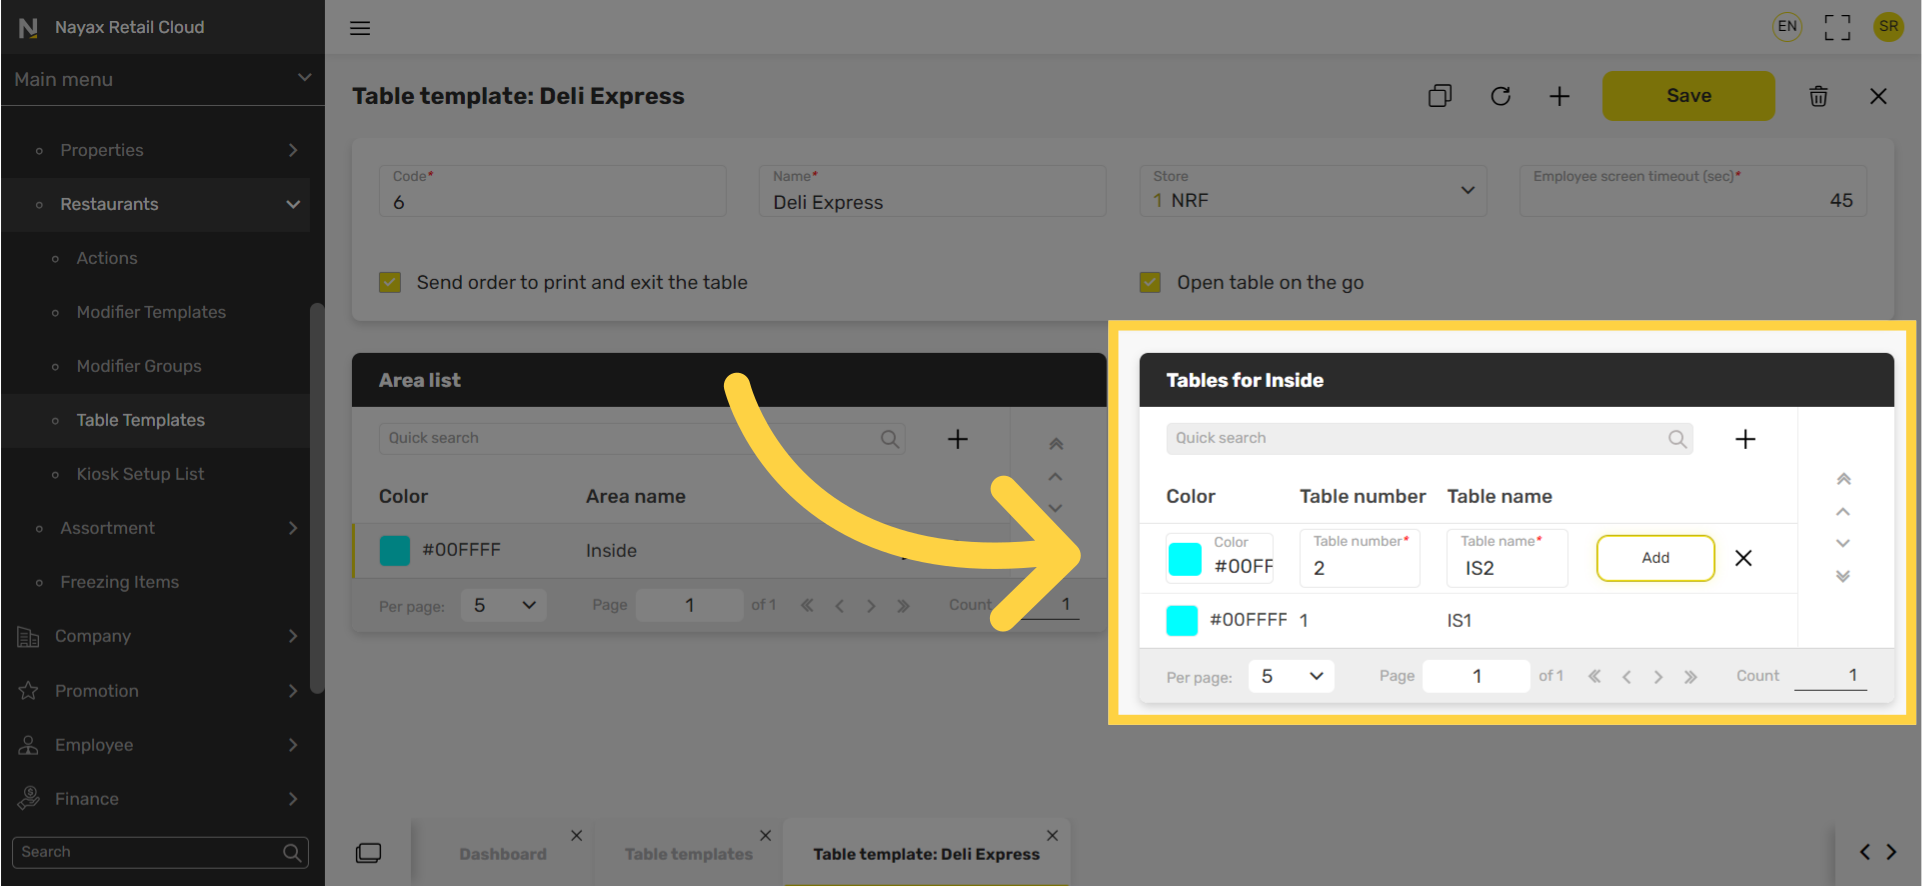
Click Add
Image AttachedRepeat the process to add additional table configurations.
21
Repeat for each area
Image Attached
Repeat the process to cover your next map area. Typing in a color code with hashtag and creating a name to identify areas and click on the Add button highlighted in RED on the visual to save your progress.
22
Repeat the Process
Image Attached
Repeat the process to cover your next map area. Typing in a color code with hashtag and creating a name to identify areas and click on the Add button highlighted in RED on the visual to save your progress.
23
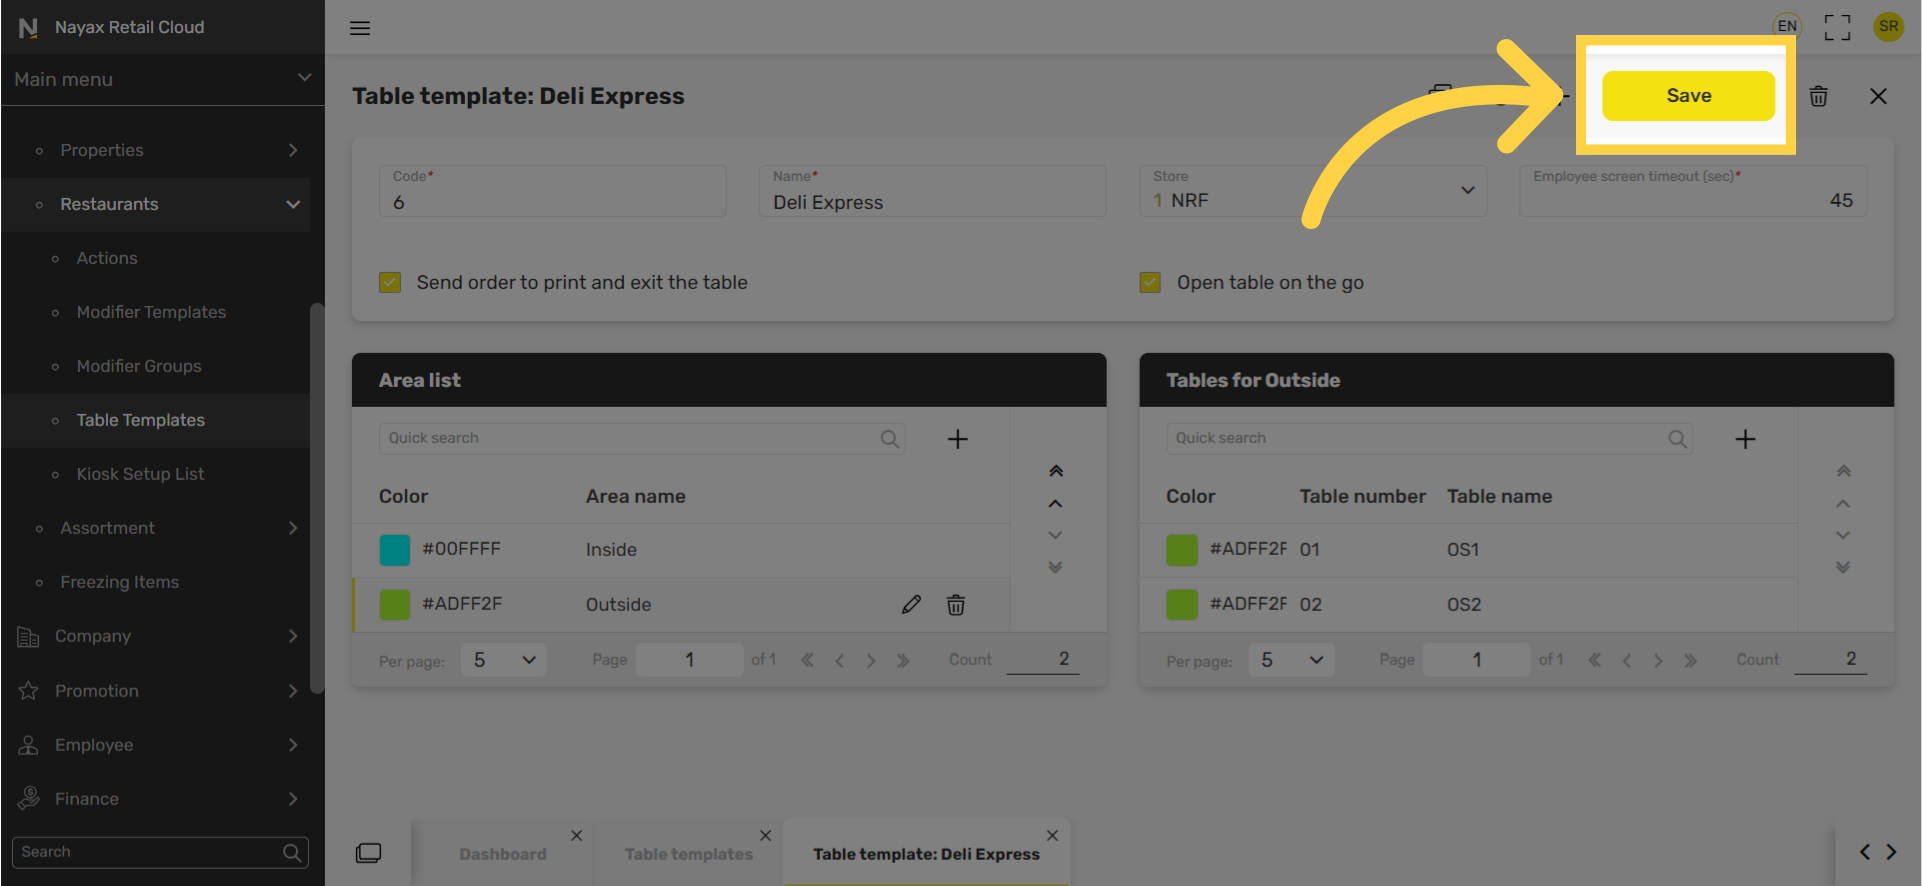
Click Save
Image AttachedClick on the Save button to save your progress.
Thank you!
Did you find this article helpful?