How to Create Printer Groups | Tools
To associate printer groups to specific products, follow the following steps:
1
Video Guide
2
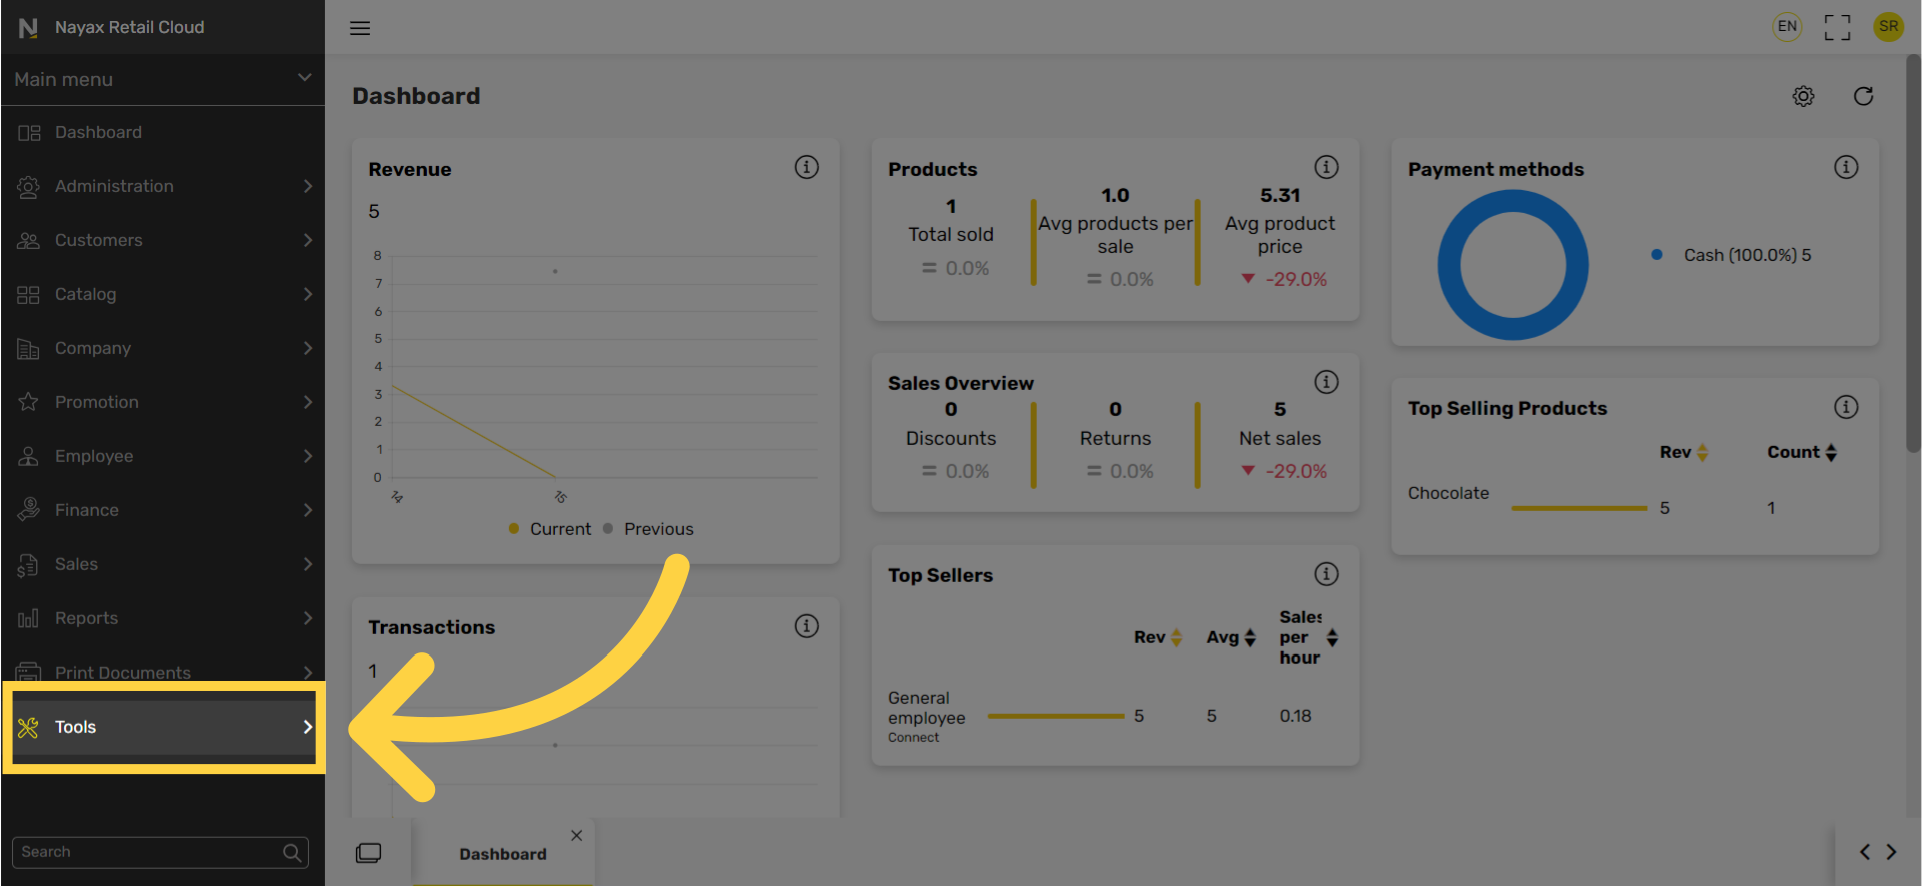
Click Tools Tab
Image AttachedOn the dashboard of your Nayax Retail Core management suite click on the Tools tab.
3
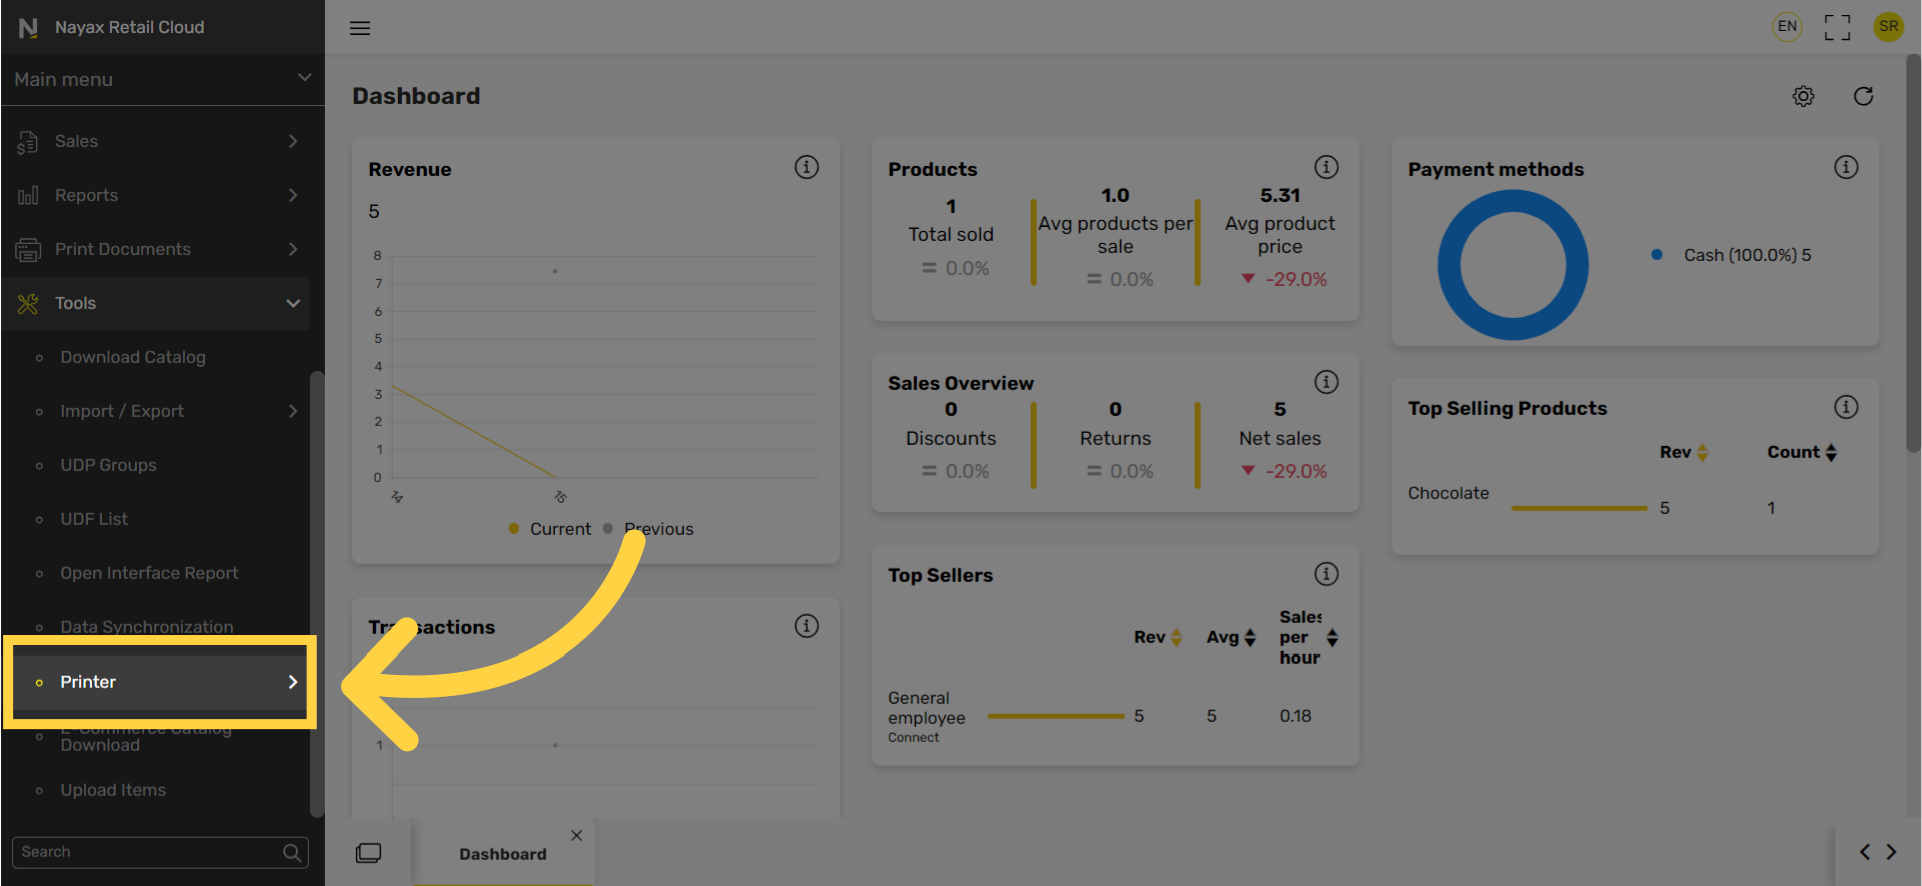
Click Printer Tab
Image AttachedIn the sub-menu click on Printer tab.
4
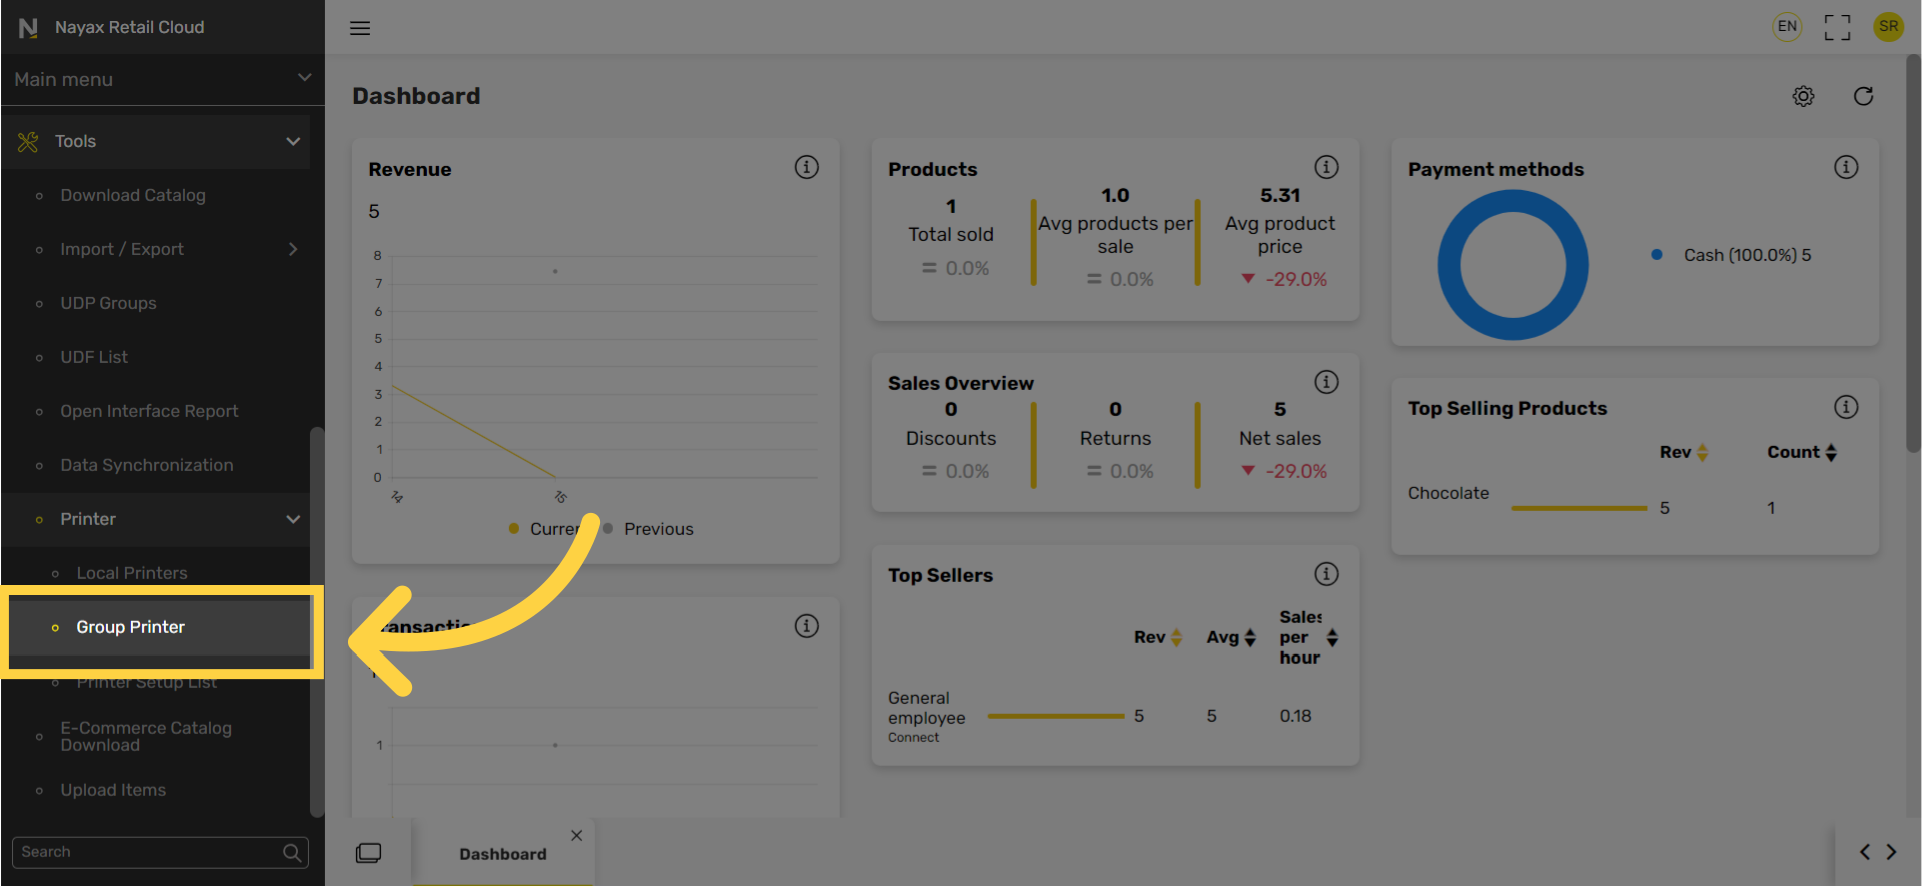
Click Group Printer
Image AttachedIn the sub-menu click on Group Printer.
5
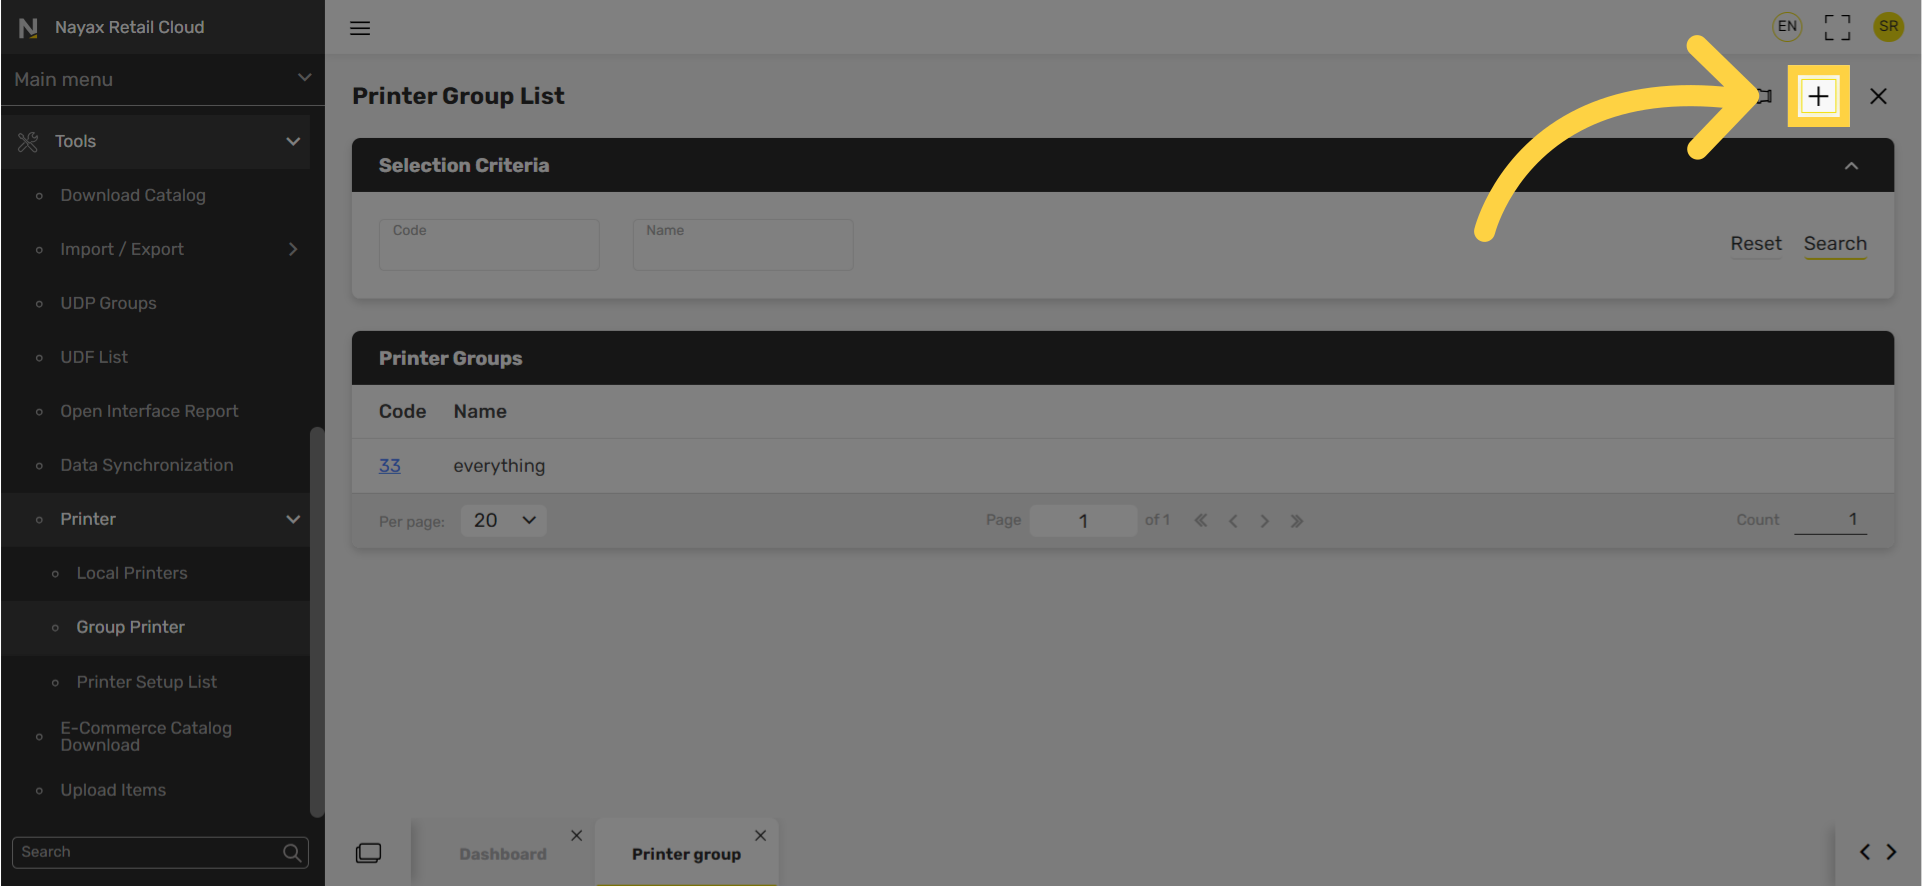
Click + Icon
Image AttachedClick + at the top right of the screen.
6
Enter Code and Name
Image AttachedEnter code and name the printer group according to products associated.

7
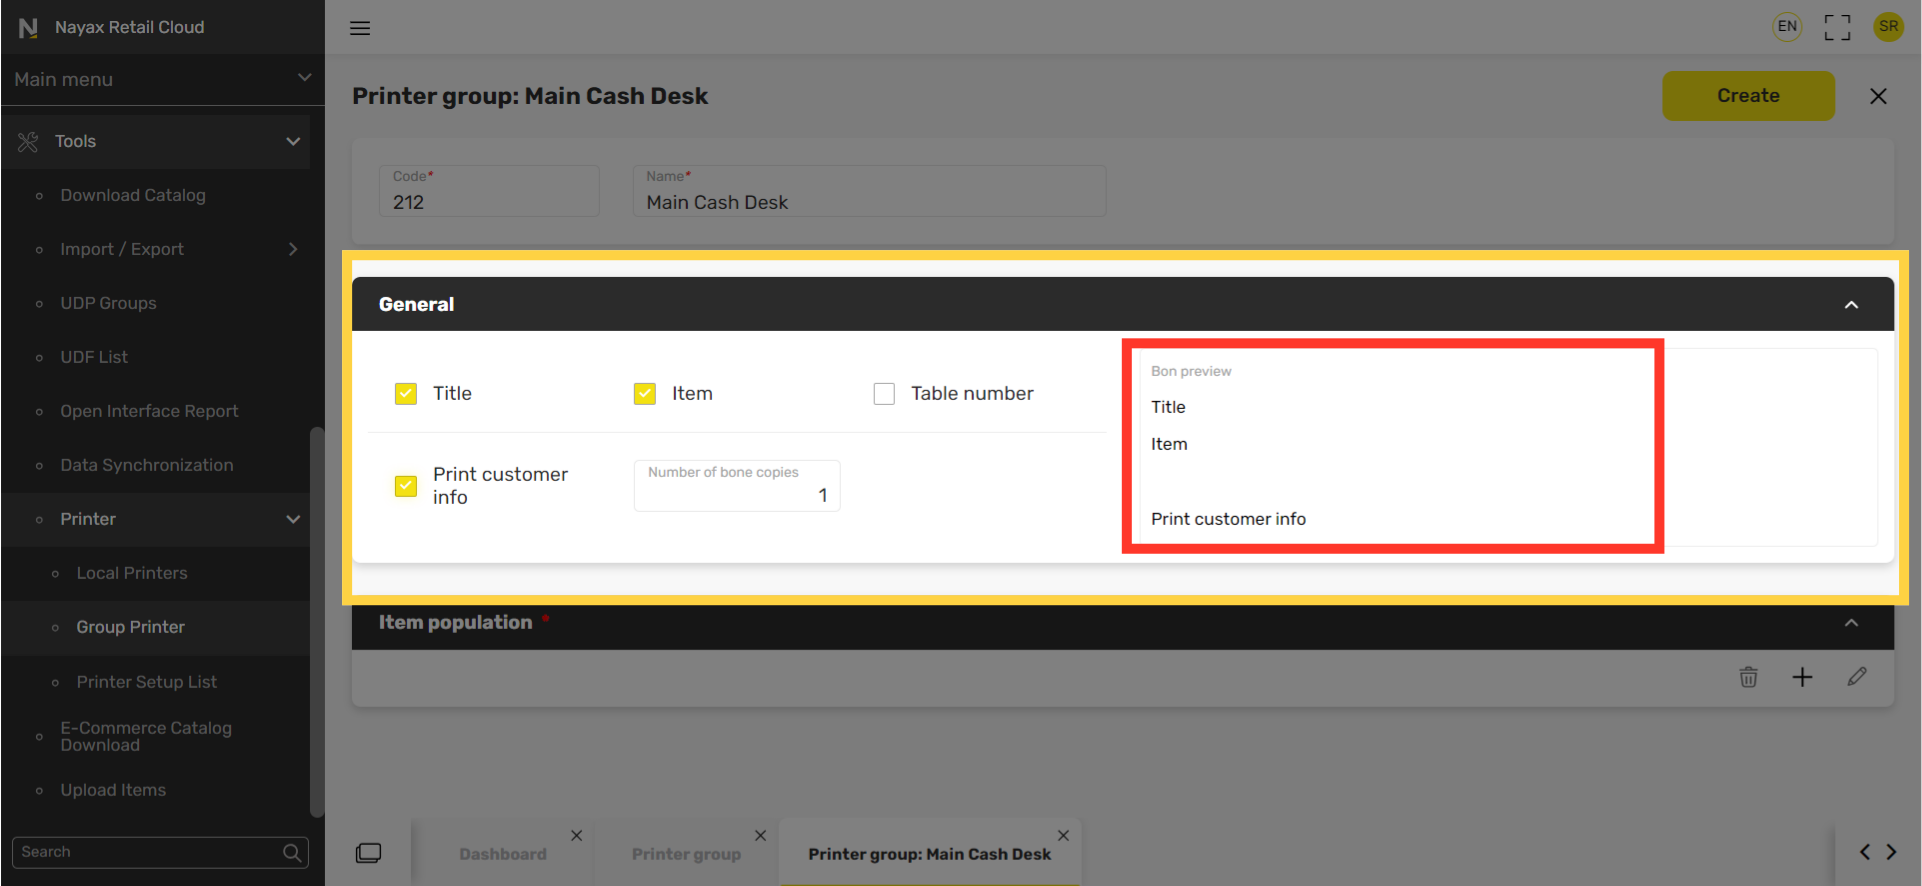
Checkbox Preferences
Image AttachedSelect the check boxes you wish to include on the printer bon, which when ticked will be previewed as highlighted in RED on the visual.
8
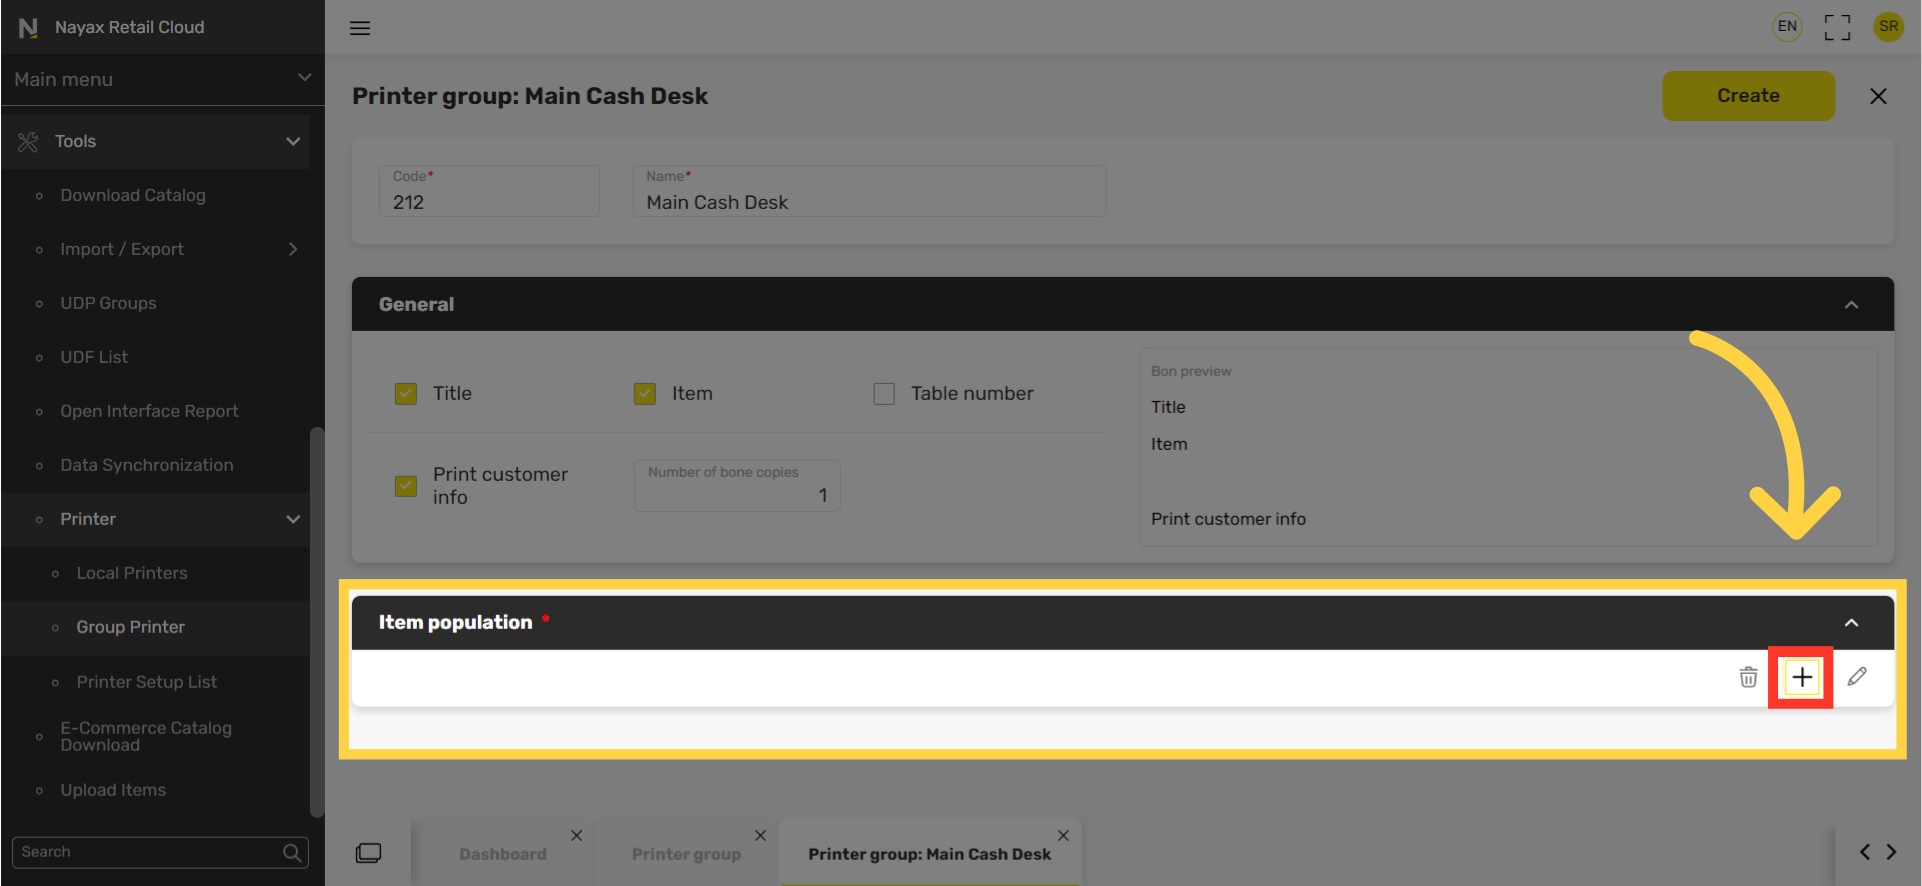
Click + Icon
Image Attached
Scroll down to the Item population basket and click on + Icon as highlighted in RED on the visual.
9
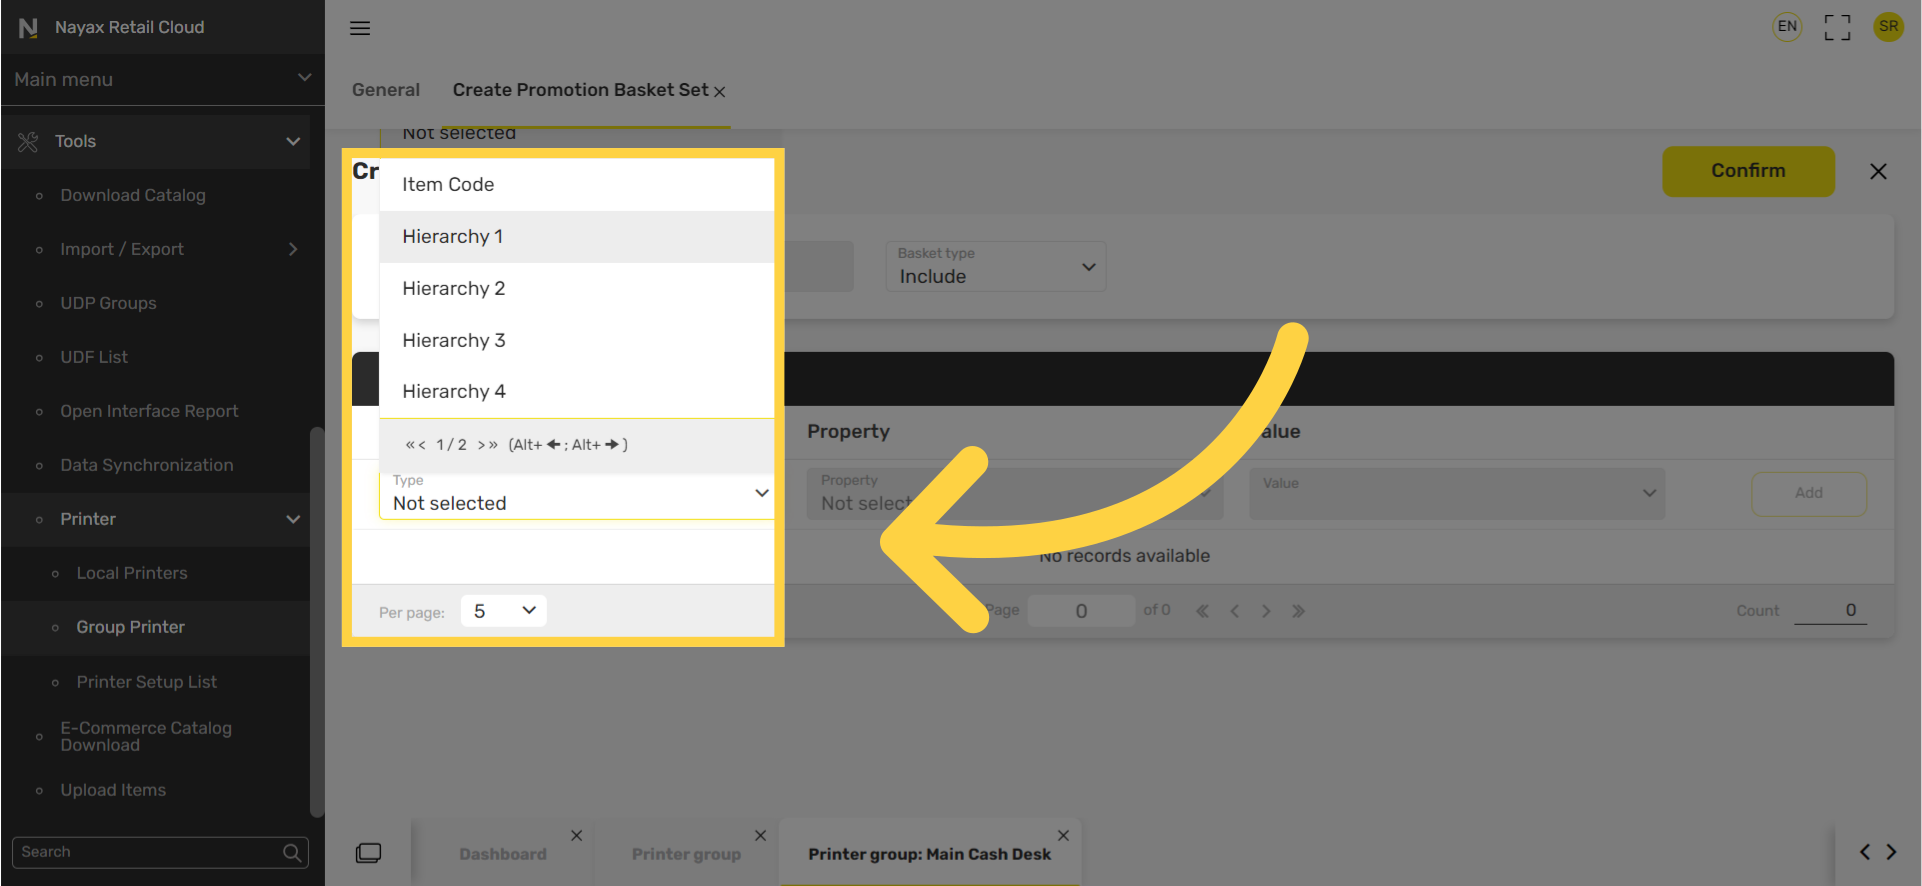
Select Hierarchy
Image AttachedSelect the hierarchy for this printer.
10
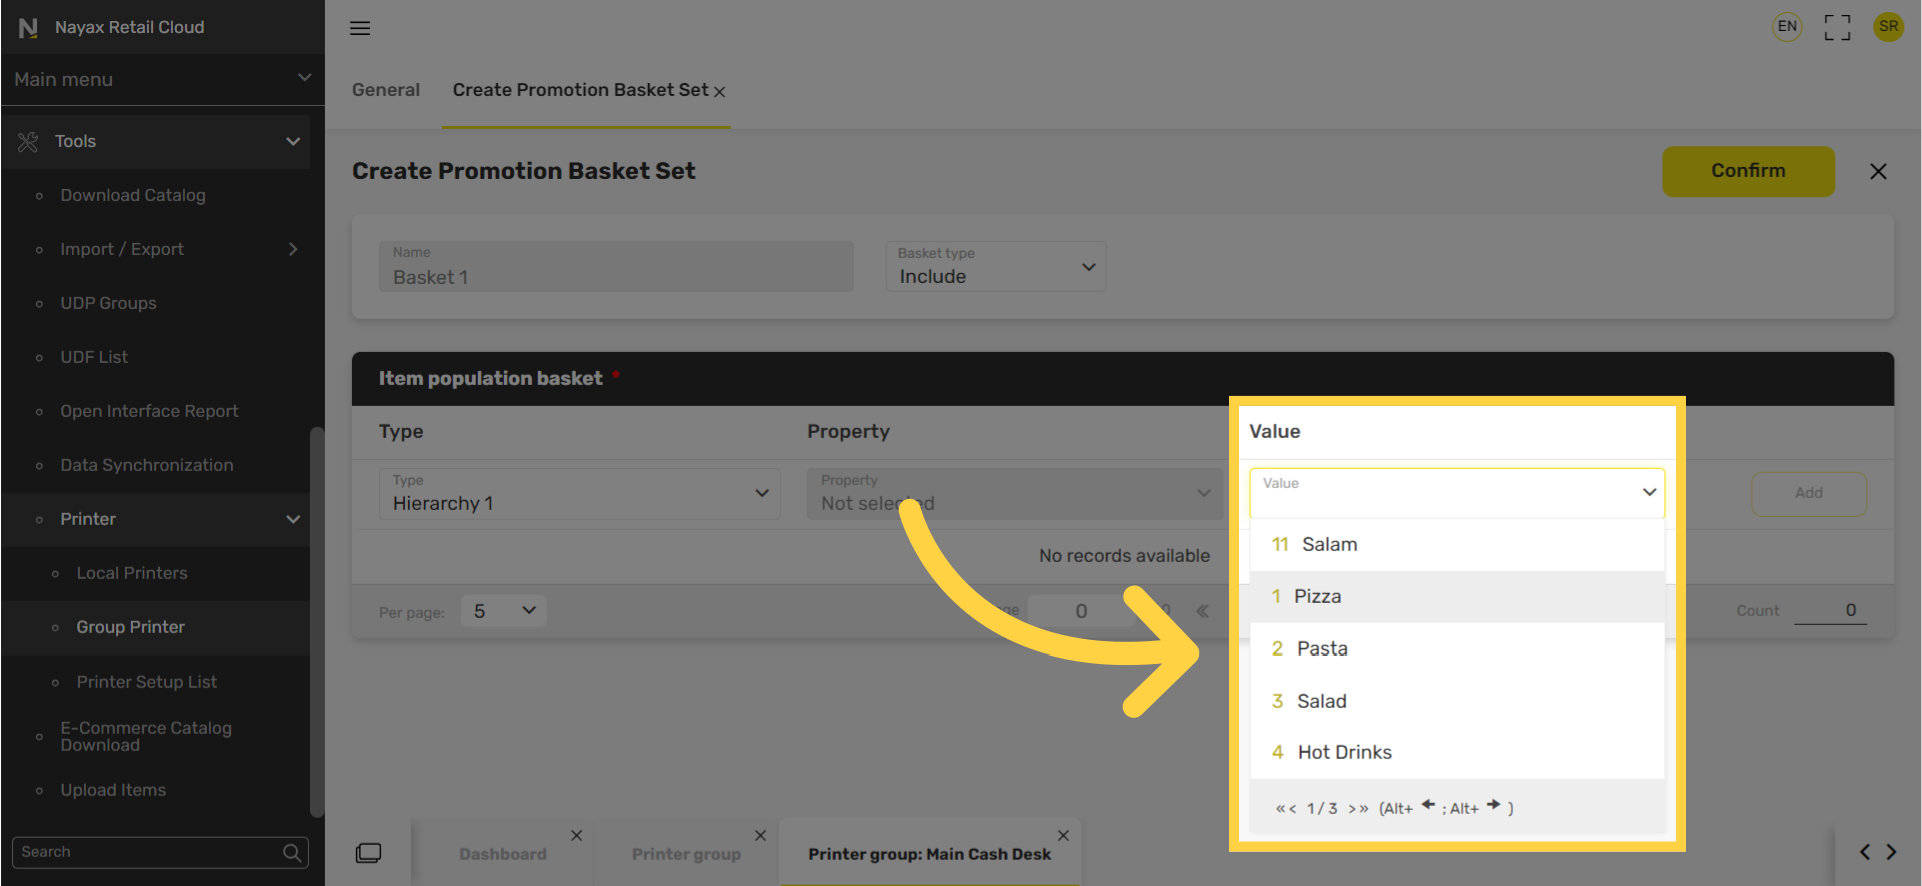
Select Products
Image AttachedIn the value field select products for this printer
11
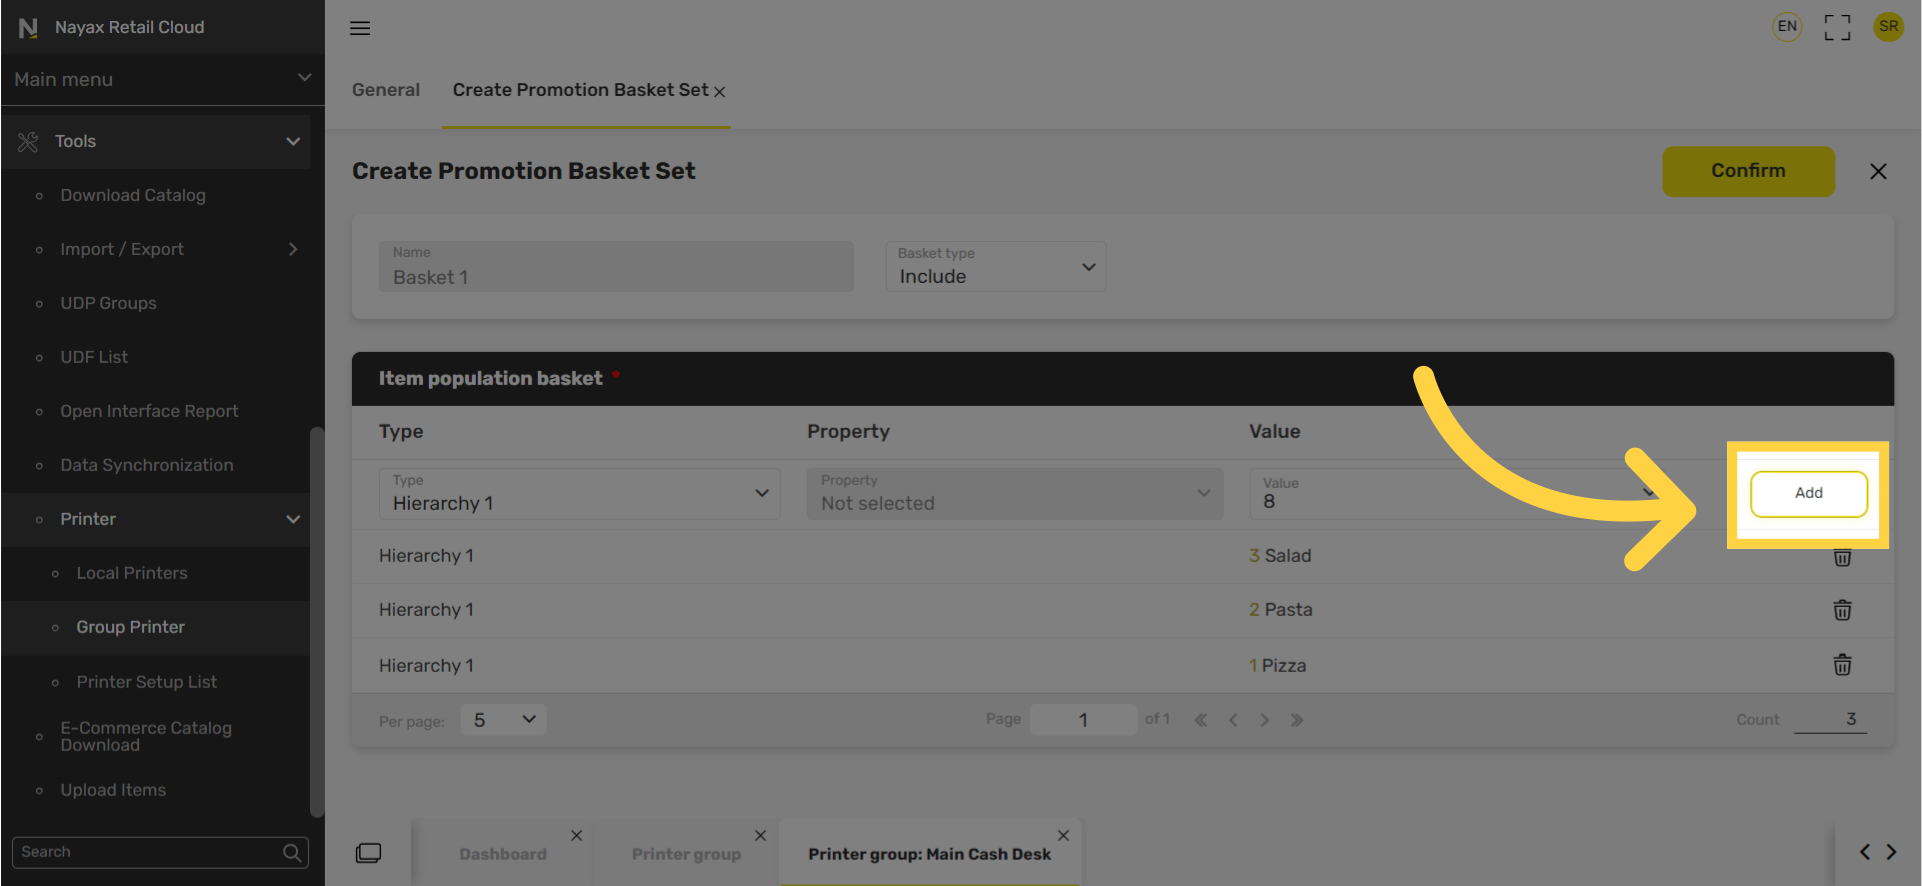
Click Add
Image AttachedClick Add button after each product.
12
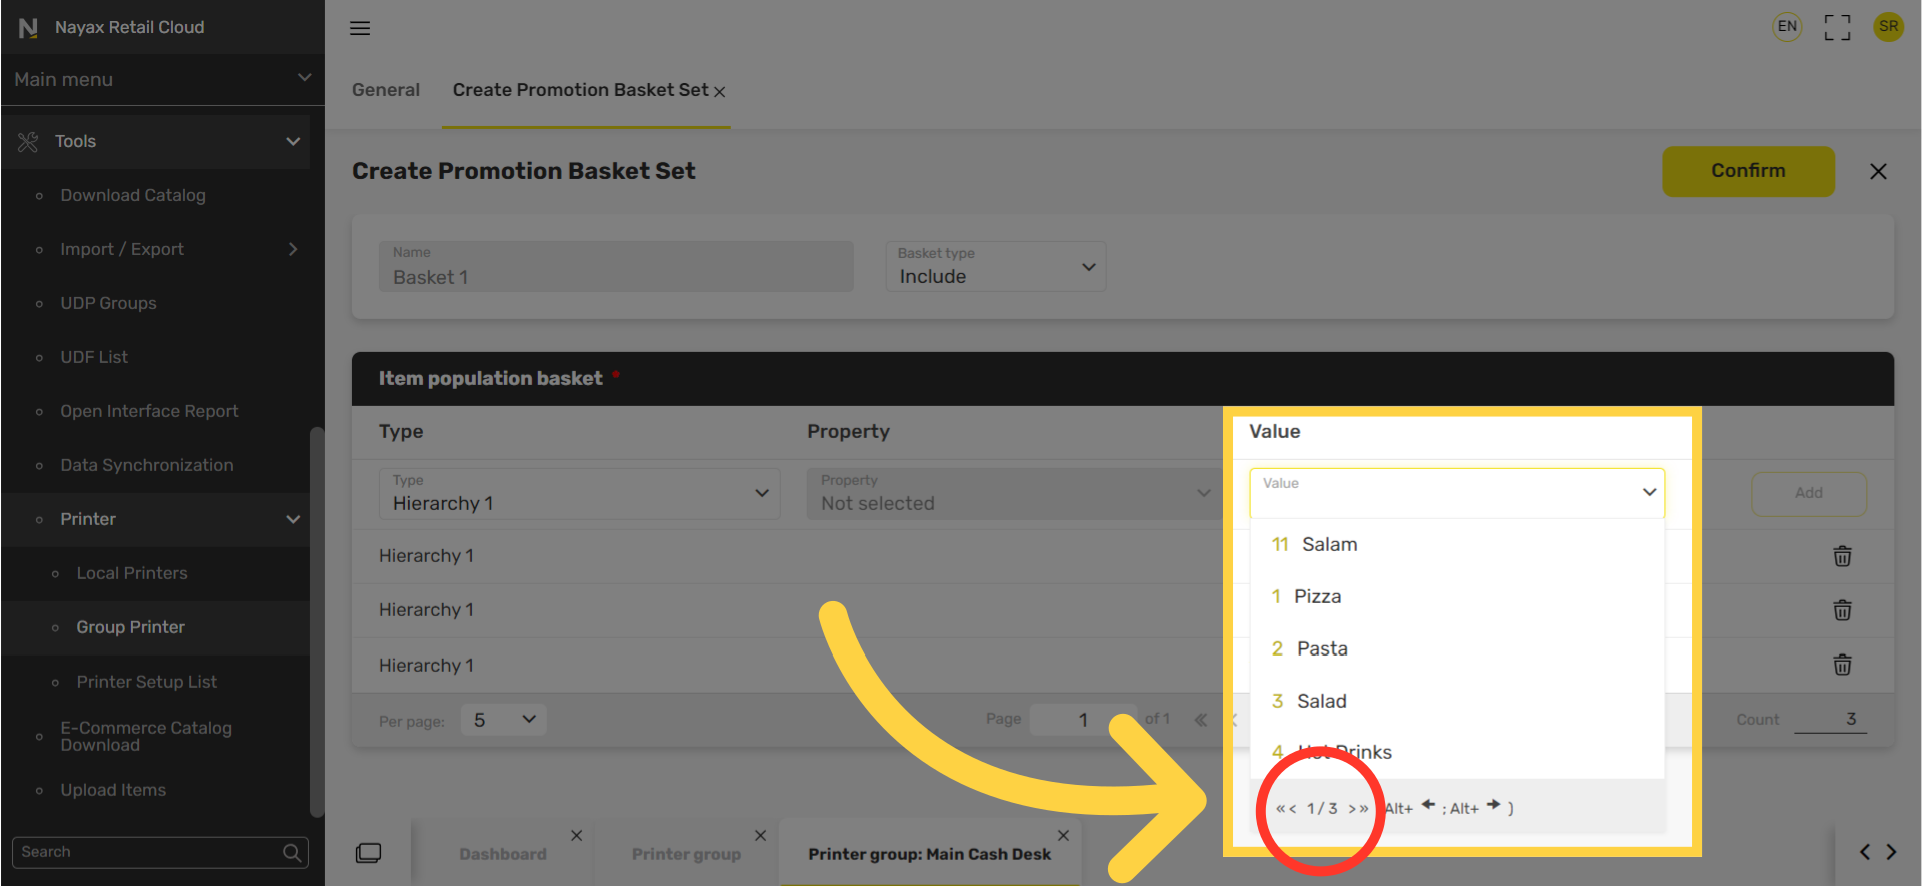
Scroll Page Options
Image Attached
Pro Tip: Remember you can navigate through the pages with the arrows below highlighted here in RED in the visual.
13
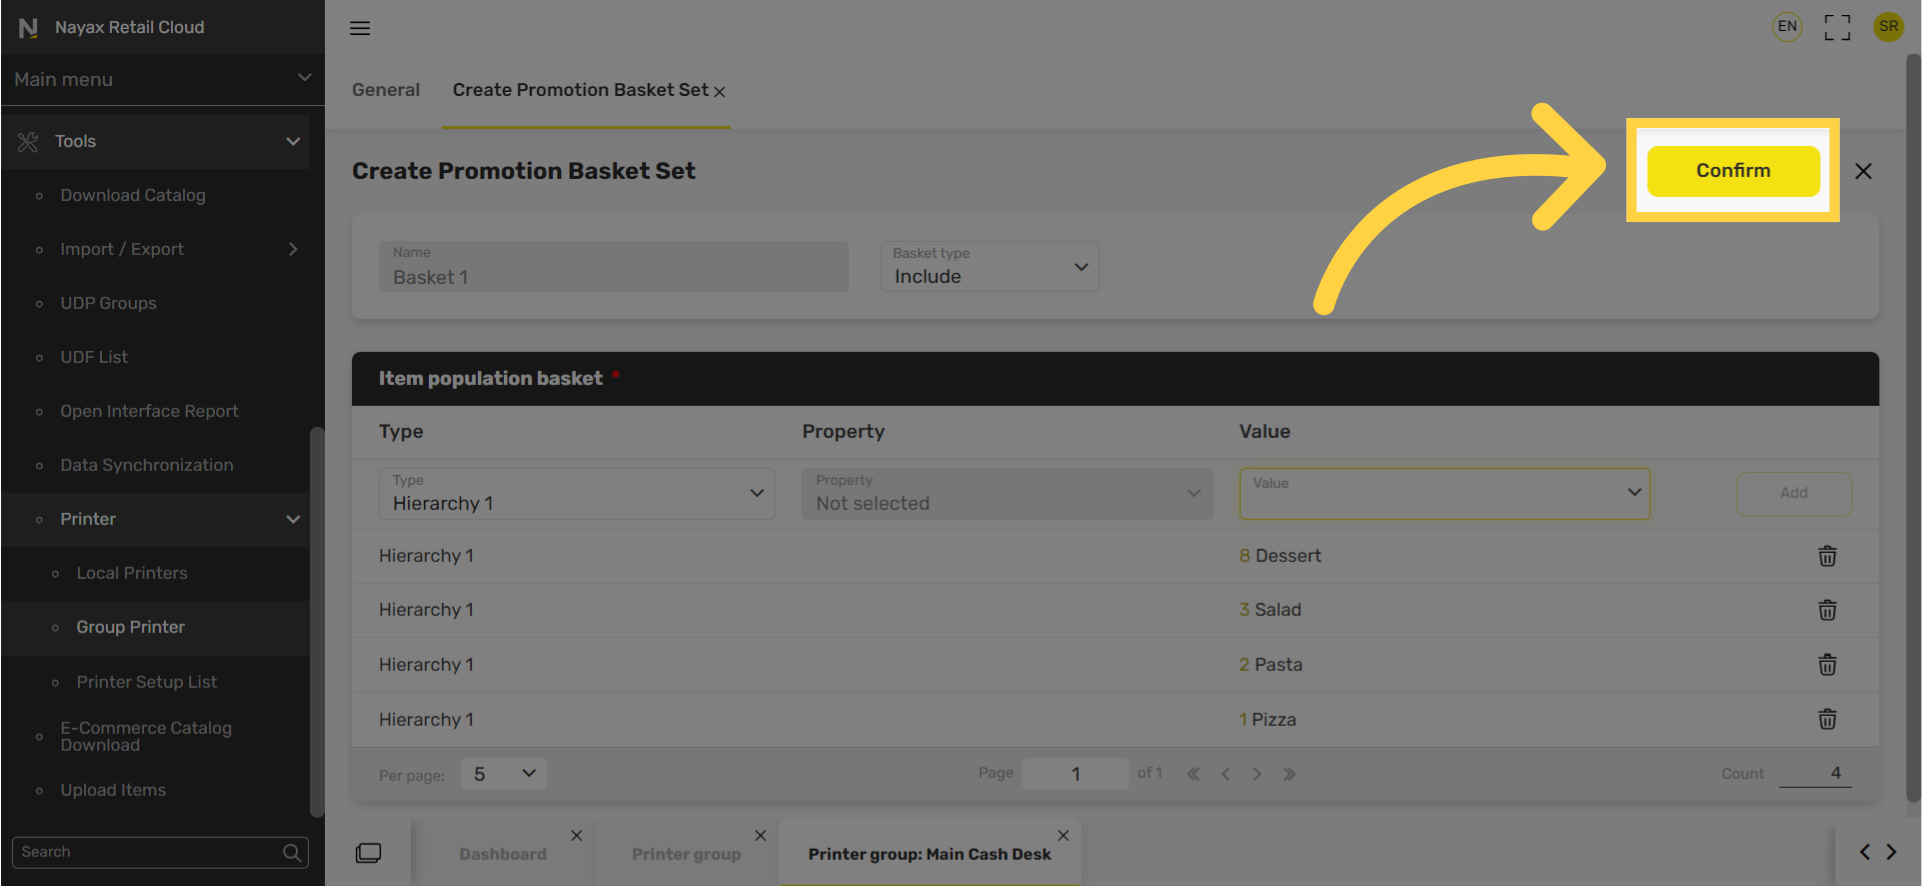
Click Confirm then Create
Image AttachedWhen finished click Confirm, then Create.
14
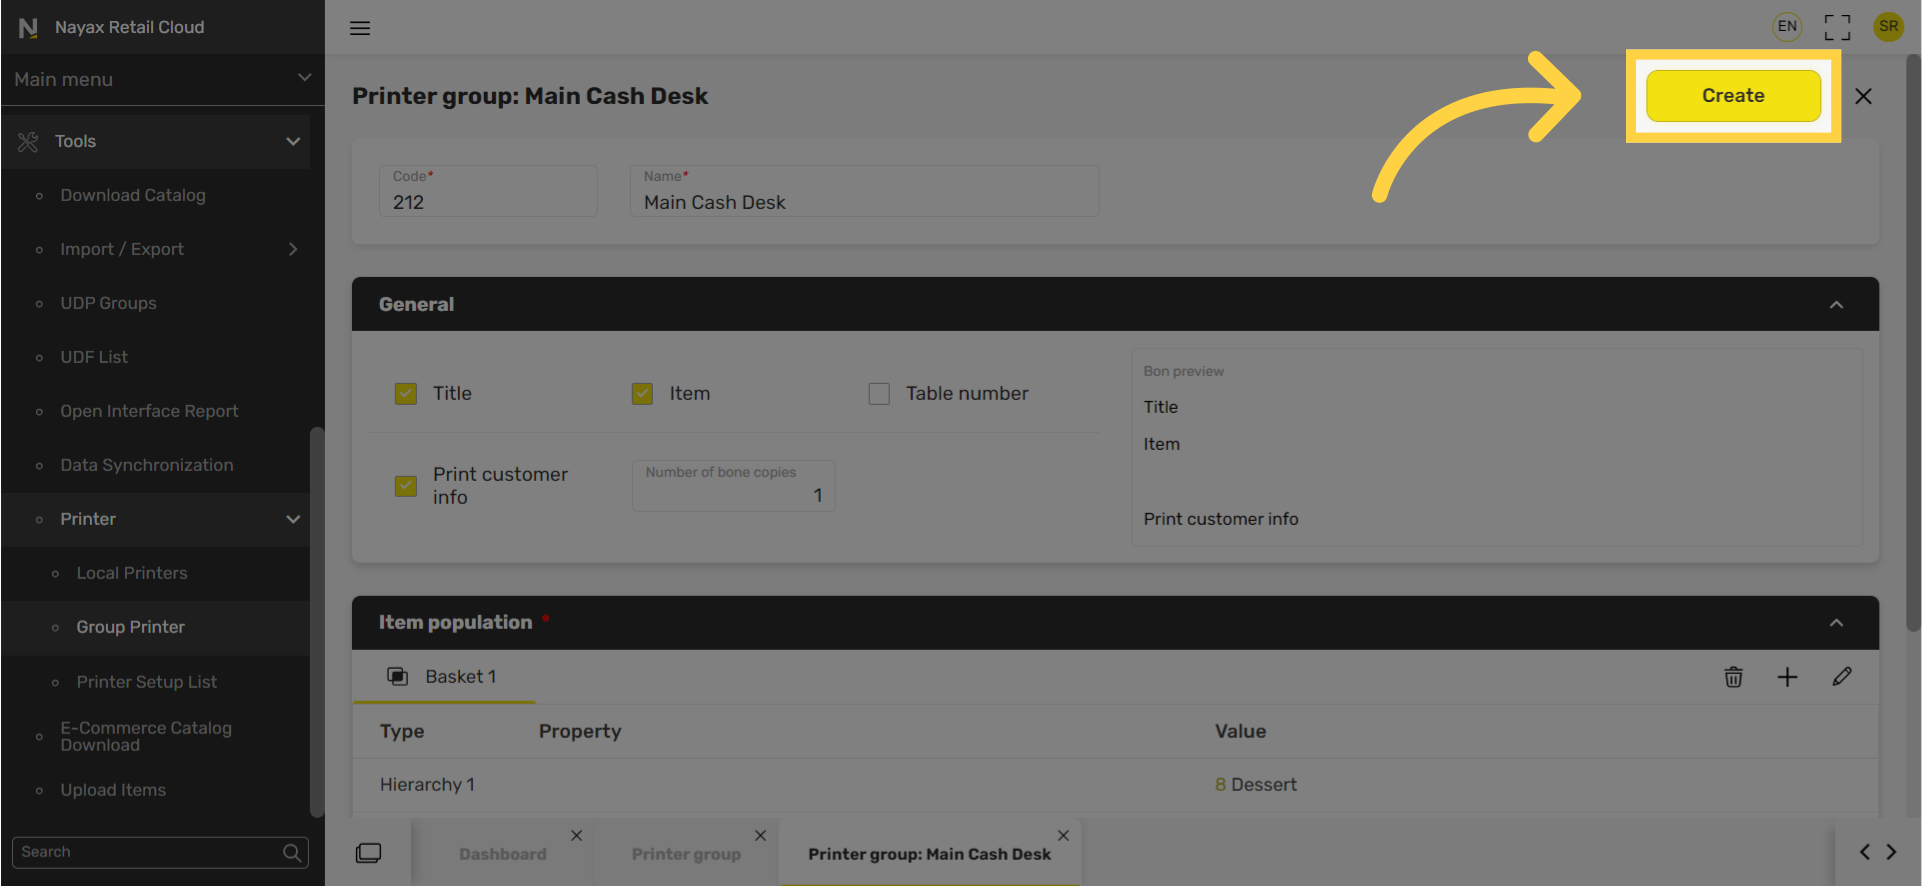
Click Create
Image AttachedClick on Create to finalize the process.
Thank you!
Did you find this article helpful?