How to Edit Predefined Message Templates for Monyx Refunds | Consumers
This guide will walk you through a step-by-step guide to Edit predefined message templates for an instant refund through your Nayax Core Management Suite and effectively customize your messages for your consumers.
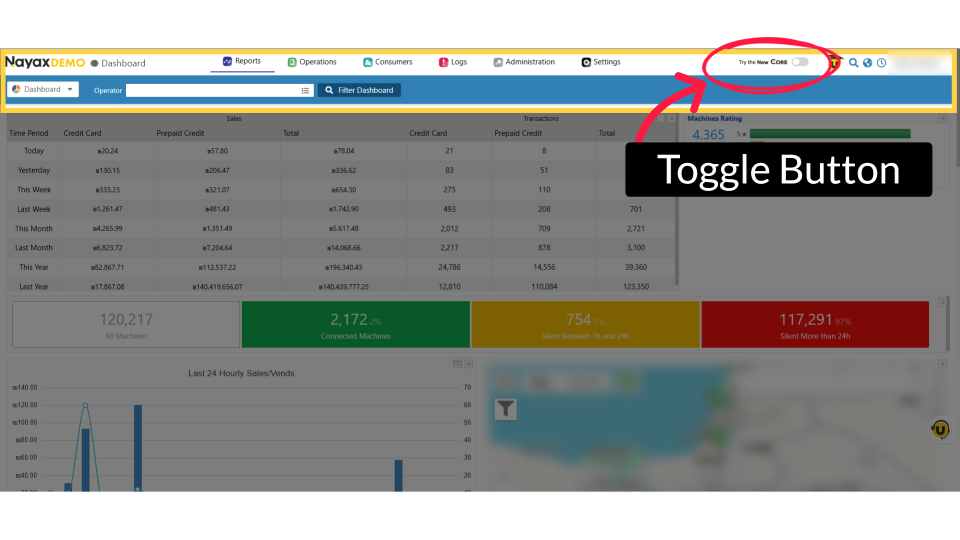
Transition Note
Image AttachedAs we gradually transition from the classic Nayax Core to the new Nayax Core, you may find both guides useful depending on your current system usage.
For Classic Core: This guide covers the original core management system, which includes established processes and familiar features. It's essential for users who are still working with this version.
For the New Core: This guide introduces the new core management system, highlighting enhanced features and improved workflows. It's designed for users transitioning to the latest version, offering a more efficient and user-friendly experience.
Support is available to assist you during this change.
Did you find this article helpful?