How to Create a Product Map Template | Administration
Create a new Product Map Template in Nayax Core and easily set up a template for your products
1
Video Guide
2
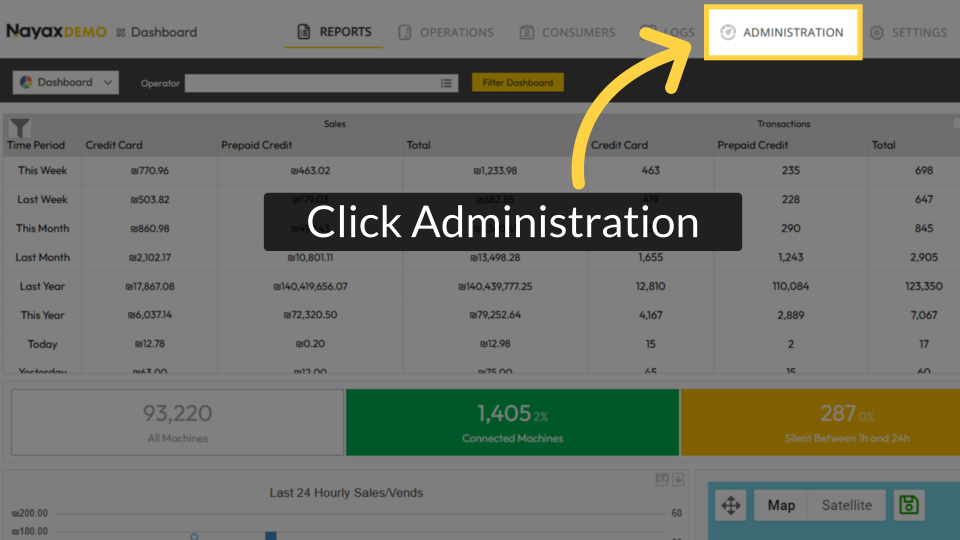
Click Administration Tab
Image AttachedOn the Dashboard of your Nayax Core management suite click on the Administration tab.
3
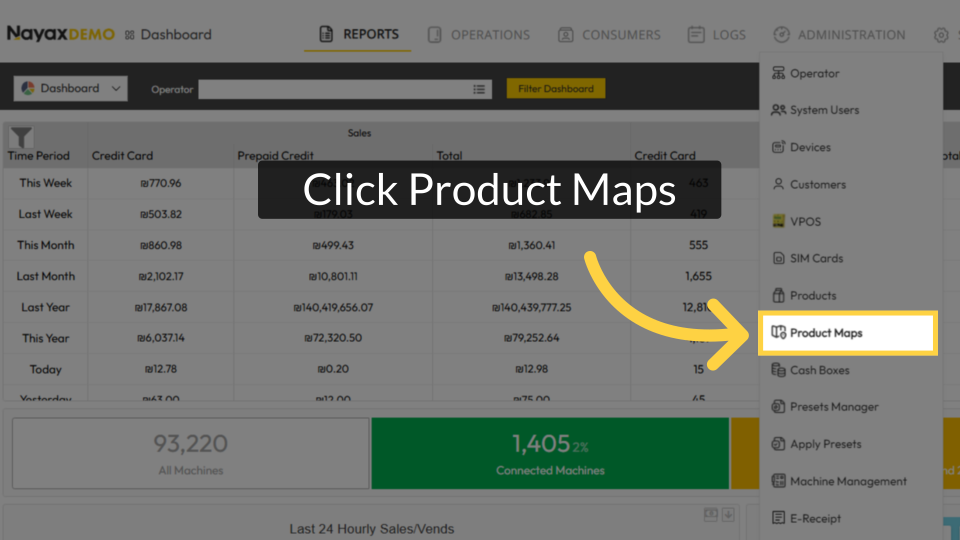
Click Product Maps
Image AttachedChoose Product Maps from the drop-down menu.
4
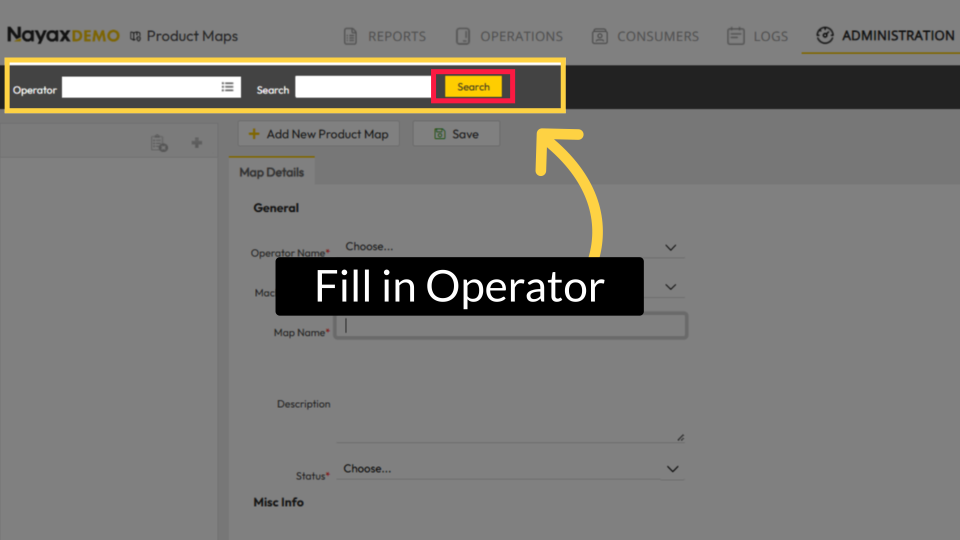
Fill in Operator Name
Image Attached
You can either type in your operator name in the search bar to locate your machine and press search as highlighted in RED on the visual.
5
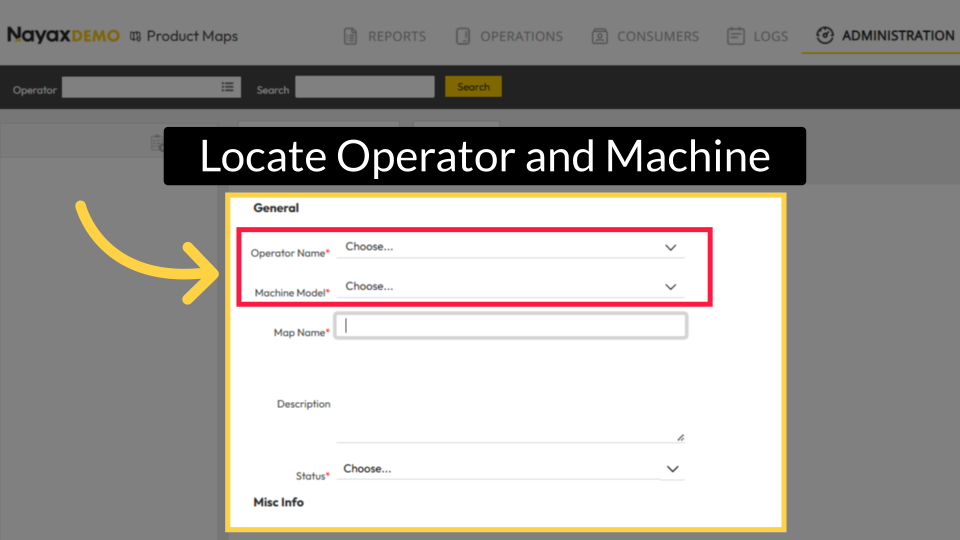
Locate Operator and Machine
Image Attached
Locate your operator and machine model as highlighted in RED on the visual.
6
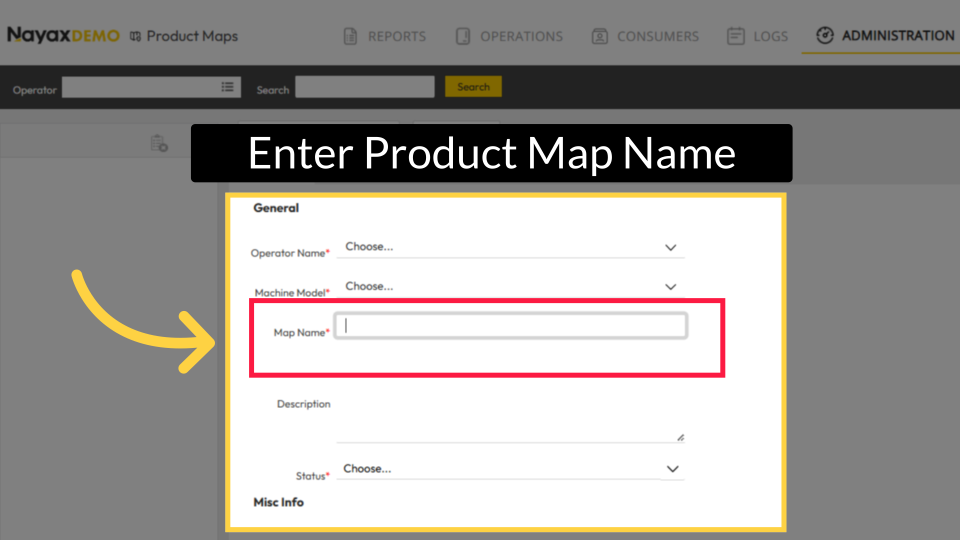
Enter Product Map's Name
Image Attached
Type a name for your map as highlighted in RED on the visual.
7
Optional Description
Image Attached
Optional - Type a description for your map as highlighted in RED on the visual.
This will be shown internally for your own use and will not be displayed on the reports.
This will be shown internally for your own use and will not be displayed on the reports.

8
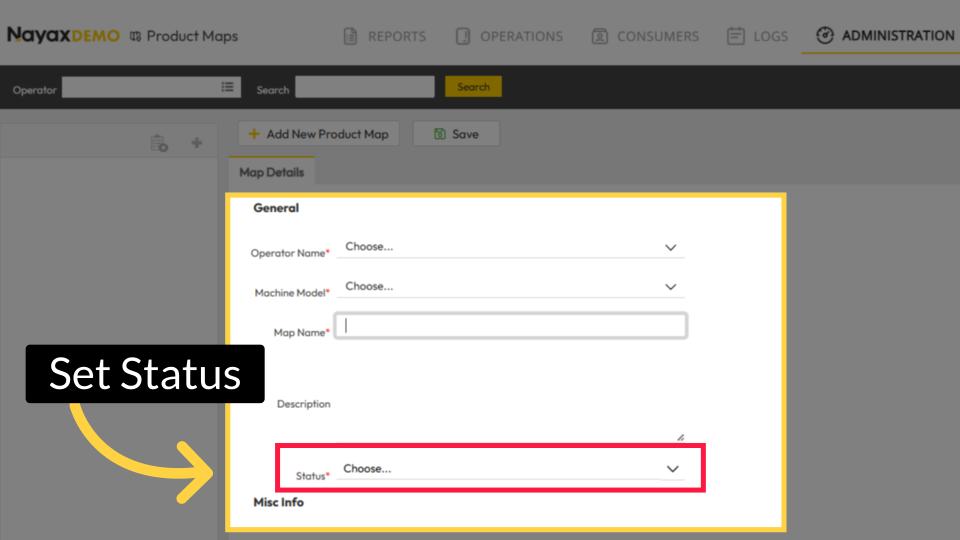
Set Status
Image AttachedSelect the status of the product map. To start working with the map immediately, select Active.
9
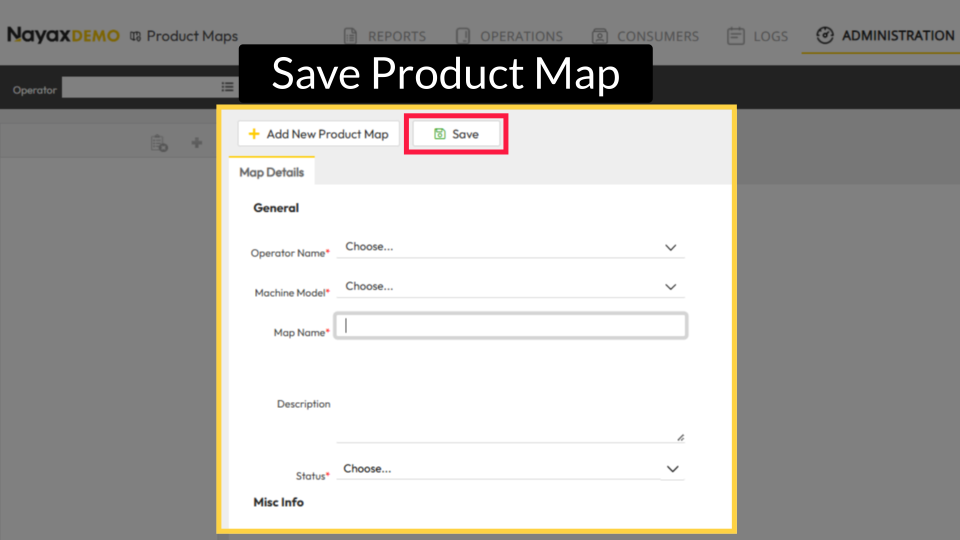
Save Product Map
Image AttachedSave the information and continue to the next steps.
10
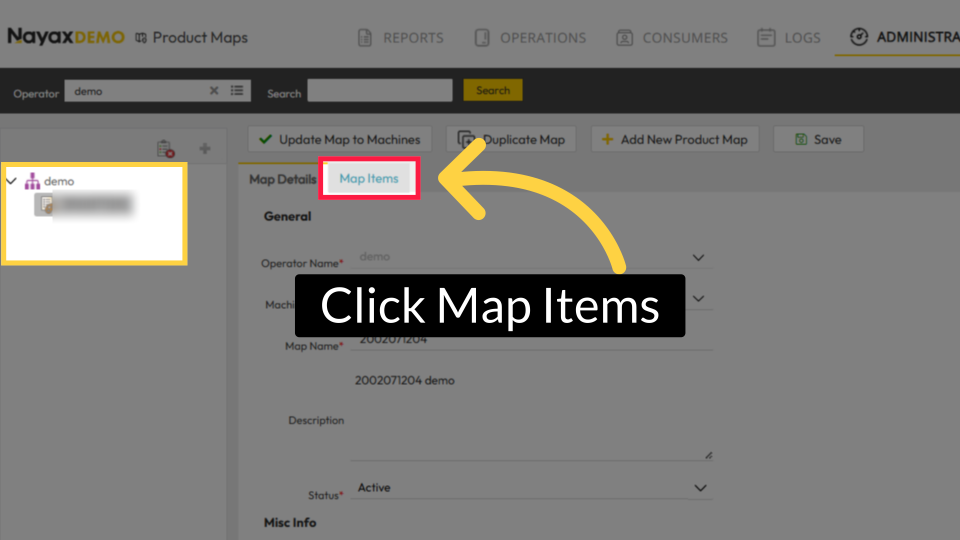
Click Map Items
Image Attached
Your product map will now be visible in the hierarchy. Click Map Items tab to add products to your map as highlighted in RED.
11
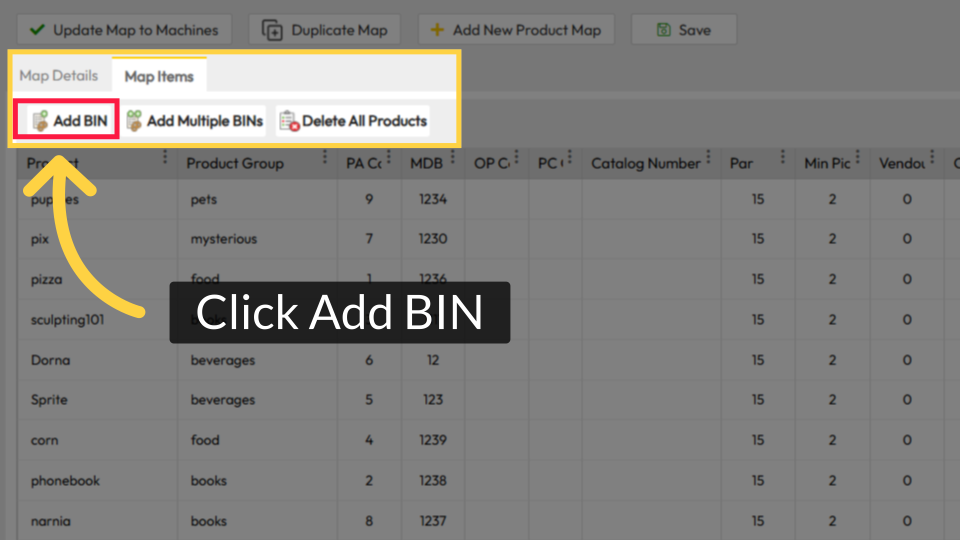
Click Add BIN
Image Attached
Click on Add BIN as highlighted in RED.
12
Enter Product Information
Image AttachedEnter the product information in every important section in the row.
Please note: Product bin must contain either PA code or MDB code.

13
Click Save Information
Image Attached
Click Save information to save your progress.
14
Click Add BIN
Image AttachedAdd a BIN button.

15
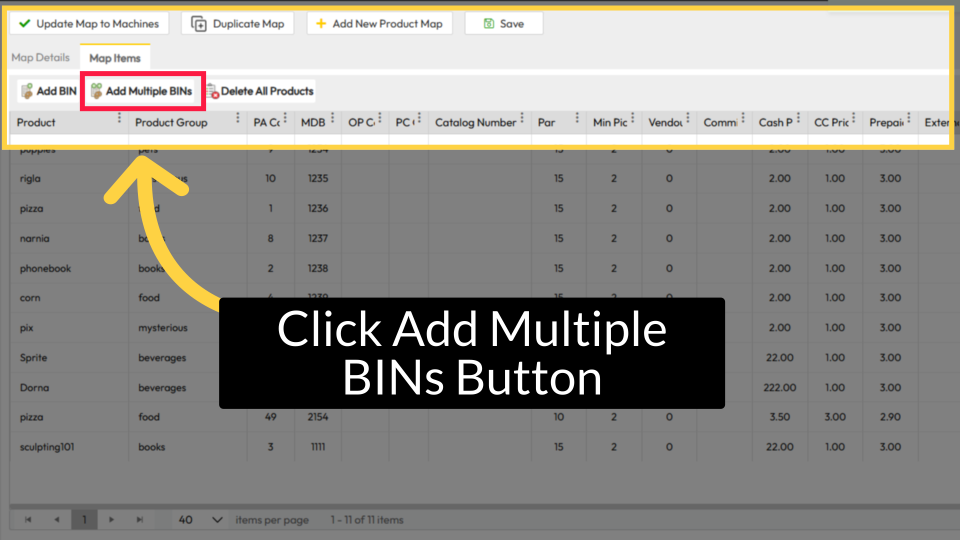
Click Add Multiple BINs Button
Image AttachedAdditionally, you can import bins from other machines or add multiple bins by clicking Add Multiple BINs.
16
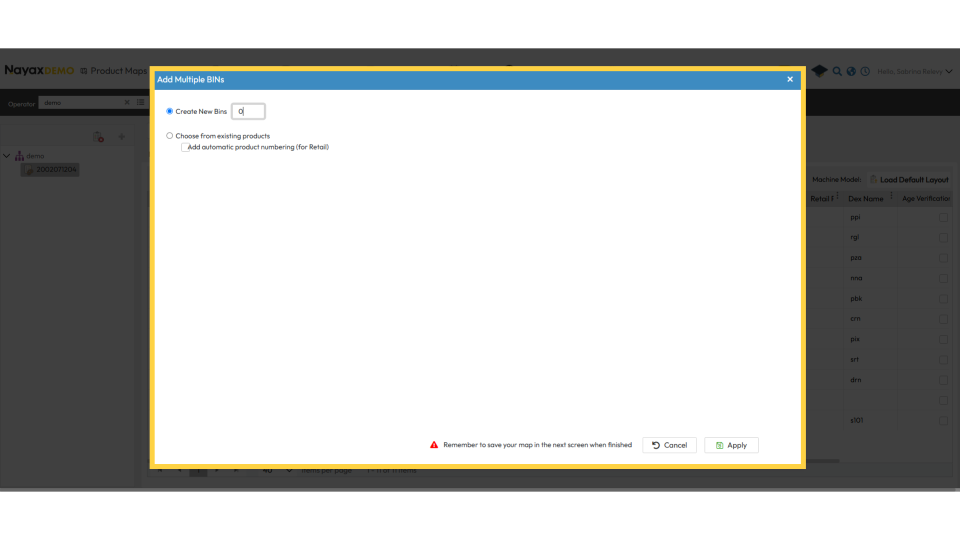
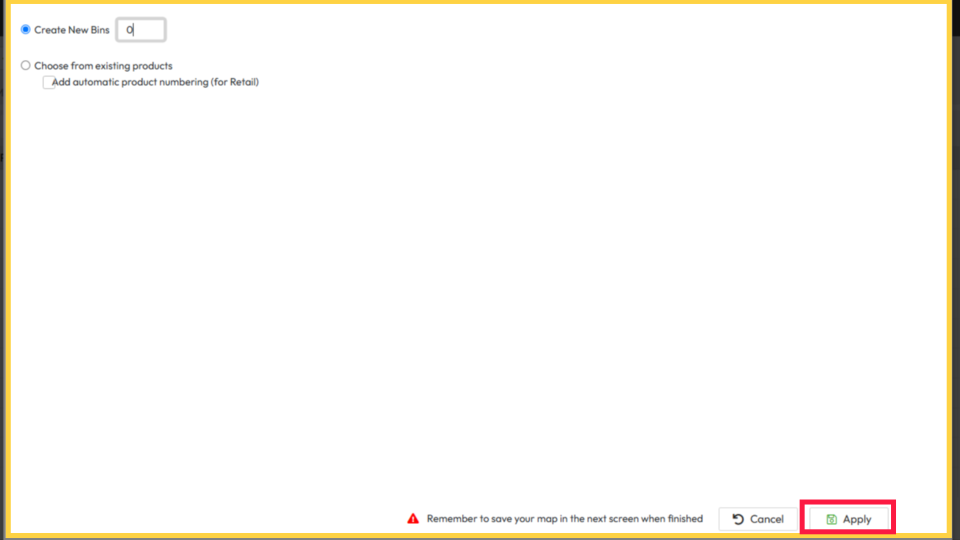
Select Create New Bins or Choose
Image AttachedChoose either Create New Bins or from Existing Products on the pop-up window.
17
Click Apply
Image AttachedWhen you finish, click Apply.
18
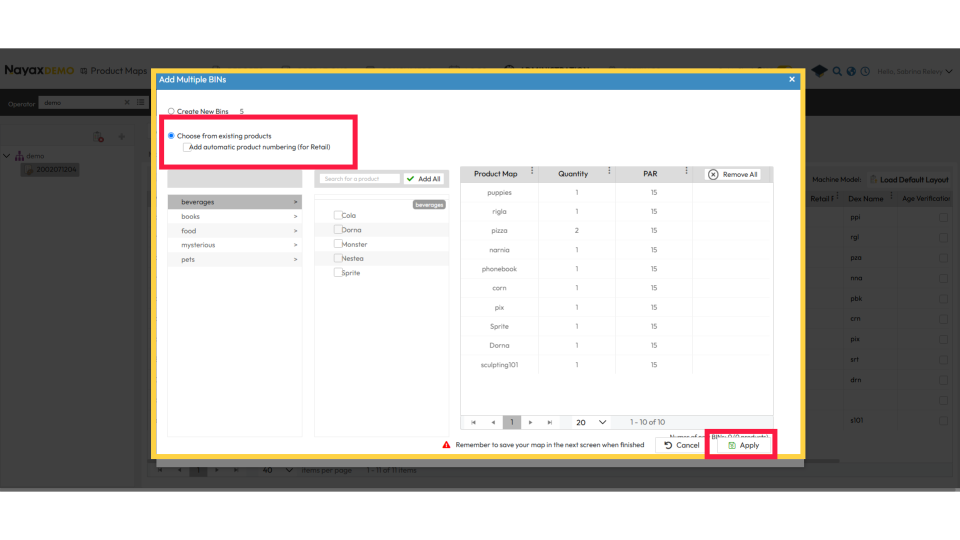
Options For Exsiting Products
Image AttachedOr use from existing products. Make your selections and click Apply.
19
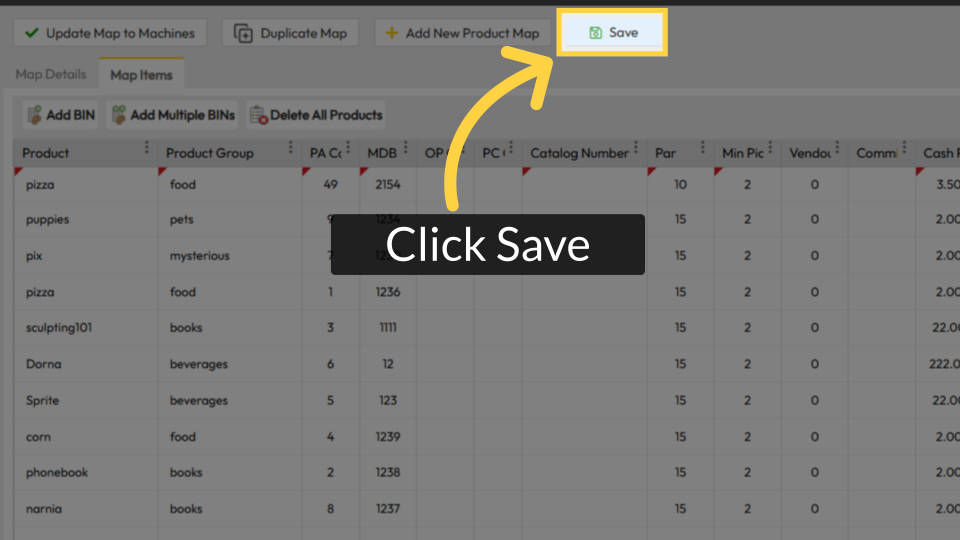
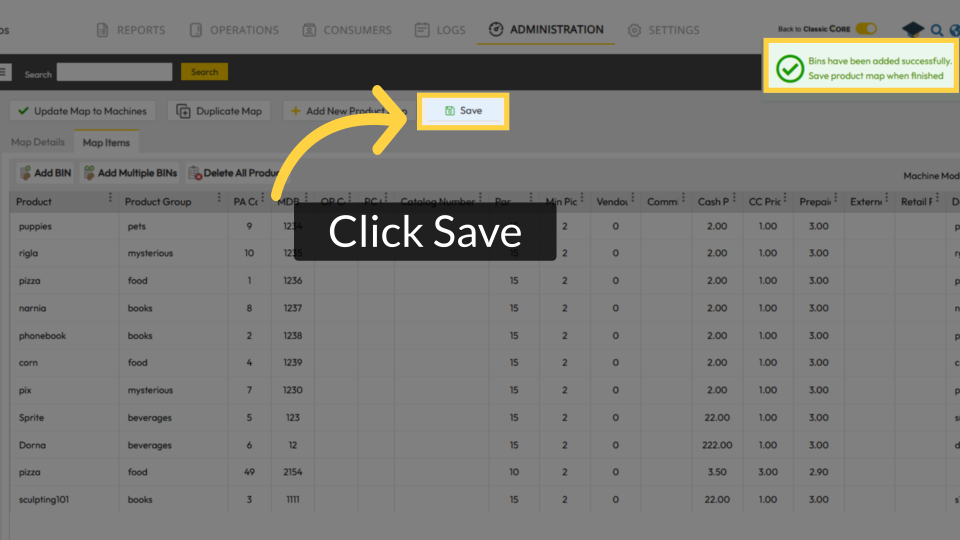
Click Save Button
Image Attached
When done, click Save and wait for a message to confirm your BINs have been added successfully as highlighted.
Thank you!
Did you find this article helpful?
Related articles
How to Export Products Map to an Excel | OperationsHow to Set a Product Map Default Layout | OperationsHow to Create a Product | AdministrationHow to Create a New Machine | OperationsHow to Create a Product Group | AdministrationProduct Maps TerminologyHow to Create a Product Map with MDB Codes | OperationsHow to Setup a Planogram for an Existing Product Map | Operations