How to Set a Special Price for a Product | Catalog
Easily track and manage discounts, setting automatic discounts for products and categories at different levels, such as store, POS, chain, partner, and more. Add new discounts, apply them effortlessly at the register, and update prices with ease.
Video Guide
00:00: Learn how to set a special price for a product efficiently with Retail Core. This guide will walk you through each step, ensuring you can easily navigate and apply special pricing for your products. 00:11: On the dashboard of your Retail Core management suite click the Catalog tab 00:16: In the sub-menu click on prices tab 00:19: In the next sub-menu click on Special Prices tab. 00:22: Click '+' on the top right of the screen 00:25: Enter all the required information. 00:28: This field determines who will receive the discount. If a Business Partner – discount a specific customer. If a Business Partner Group – discount to a group of customers. If a Price List – discount products that have a specific price list. 00:45: This field is affected by the discount list. For example, if you select Price List in the discount type field, you will find a list of options of retail, cost or takeaway for to select in the Value field. Or for example, if you select Business Partner in the discount type field, you will find a list of partners to select in the Value field. 01:05: Criteria type - This field determines which products will get the discount. Product code – a specific product. Hierarchy 1 – The highest level of product group. Top category – A product category. Hierarchy 3/4/5 – Subcategories in different levels. 01:25: This field is affected by the Criteria type. For example, if you select “Top category” In the Criteria value field, you will find a list of categories to select in the Value field. Remember you can navigate through the pages with the arrows below highlighted here in RED. 01:42: In this field you can select which type of discount to set - Fixed price or Percentage. 01:47: This presents the value of the discount. For example, if you select Discount by Fixed price then the value will be set to fixed price. 01:55: Click the calendar icon to set start and end date of special pricing to commence and end. 02:00: Scroll to the Location Population tab below and click "+" to the right under the tab: 02:05: This section determines which business location will be able to support this discount. Type to the hierarchy of the business such as chain, store, pos, etc. 02:15: Choose whether you want the selected locations to be included or excluded from the discount. 02:21: The value of the Type field 02:24: Click the add button. 02:27: Tap Confirm button at the top of the screen. 02:30: Tap Create button at the top of the screen to finalize the process. 02:34: This guide covered the process of setting a special price for a product in the Bnayax application, from accessing the catalog to finalizing the creation. By following these precise steps, you can efficiently manage and customize pricing for your products.
Click Catalog Tab
Image Attached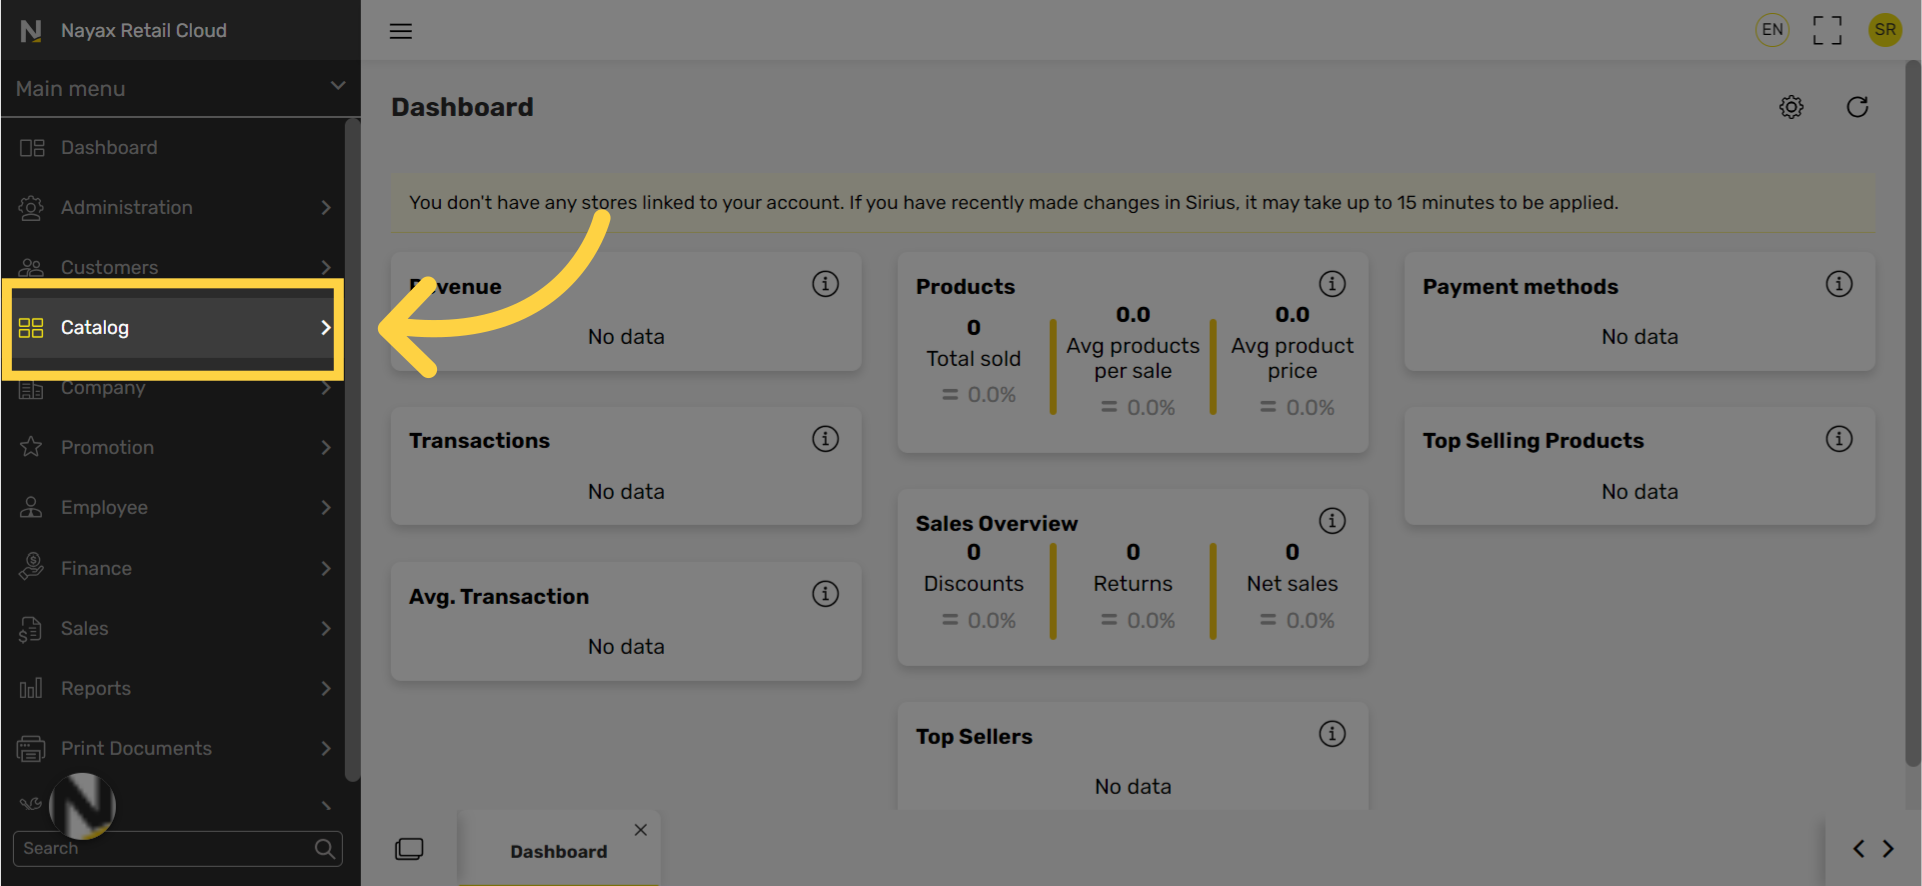
Click Prices Tab
Image Attached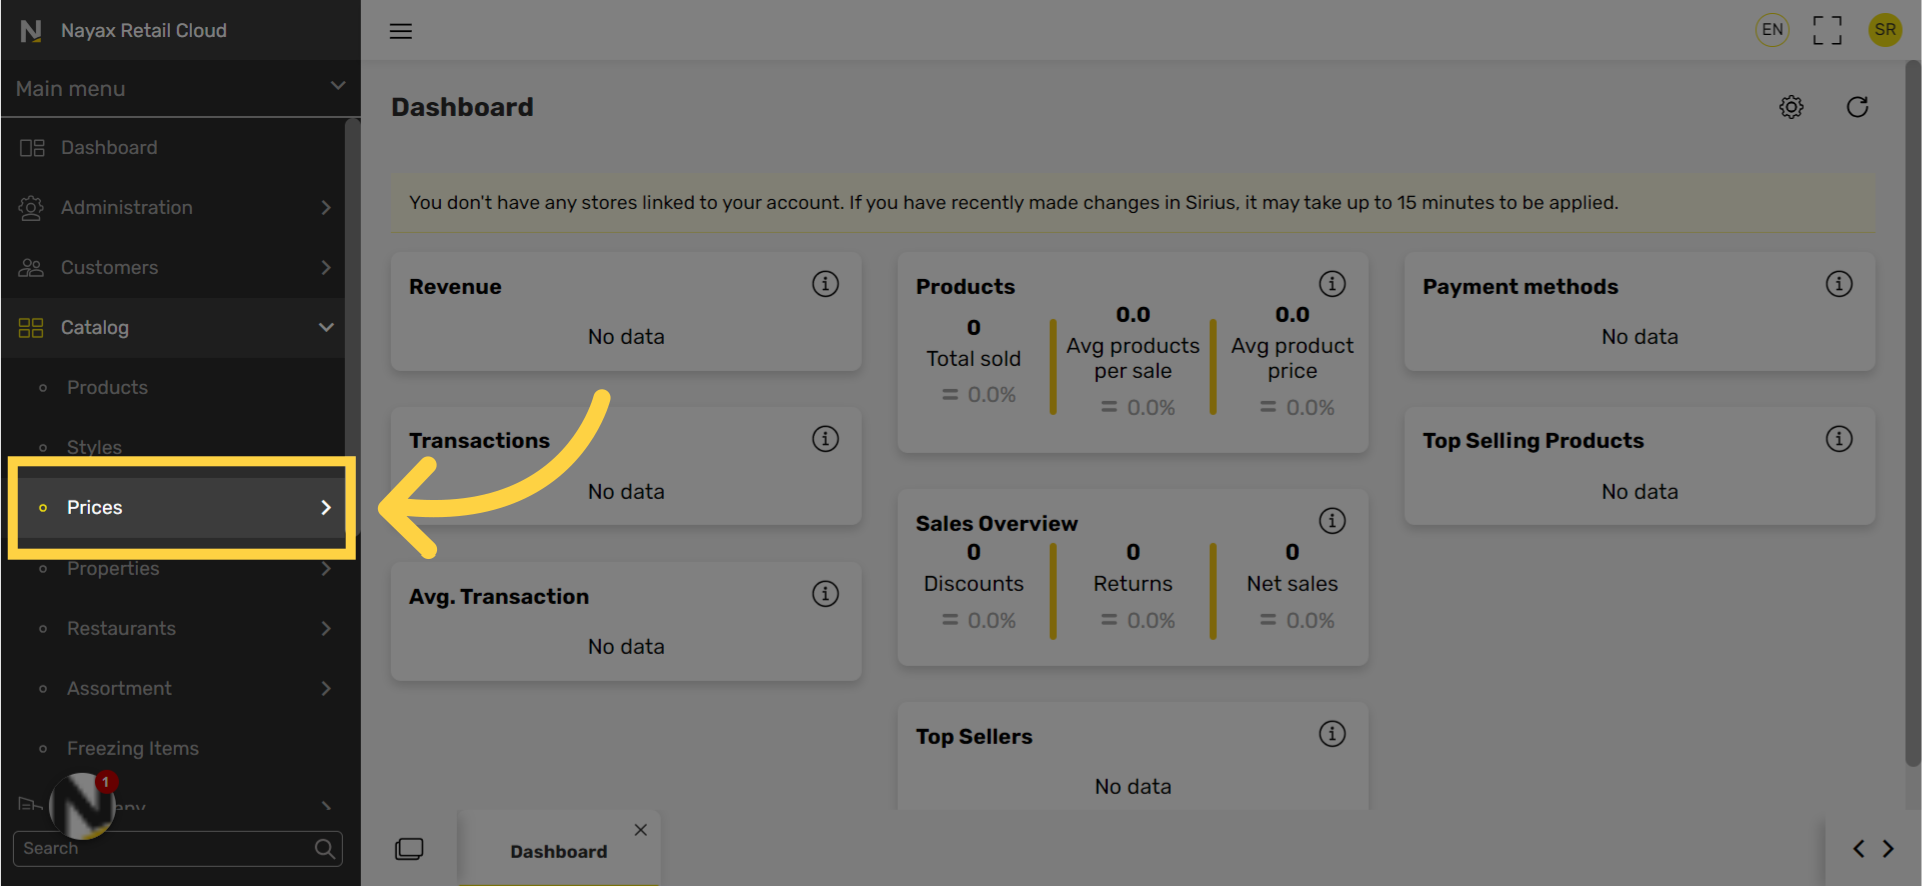
Click Special Prices tab
Image Attached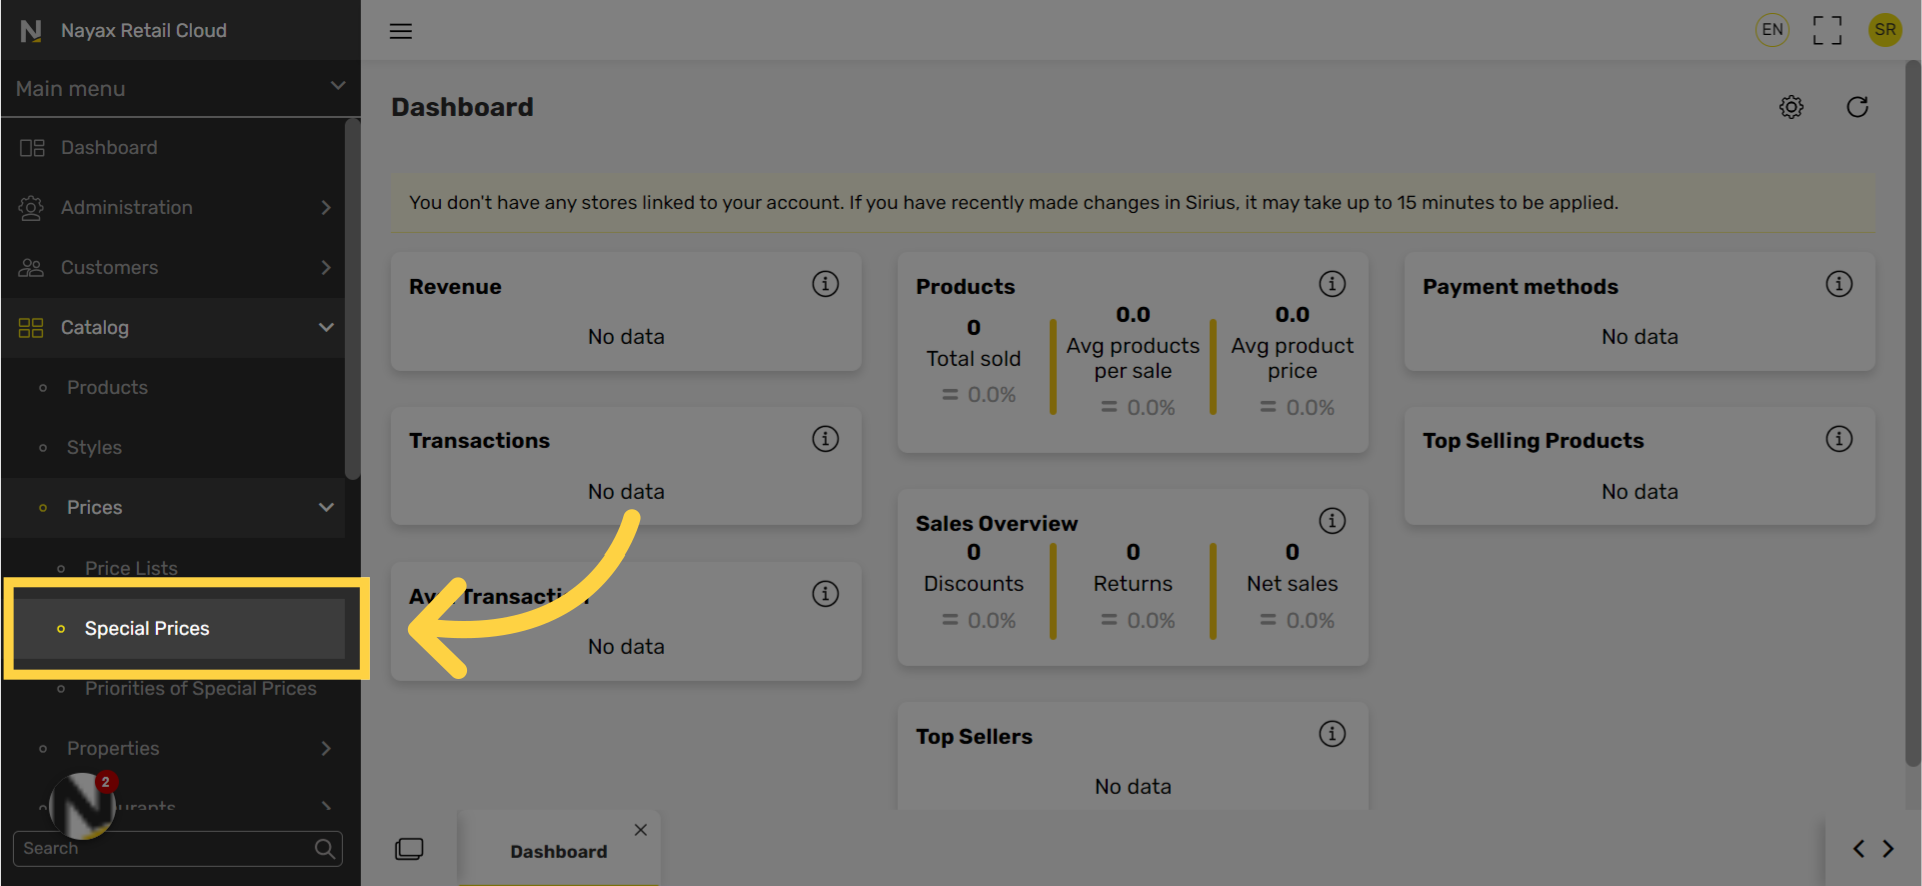
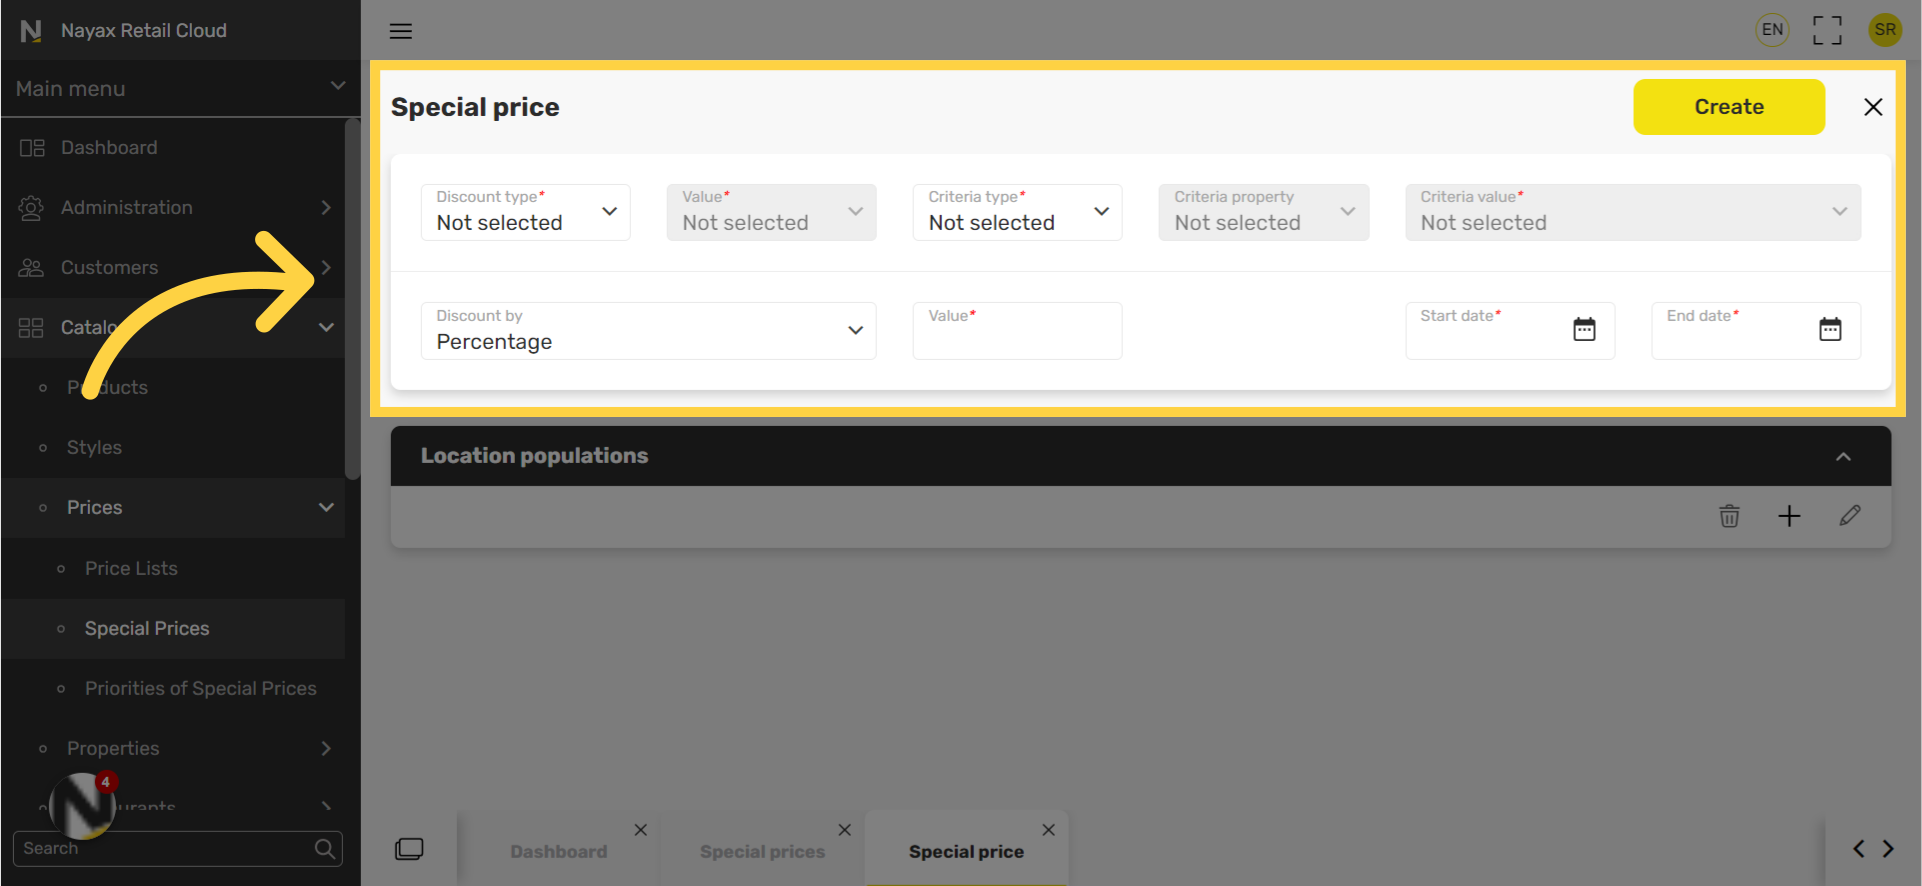
Click + Icon
Image Attached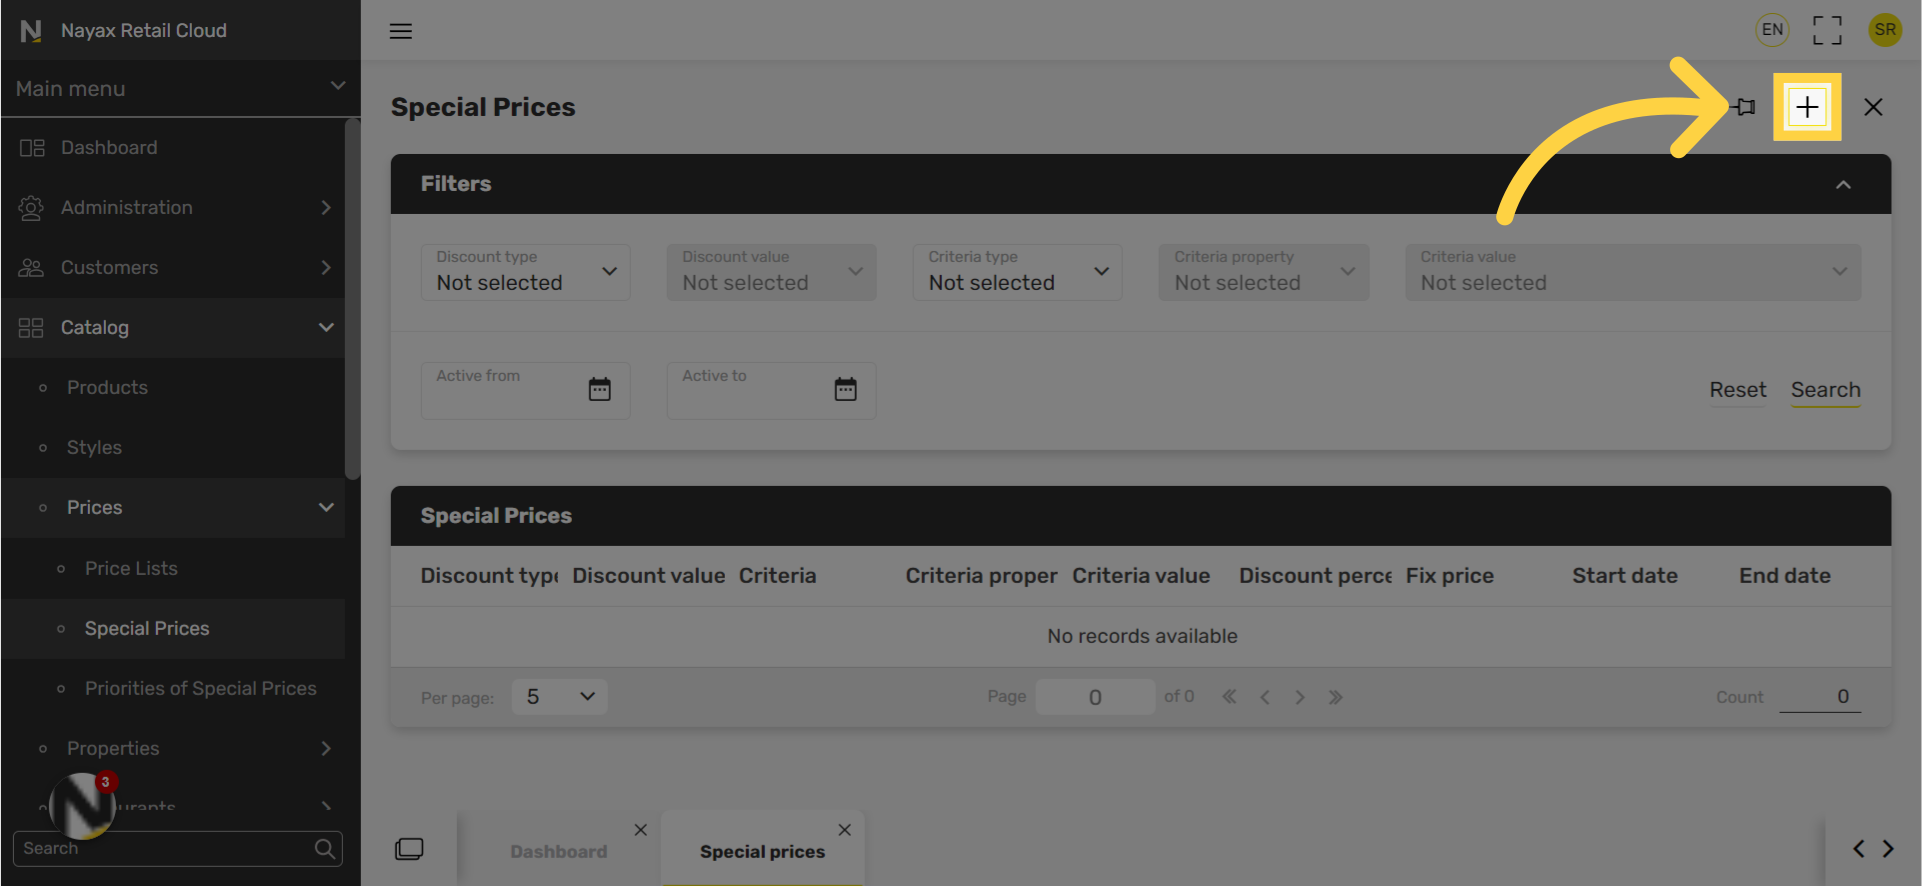
Fill in the following fields:
Image Attached|
Field name |
Description |
|
Discount type
|
This field determines who will receive the discount. Business Partner – discount a specific customer. Business Partner Group – discount to a group of customers. Price List – discount products that have a specific price list. |
|
Value |
This field is affected by the discount list. For example, if you select “business Partner” in the discount type field, you will find a list of partners to select in the “Value” field. |
|
Criteria type |
This field determines which products will get the discount. Product code – a specific product. Hierarchy 1 – The highest level of product group. Top category – A product category. Hierarchy 3/4/5 – Subcategories in different levels. |
|
Criteria value |
This field is affected by the Criteria type. For example, if you select “Top category” In the Criteria value field, you will find a list of categories to select in the “Value” field. |
|
Discount by |
In this field you can select which type of discount to set - Fixed price or Percentage. |
|
Value
|
This presents the value of the discount. For example, if you select “Discount by” Fixed price” then the value will be set to fixed price. |
Discount Type
Image Attached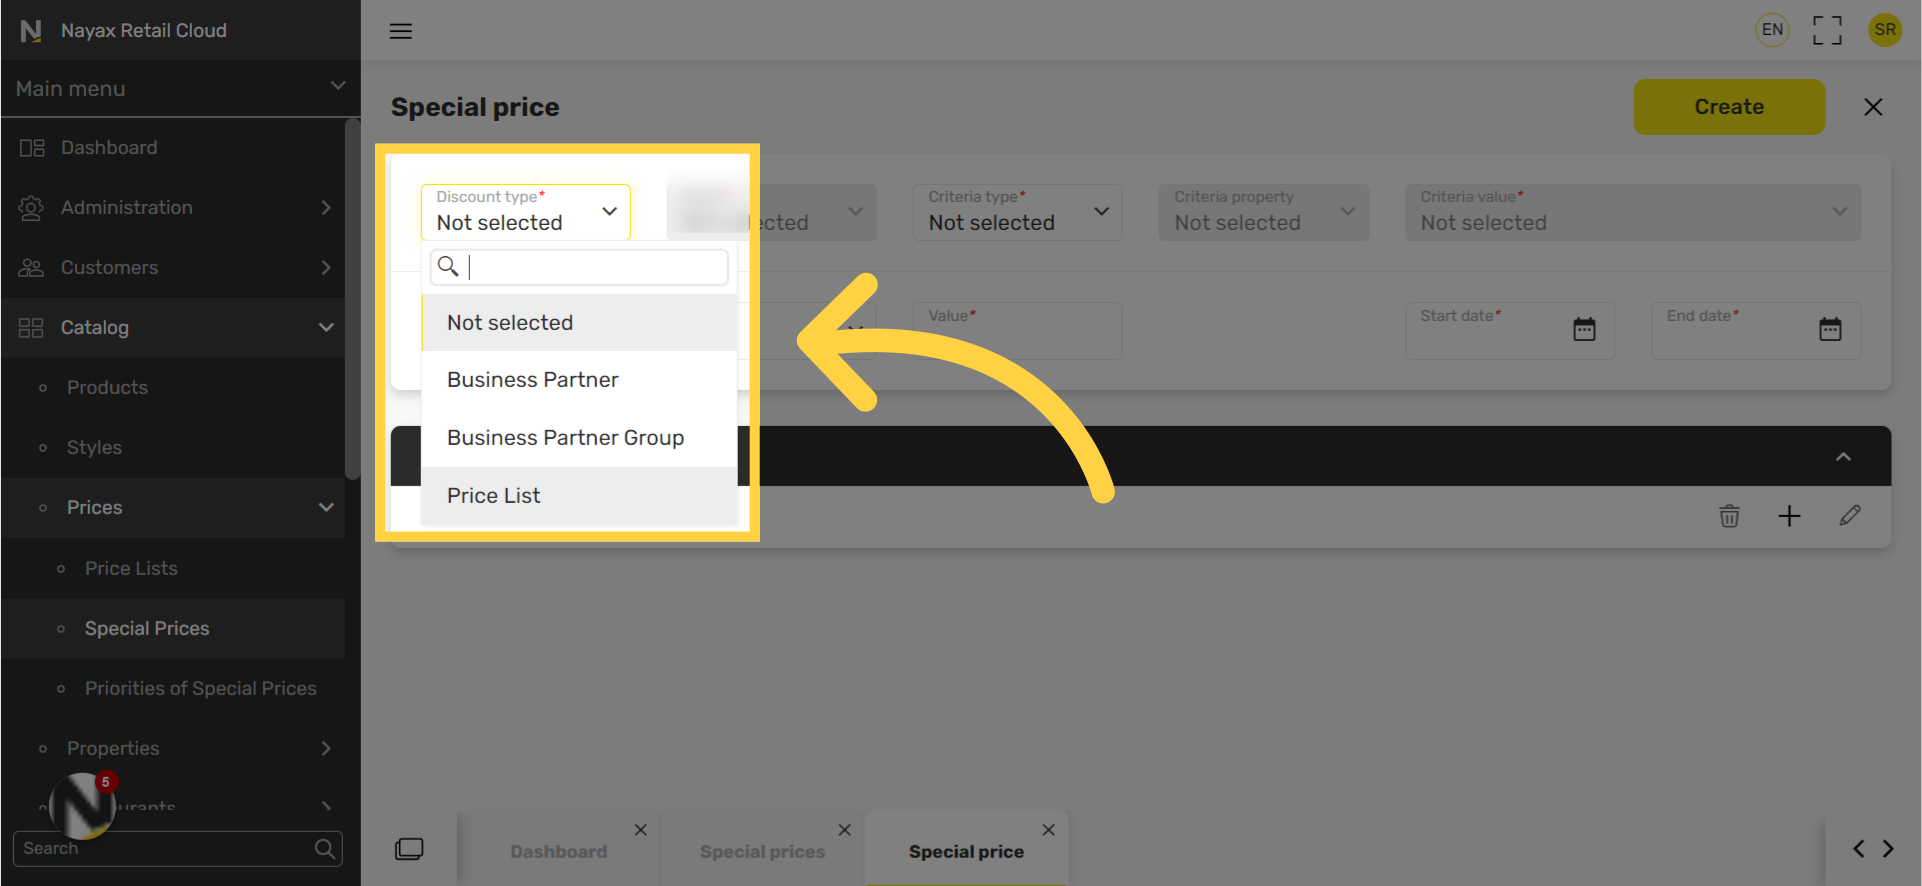
Value
Image Attached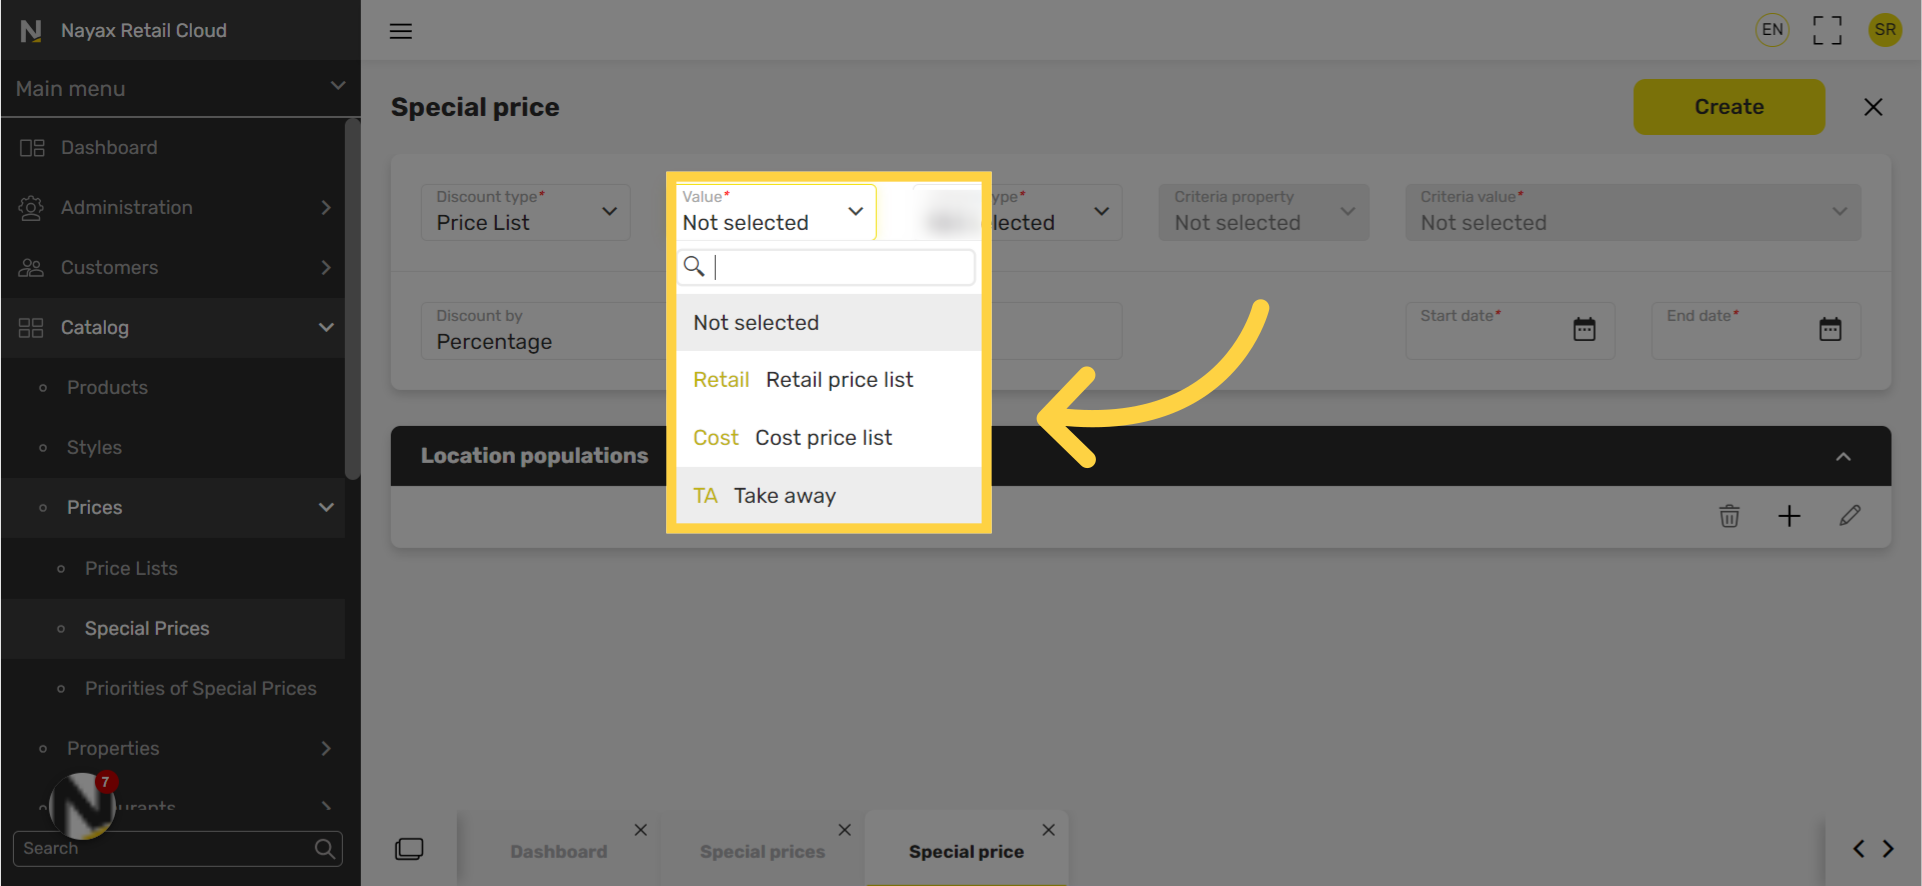
Criteria type
Image Attached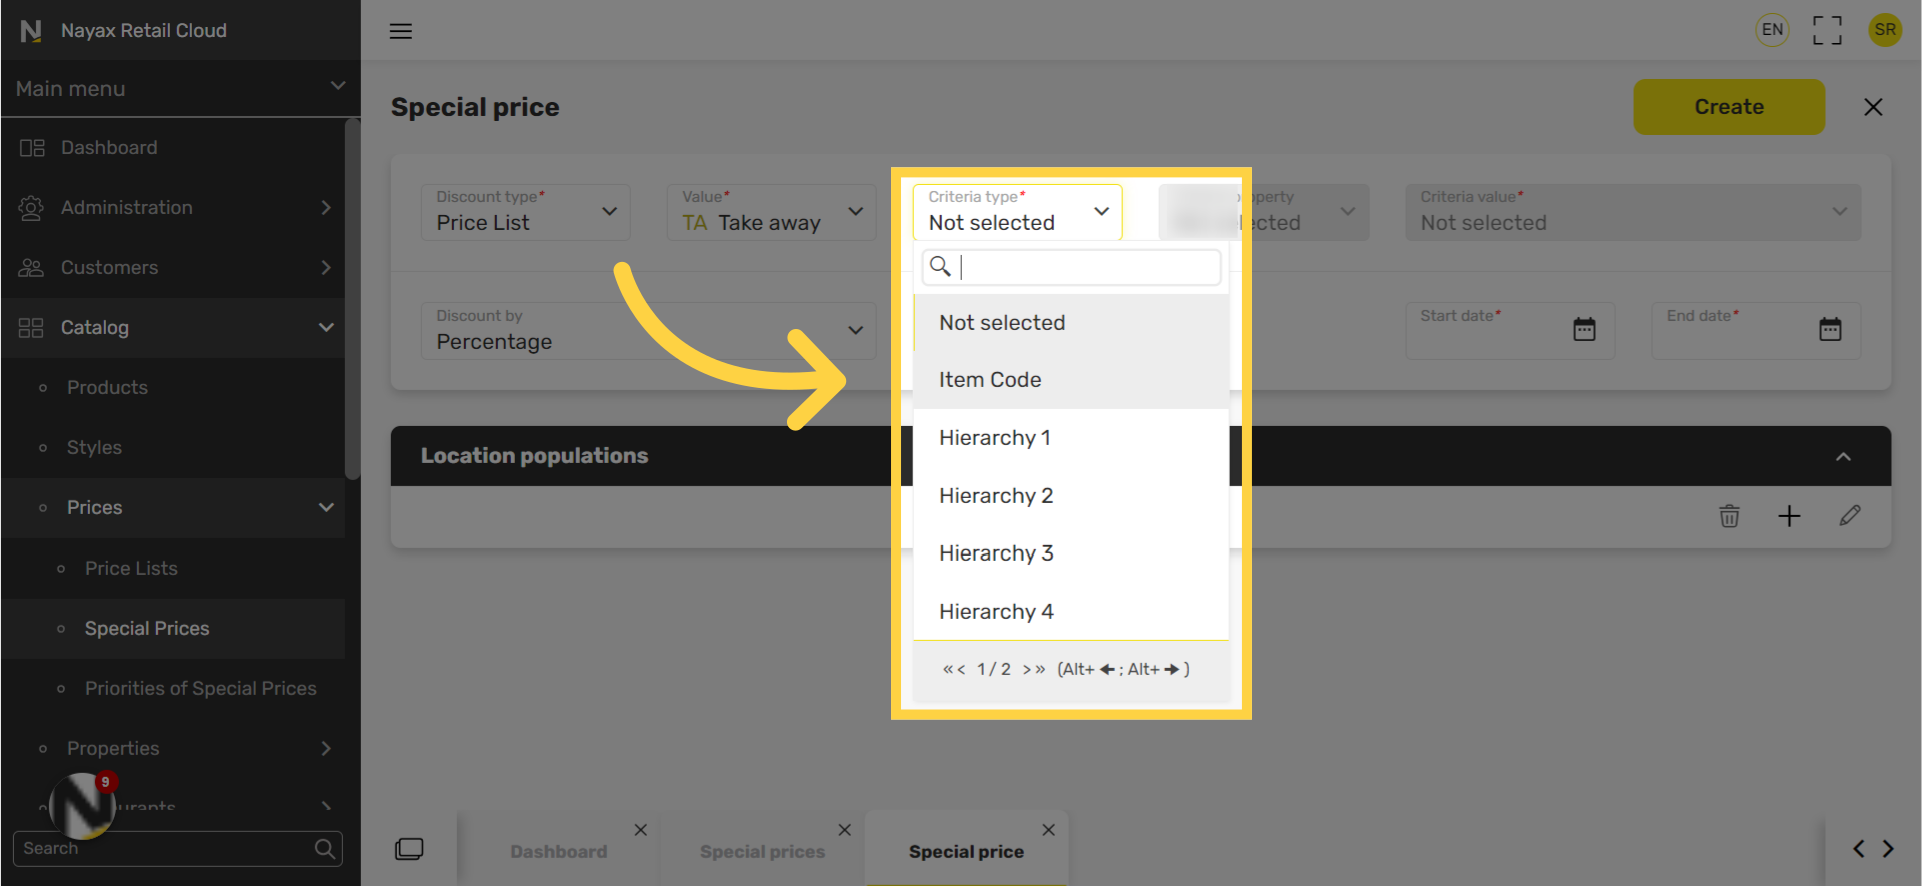
Criteria type
Image Attached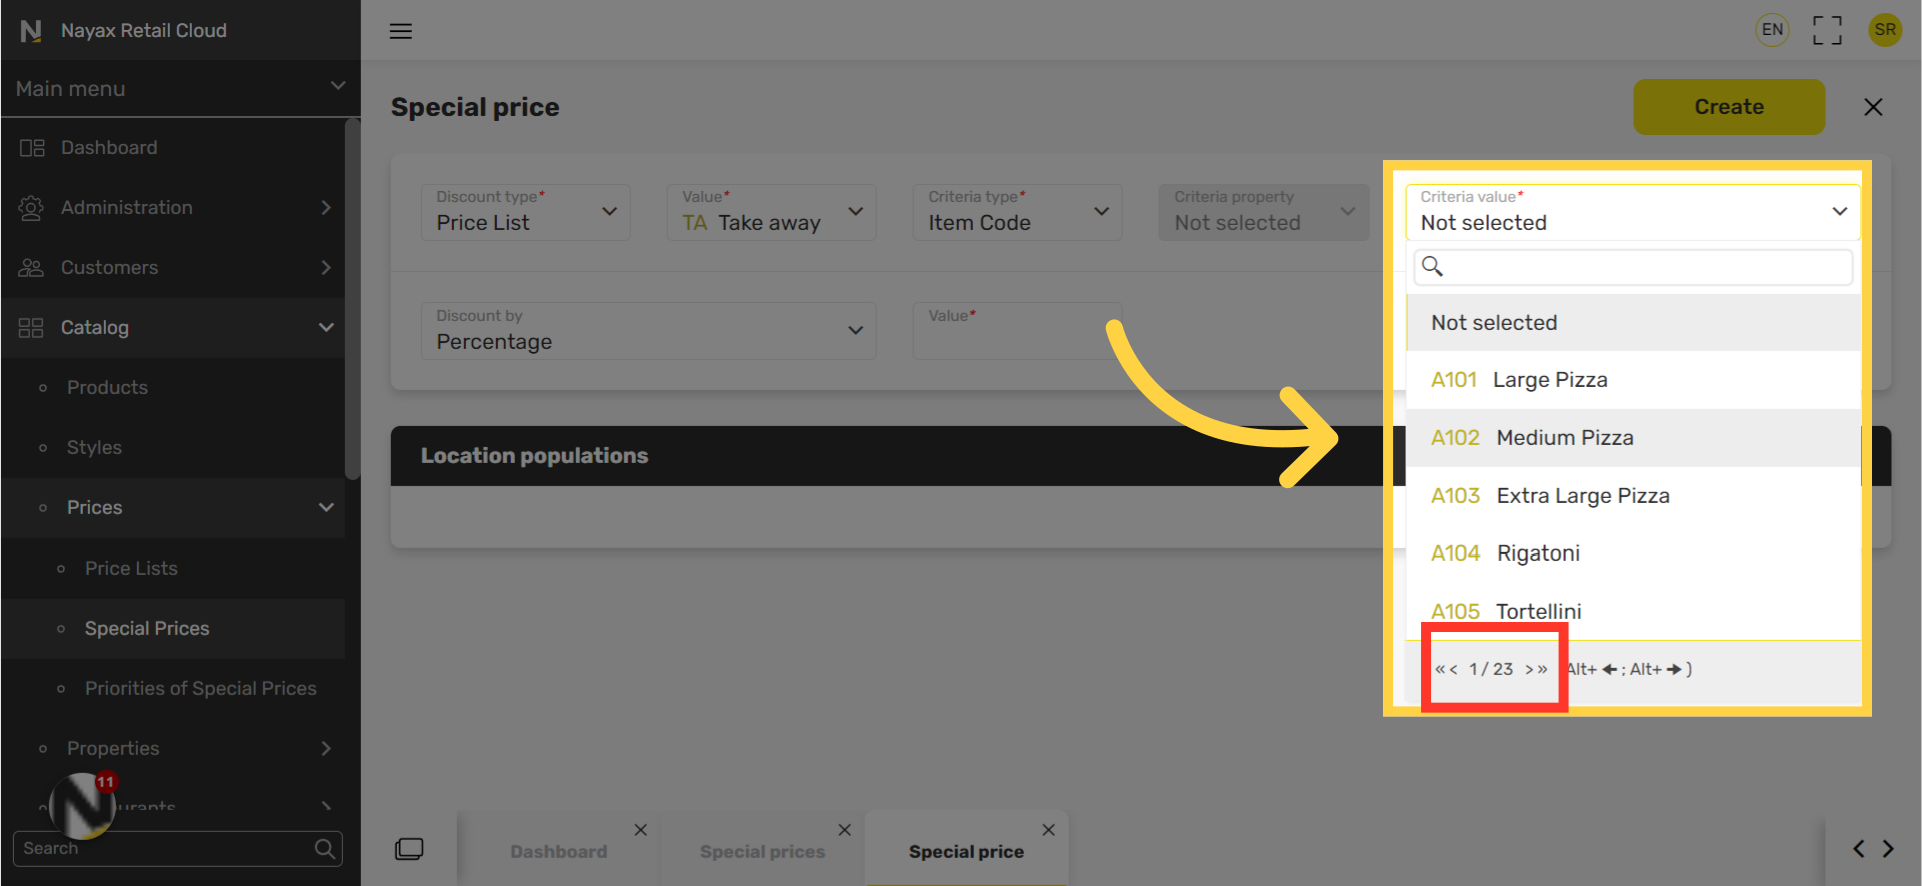
Discount by
Image Attached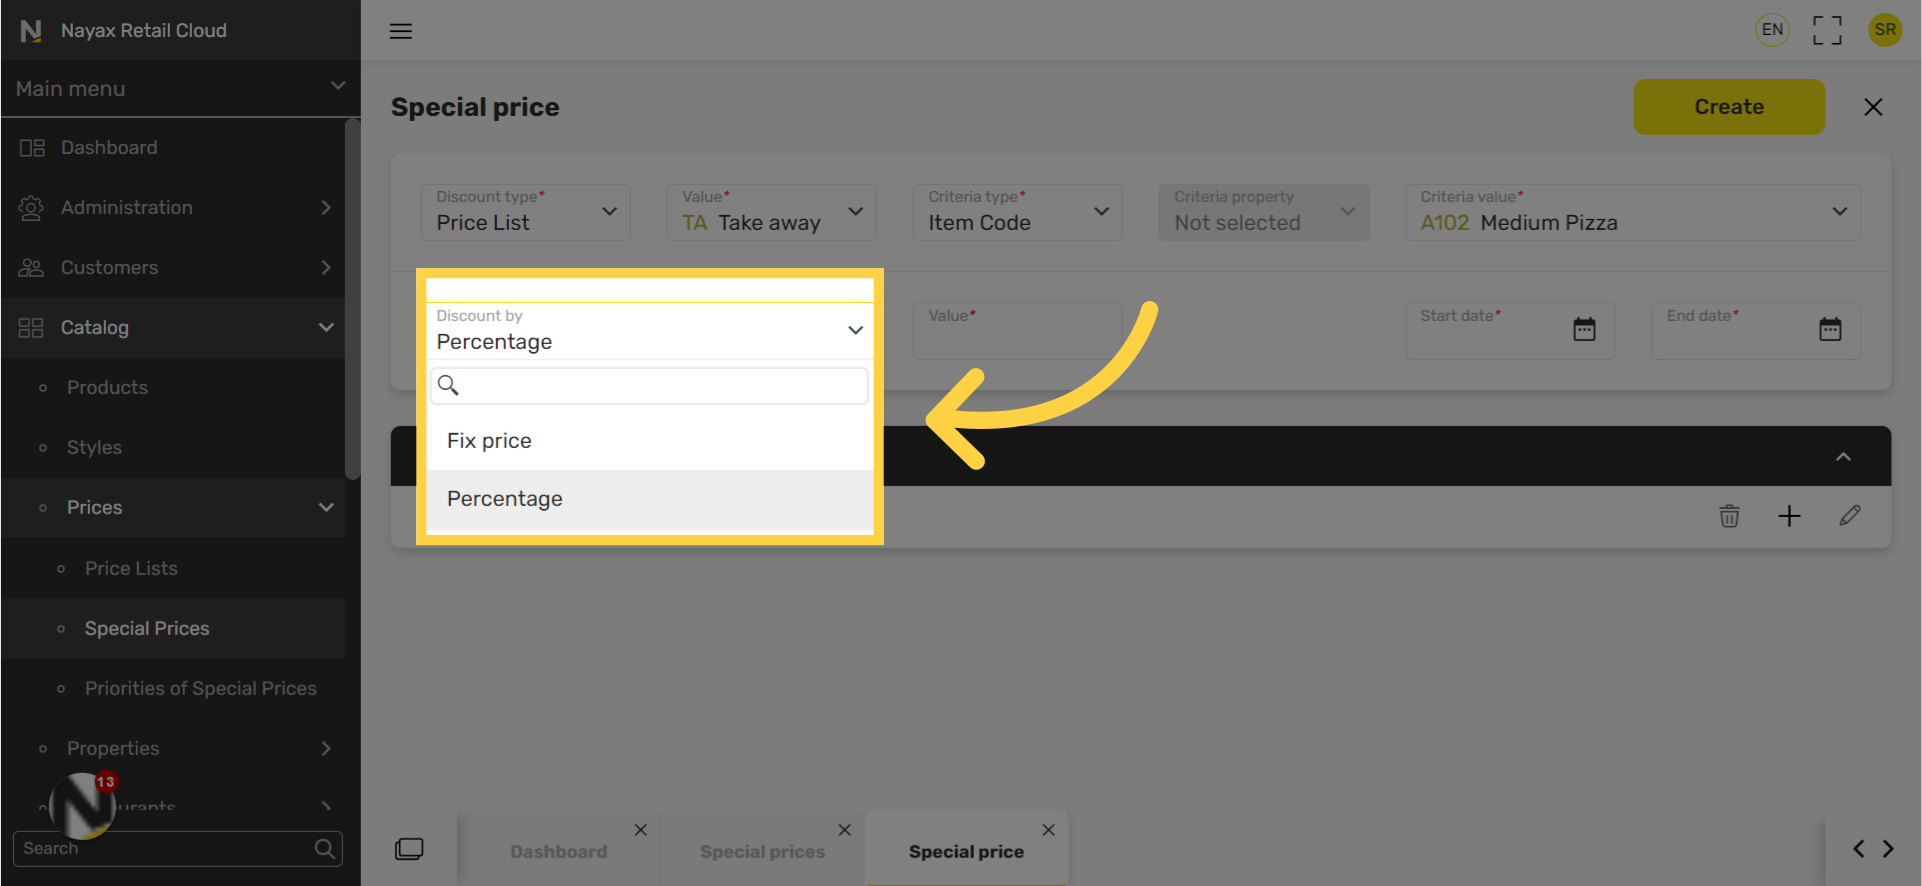
Value
Image Attached
Set dates range
Image Attached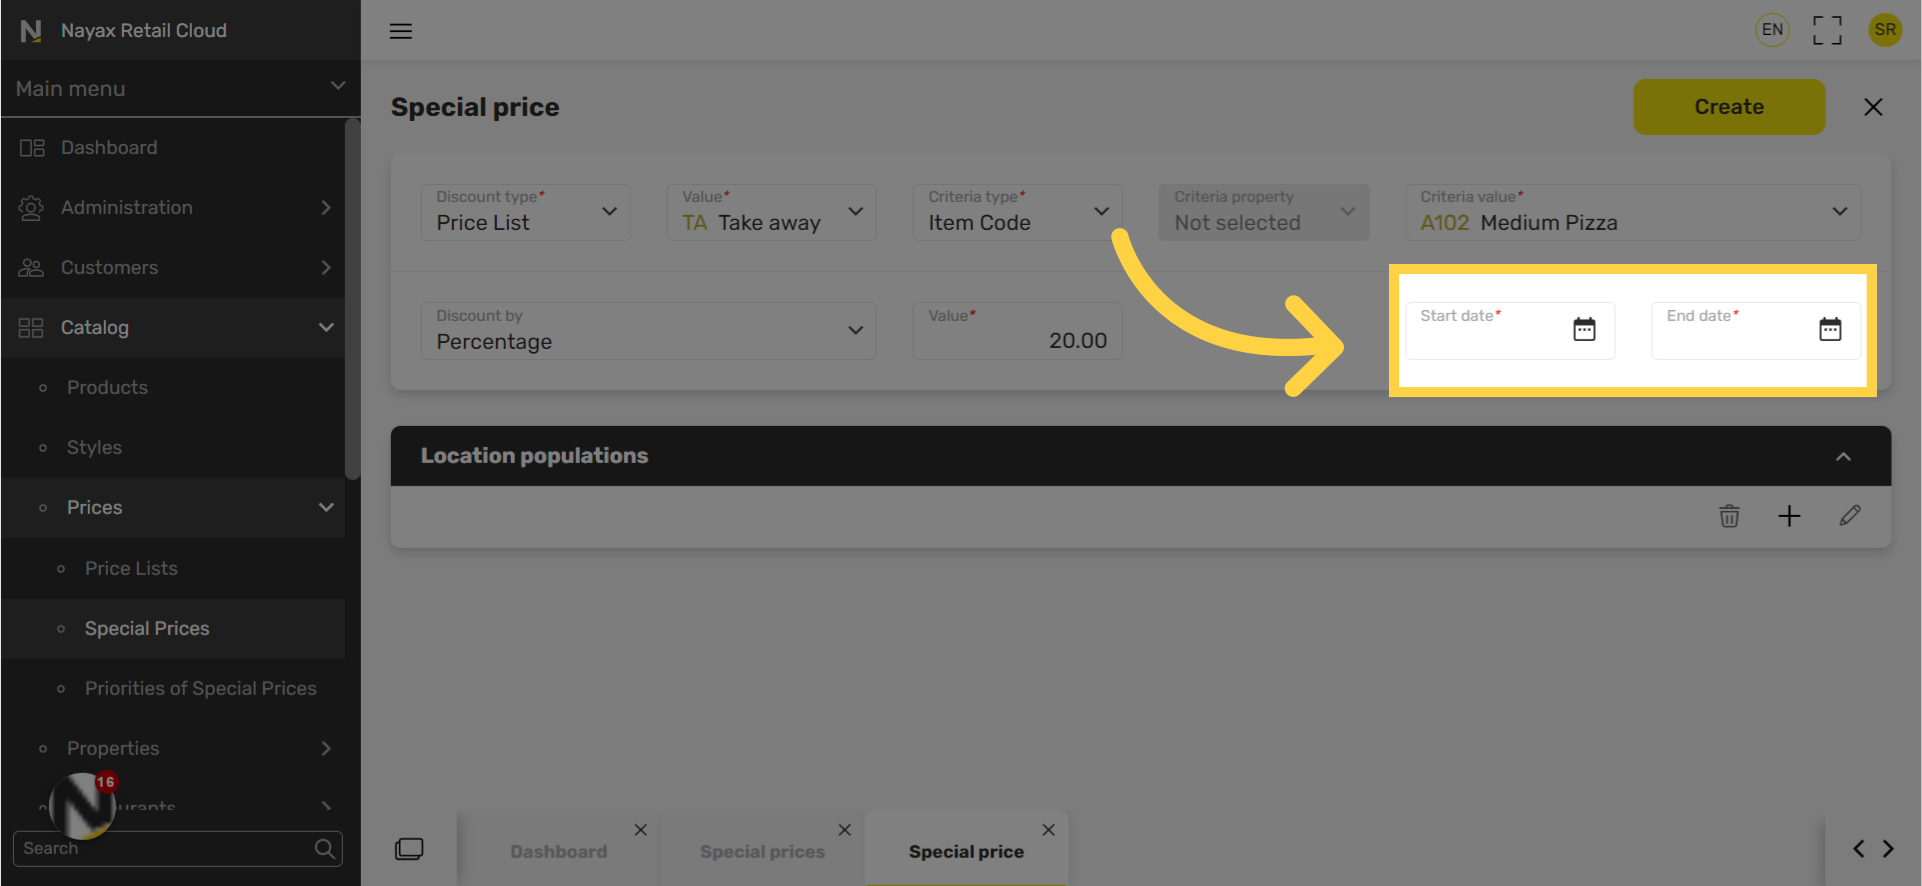
Click Location Population Tab
Image AttachedThis section determines which business location will be able to support this discount.
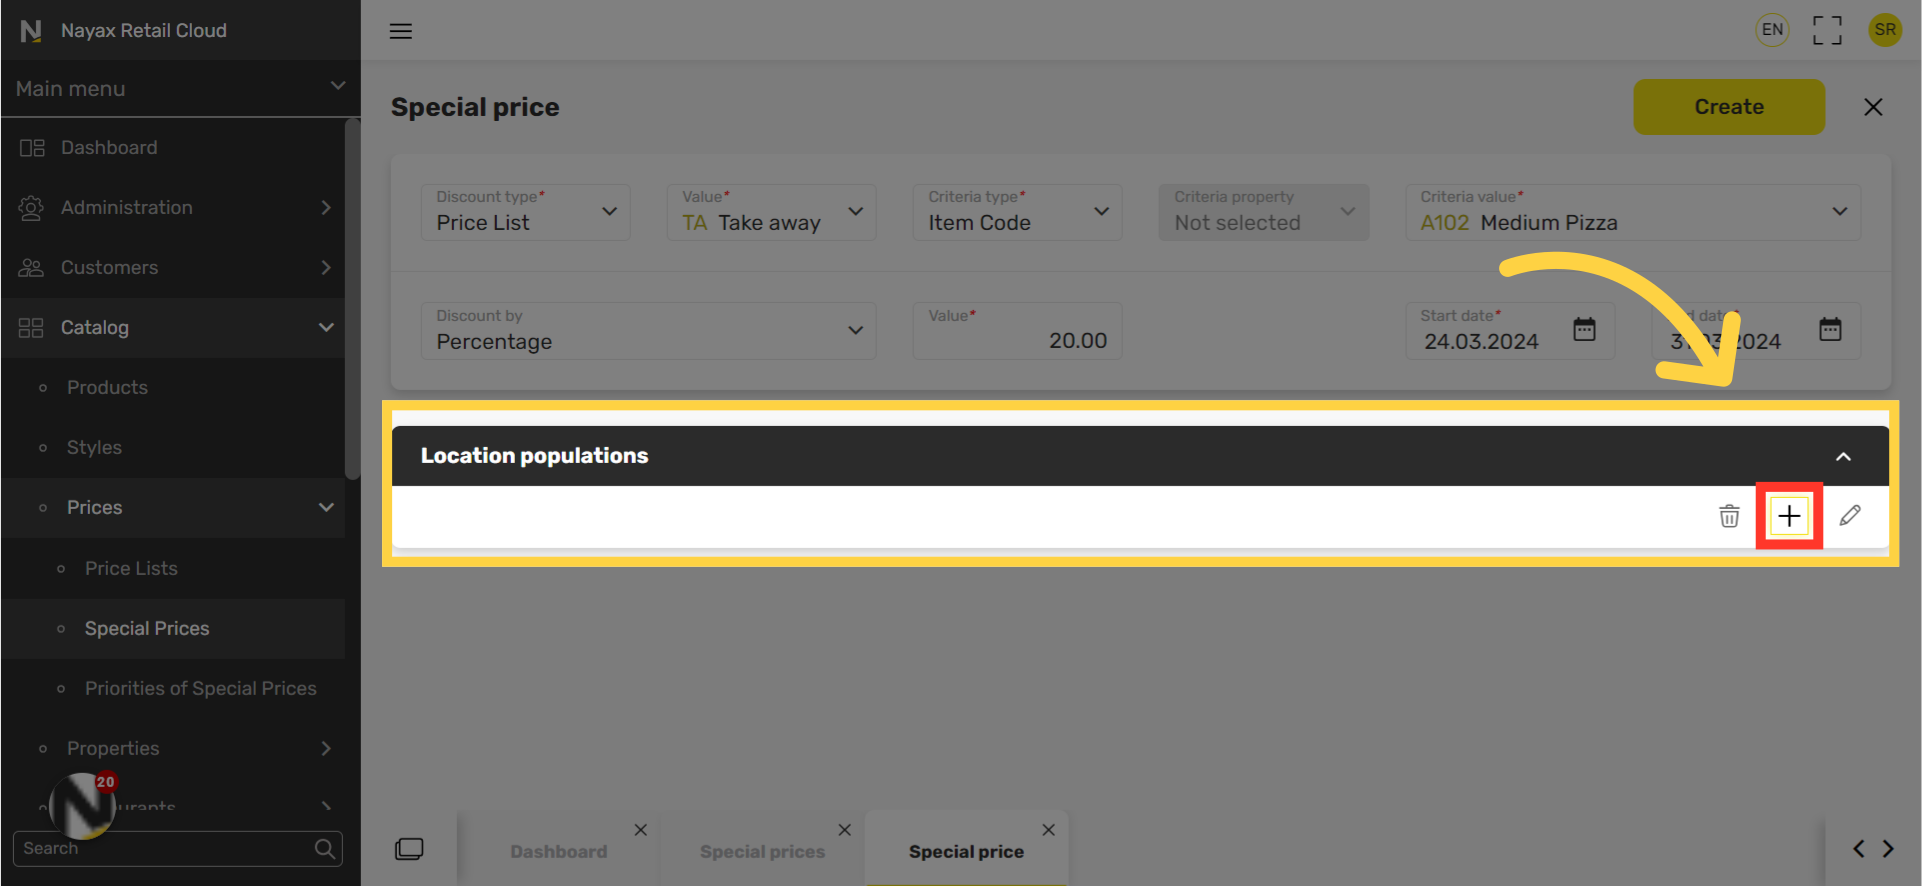
Click + Icon
Image Attached|
Field name |
Description |
|
Name |
You can name the chosen locations. |
|
Basket type |
Choose whether you want the selected locations to be included or excluded from the discount. |
|
Type |
The hierarchy of the business such as chain, store, pos, etc. |
|
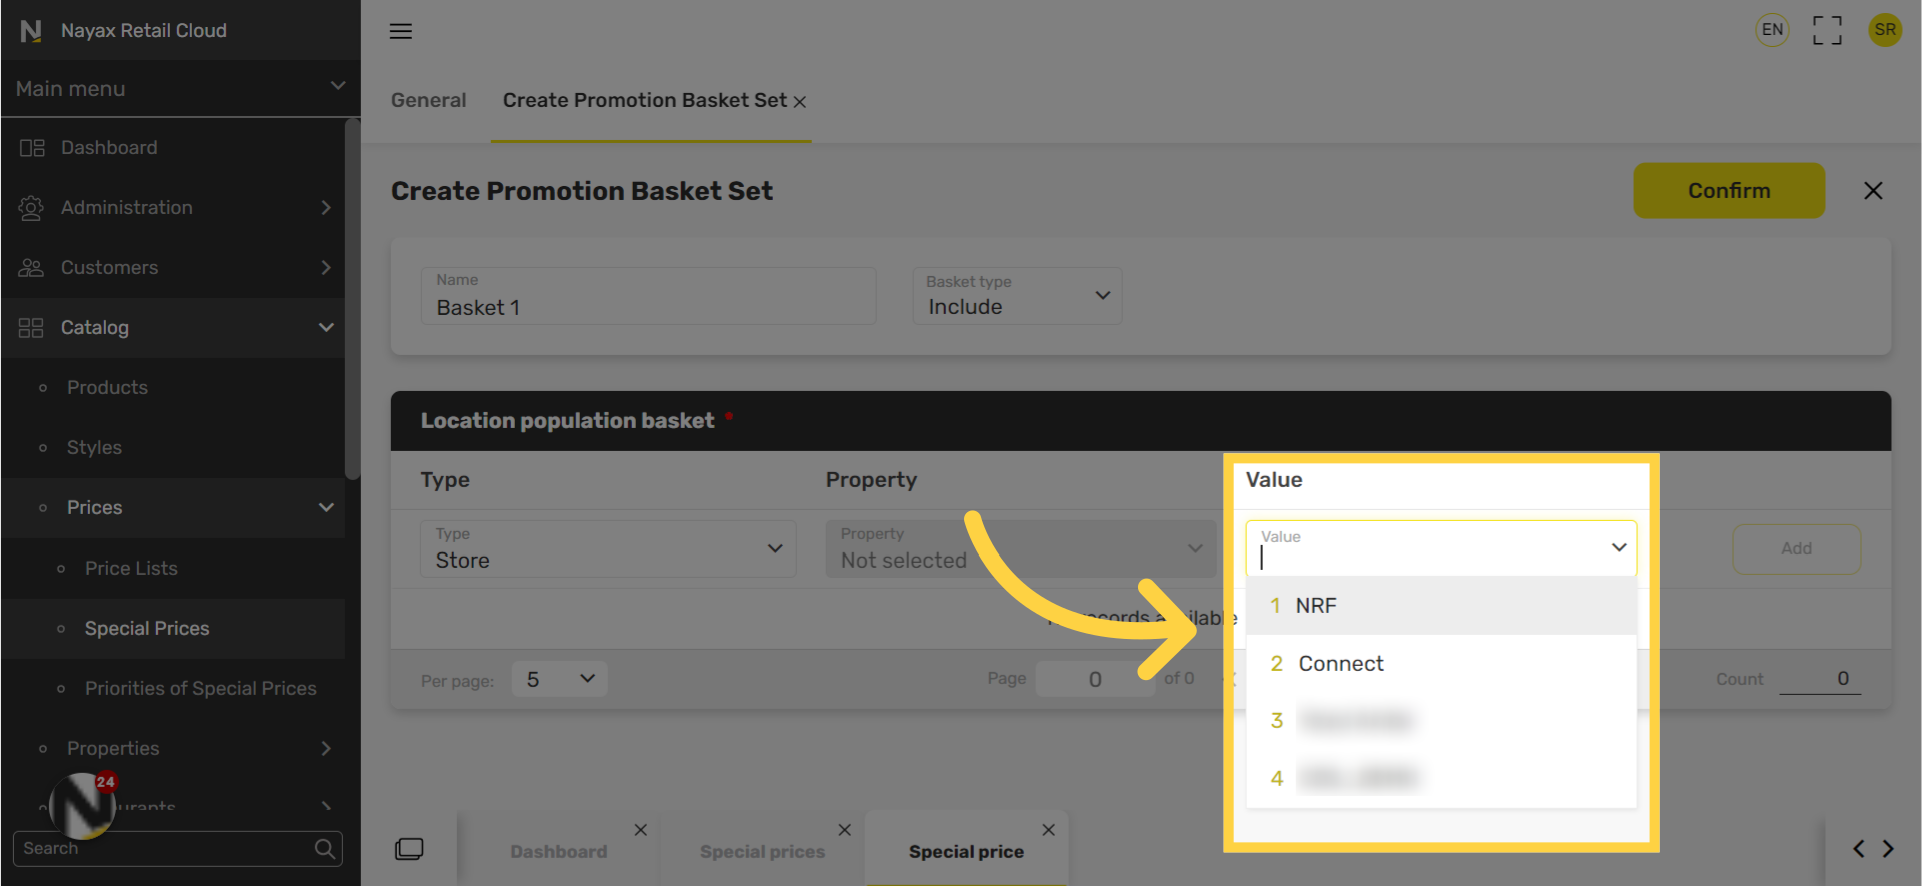
Value |
The value of the “Type” field |
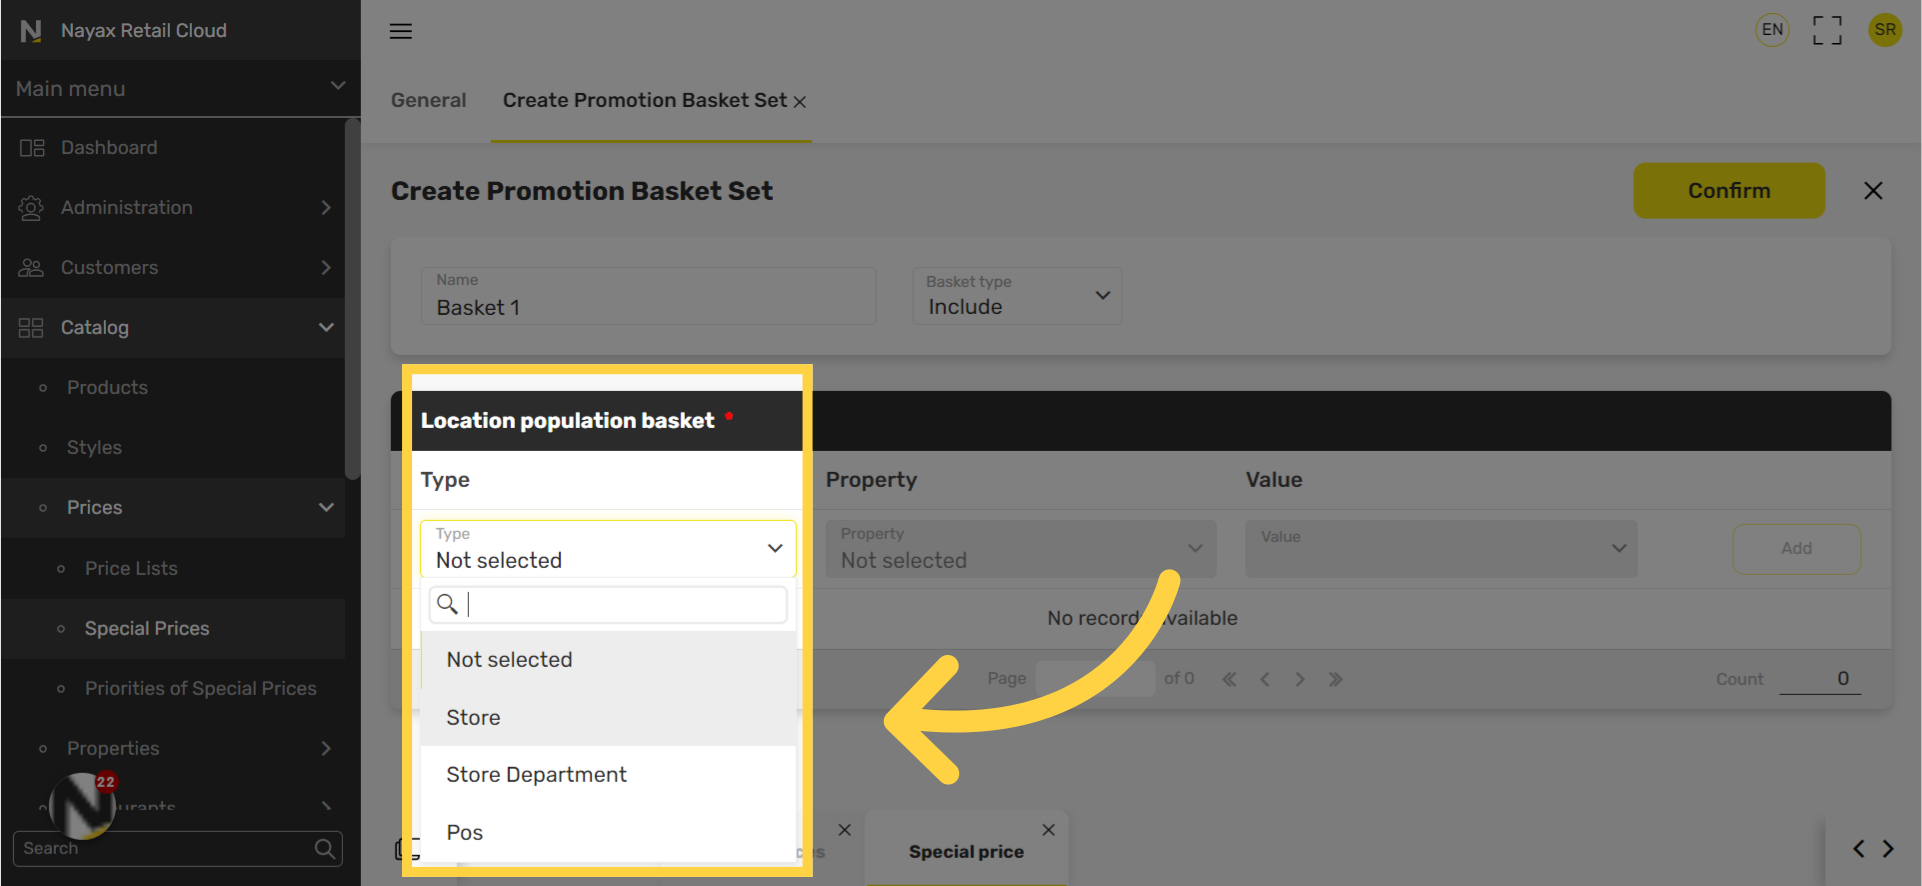
Select your preferences
Image Attached
Set the Value
Image AttachedSelect the value for the type of promotional basket.
Click Add
Image Attached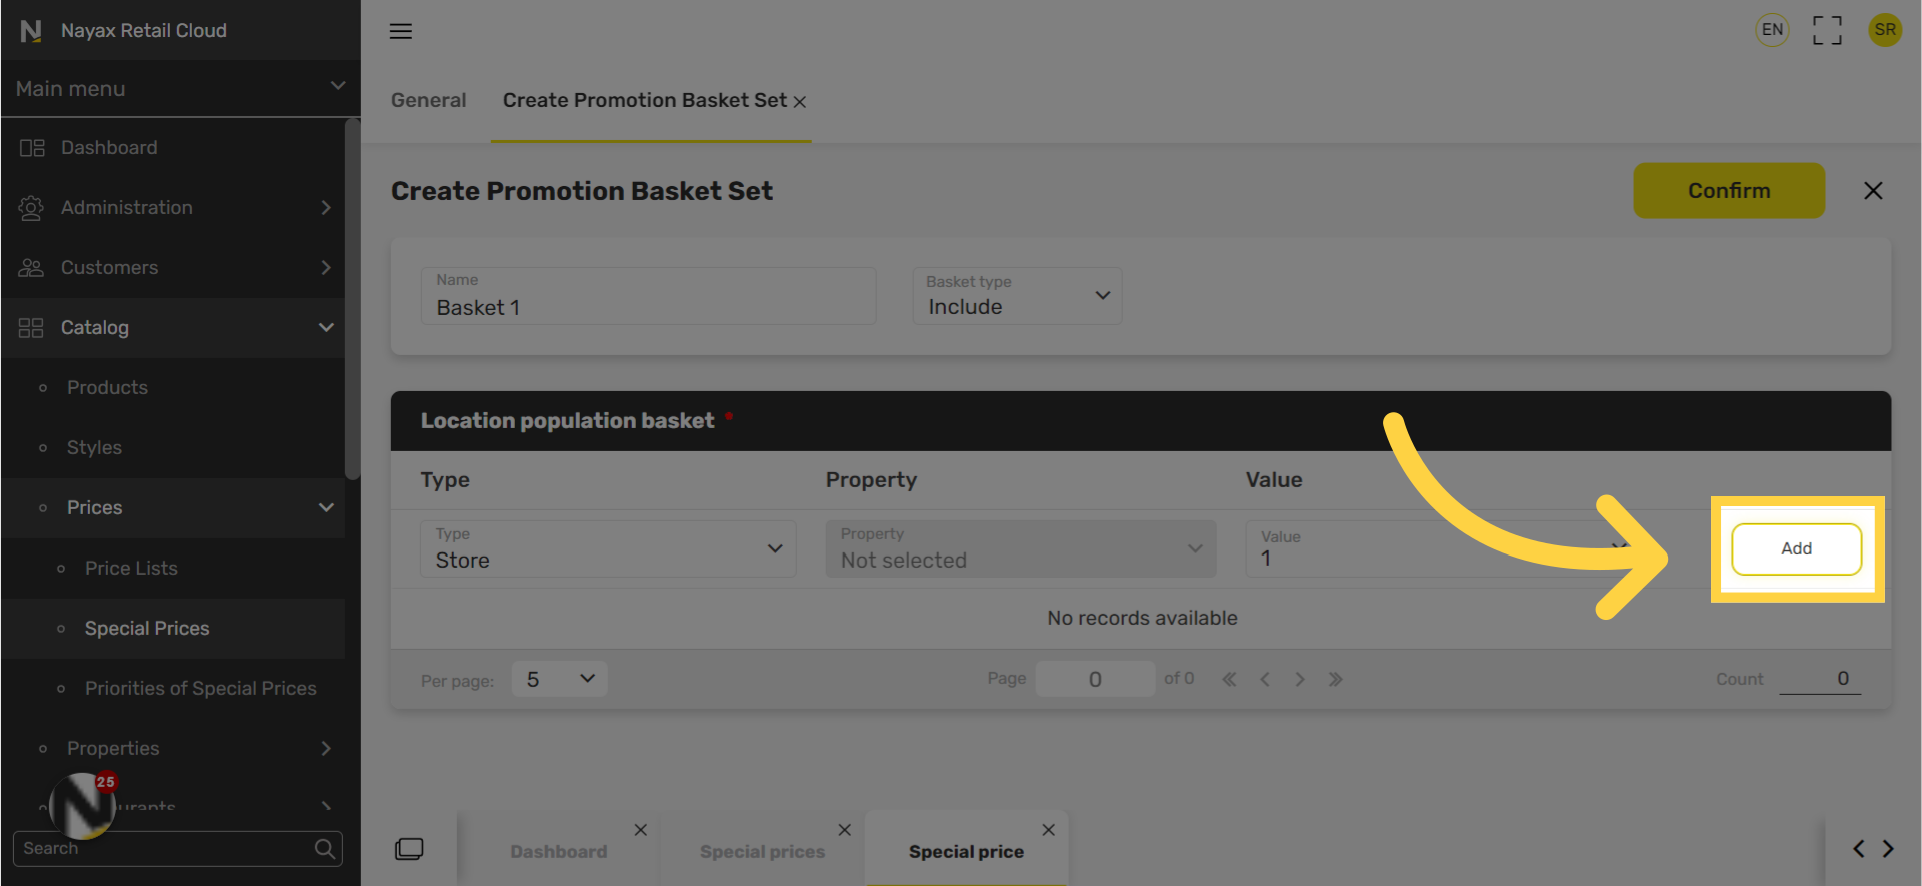
Click Confirm
Image Attached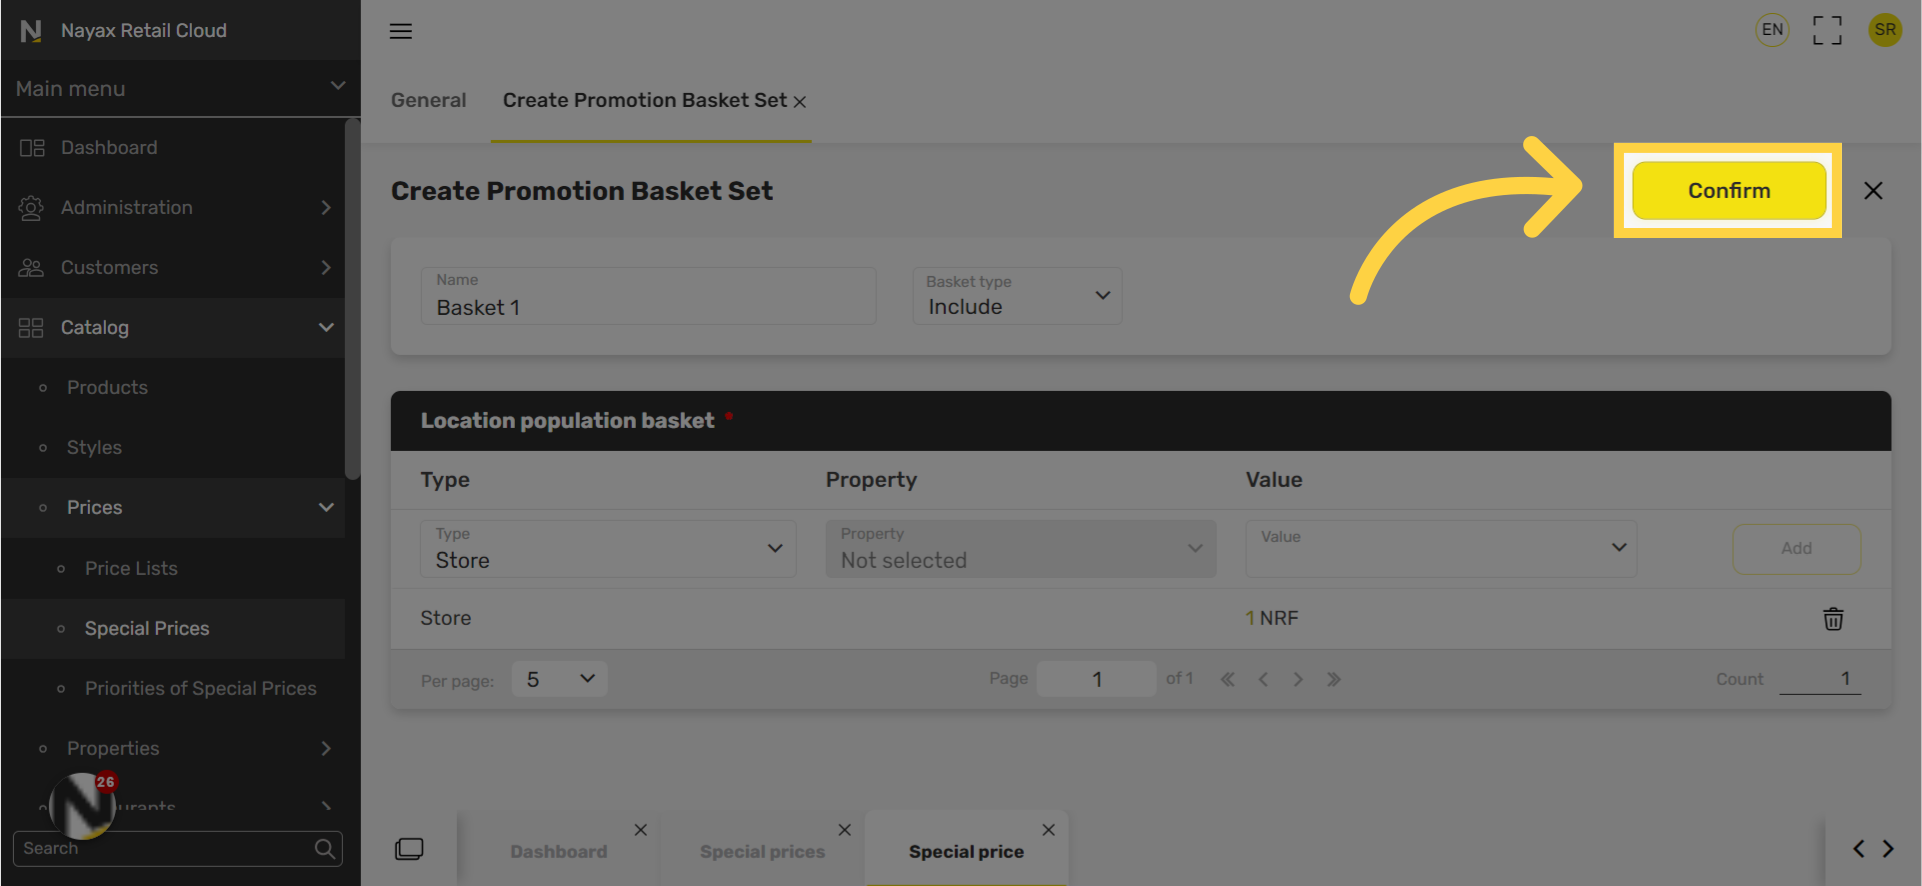
Click Create
Image Attached
Thank you!
Did you find this article helpful?