How to Set Up Product Catalog Manually | Catalog
Setting up your items and catalog is crucial for a successful store. It includes recording important product details - names, prices, variations, and inventory. A well-organized inventory enables efficient sales, accurate reporting, and management.
1
Video Guide
2
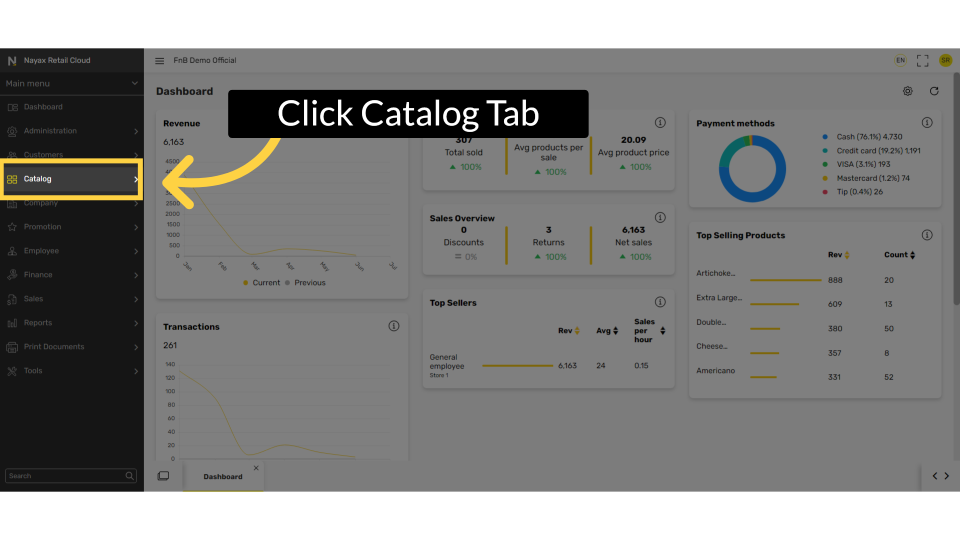
Click Catalog Tab
Image AttachedOn the dashboard of your Retail Core platform, click the Catalog tab from the side menu.
3
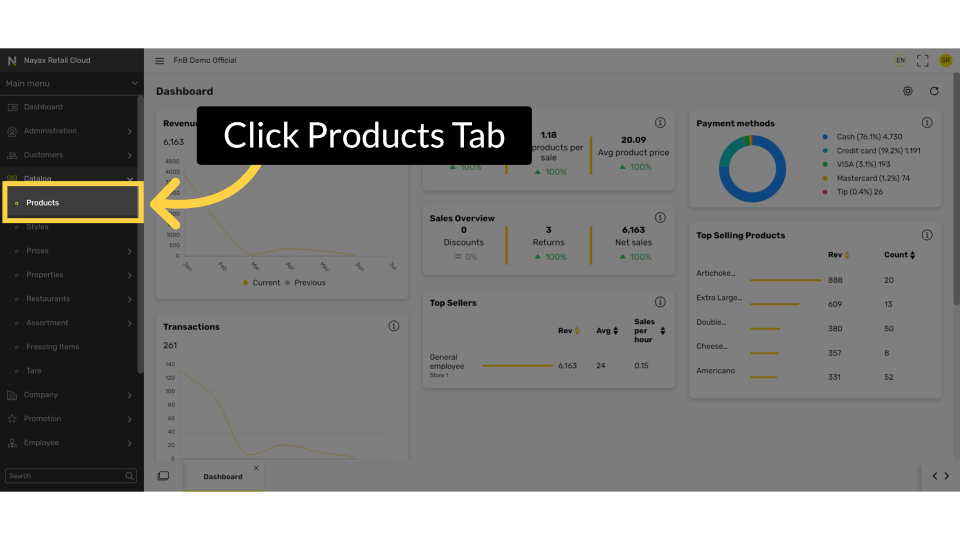
Click Products Tab
Image Attached
In the sub-menu, click on the products tab.
4
Click + Icon
Image Attached
Click the plus icon on the top right of the screen.

5
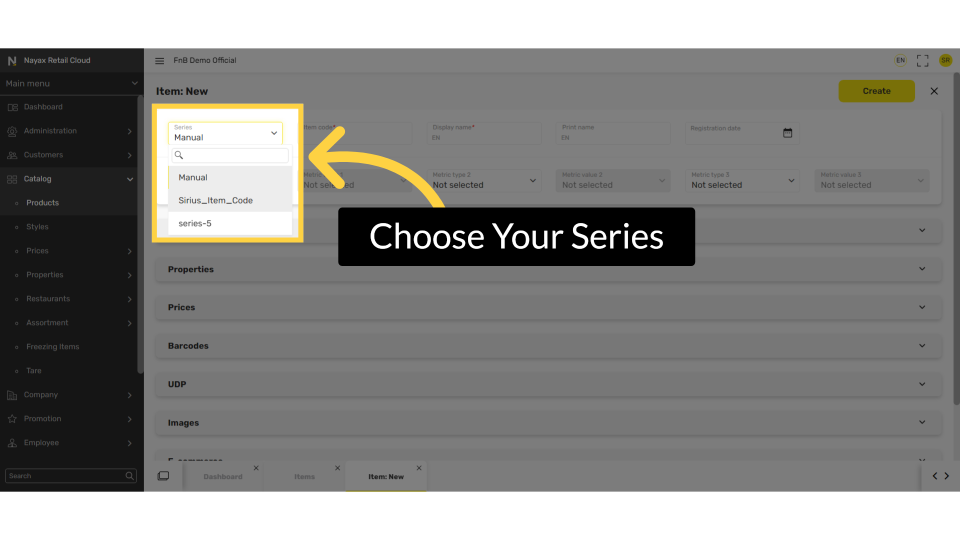
Select Series
Image Attached
Choose your series. You have a choice between manual input and the Sirius auto setting.
Manual - Choose Item codes manually
Sirius - Allocates the Item codes automatically
Sirius - Allocates the Item codes automatically
6
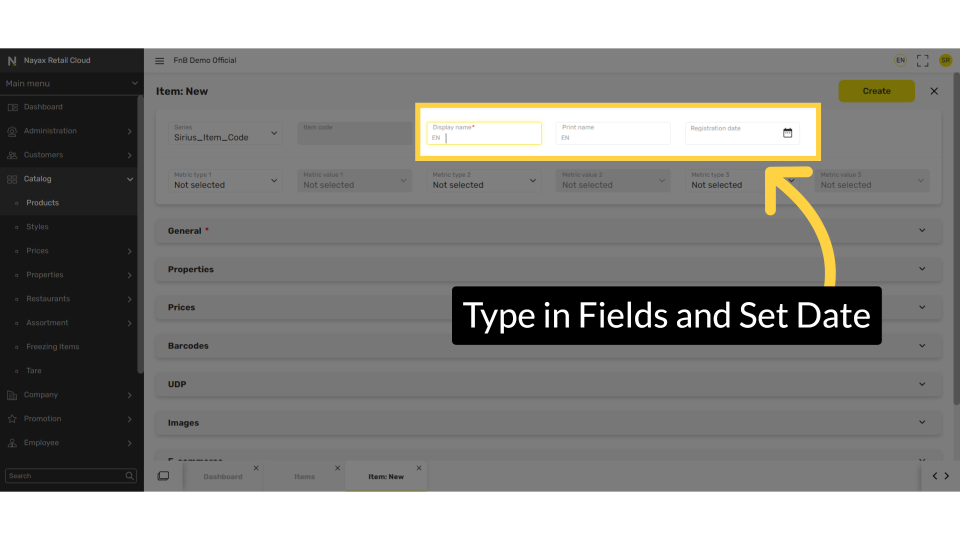
Type in Fields and Set Date
Image Attached
Enter the product item code and display name for this item, then click on the calendar icon to set the date.
7
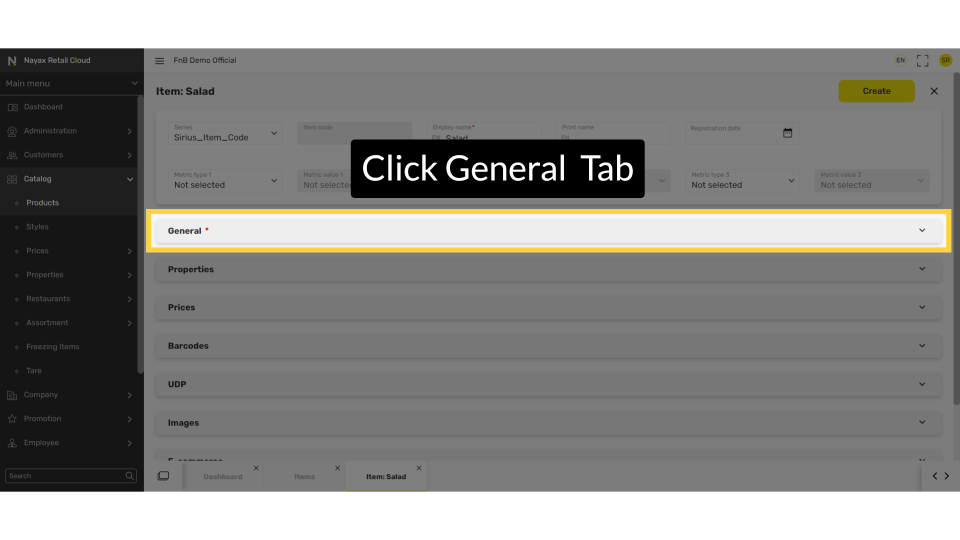
Click General Tab
Image Attached
Scroll down and click on the General field tab.
8
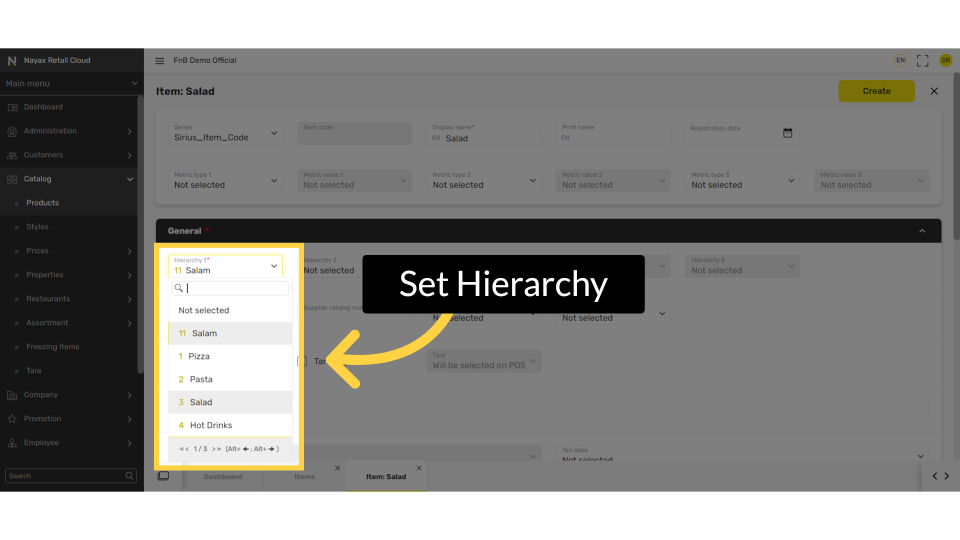
Select Hierarchy
Image Attached
Choose under which hierarchy to set for this product.
9
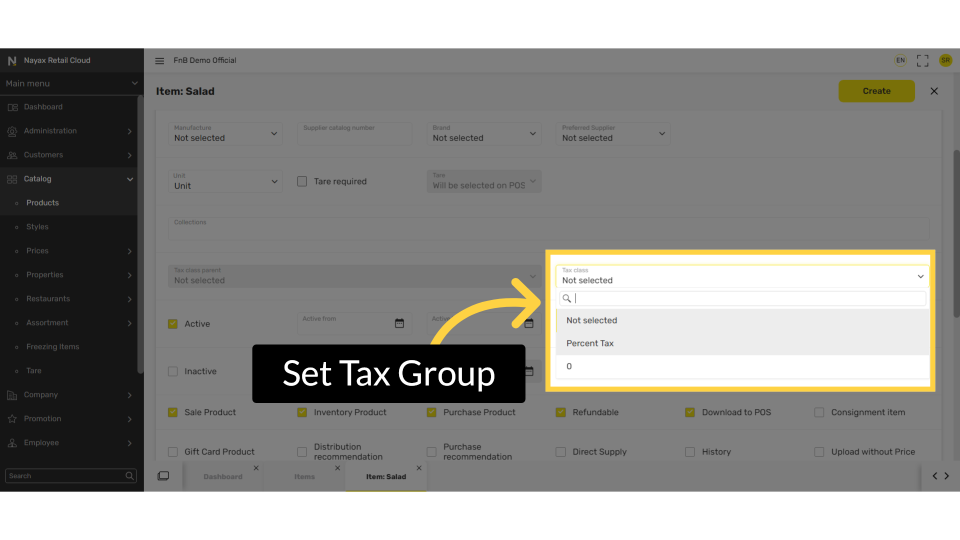
Set Tax Group
Image Attached
Set the default tax group for this product.
10
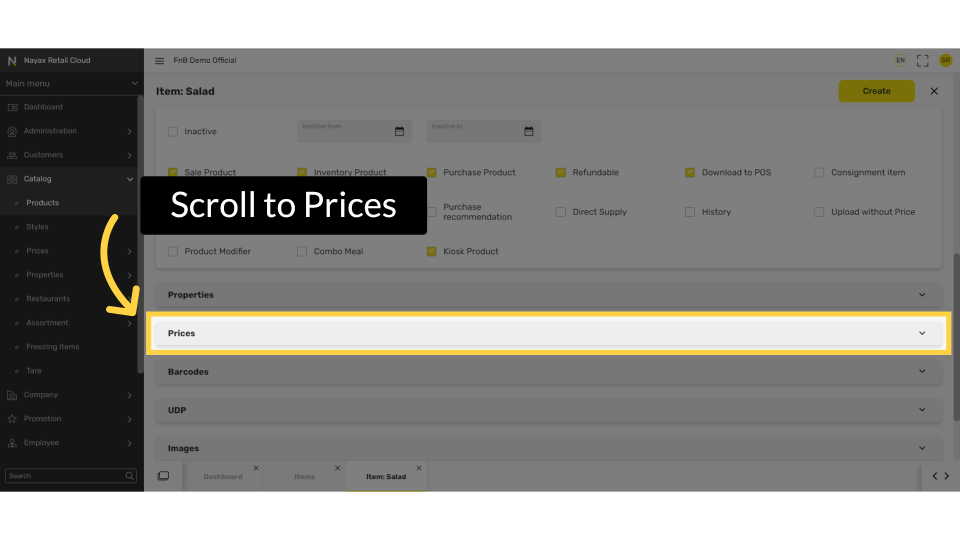
Click Prices Tab
Image Attached
Scroll down and click on to open the prices tab.
11
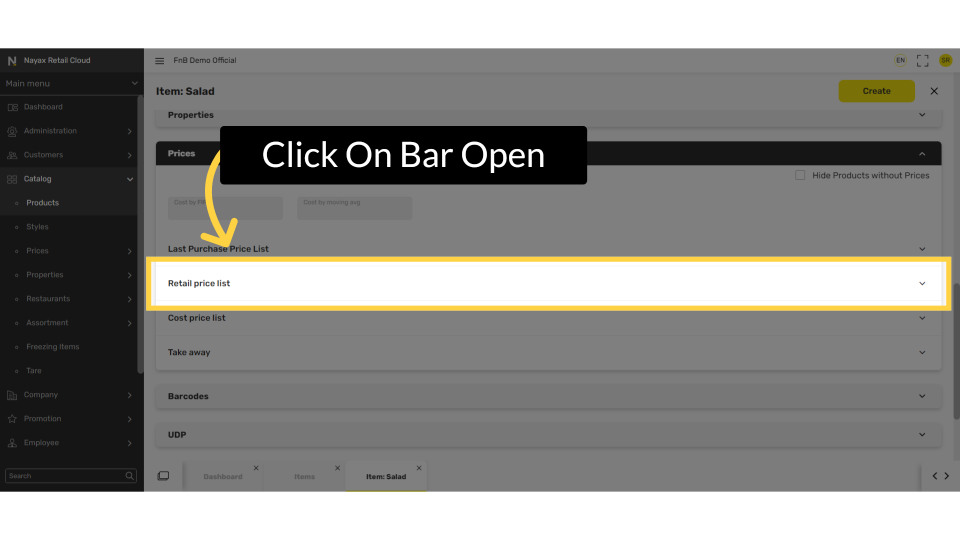
Click Retail Price List Tab
Image Attached
Please scroll down to the Retail Price List tab and click to open it.
12
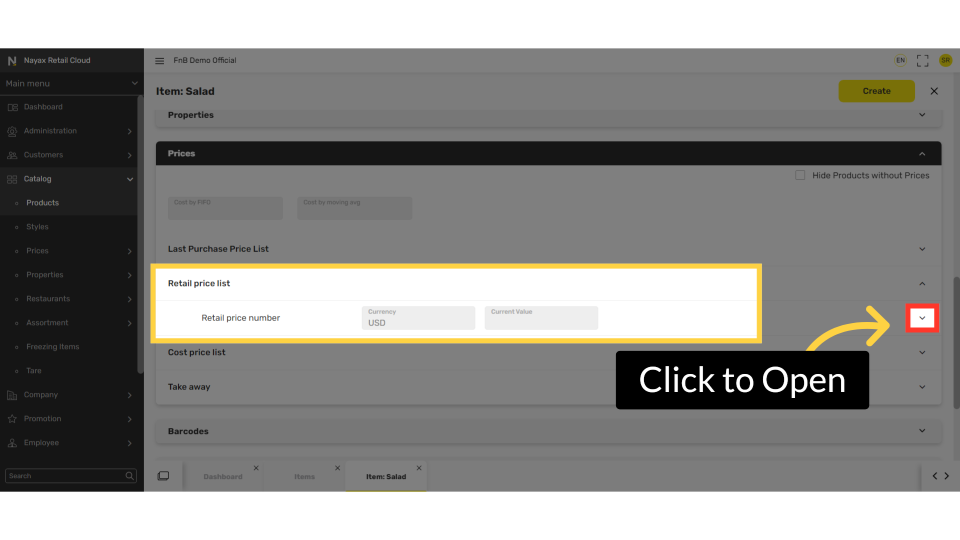
Click Arrow
Image Attached
Click on the arrow tab to open as highlighted in RED.
13
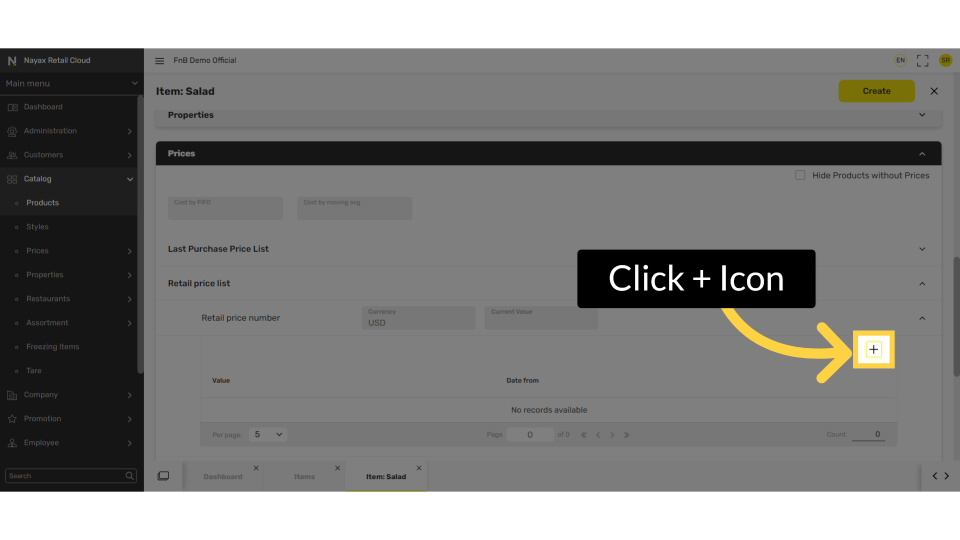
Click + Icon
Image Attached
Click on the plus Icon.
14
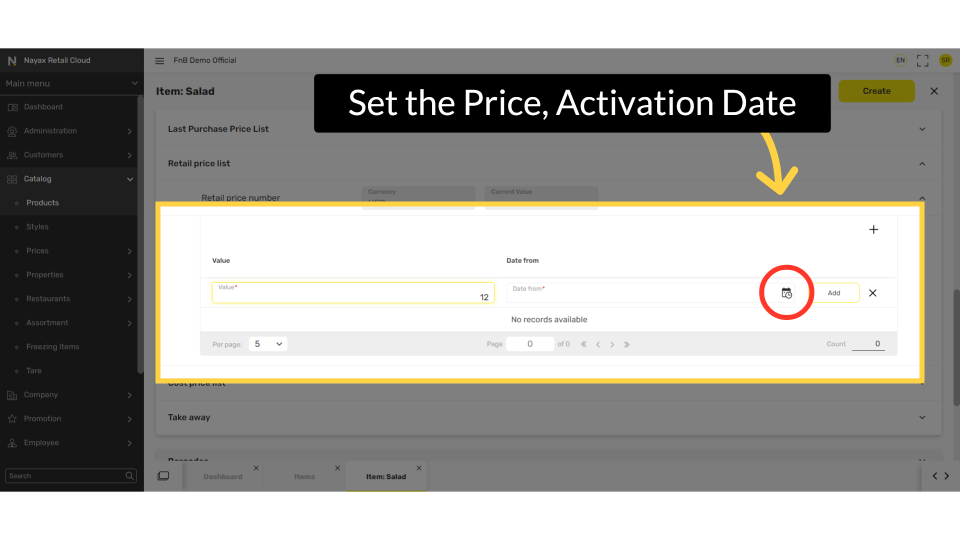
Set Price and Activation Date
Image Attached
Set the price for the item and then the activation date by clicking the calendar icon highlighted in RED to open the calendar.
15
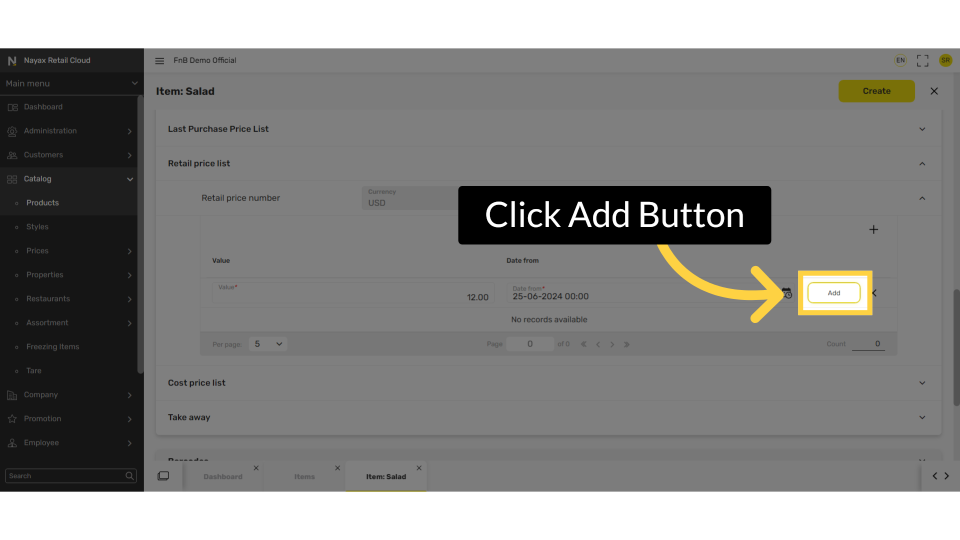
Click Add Button
Image Attached
Click on the add button.
16
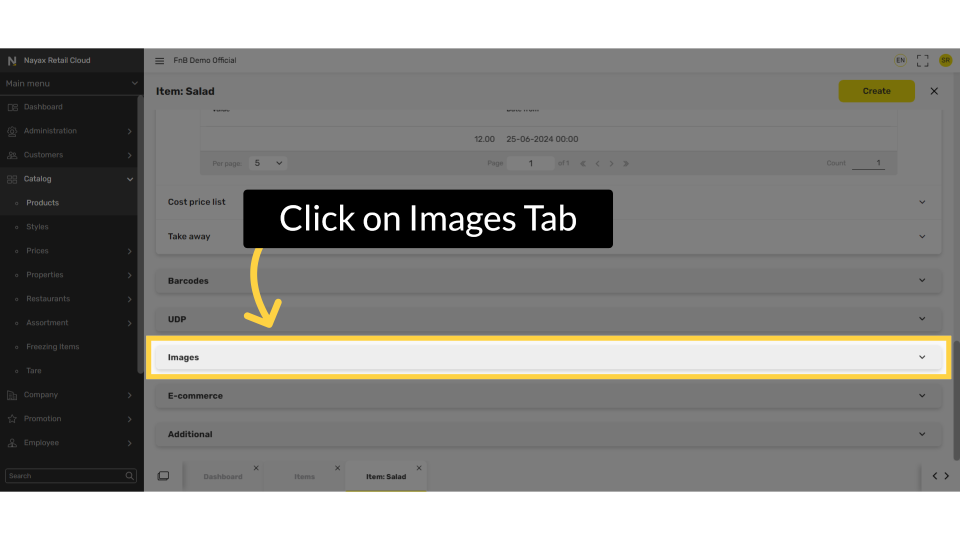
Click on Images Tab
Image Attached
Scroll down to the Images tab and click on it to open a window where you can add your image.
17
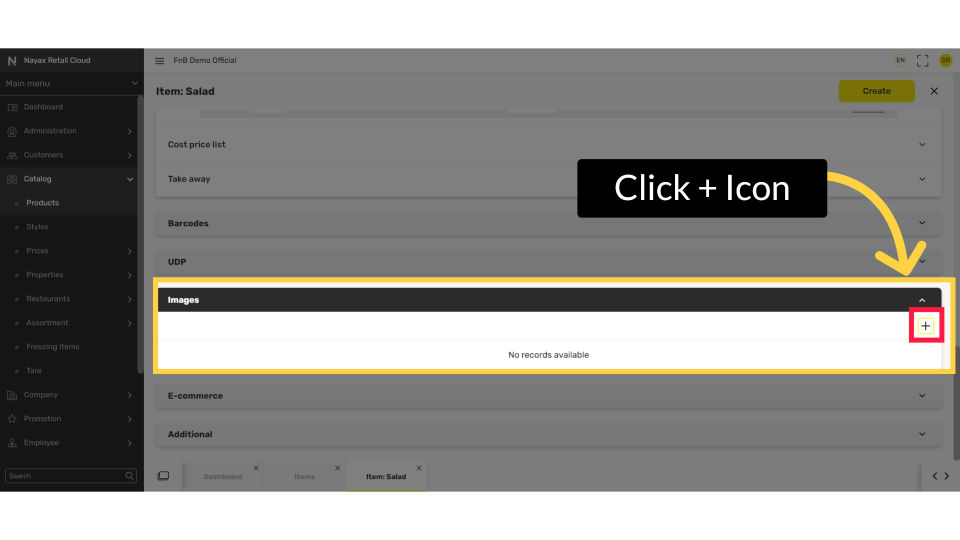
Click + Icon
Image Attached
Click the plus icon under the images section.
18
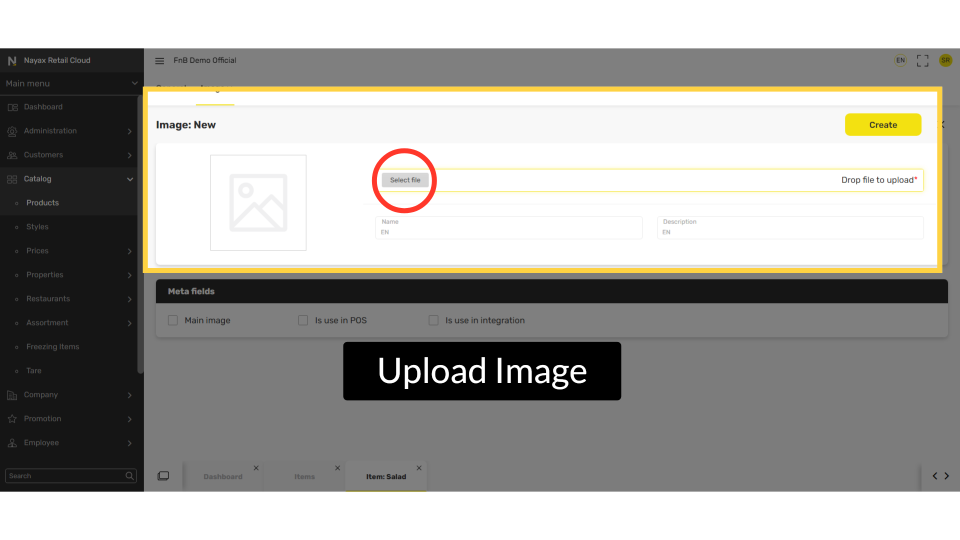
Upload an Image
Image Attached
Click select file and choose the image file to upload.
19
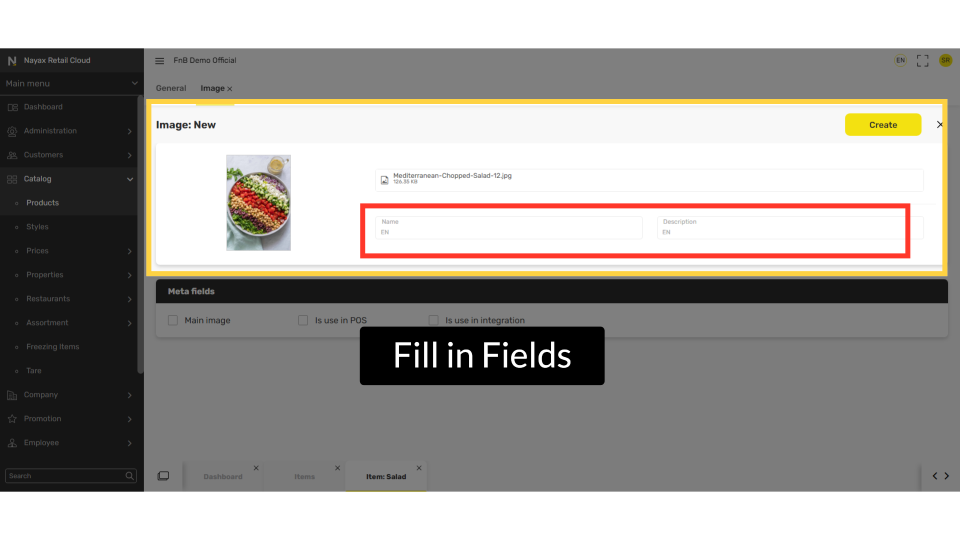
Fill in the following fields:
Image Attached
Type in a name and description.
20
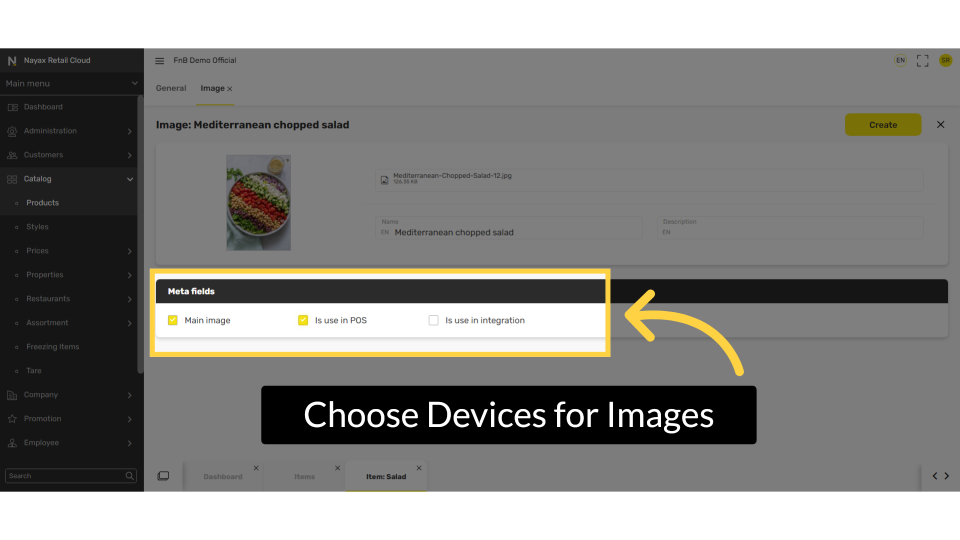
Check Boxes to add Images
Image Attached
In the Meta field, check the boxes to add the image to those devices. Main Image: POS for all devices and integration.
21
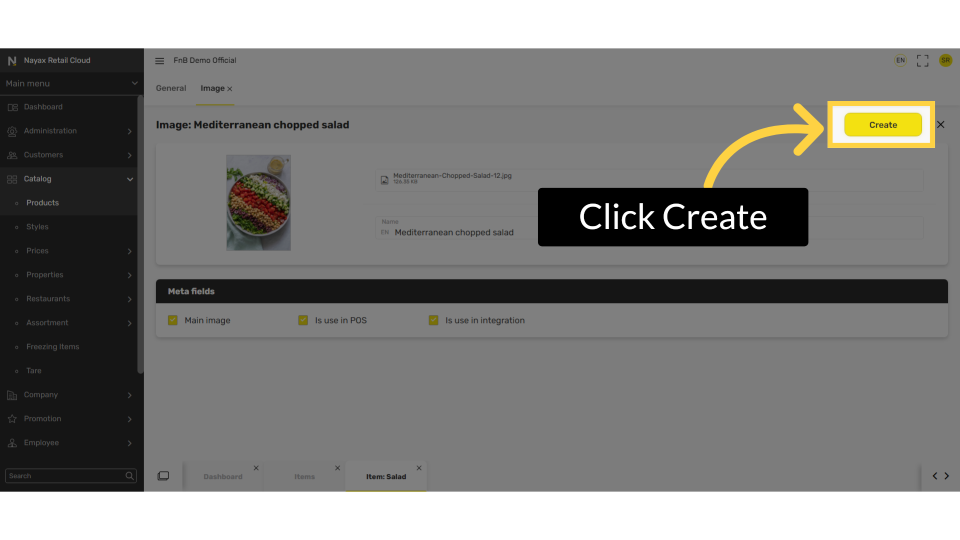
Click Create
Image Attached
Click the Create button.
22
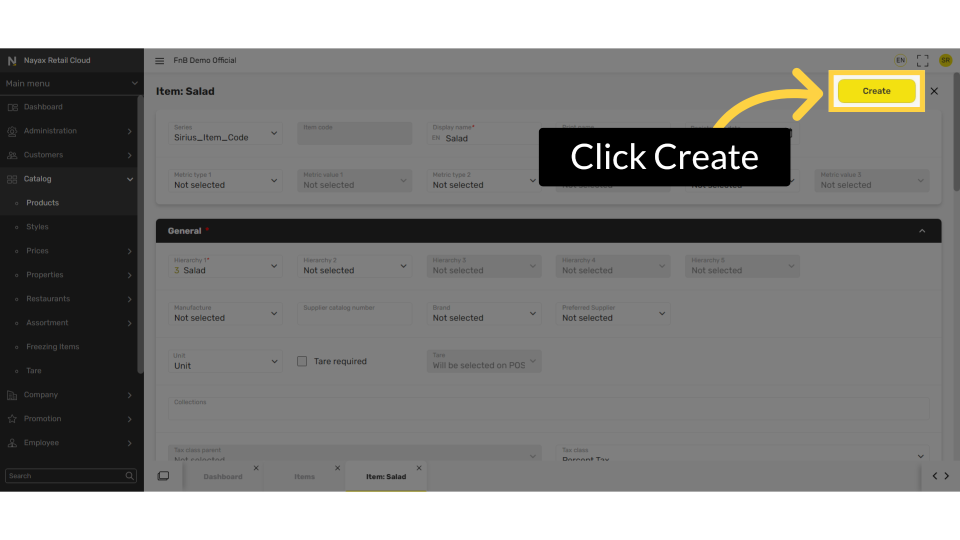
Click Create
Image Attached
Click on the Create button at the top of the screen.
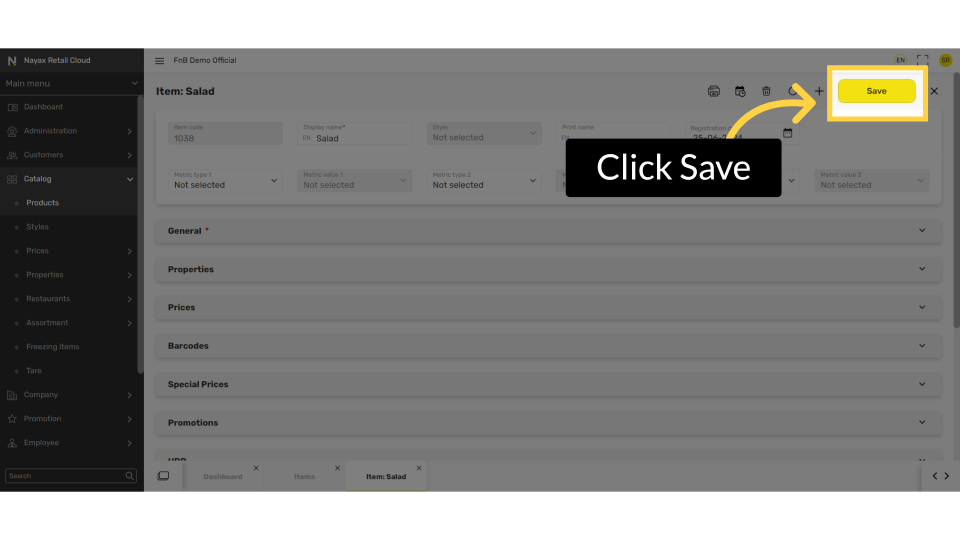
23
Click Save
Image AttachedDon't forget to click save to save your progress.
For additional features to advance your products click here.
Thank you!
Did you find this article helpful?