How to Create a New EV Meter 4 Mini Charging Station | Operations
Creating a new charging station is a vital step in expanding your EV charging network. This guide will walk you through the process of setting up a new charging station using the Nayax Energy Core management suite.
1
Video Guide
2
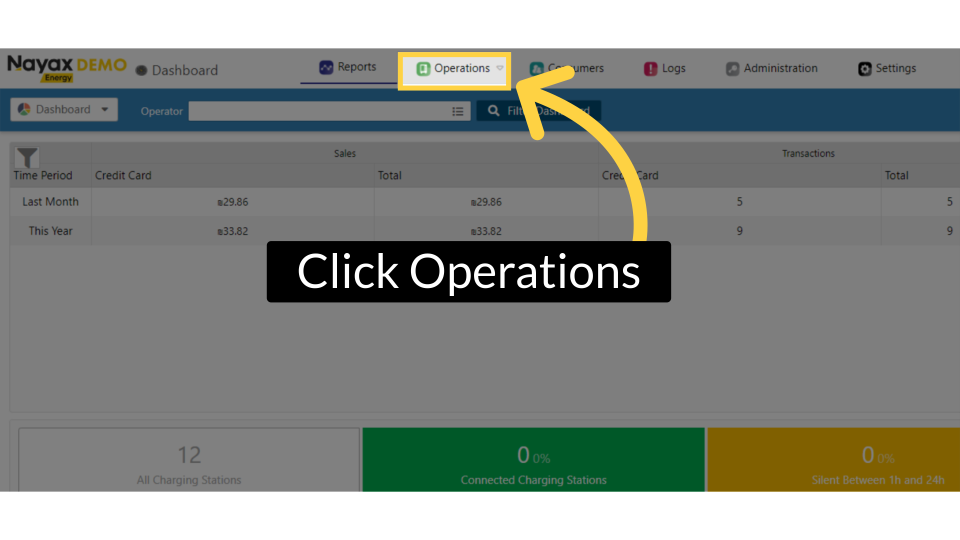
Click Operations
Image Attached
On the Dashboard of your Nayax Energy Core management suite click on the Operations tab.
3
Click Charging Stations
Image Attached
Click on the Charging Stations tab from the drop down menu.

4
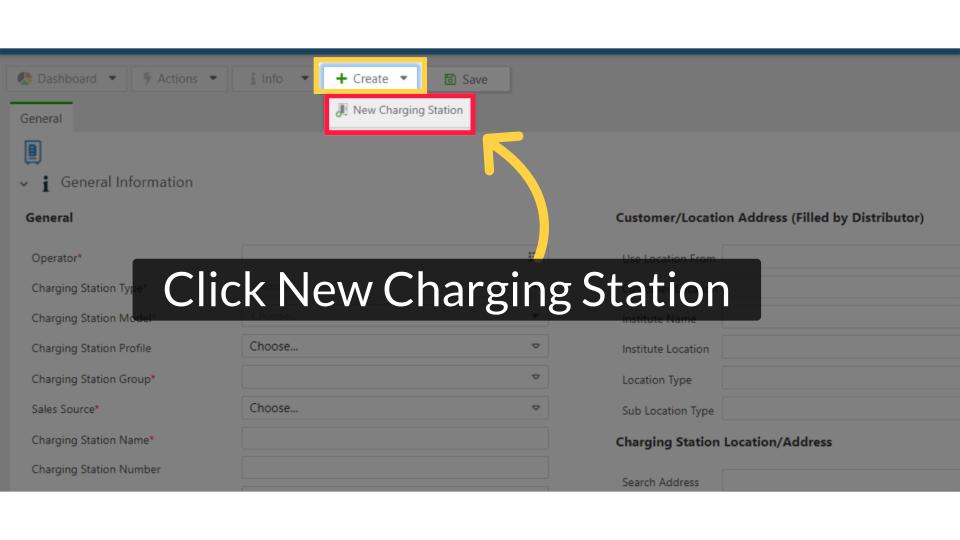
Click New Charging Station
Image Attached
Click the Create tab and then click the add new charging station from the drop down menu as highlighted in RED on the visual.
5
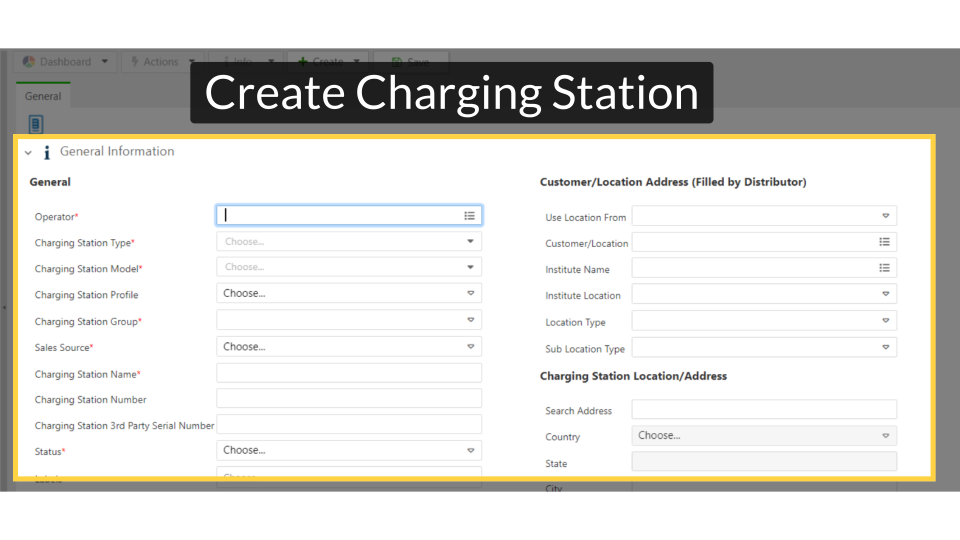
Create Charging Station
Image Attached
Now to add the new charging Station information. We need to create it by filling the General Information section as follows:
6
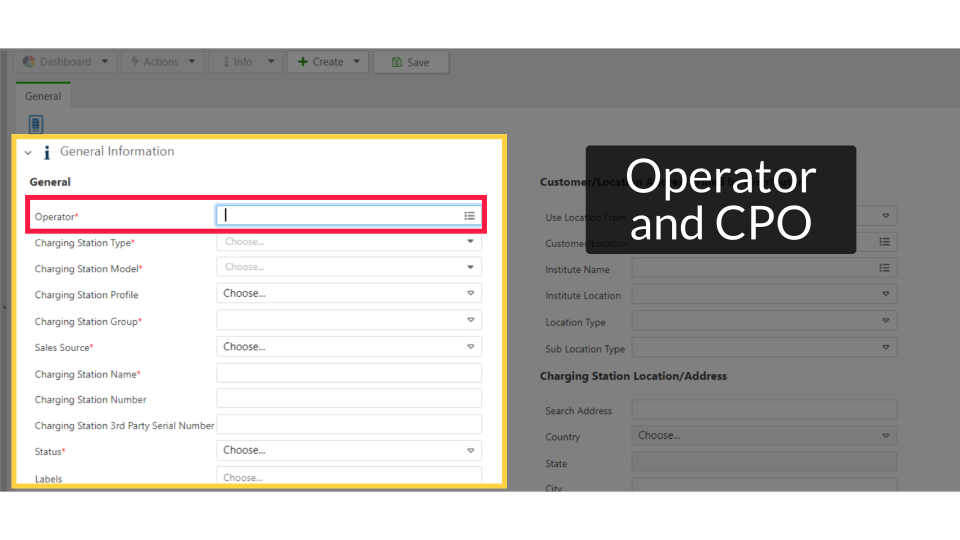
Operator and CPO
Image Attached
For Operator choose the CPO for this machine to be created under.
7
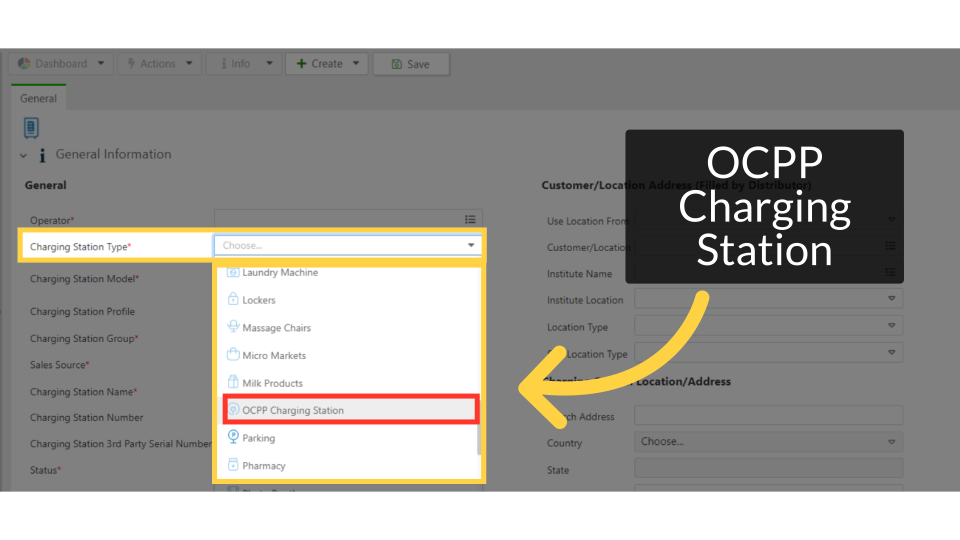
Select OCPP Charging Station
Image AttachedFor Charging Station type select OCPP Charging Station from the drop down menu as highlighted.
8
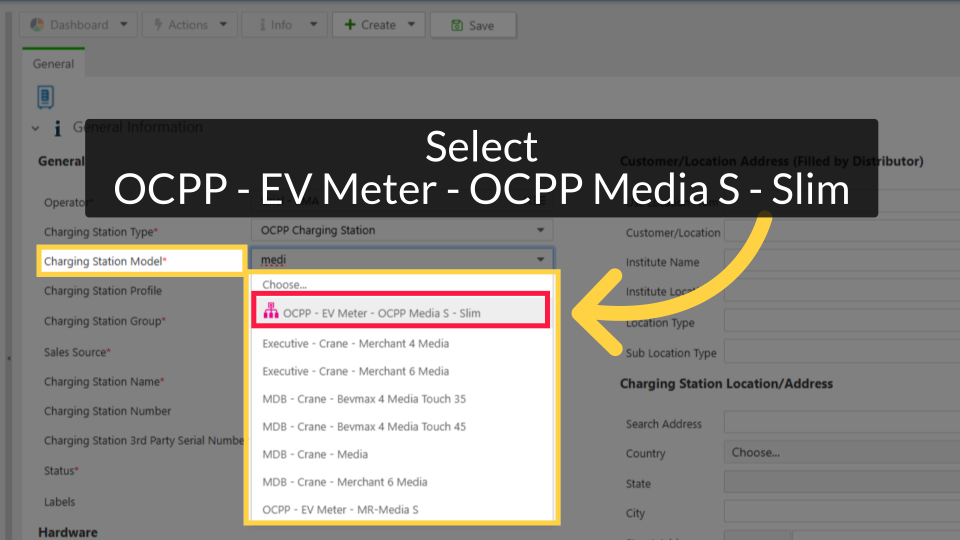
Charging Station Model
Image AttachedFor Charging Station Model select according to your charger and payment device on the charger.
For Media Slim from the drop down menu select OCPP Media S Slim as highlighted.
9
Click Cashless + Telemetry
Image Attached
For Charging Station Profile
- Choose Cashless + Telemetry for VPOST/Onyx devices
- Choose Telemetry only for AMIT/AMIT BLE

10
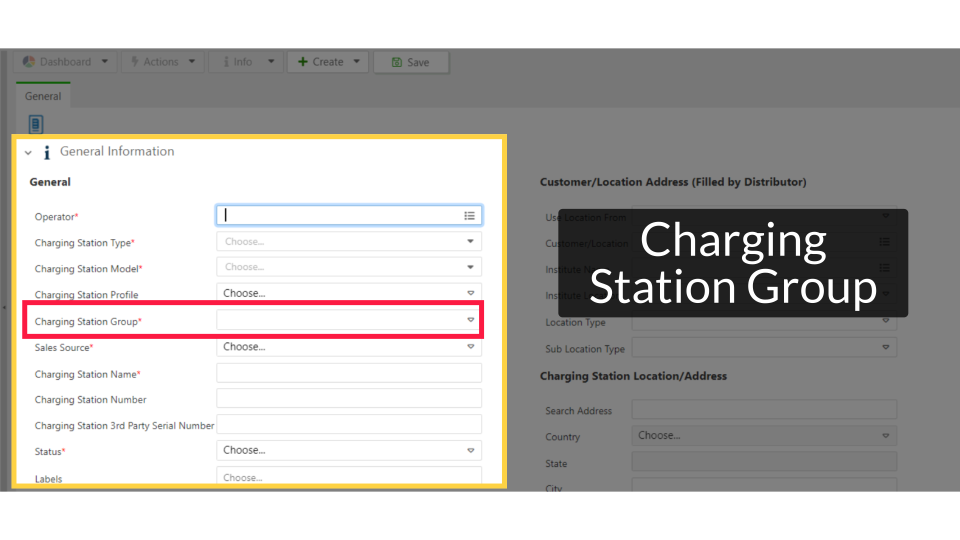
Charging Station Group
Image Attached
For Charging Station Group select the group this Charge Point will be associated with.
11
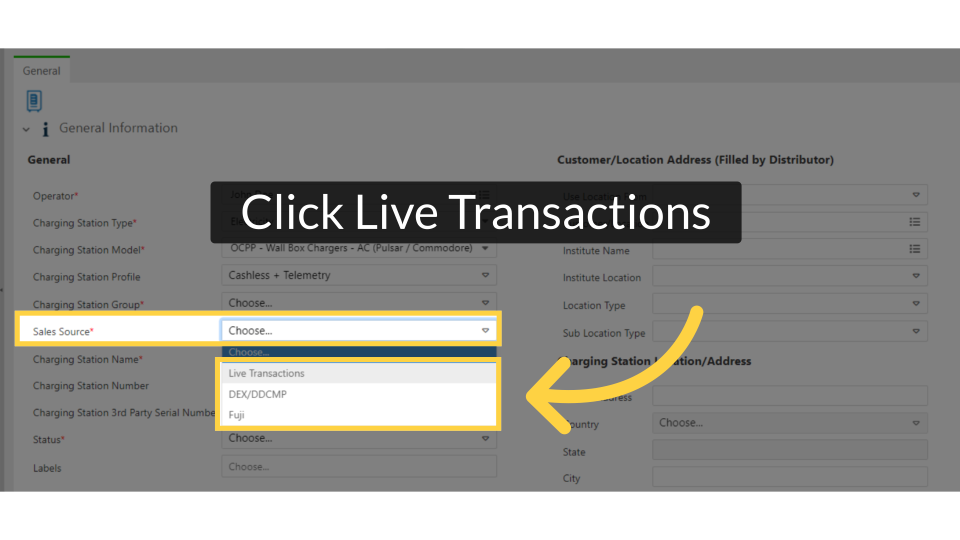
Click Live Transactions
Image Attached
For Sales Source Choose Live Transactions.
12
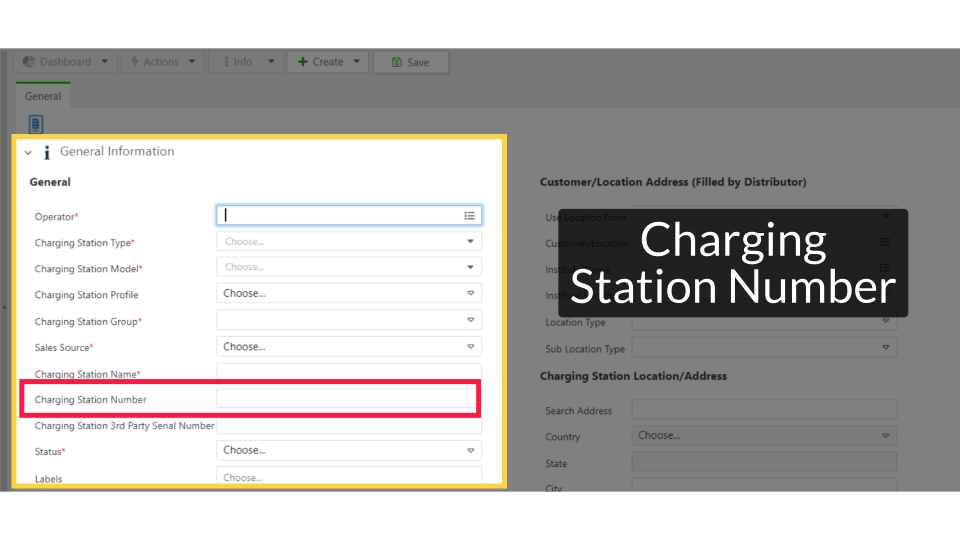
Charging Station Number
Image Attached
For Charging Station Number input the Device Number this is a sticker on the media Slim device edge.
13
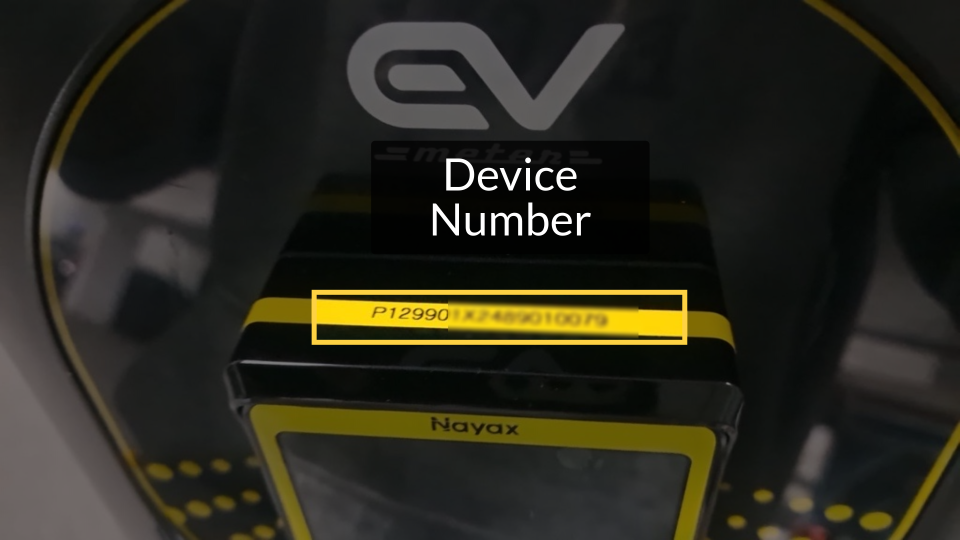
Device Number
Image Attached
Device Number this is a sticker on the media Slim device edge as highlighted on the visual.
14
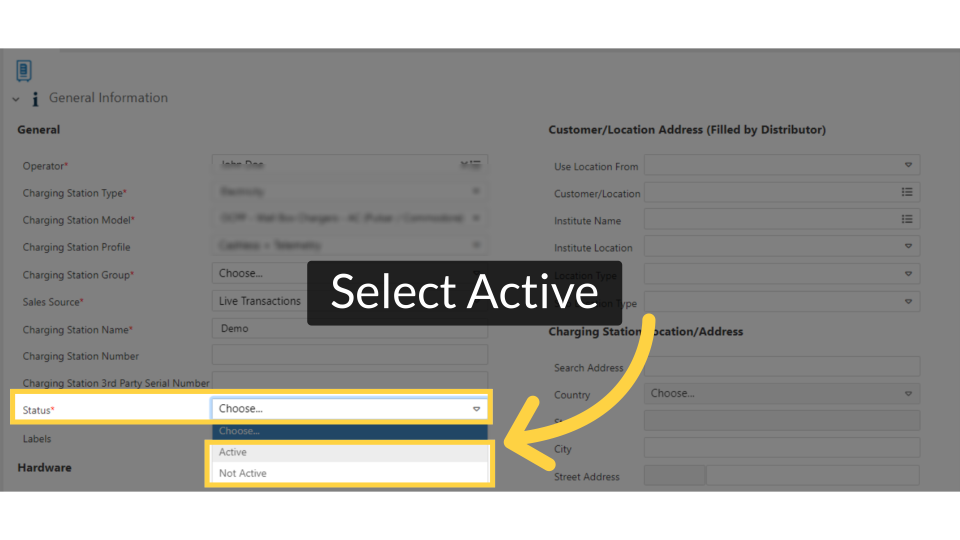
Select Active
Image Attached
For Status Select Active for this charging station to go live immediately.
15
Click Dynamic Descriptor
Image Attached
For the Dynamic Descriptor settings fill in the fields for country, city and postal code.

16
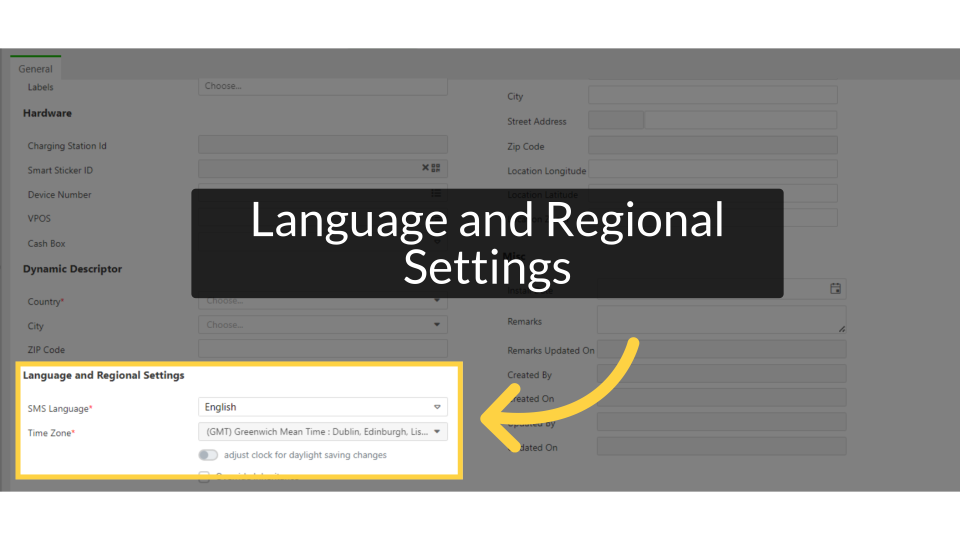
Language and Regional Settings
Image Attached
For the Language and Regional Settings set the SMS language for the Charger.
17
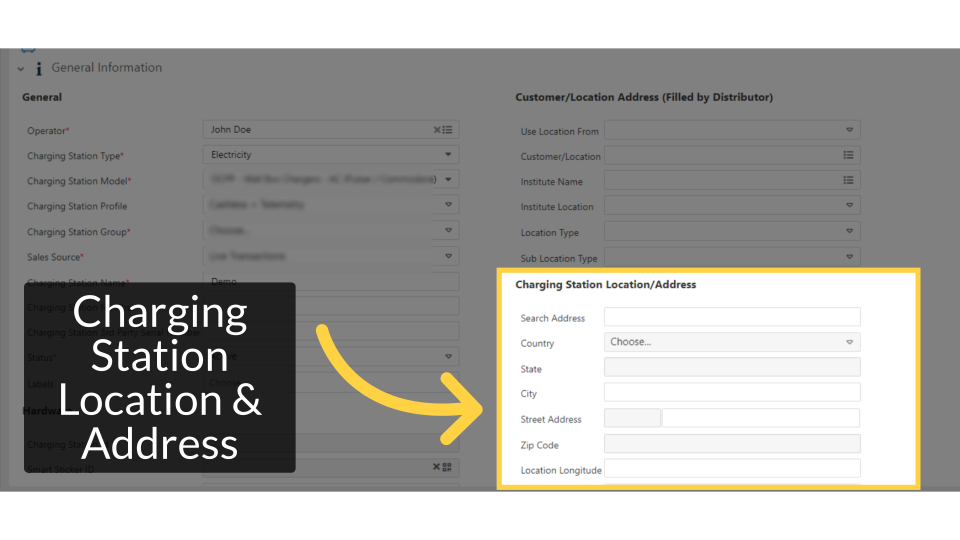
Charging Station Location & Address
Image Attached
For Charging Station Location Fill in the fields for the Charging Point location.
This is a recommended step in order to set the charge point on the dashboard map widget.
Note: In case of multiple charger points on the same address, type the information of the Location longitude and Location Latitude, to prevent overlapping on the map widget.
18
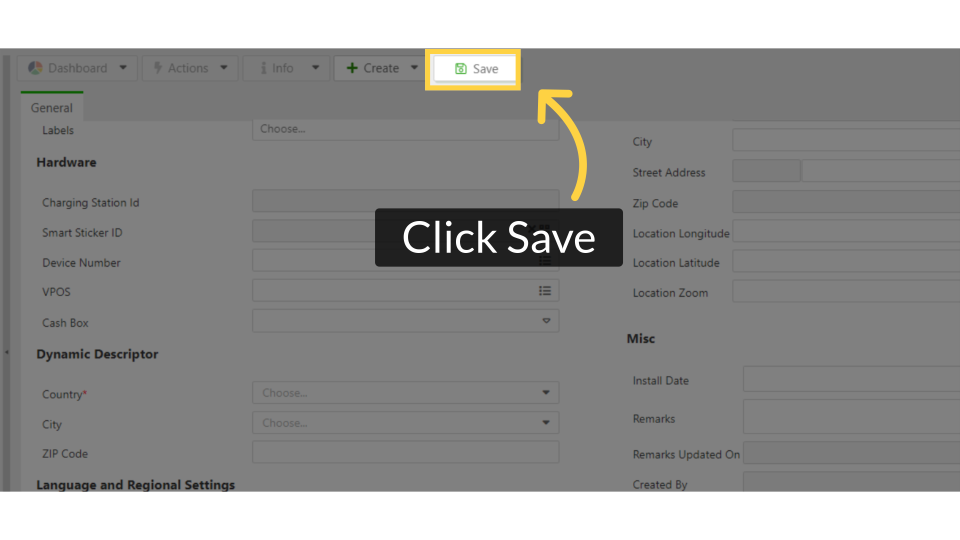
Click Save
Image Attached
Click on the save button to save your progress.
We hope this guide was able to walk you through the process, we ask you to please help us help you by leaving feedback!
Thank you!
Did you find this article helpful?