How to Create a Modifier Group | Catalog
To link modifiers to products, start by creating a modifier group. E.g. a modifier group for food temperatures would include options such as Medium well, Well done, and Rare. This allows you to easily associate specific modifiers with your products.
Video Guide
00:00: Mastering the creation of Modifier Groups in Retail Core is crucial. This guide will walk you through each precise action needed to successfully set up Modifier Groups, ensuring seamless operations within your retail environment.
Click Catalog Tab
Image Attached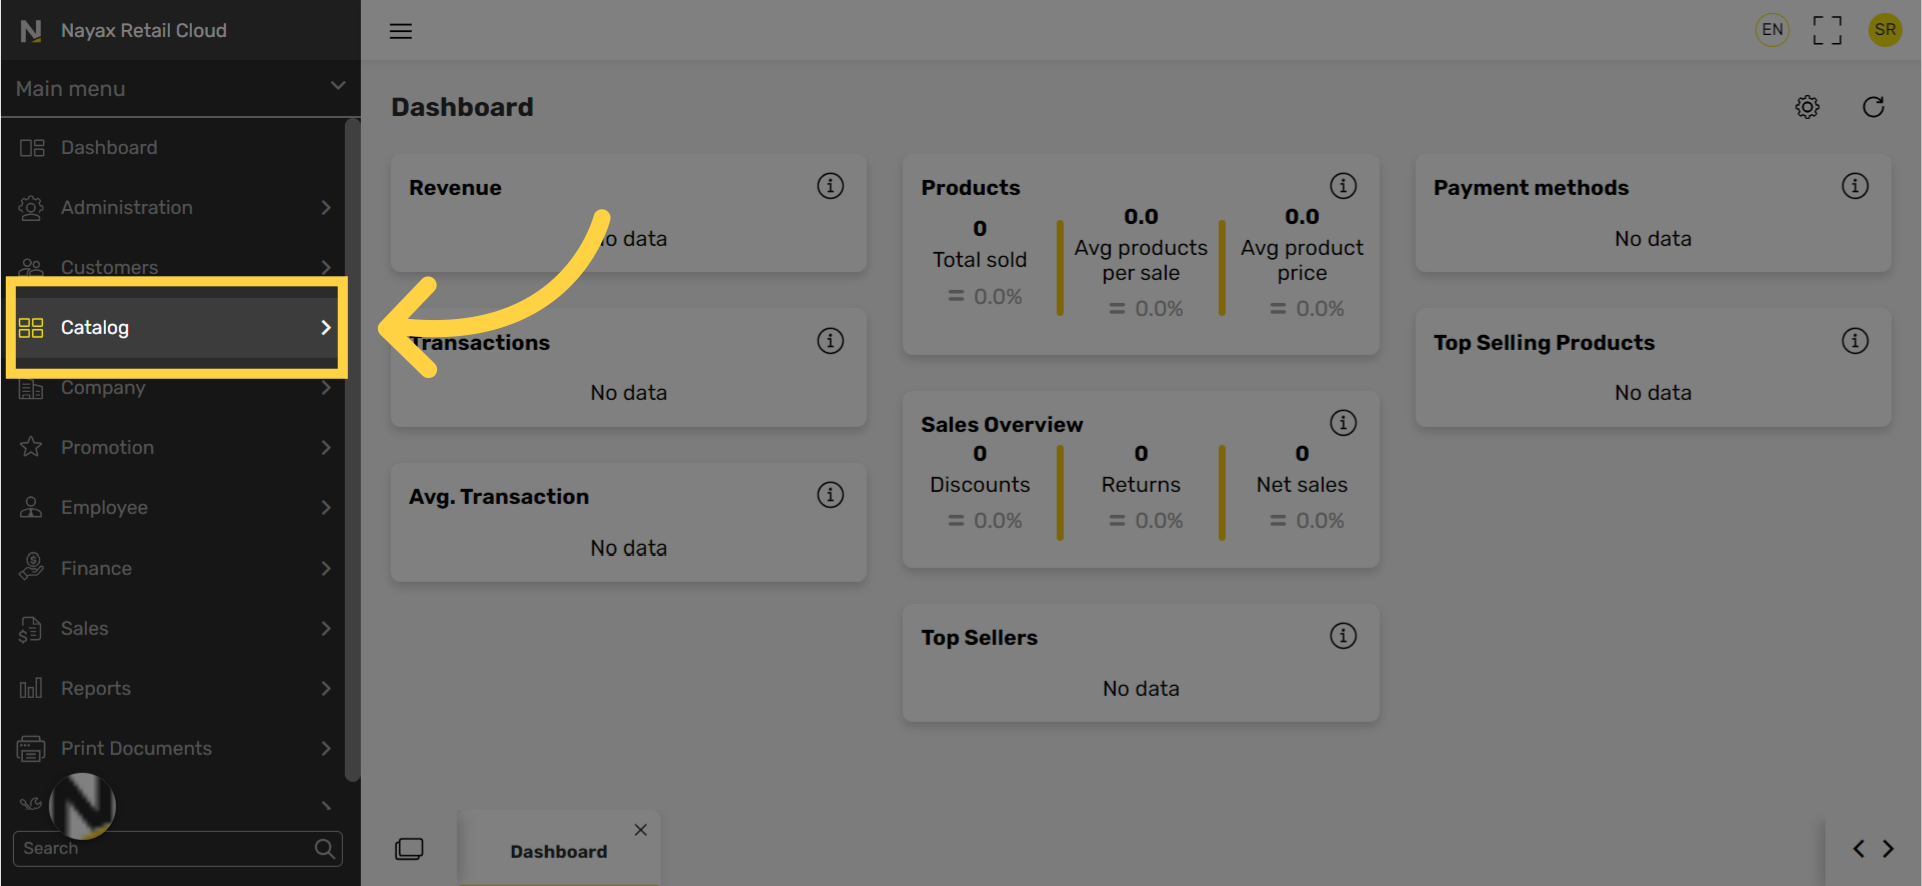
Click Restaurants Tab
Image Attached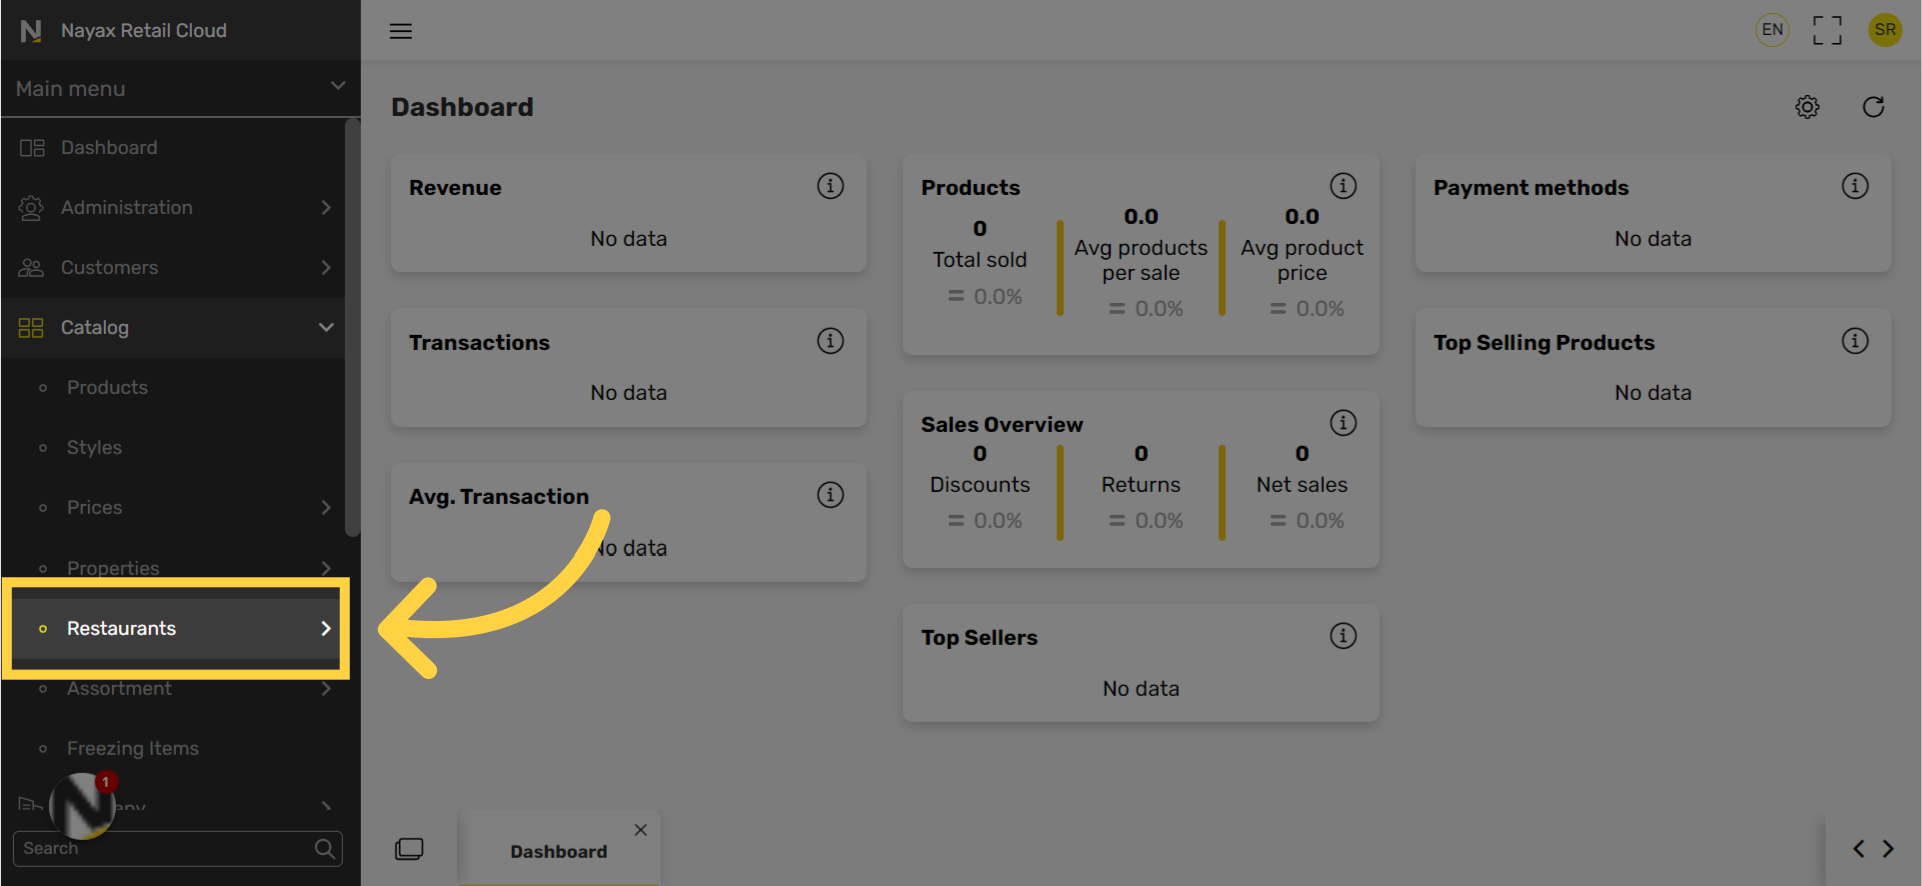
Click Modifier Groups Tab
Image Attached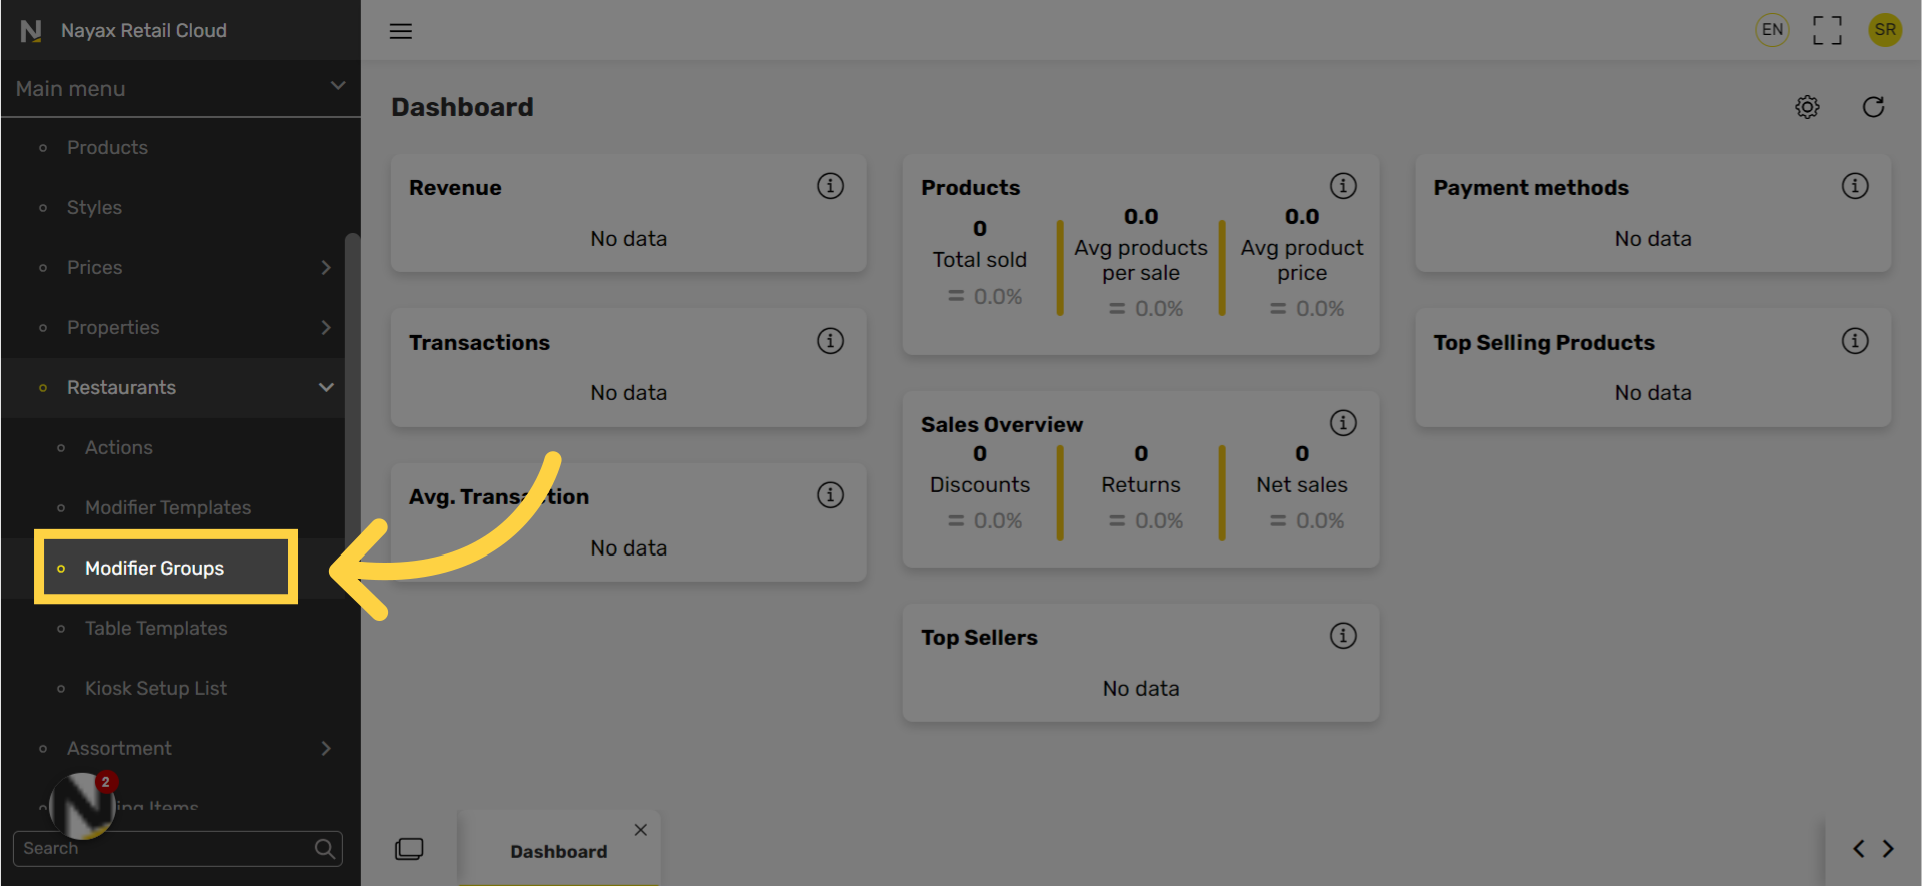
Click + Icon
Image Attached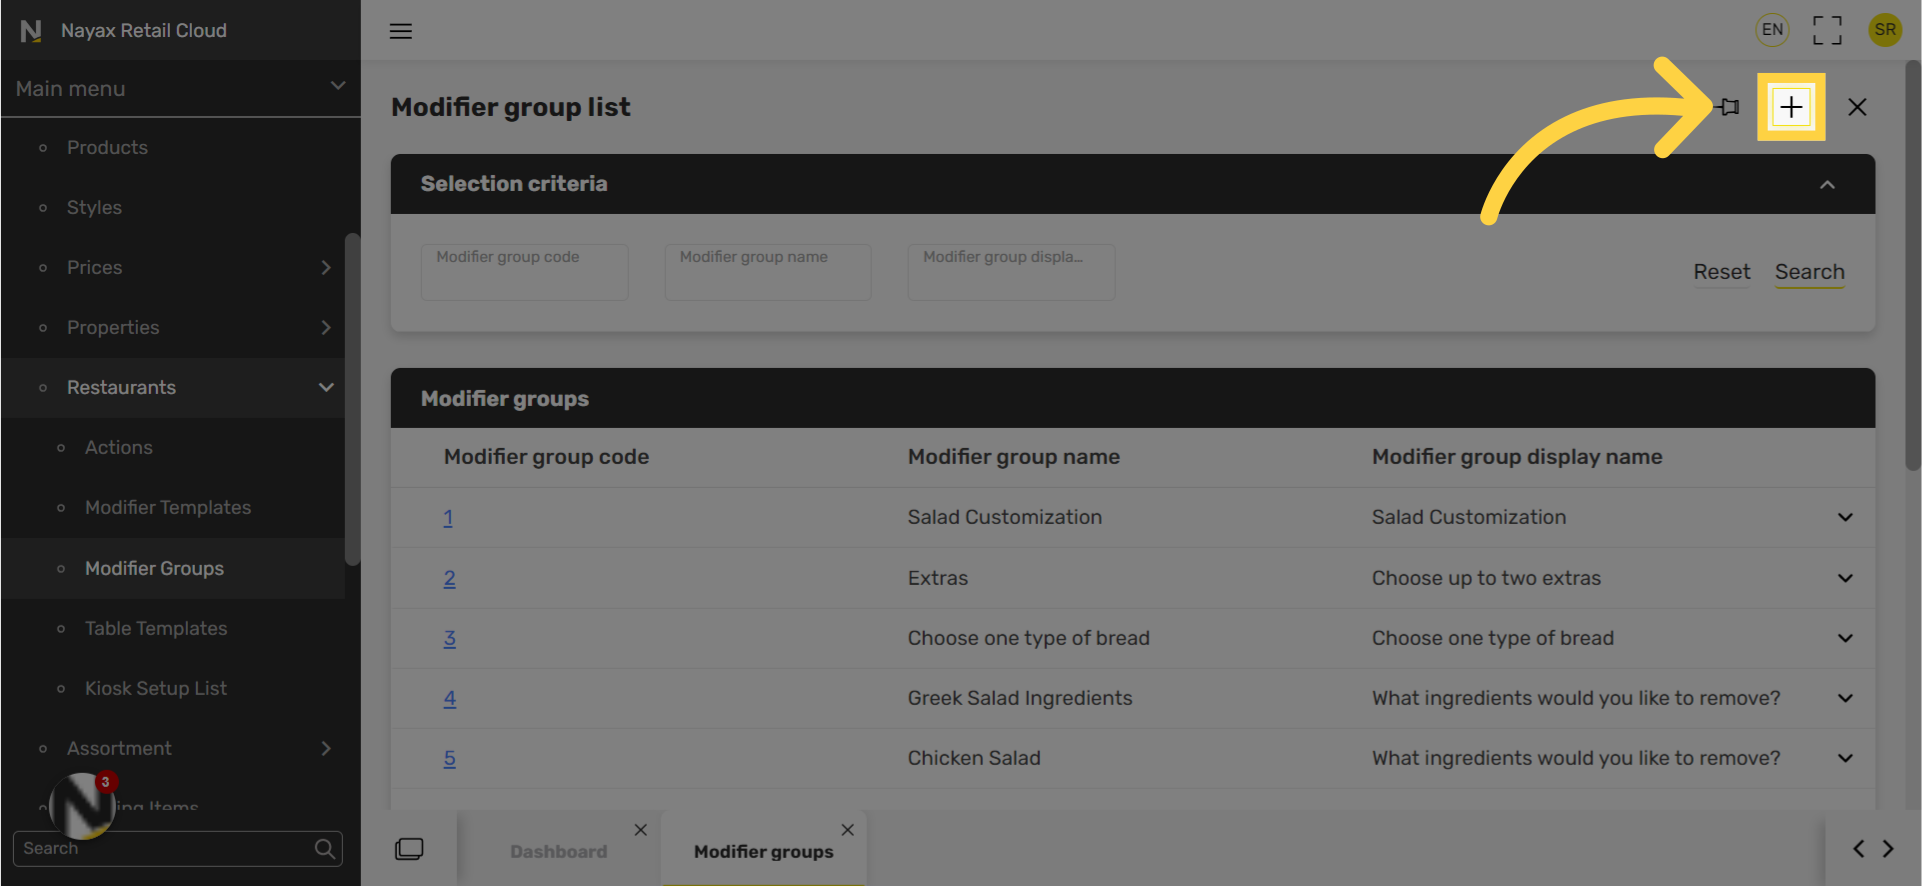
Type Modifier Group Code
Image Attached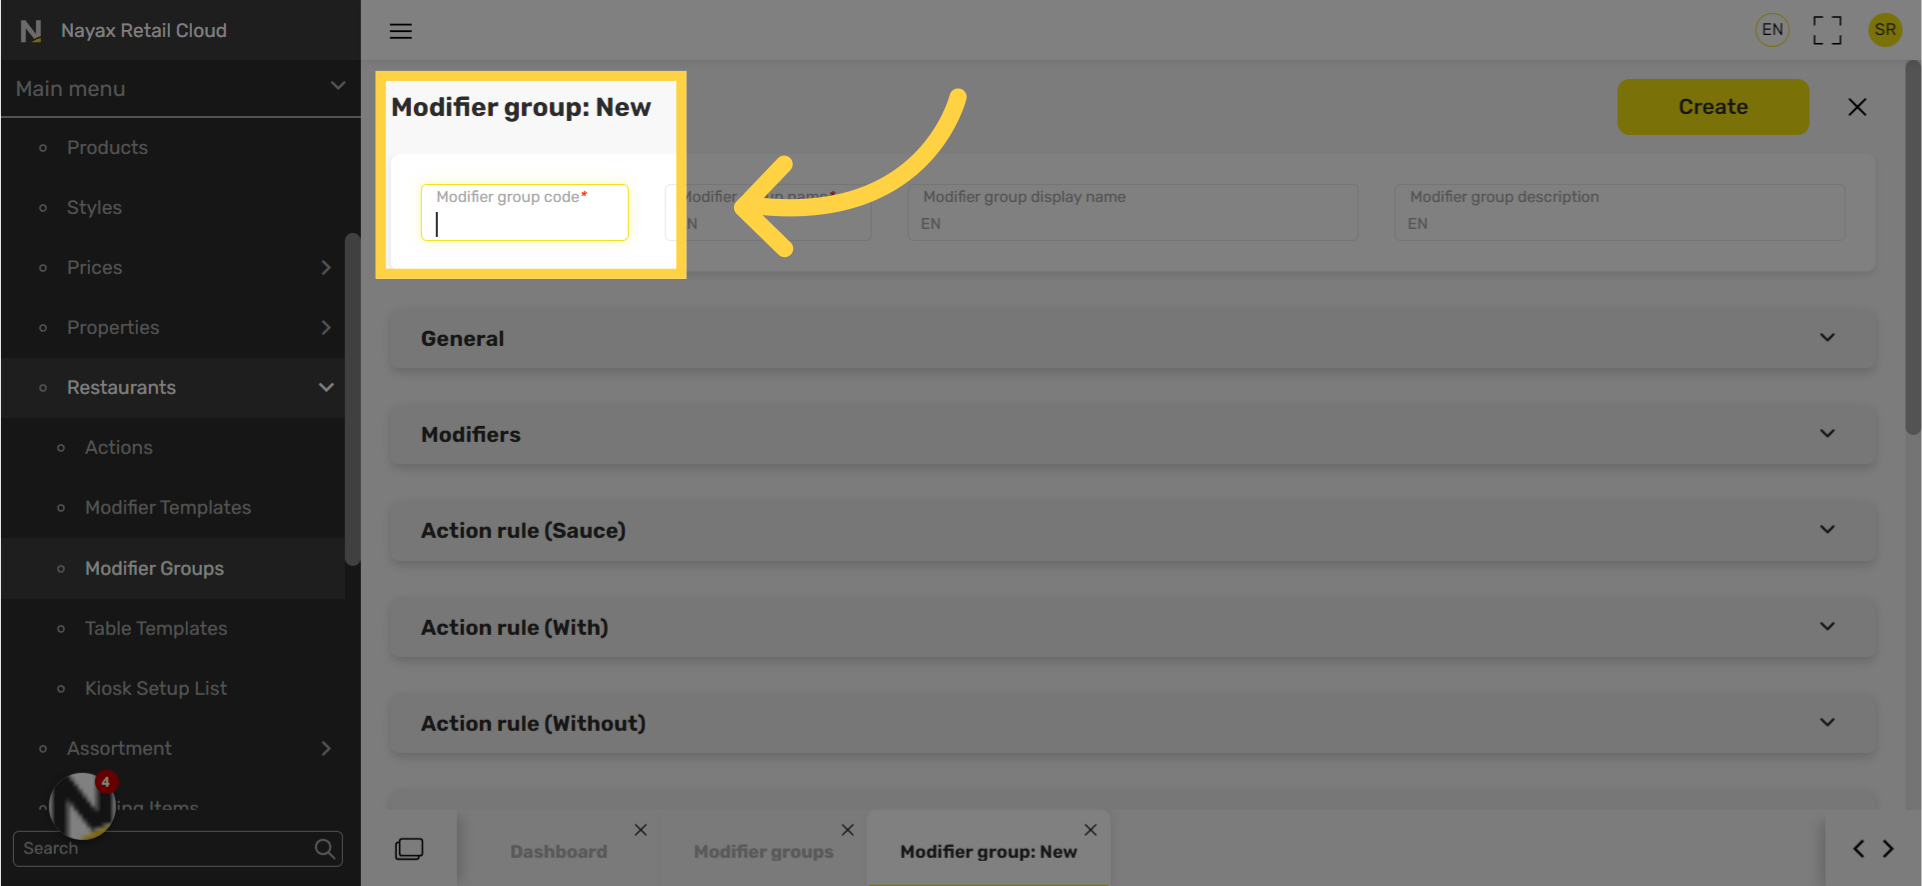
Type Modifier Group Name
Image Attached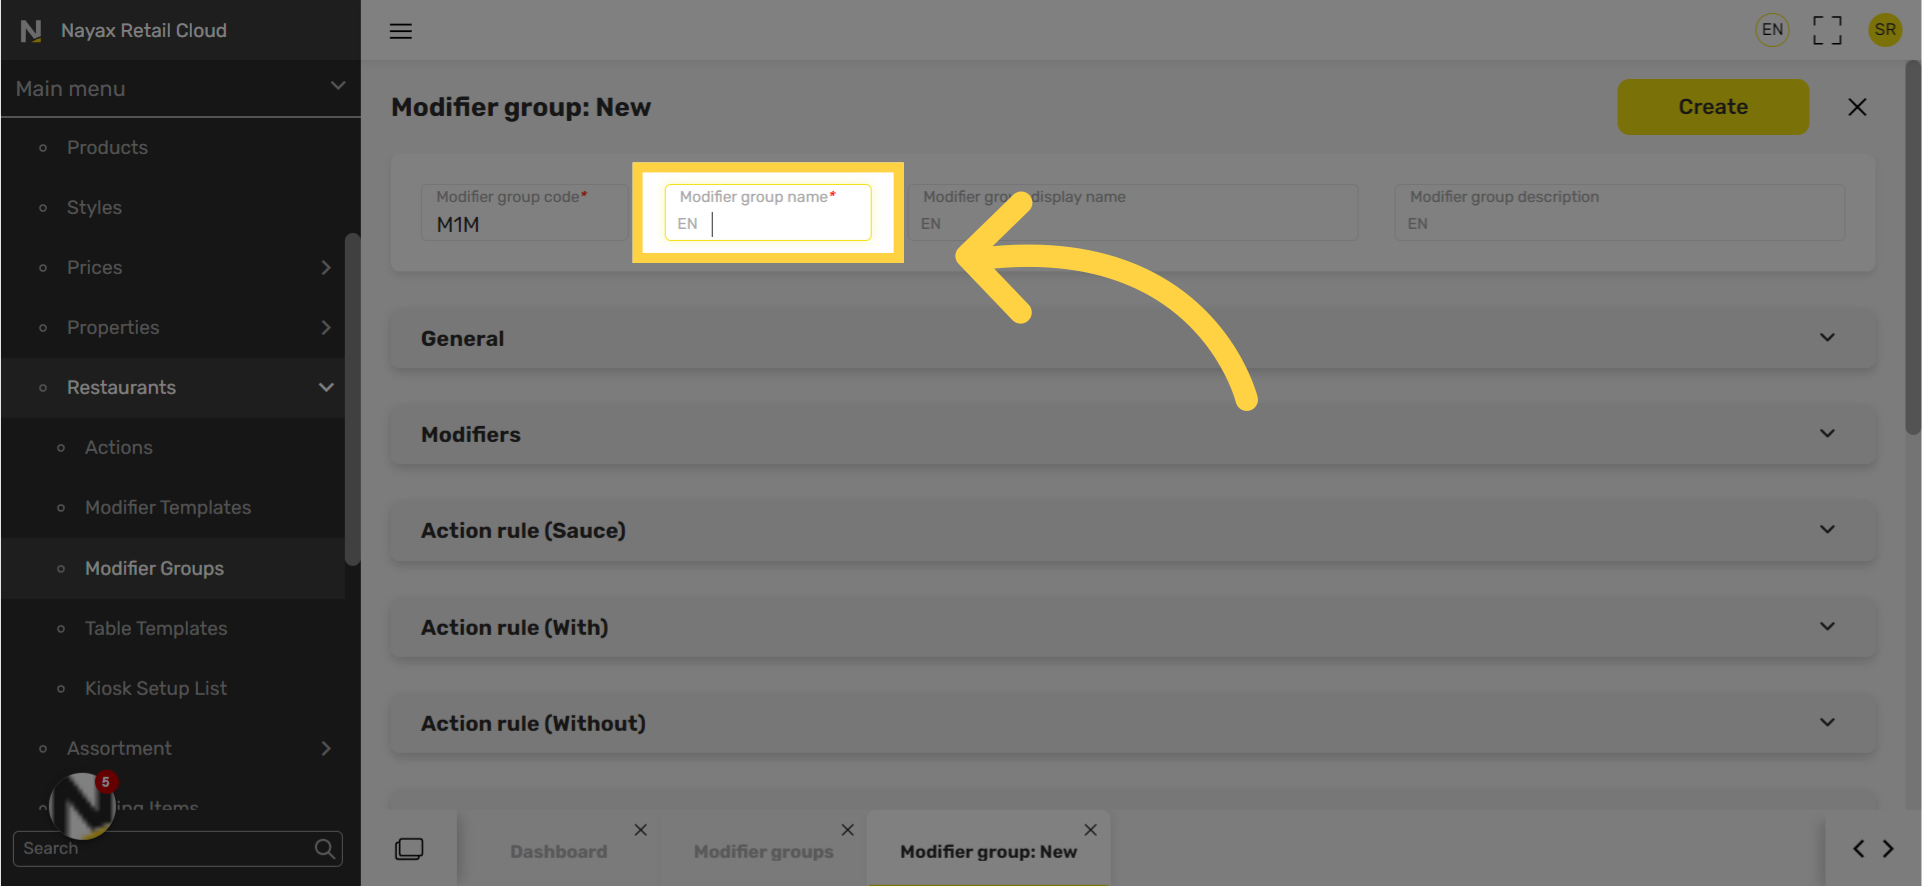
Type Modifier Group Name Display
Image Attached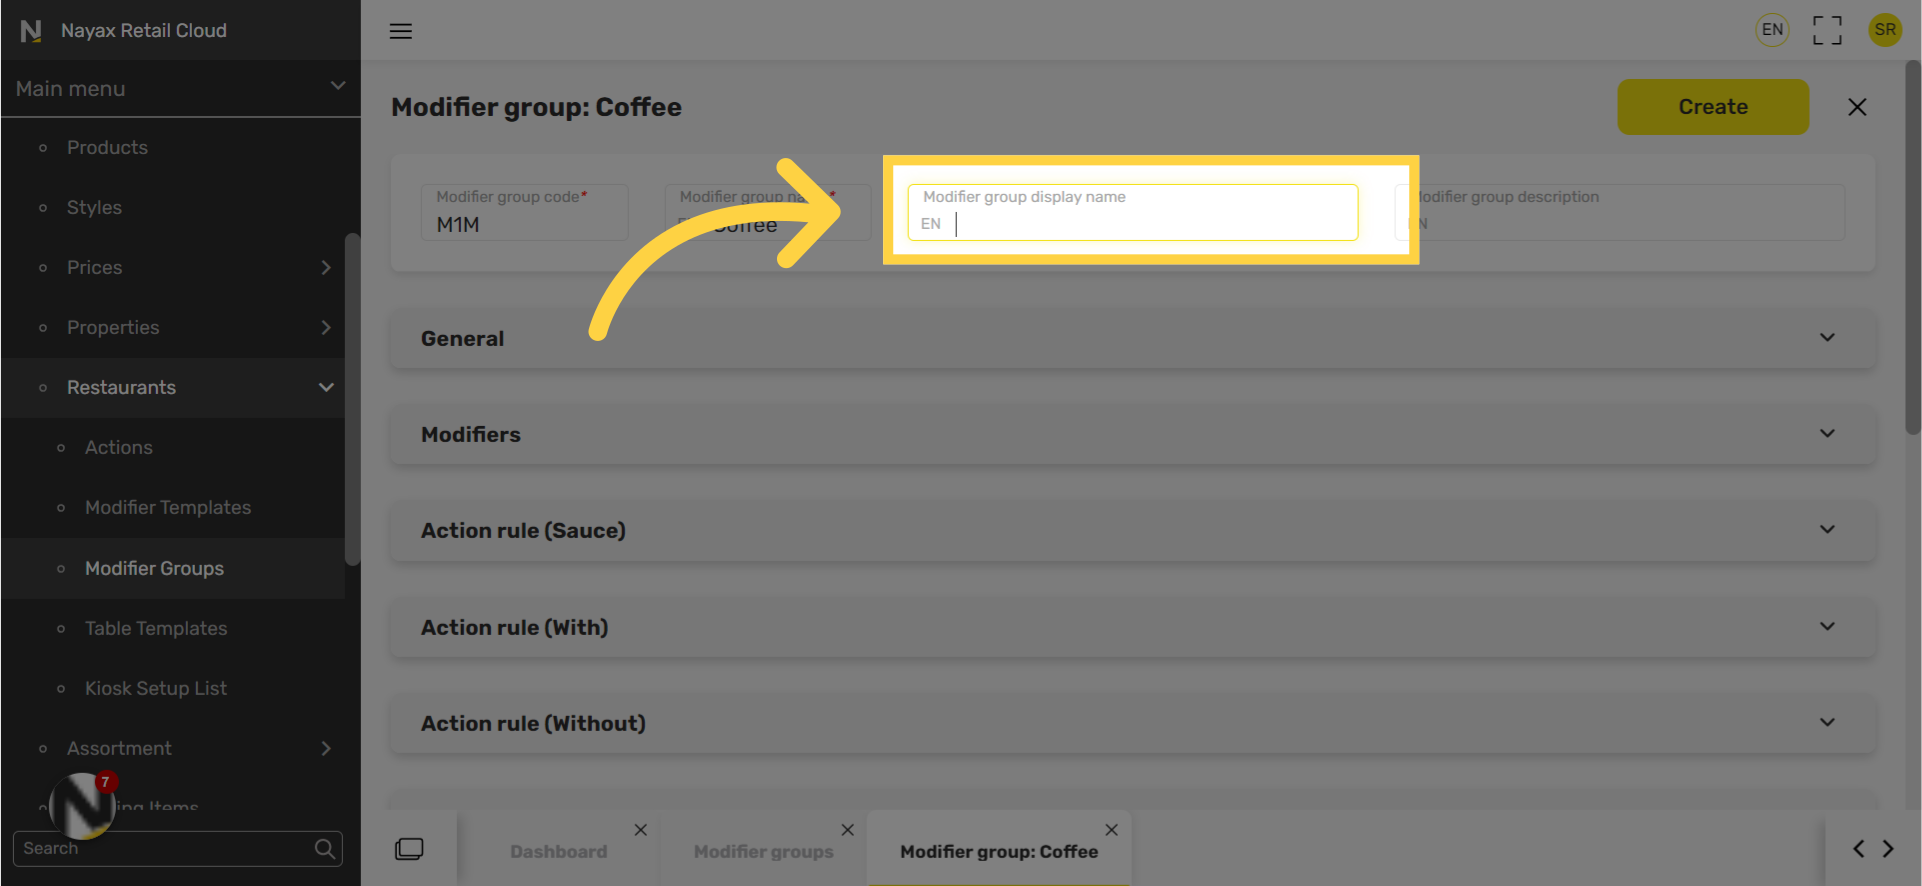
Type Modifier Group Description
Image AttachedType Modifier group description This is a description to guide customers. E.g. Choose one option

Click Modifiers Tab
Image Attached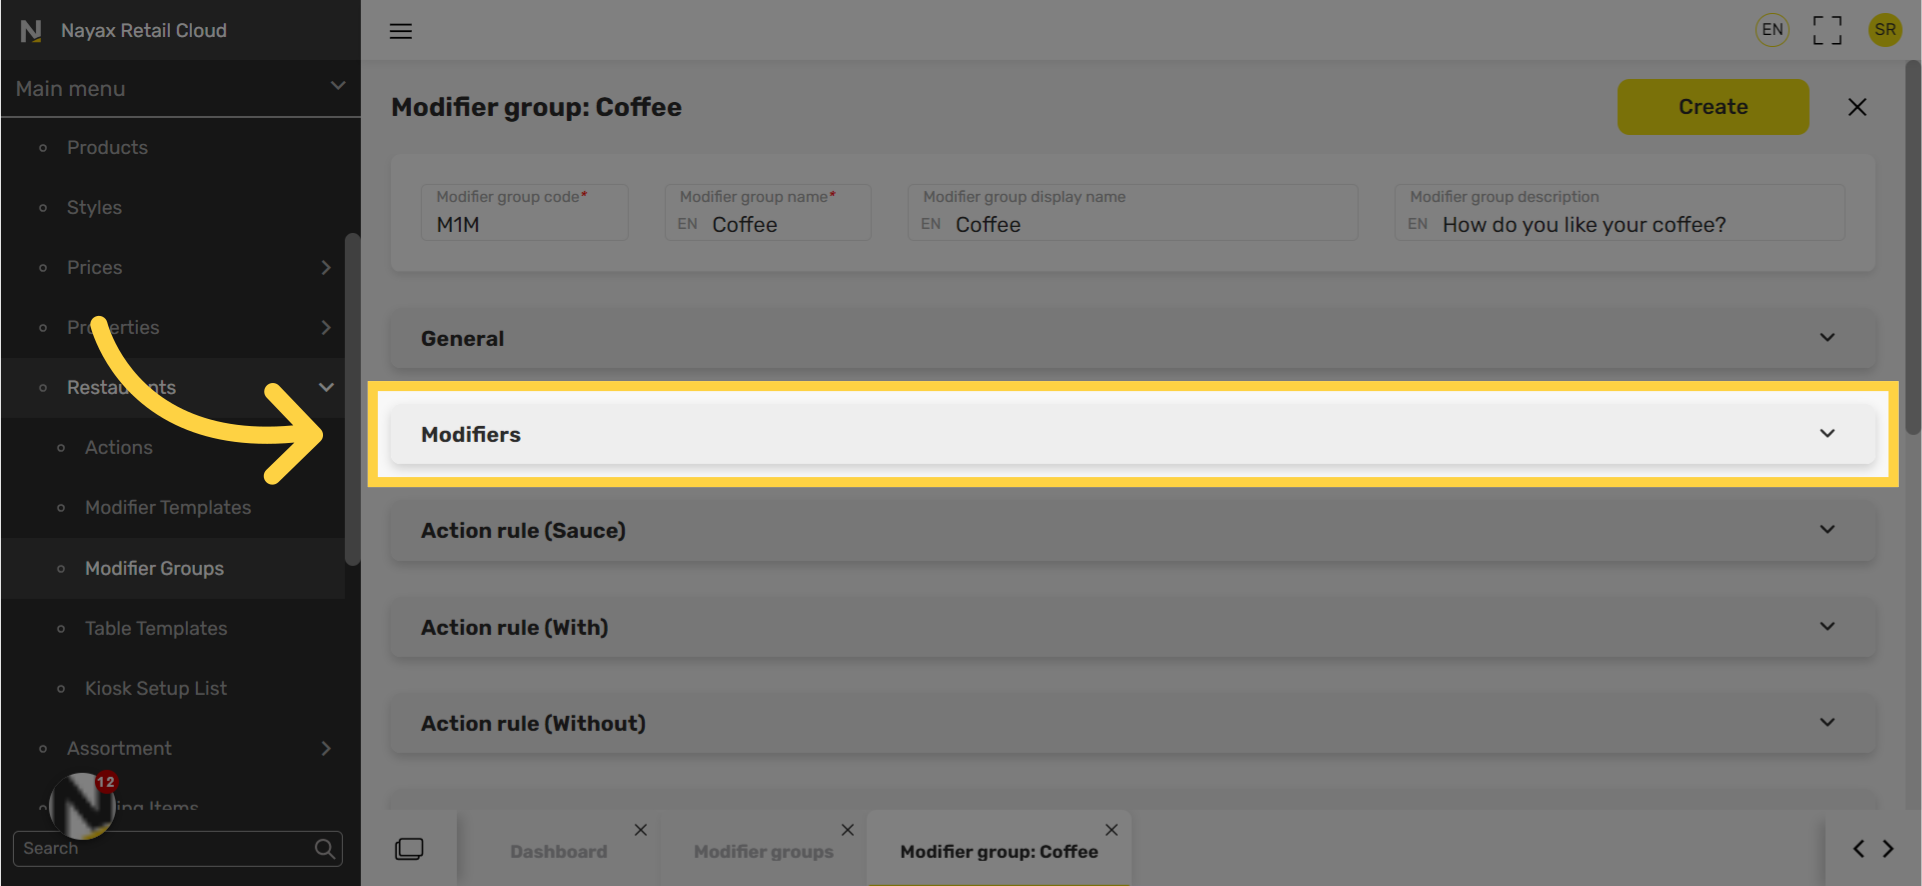
Click Select from Modifiers List
Image Attached
Select Checkboxes
Image Attached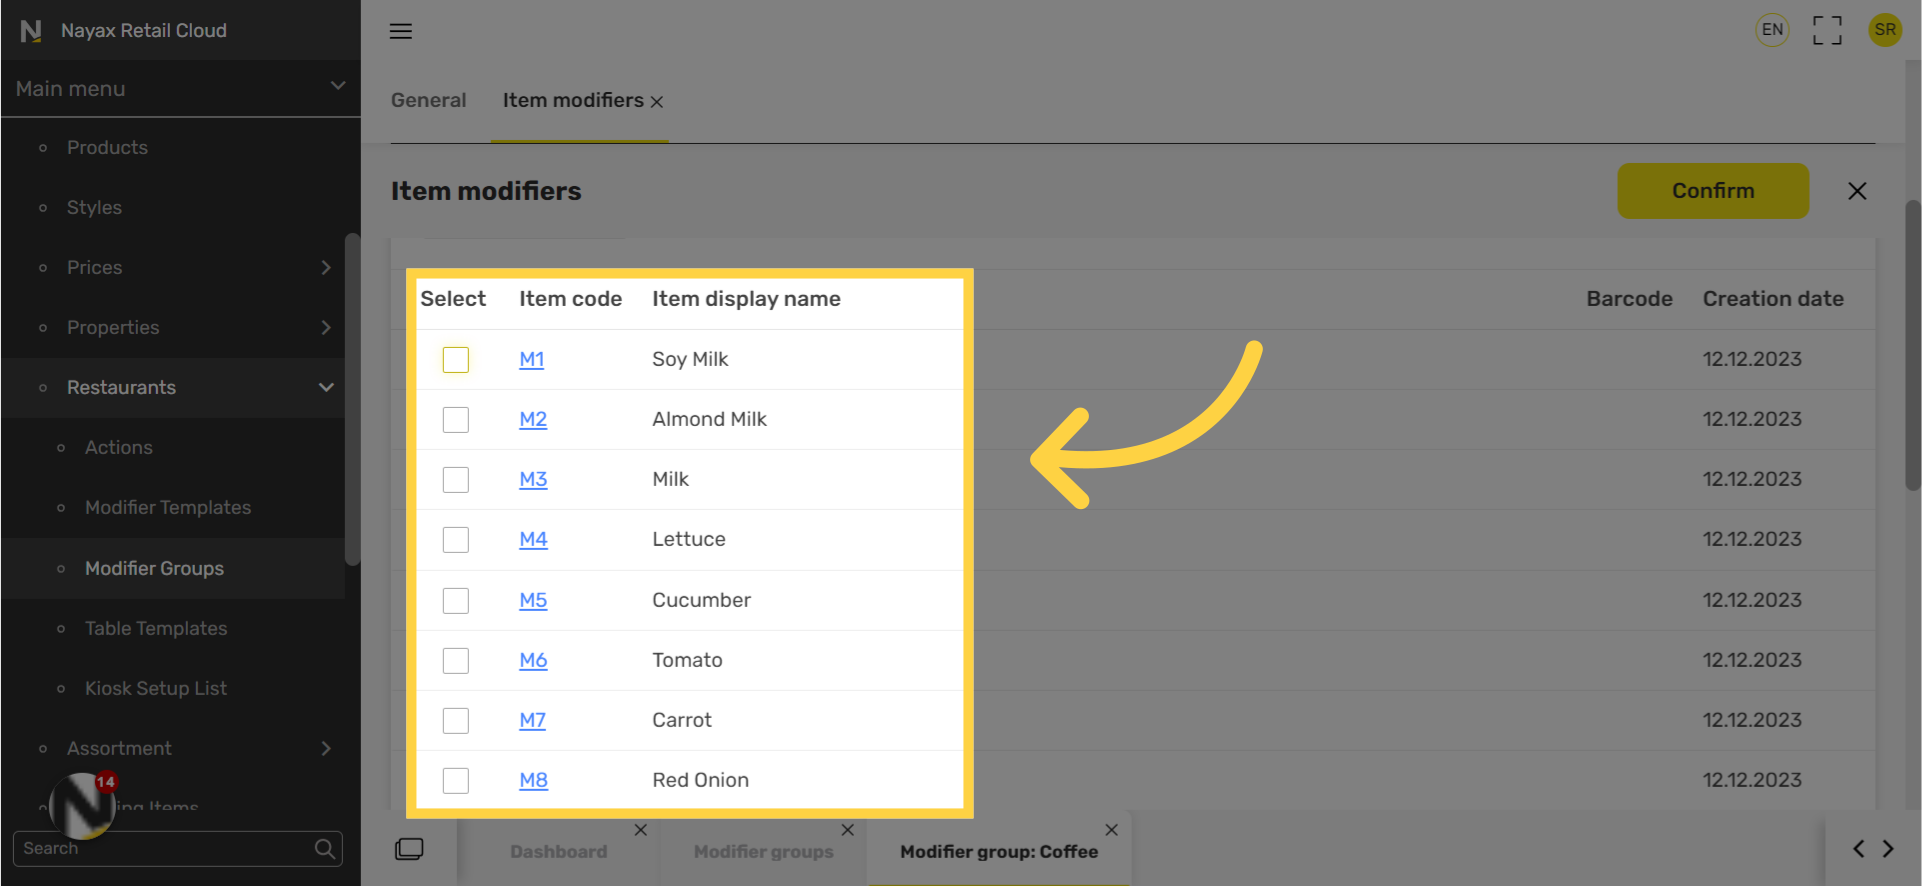
Navigate Through Pages
Image Attached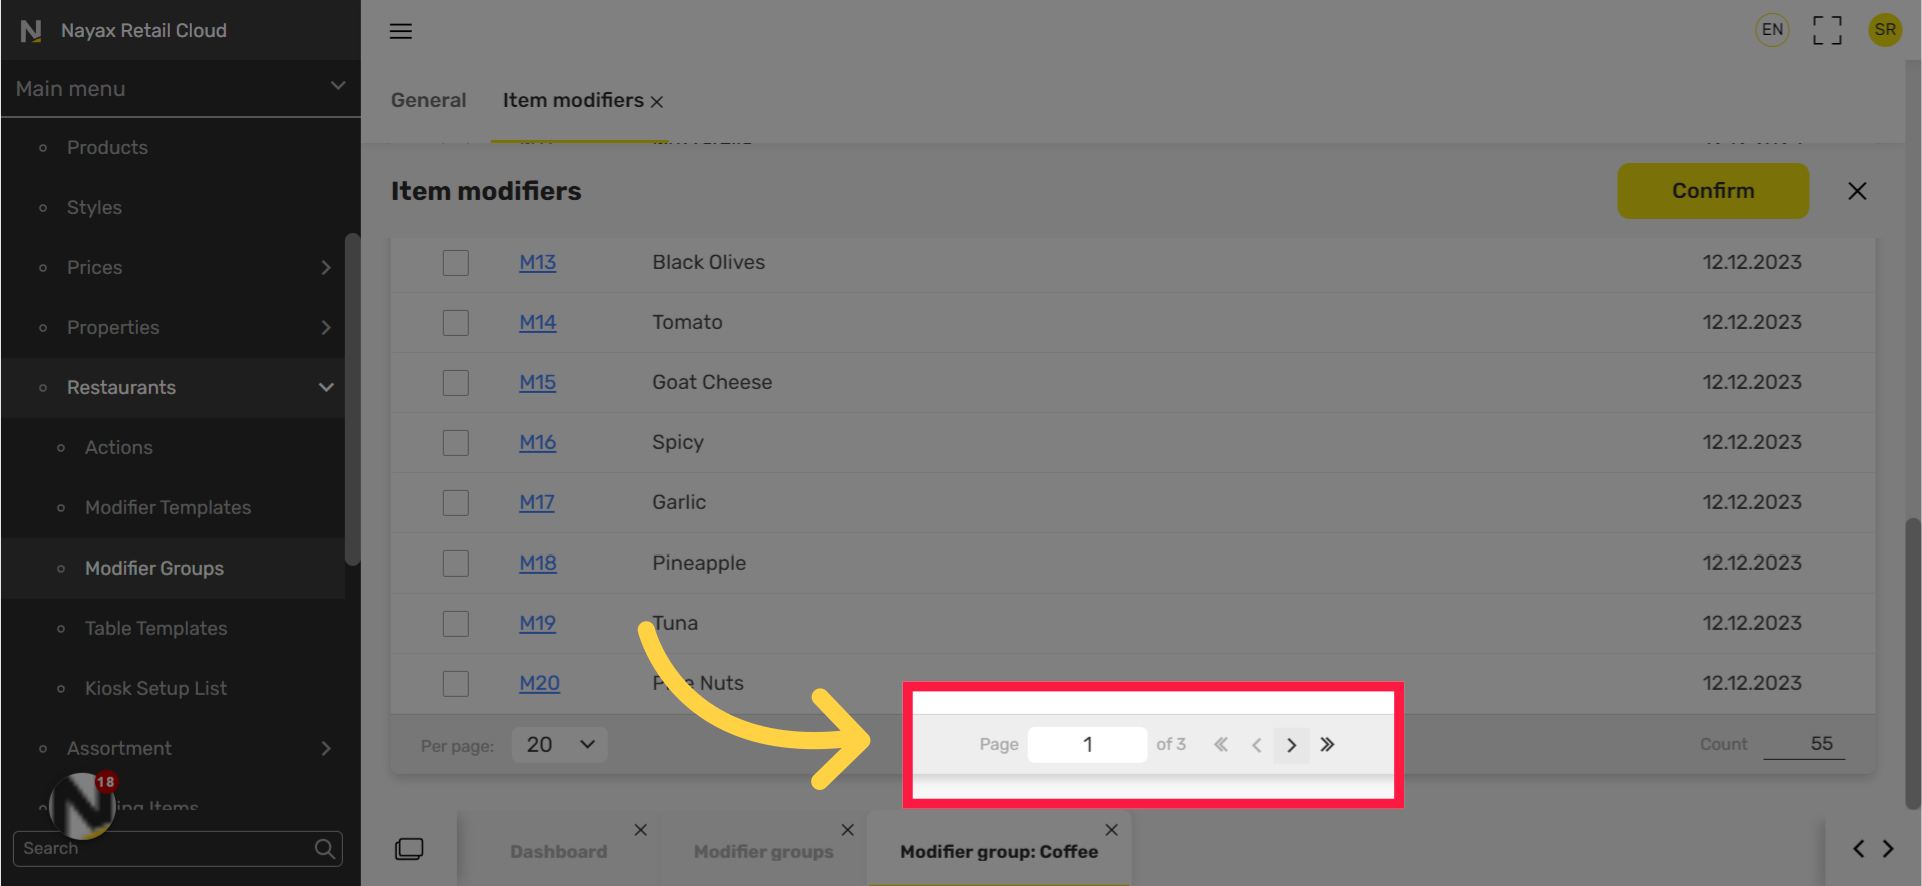
Click Confirm
Image Attached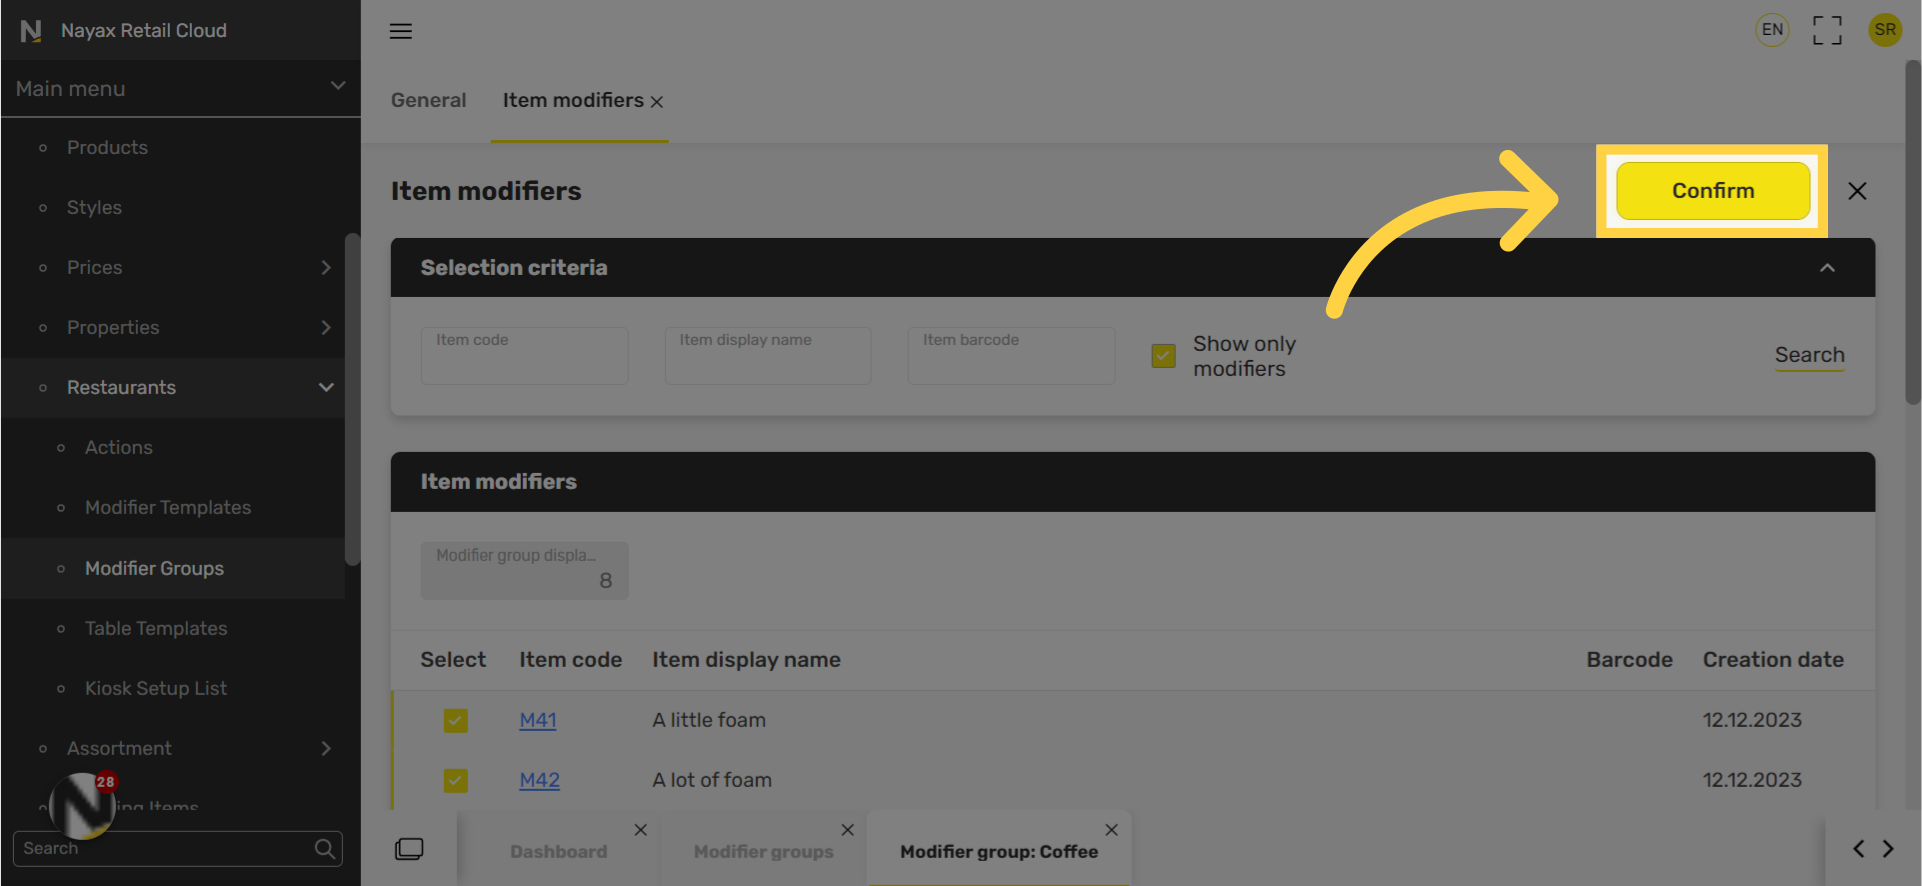
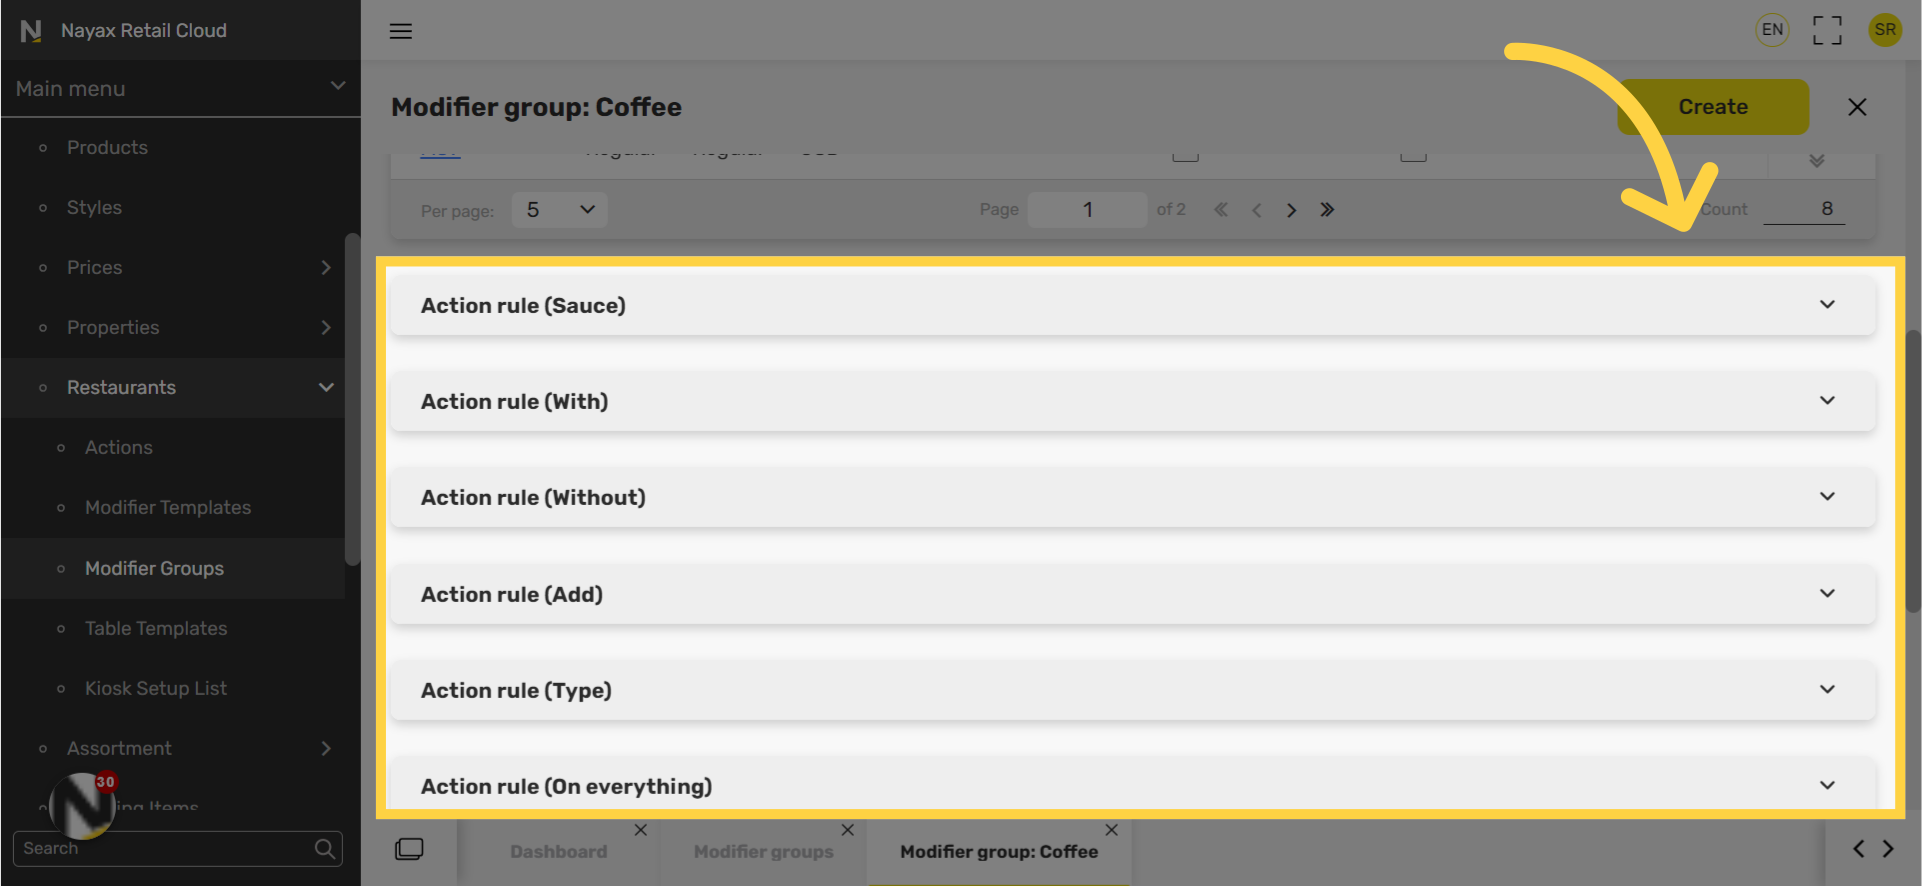
Click Action Rule
Image Attached- If you wish to exclude modifiers from a specific action, select Change modifiers.
- Click the modifier > edit pen > Exclude.
- If the modifier should cost extra, add modifier price.
Click Active
Image AttachedCheckbox Preferences
Image Attached
Exclude Options
Image Attached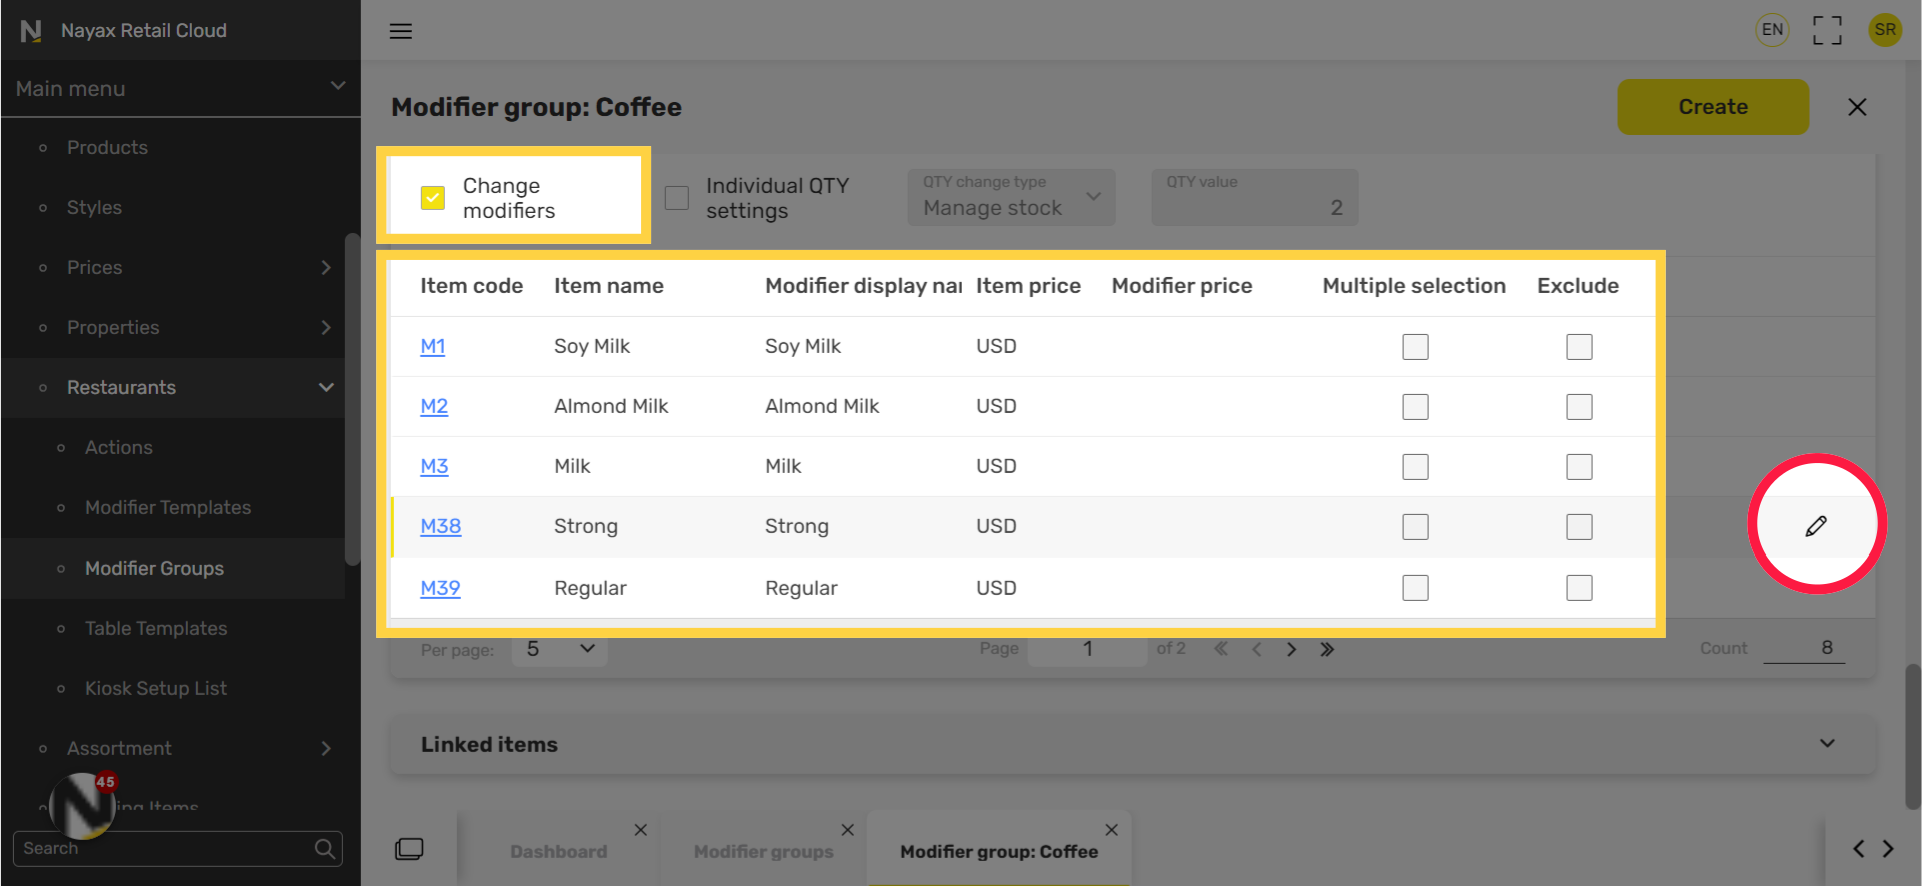
Edit Modifier Cost
Image Attached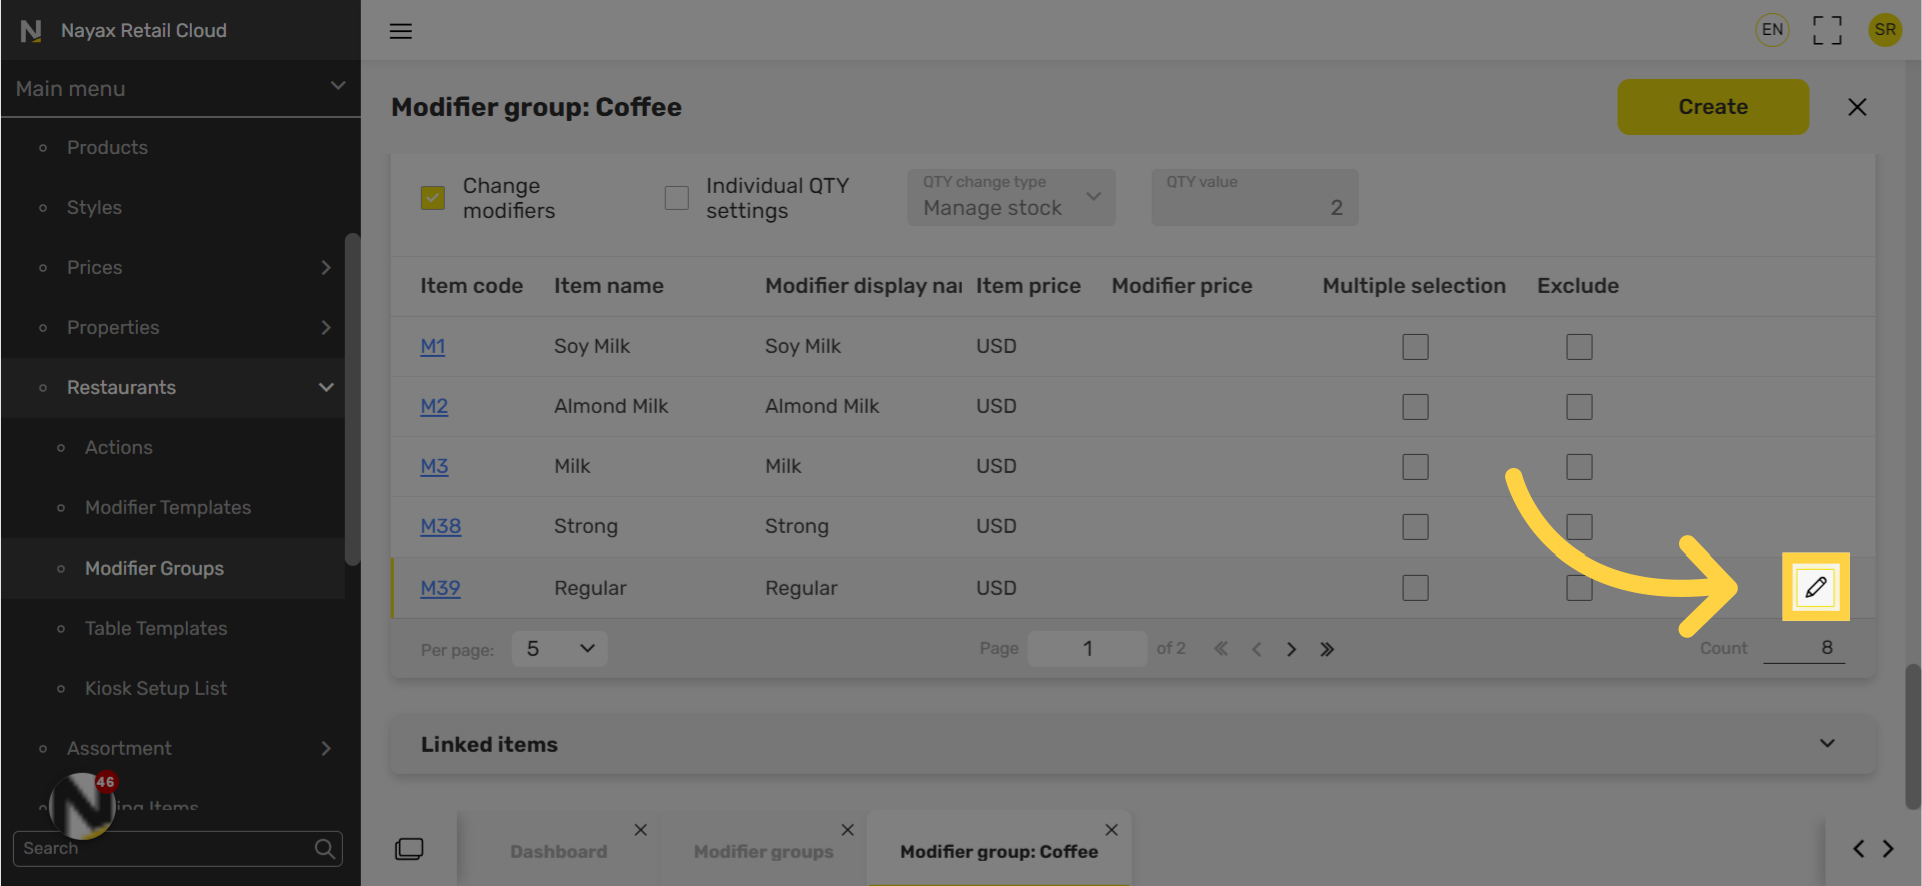
Enter Modifier Price
Image Attached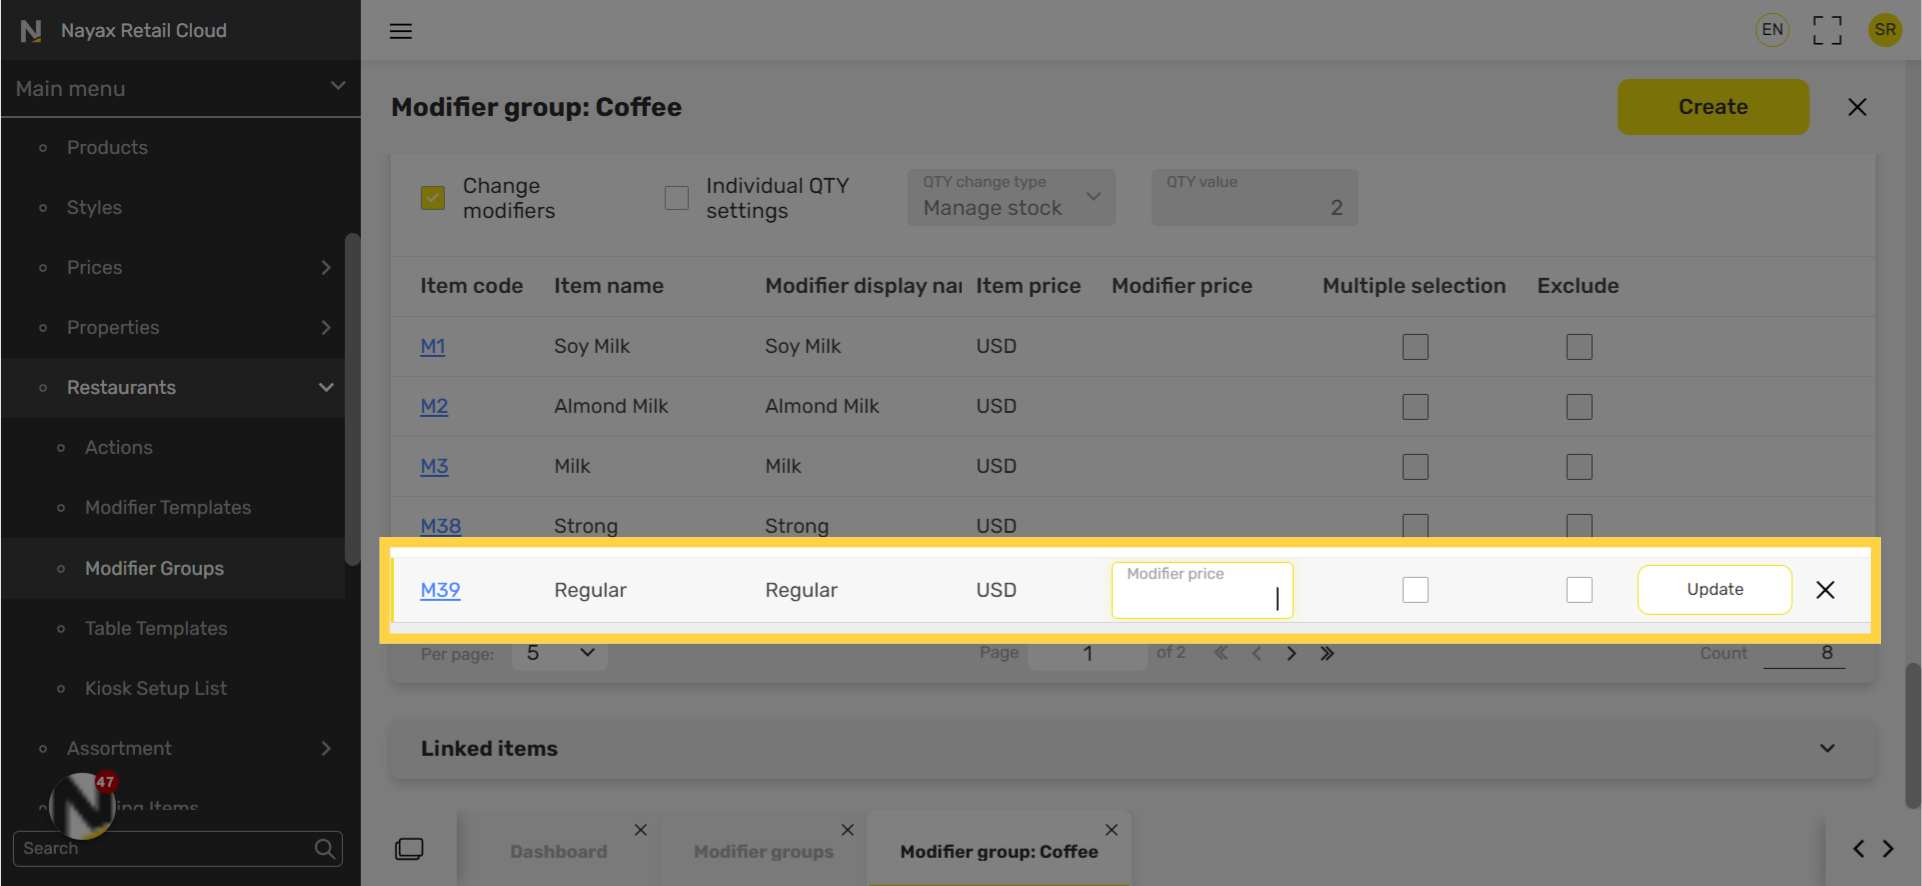
Click Update
Image Attached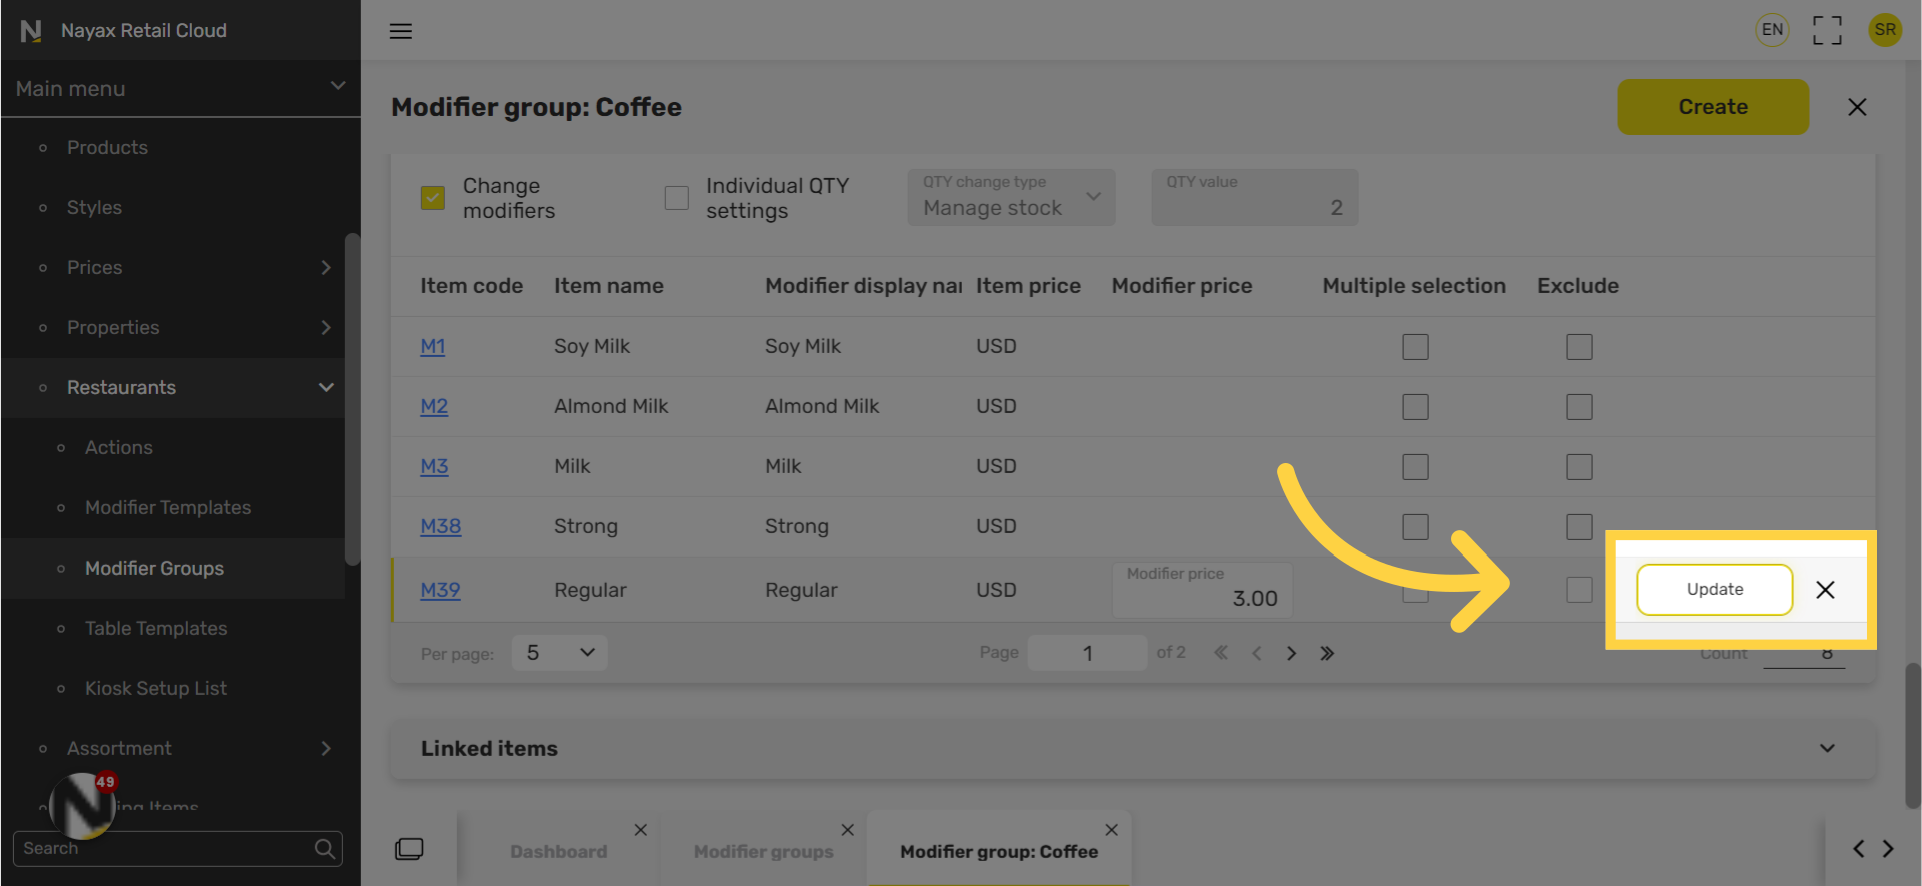
Click Create
Image Attached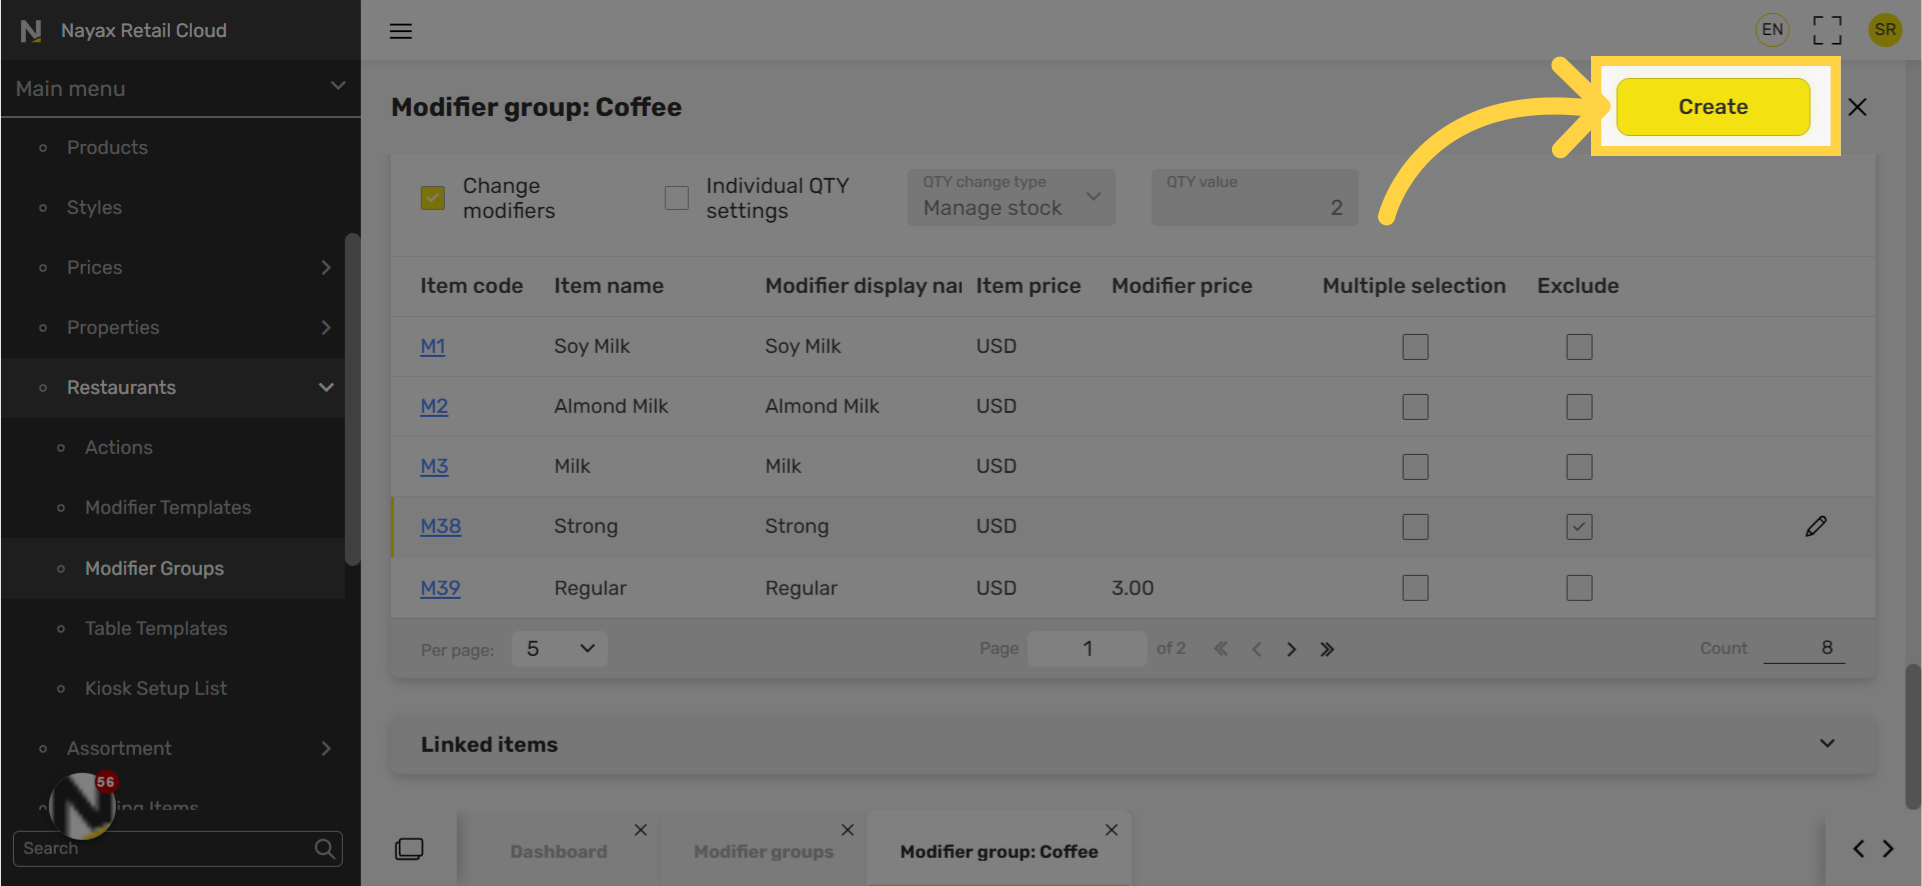
Click Save
Image Attached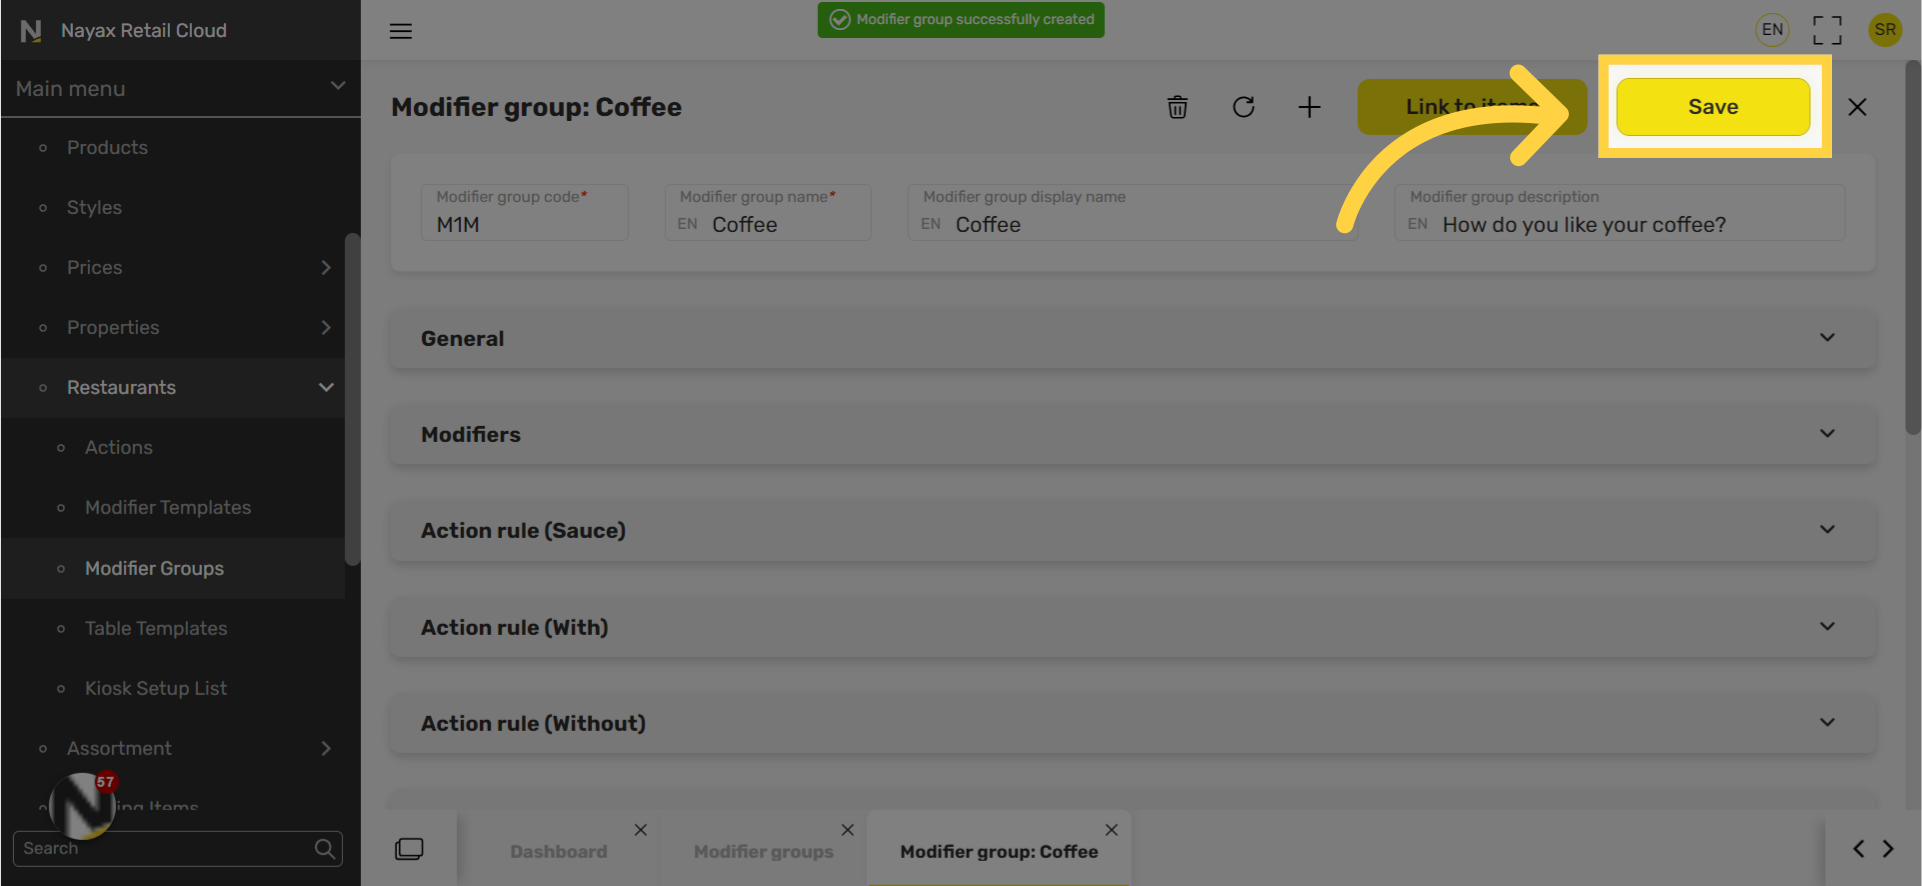
Modifier field options explained
|
Field name |
Description |
|
Modifier group code |
Another way to identify the |
|
Modifier group name |
Name that categorizes the modifier group. Ex. Type of Milk (for coffee) |
|
Modifier group name display |
Name that will appear on the screen for customers. Ex. Choose Milk |
|
Modifier group description |
Description to guide customers. Ex. Choose one option |
Thank you!
Did you find this article helpful?