How to Add a Widget to your Dashboard | Dashboard
Customize your Nayax Core dashboard by adding widgets from machine ratings to sales charts so the data that matters most to your operation is always front and center.
1
Video Guide
2
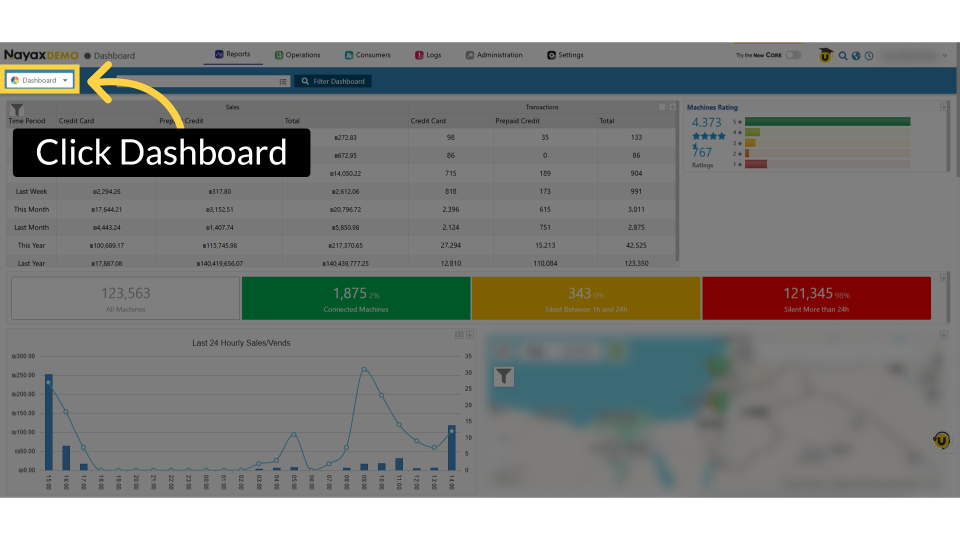
Click Dashboard Tab
Image Attached
On the dashboard of your Nayax Core platform, click on 'Dashboard' to access the widget wizard where you can manage widgets.
3
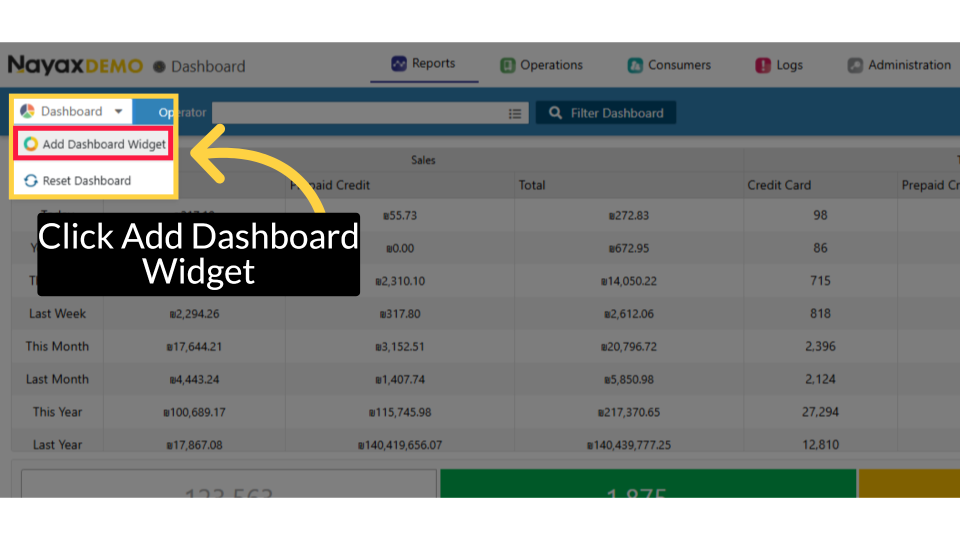
Select Add Dashboard Widget
Image Attached
Click Add Dashboard Widget to start the process of adding a new widget to your dashboard.
4
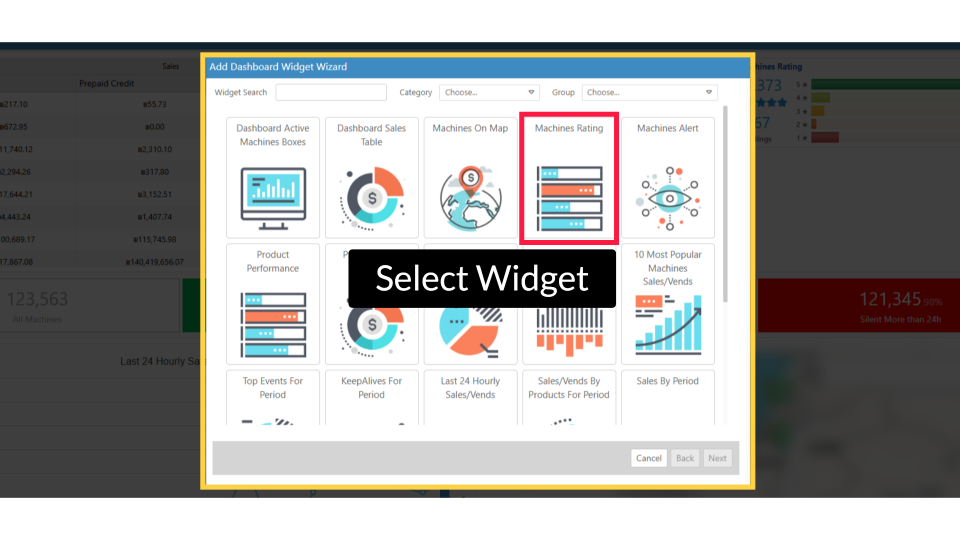
Select Widget
Image Attached
The Dashboard Widget Wizard will begin the guided setup for your new widget. Select the widget you want to add. For this example, we will choose Machine Rating.
5
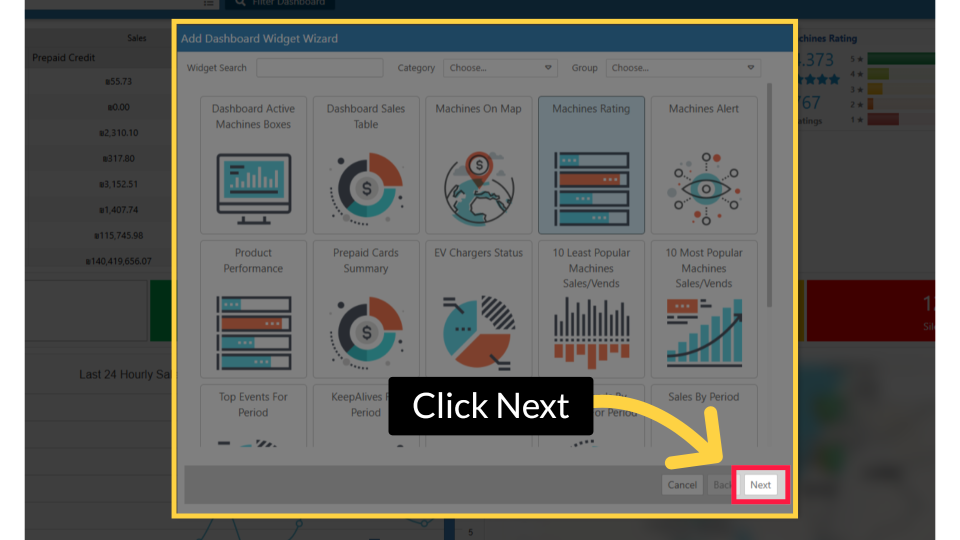
Click Next
Image Attached
Click on the Next button when ready to continue.
6
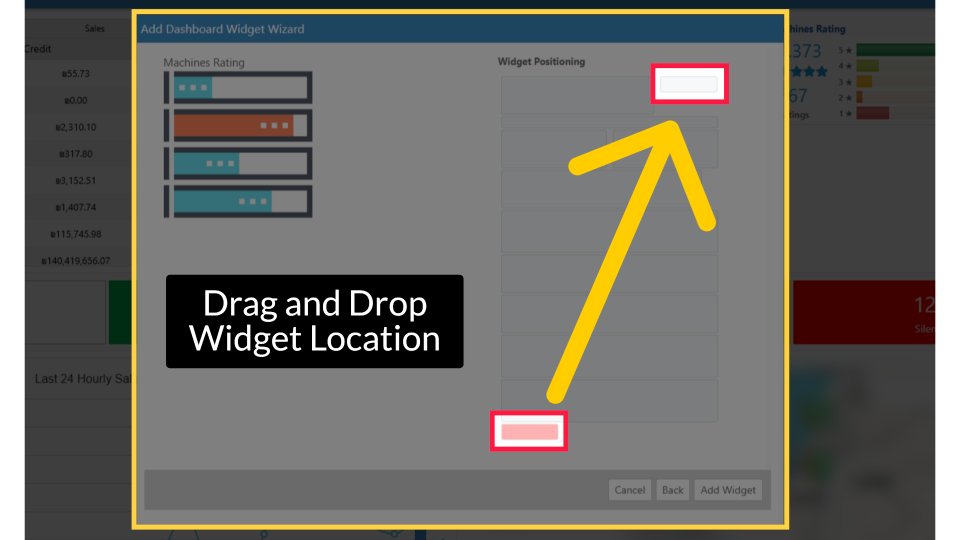
Drag and Drop Widget Location
Image Attached
Drag and drop the widget to choose its location on the screen.
7
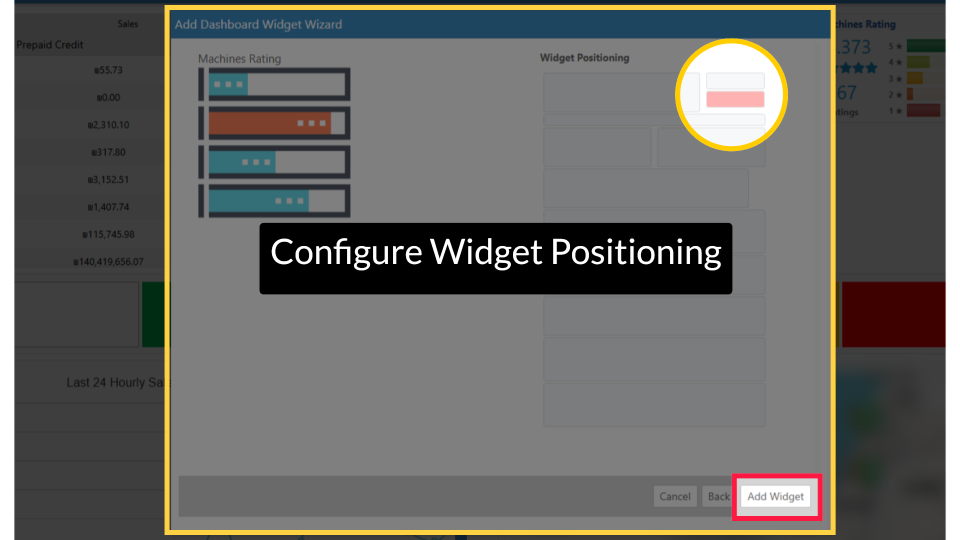
Configure Widget Positioning
Image Attached
Once the Widget Positioning is set to your preferences for your dashboard. Click "Add Widget" to save your setting.
8
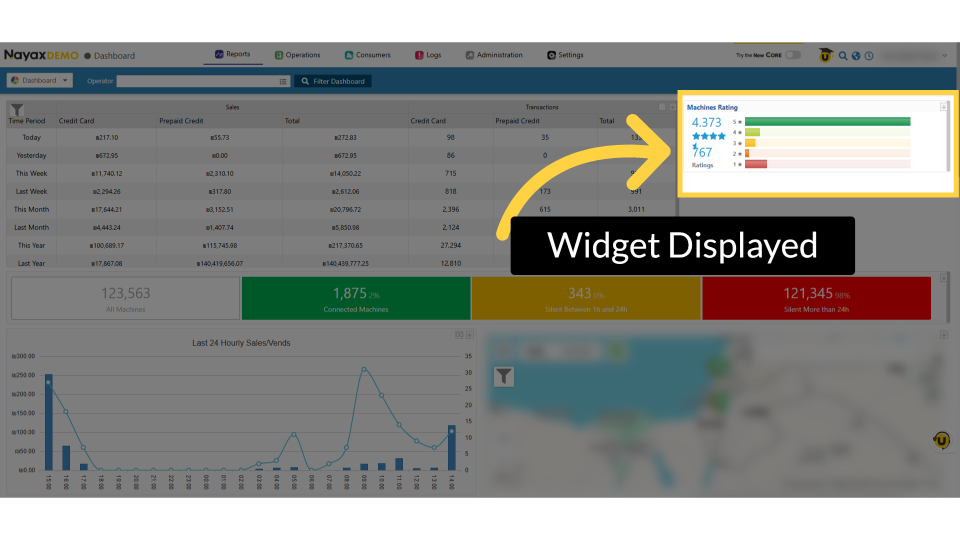
Widget Displayed
Image AttachedYou will be redirected to the dashboard, where your widget setting is now displayed.
Thank you!
Did you find this article helpful?
Related articles
How to Set a Default Homepage in Nayax Core | ReportsHow to Add a Machine's Rating Widget to Nayax Core Dashboard | OperationsHow to Add Attributes to a Machine | OperationsHow to Change Language Settings | Account SettingsHow to Setup MoMa Multi Factor Authentication Method | Account SettingsHow to Setup MoMa SMS Multi Factor Authentication Method | Account SettingsHow to Edit your Account Email or Contact Information in Nayax Core | Account Settings