How to Add a Logo to the Receipt | Administration
To add a logo to the printed receipt, follow these steps:
1
Video Guide
2
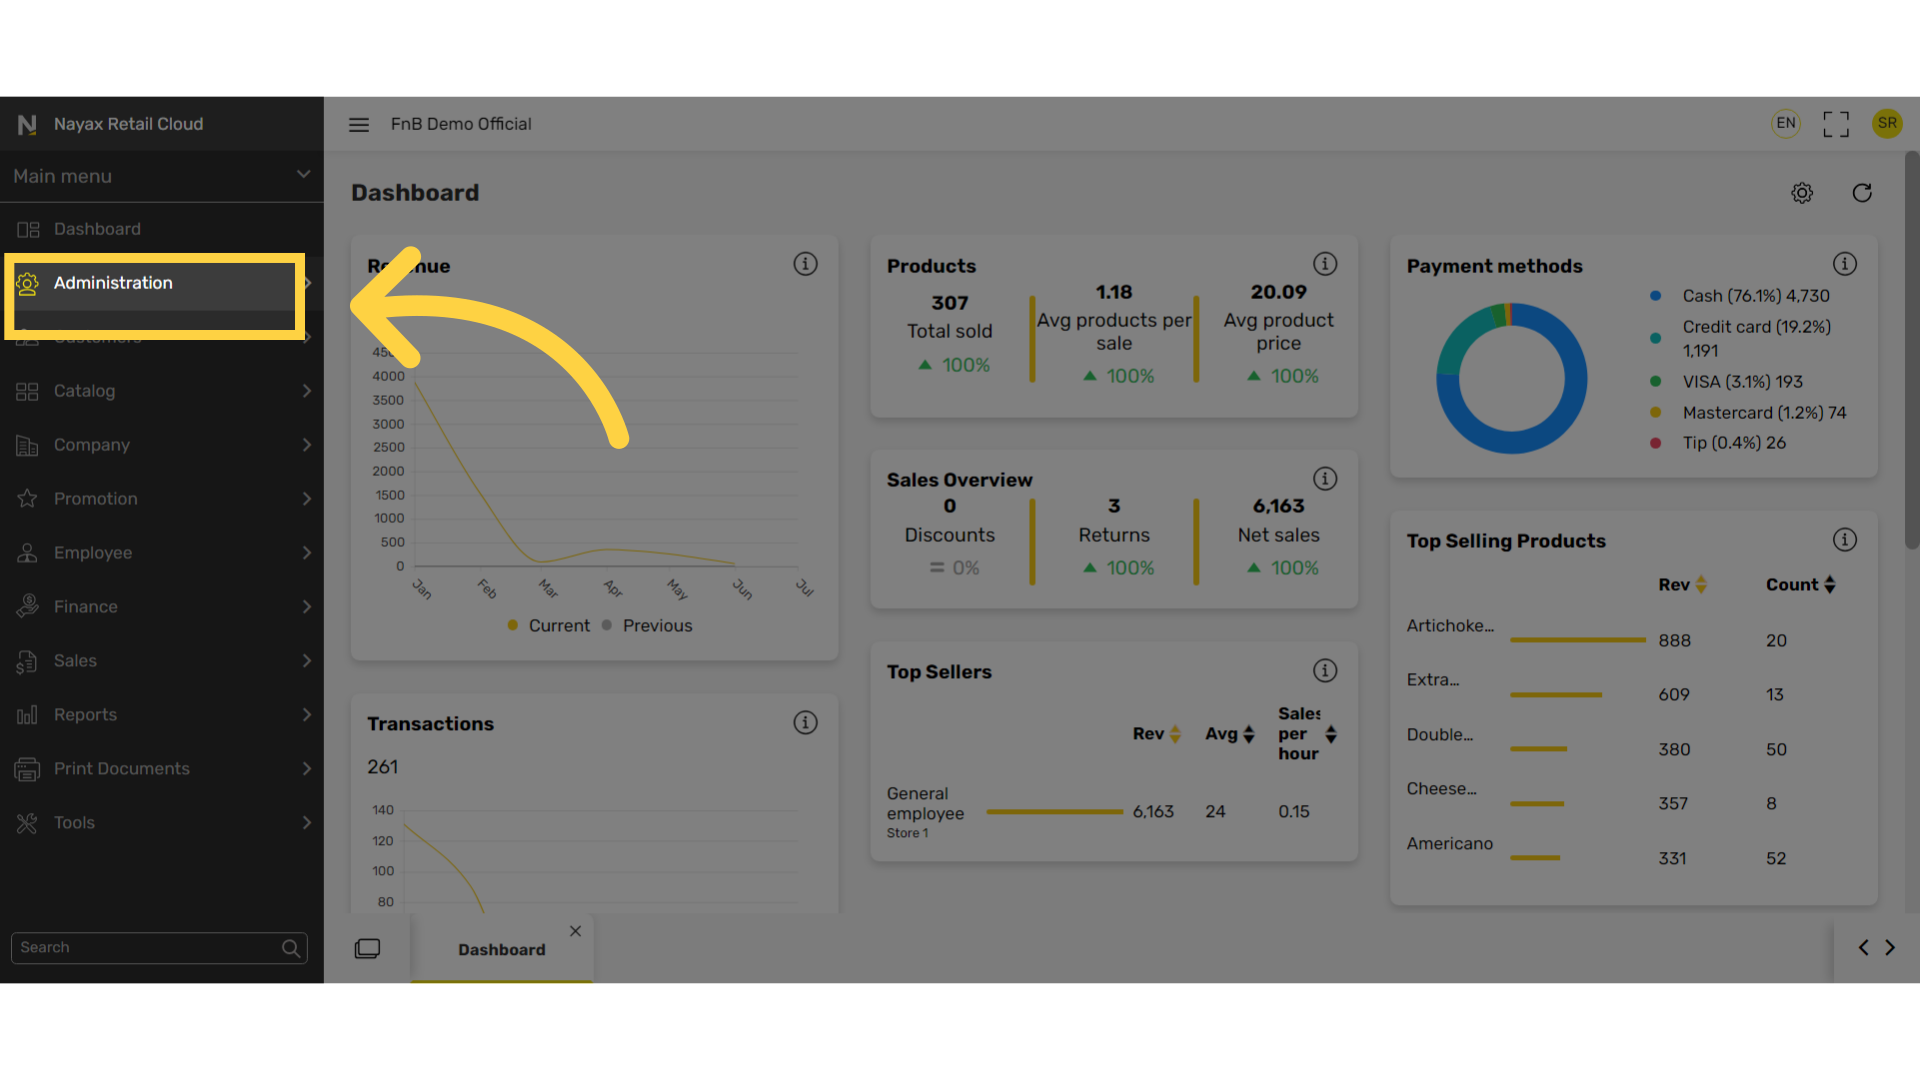
Click Administration Tab
Image AttachedOn the dashboard of your Retail Core management suite click the Administration tab.
3
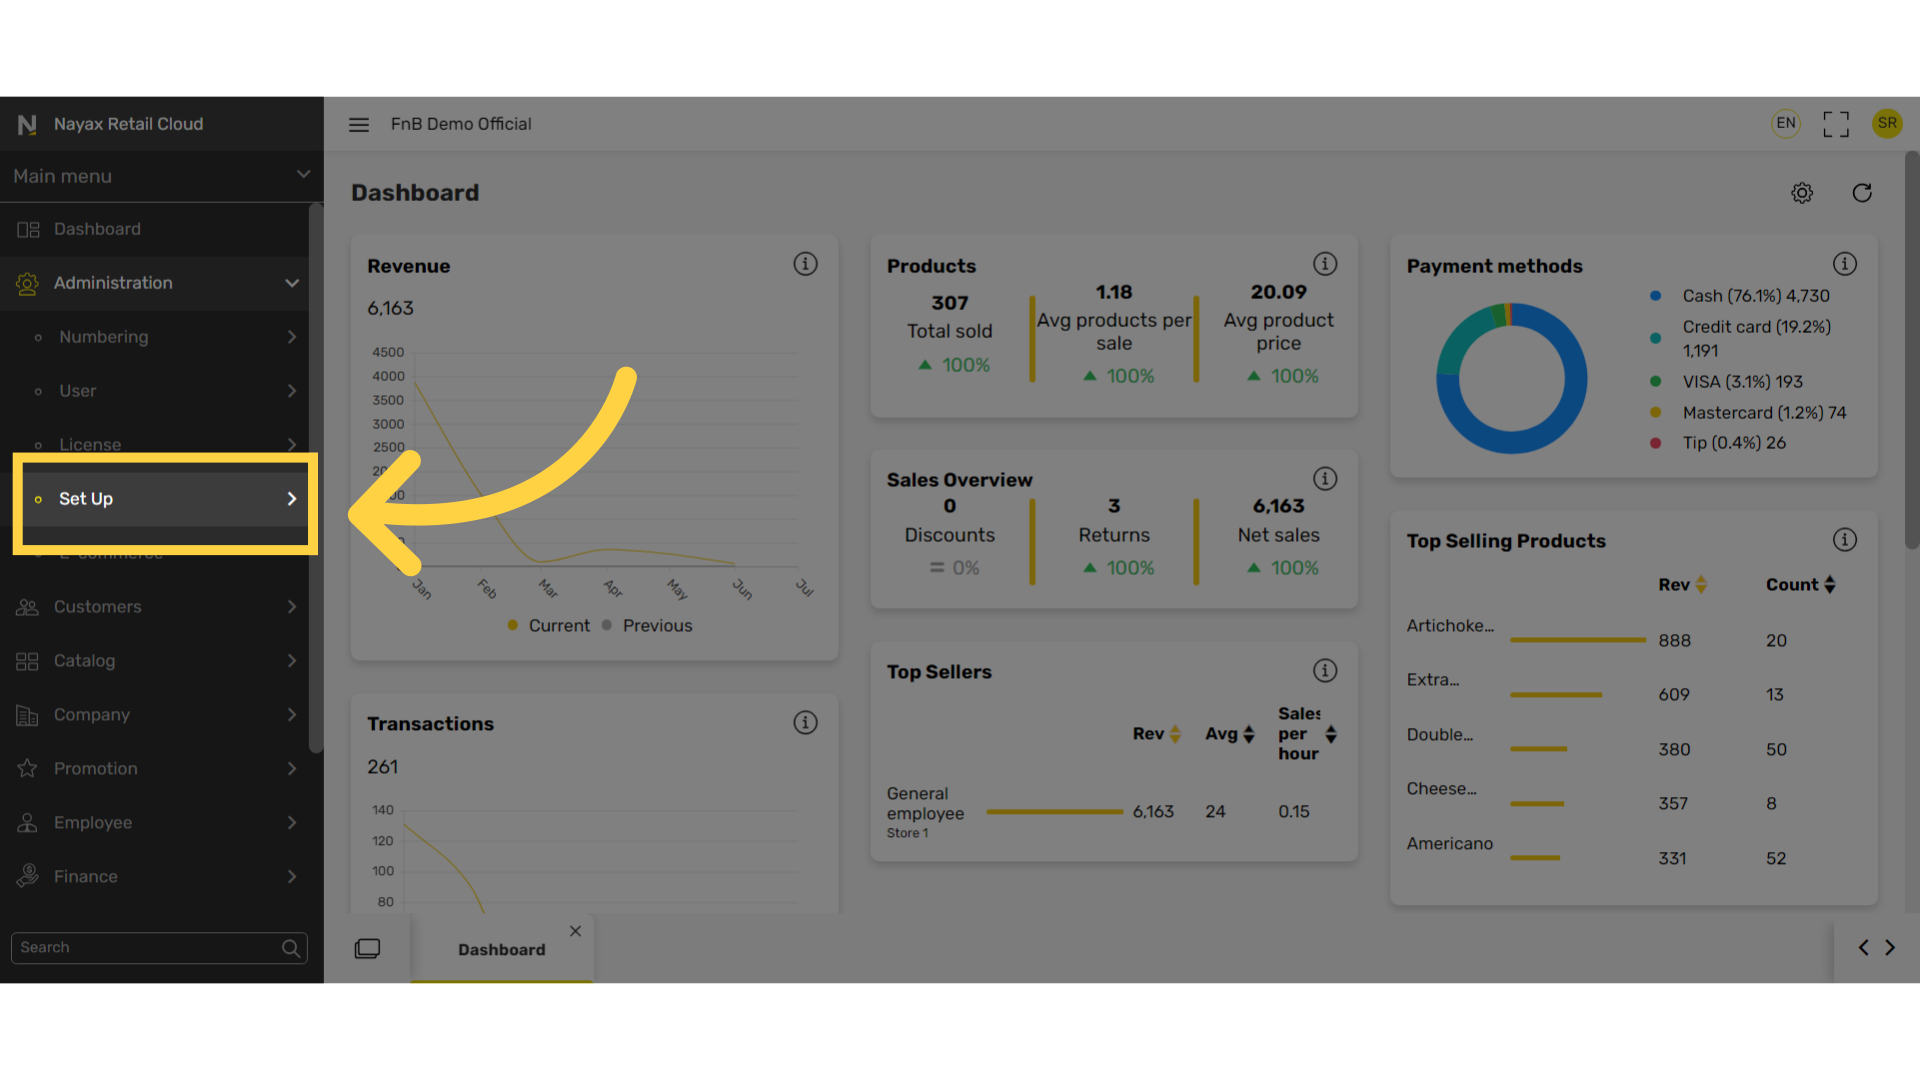
Click Setup
Image AttachedIn the sub-menu, click on Setup.
4
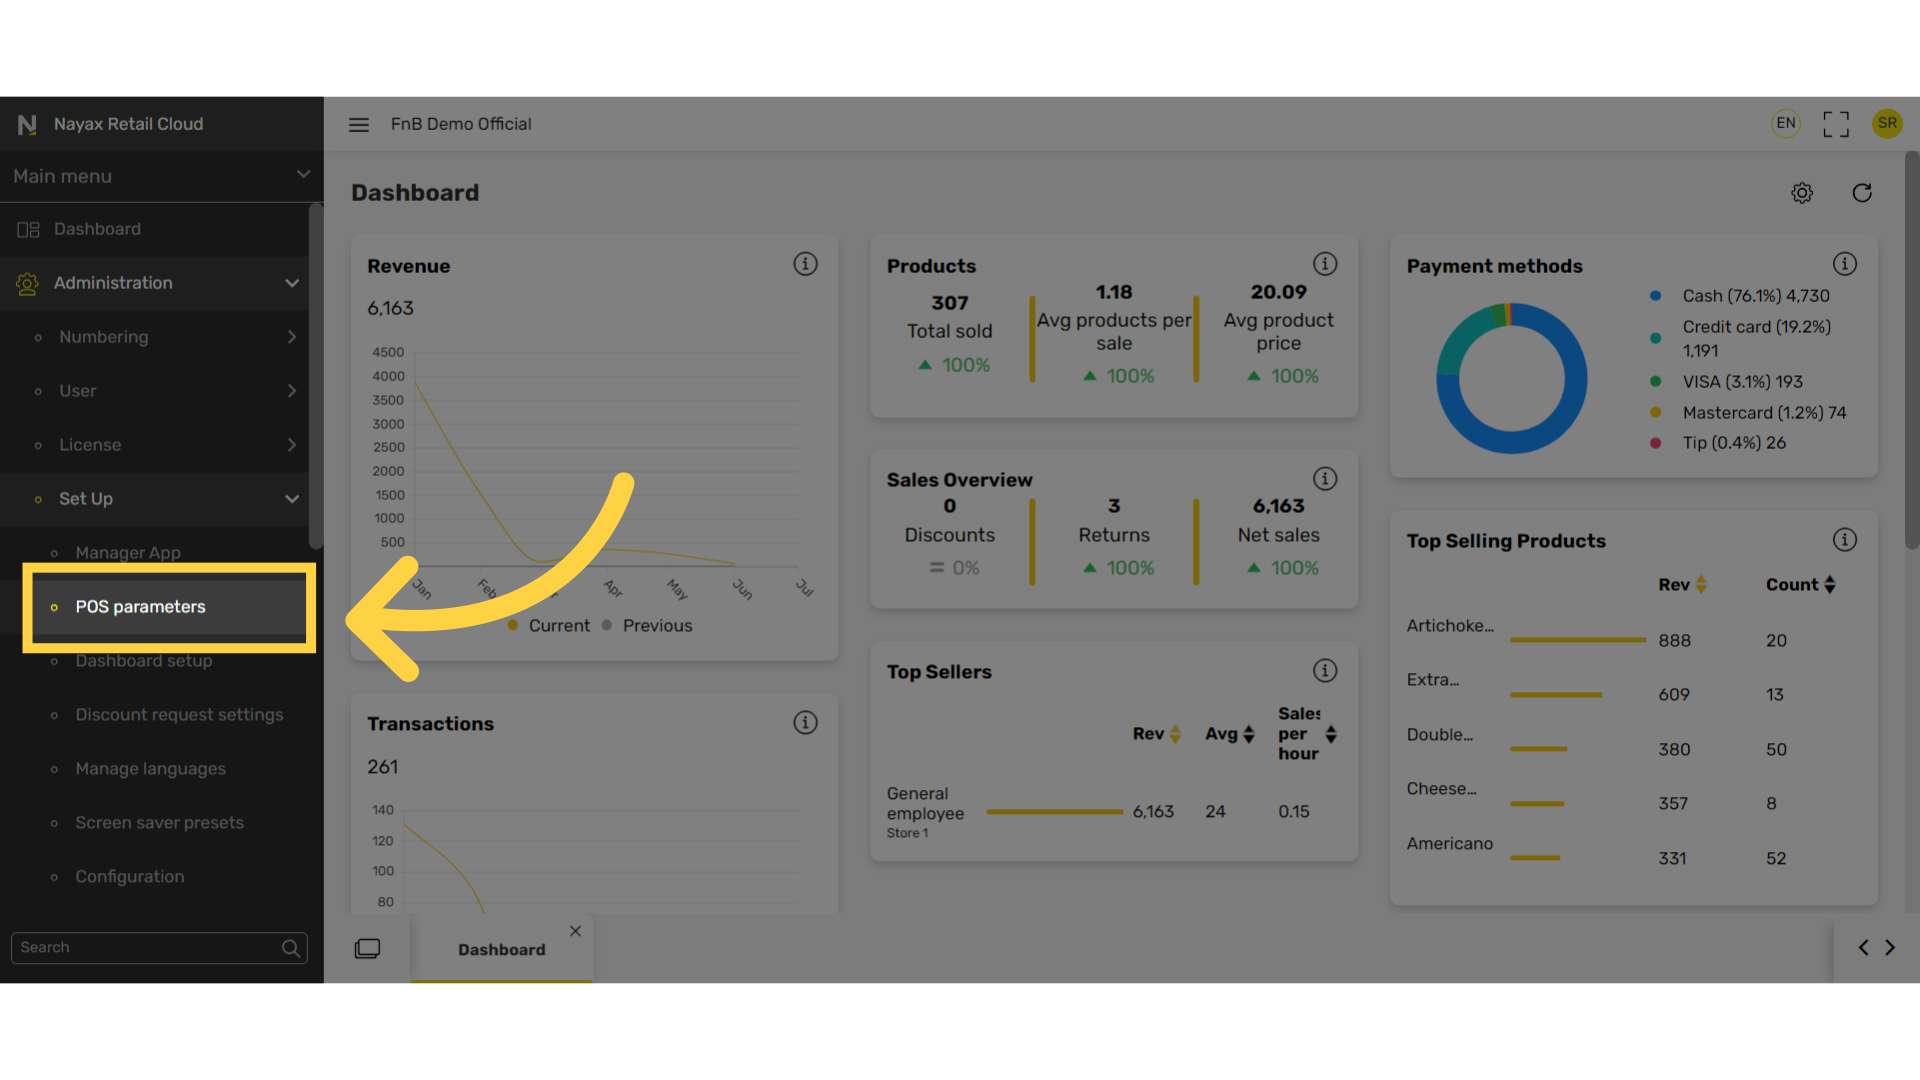
Click POS Parameters
Image AttachedIn the sub-menu, click on POS Parameters.
5
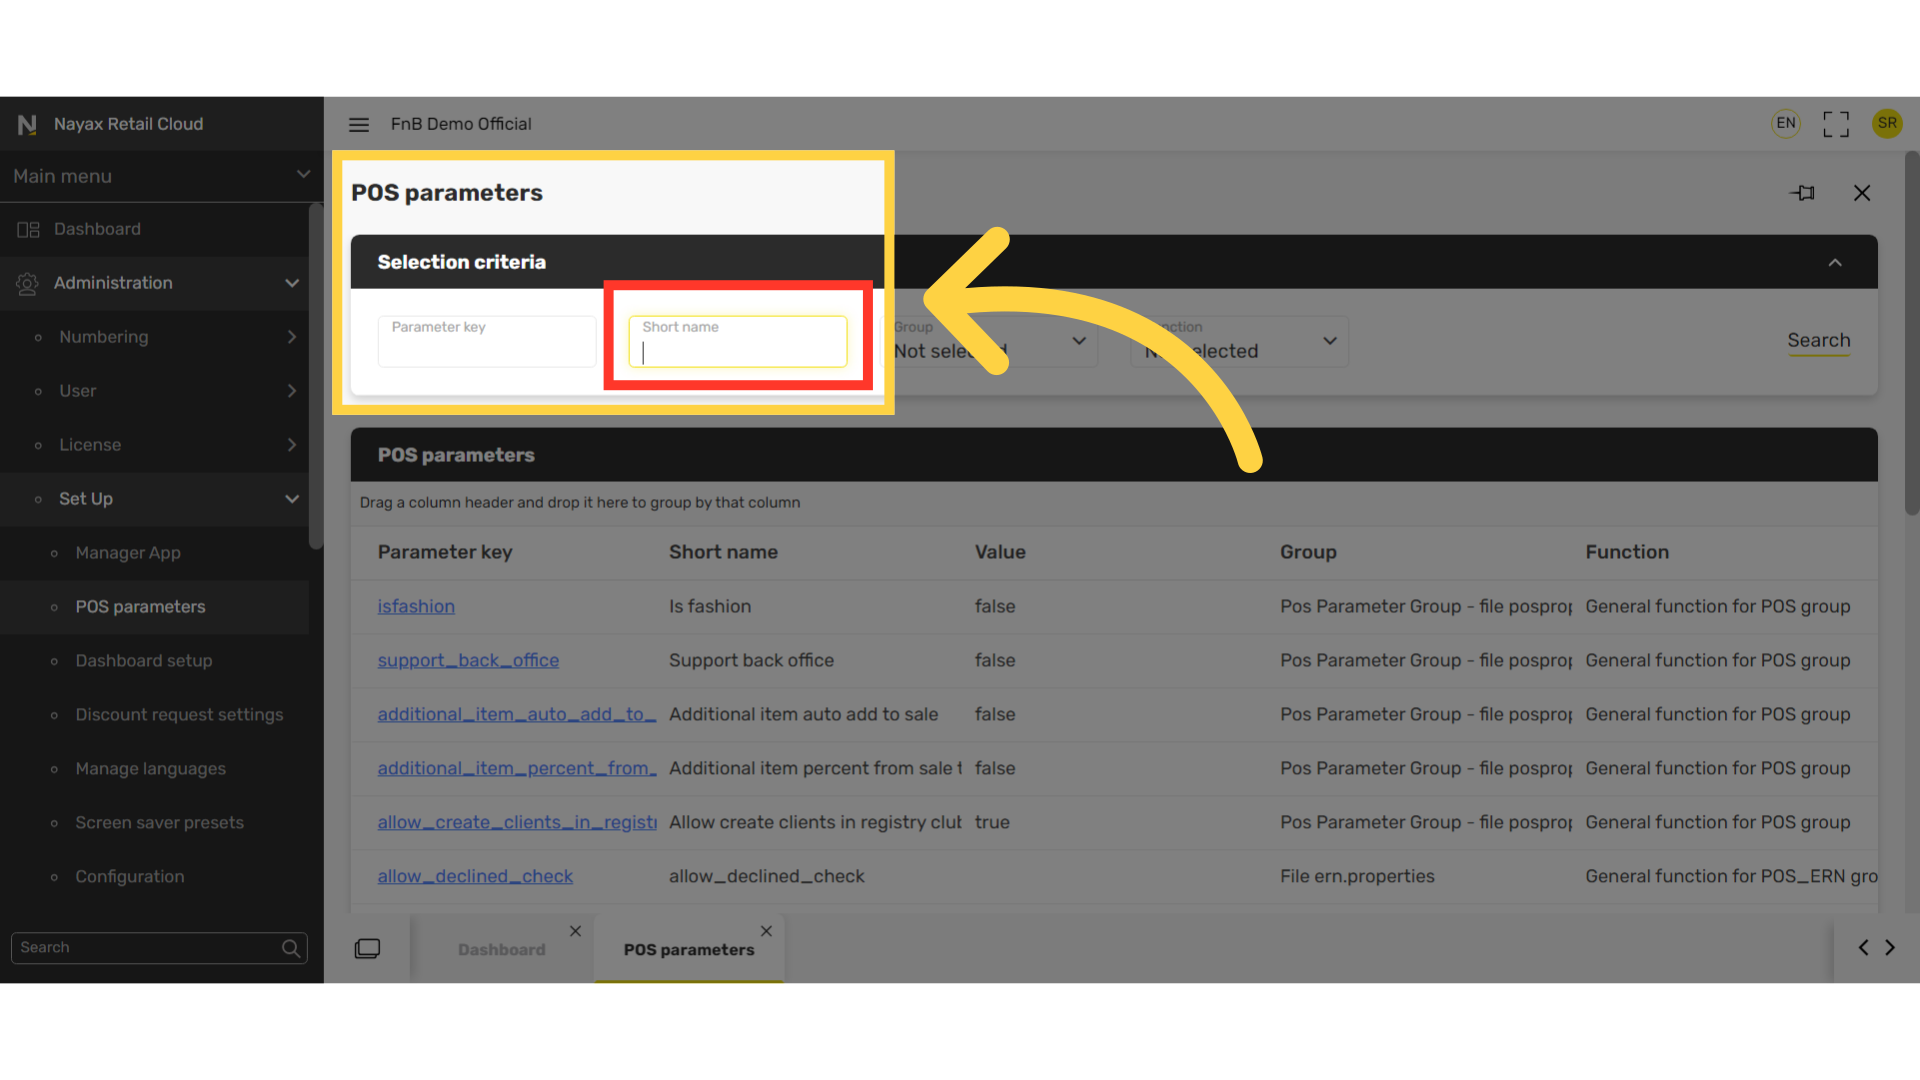
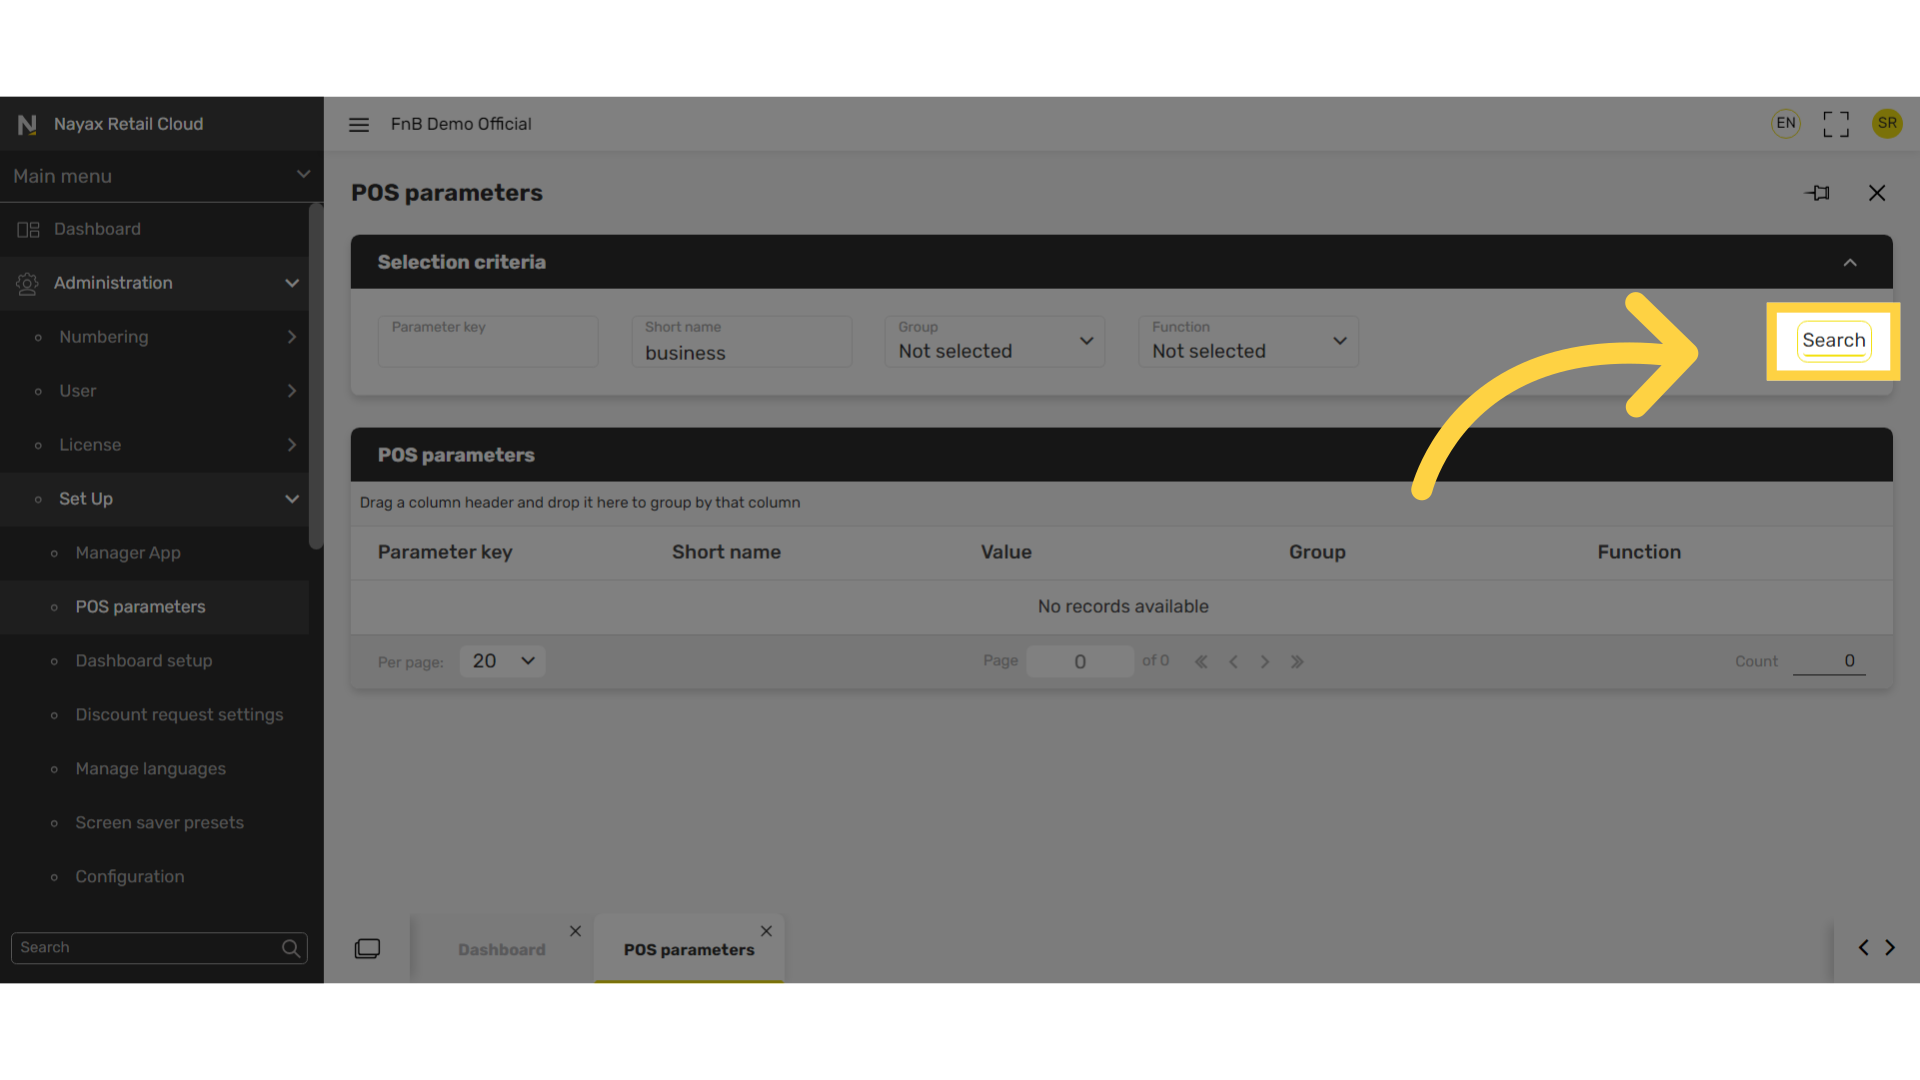
Search for "Business image URL"
Image Attached
Search in the Short name field Business image URL as highlighted in RED on the visual.
6
Click Search
Image AttachedClick search.
7
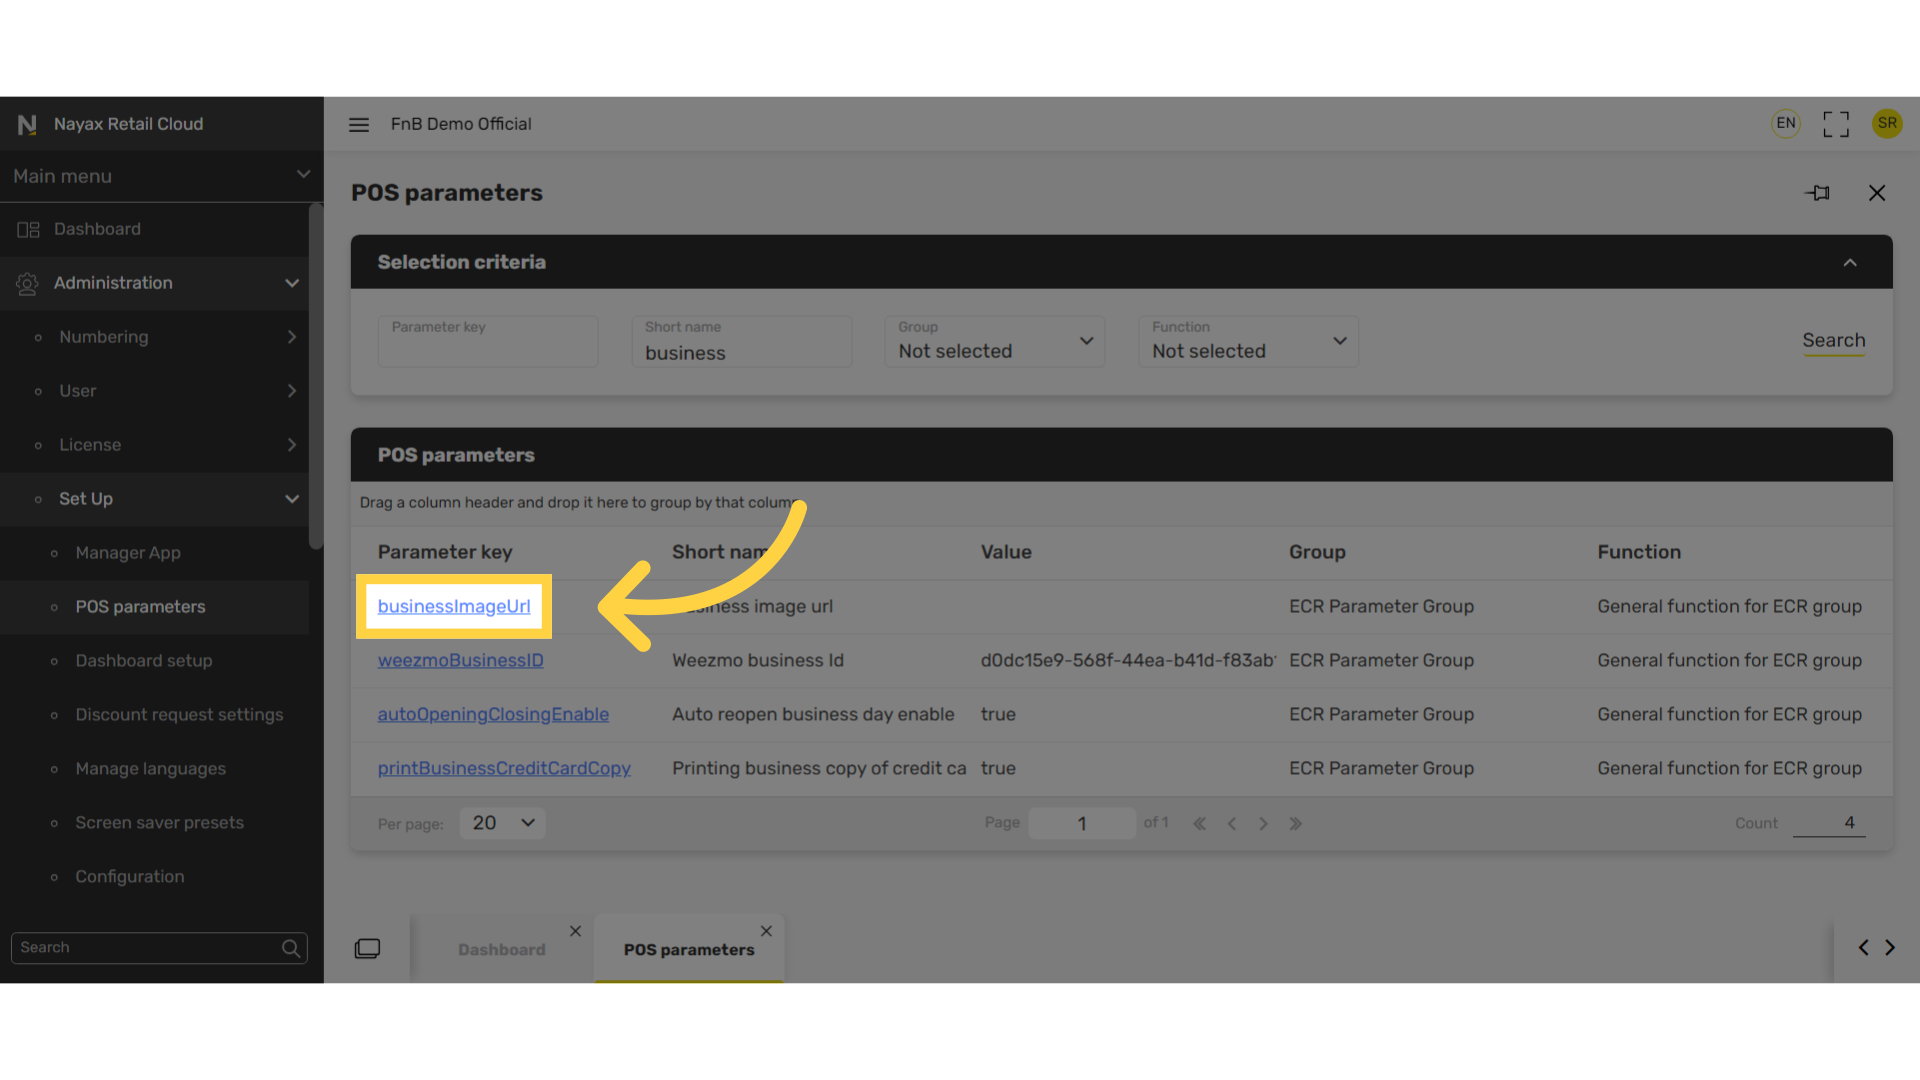
Click Business Image URL Link
Image AttachedClick highlighted business image URL link.
8
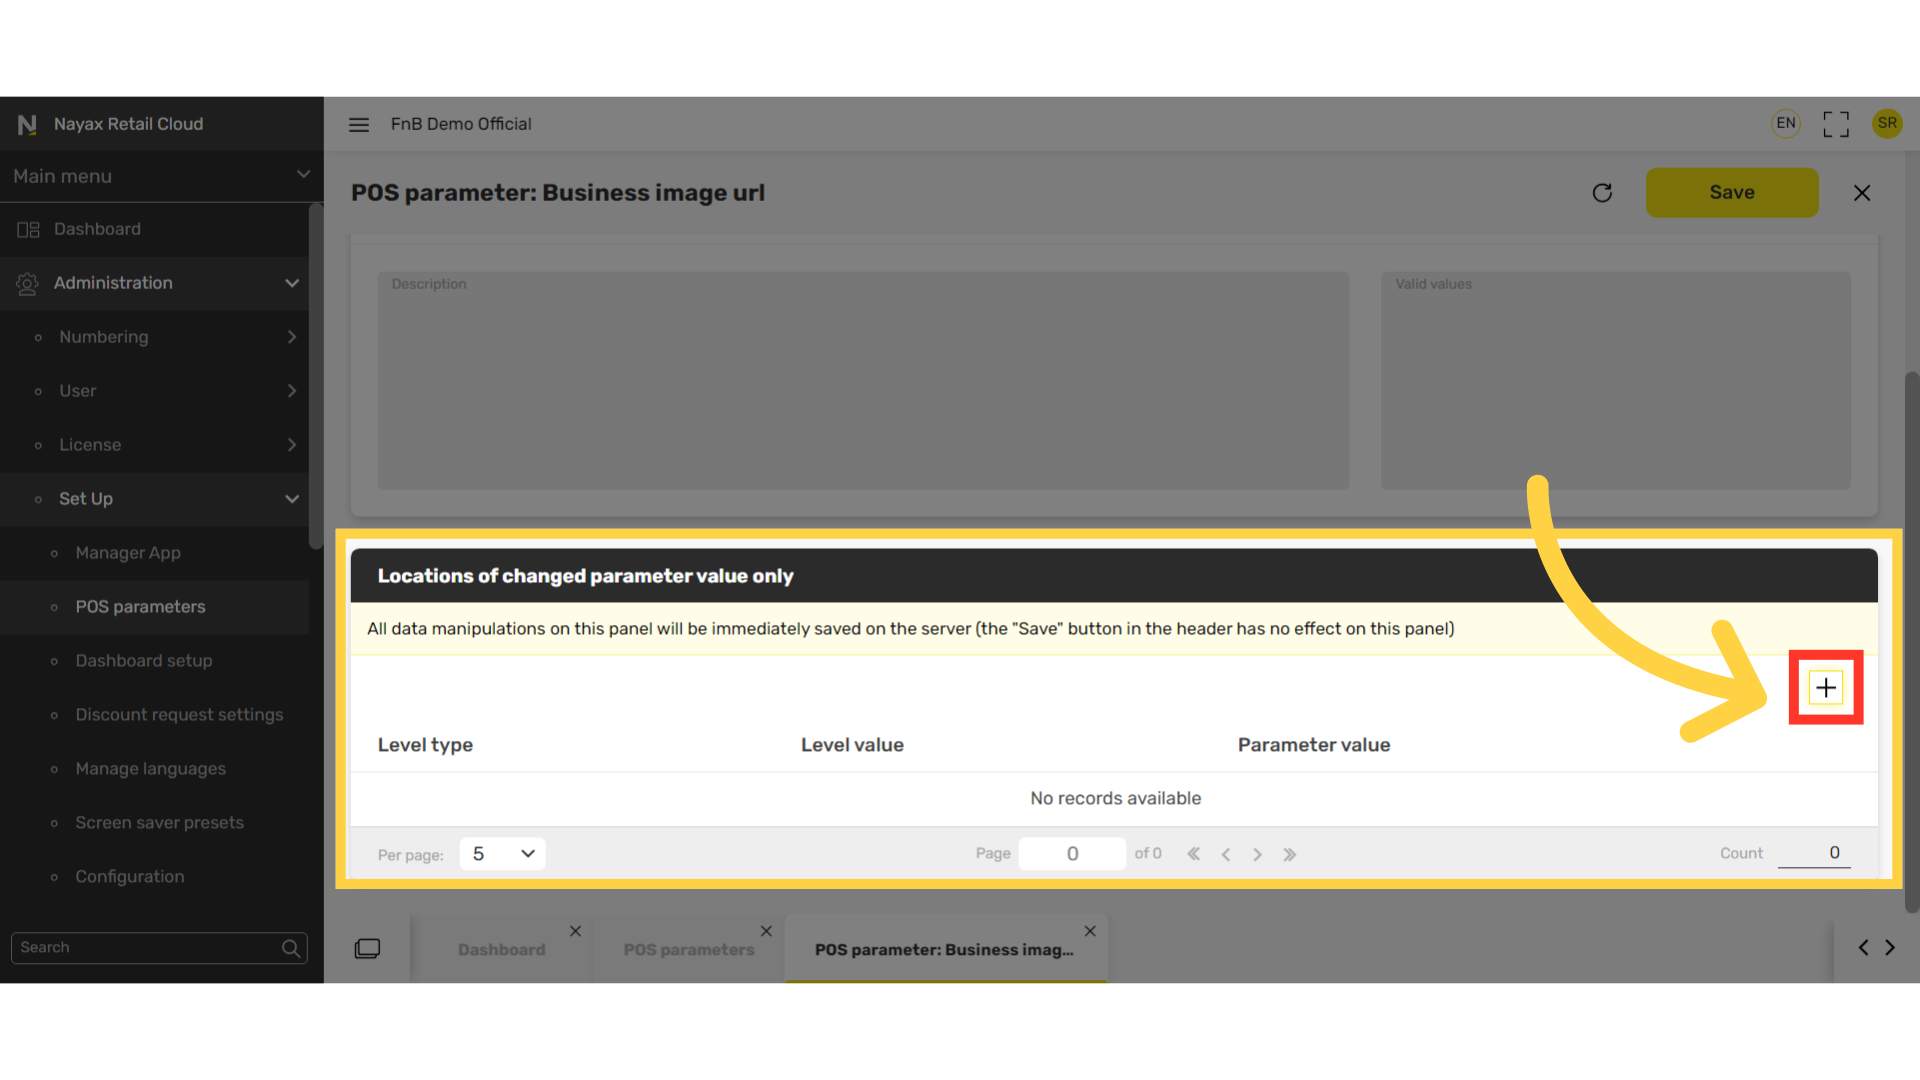
Click + Icon
Image Attached
Scroll down to the Locations of changed parameter value only tab and click plus icon to the right highlighted in RED on the visual.
9
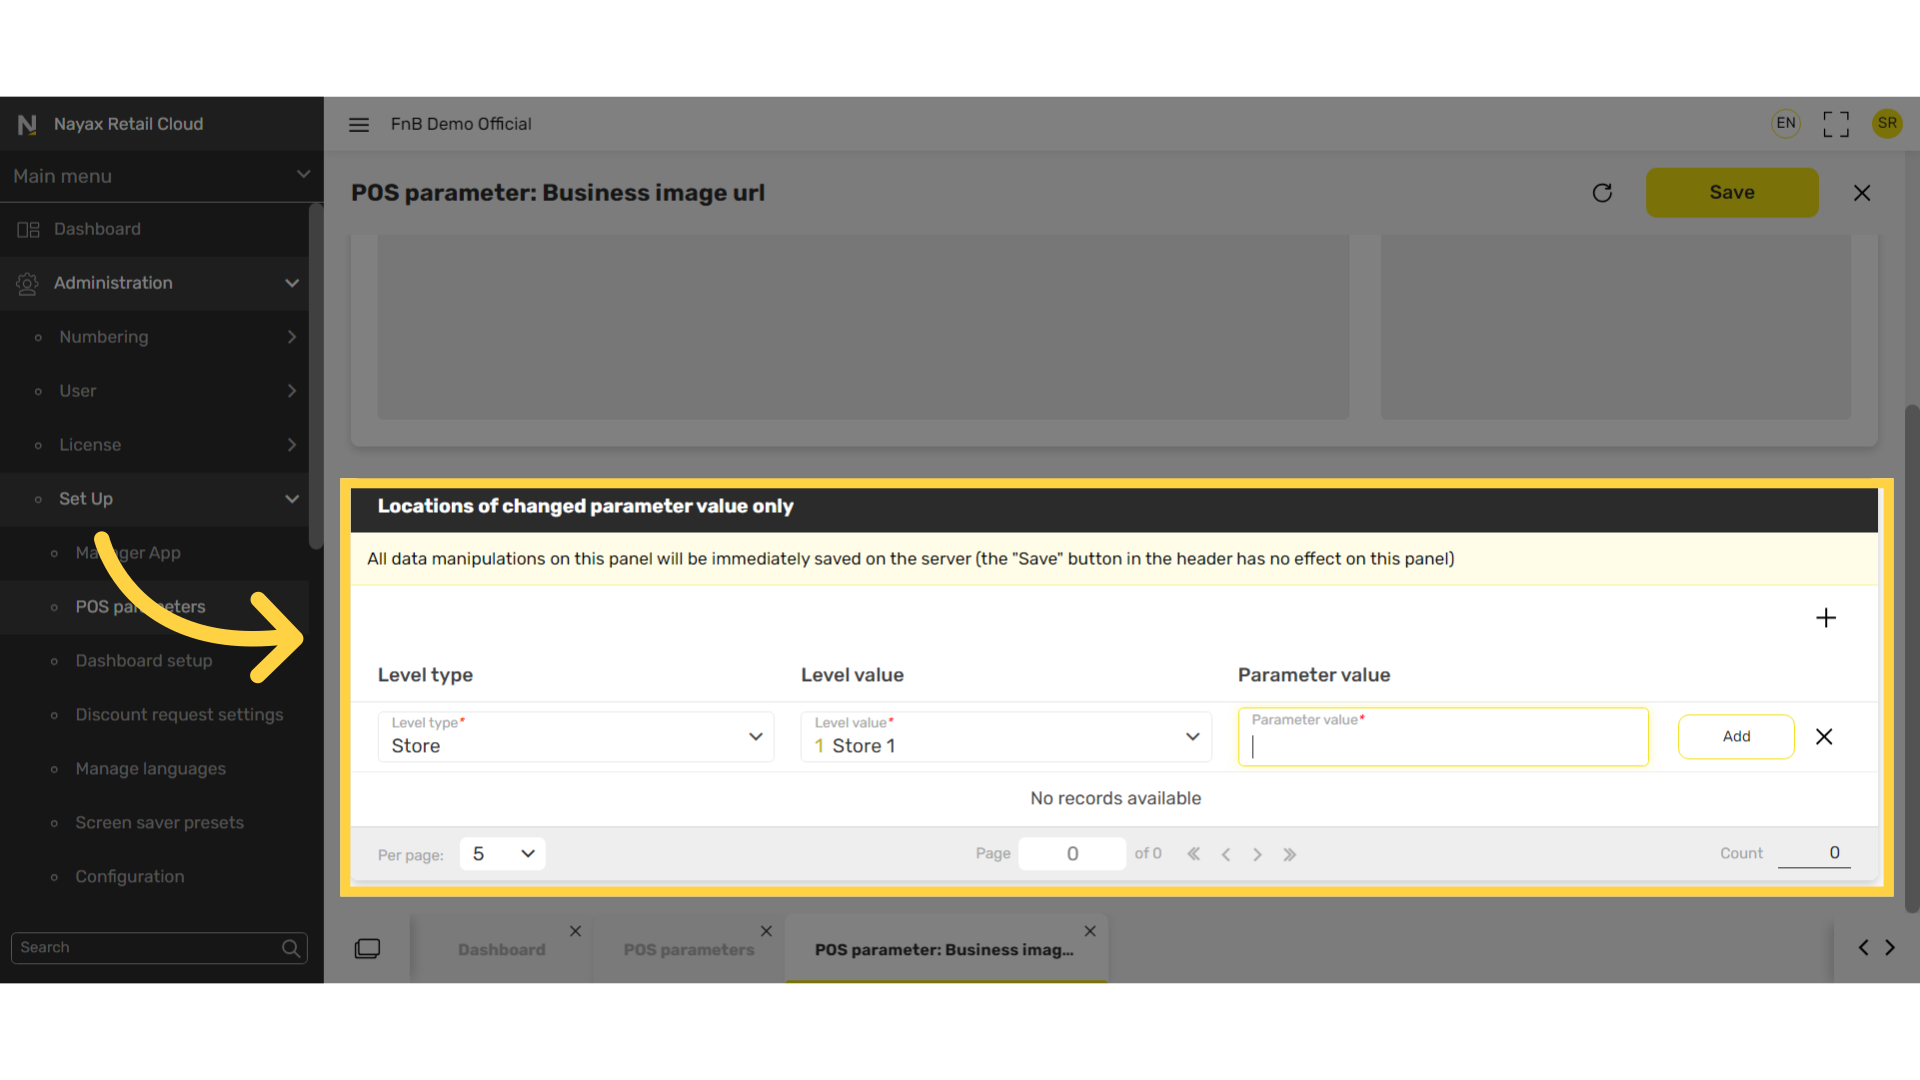
Fill in the following fields:
Image Attached|
Field |
Description |
|
Level Type |
Hierarchy of the company. Select where the parameter value needs to be associated with. |
|
Level Value |
The store you need to associate the parameter value with. |
|
Parameter Value |
The URL link for the image you want to upload. |
10
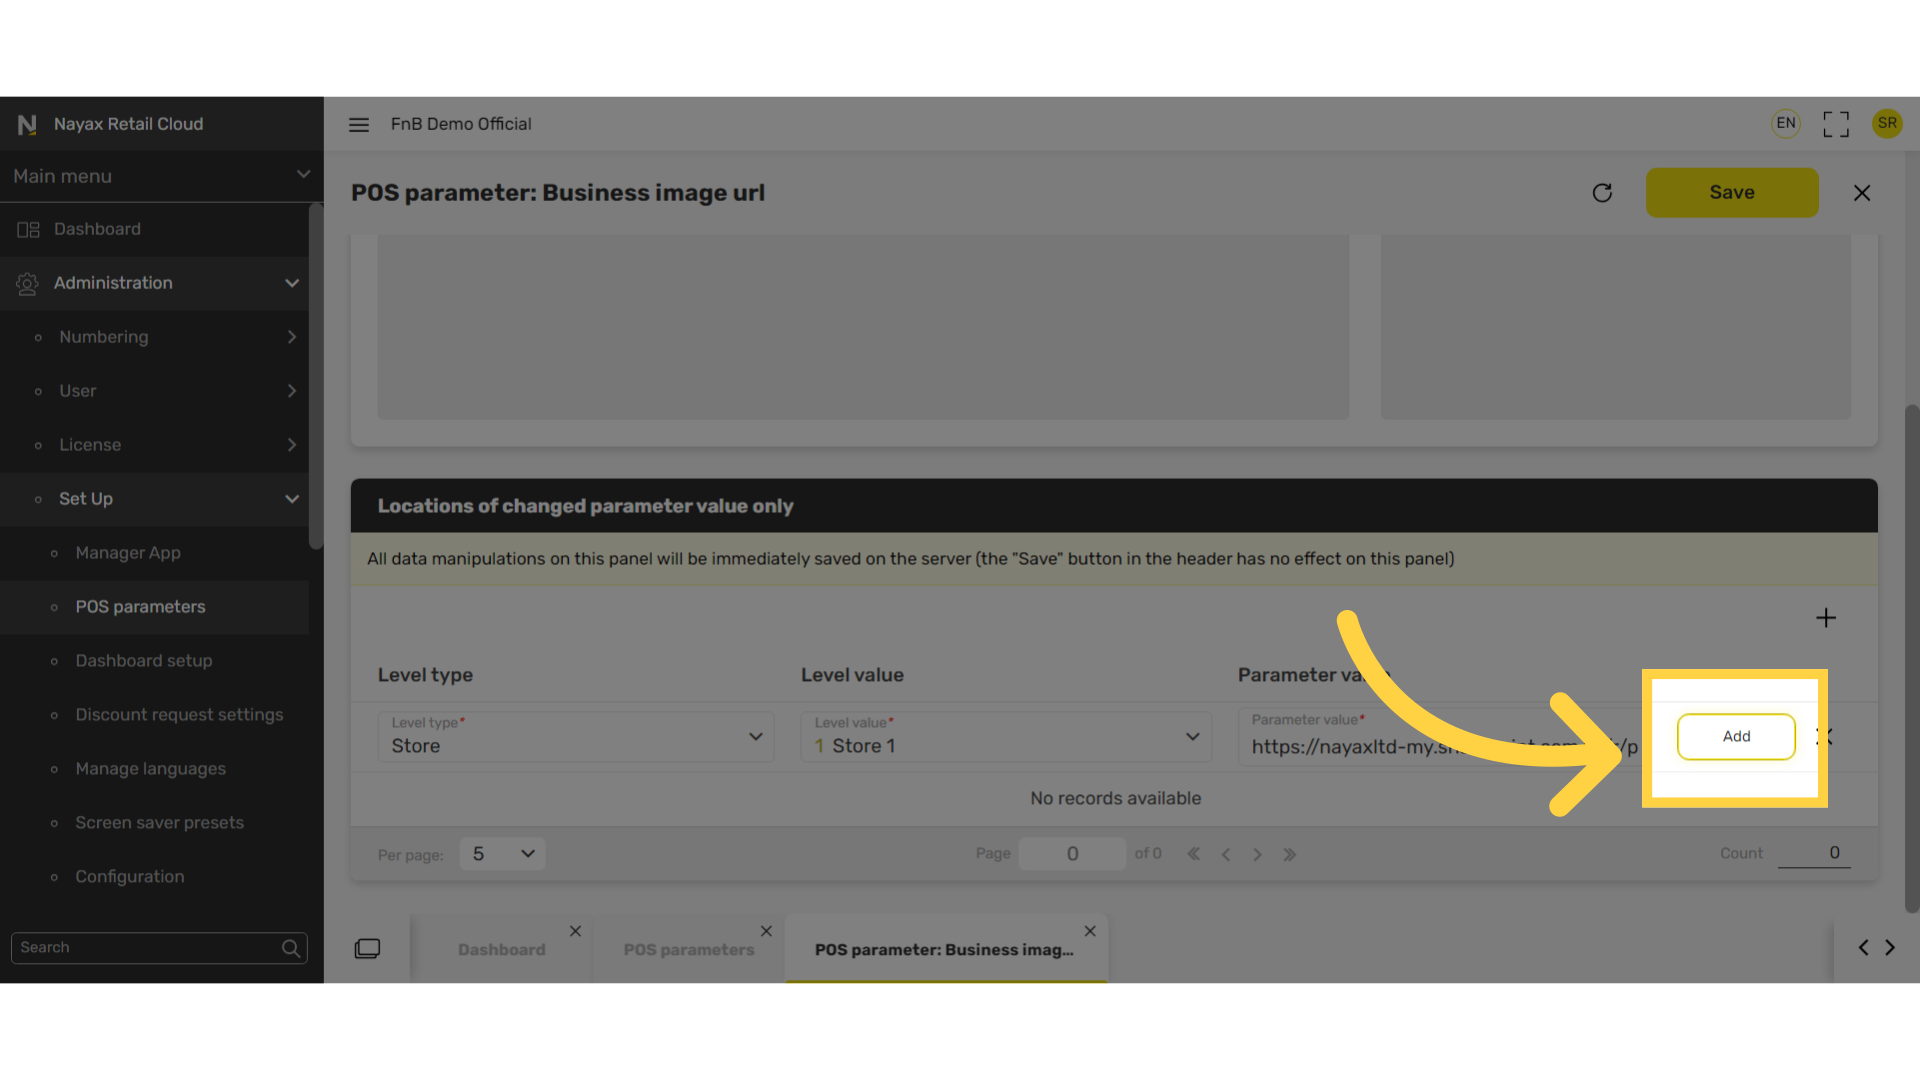
Click Add
Image AttachedClick Add.
11
Click Save
Image AttachedDon't forget to save your changes!

Thank you!
Did you find this article helpful?