How to Create and Invite a User to Nayax Core | Administration
Learn how to create and invite a new user in Nayax Core, assign roles and permissions, and control what they can view, configure, and manage quickly and easily.
1
Video Guide Options
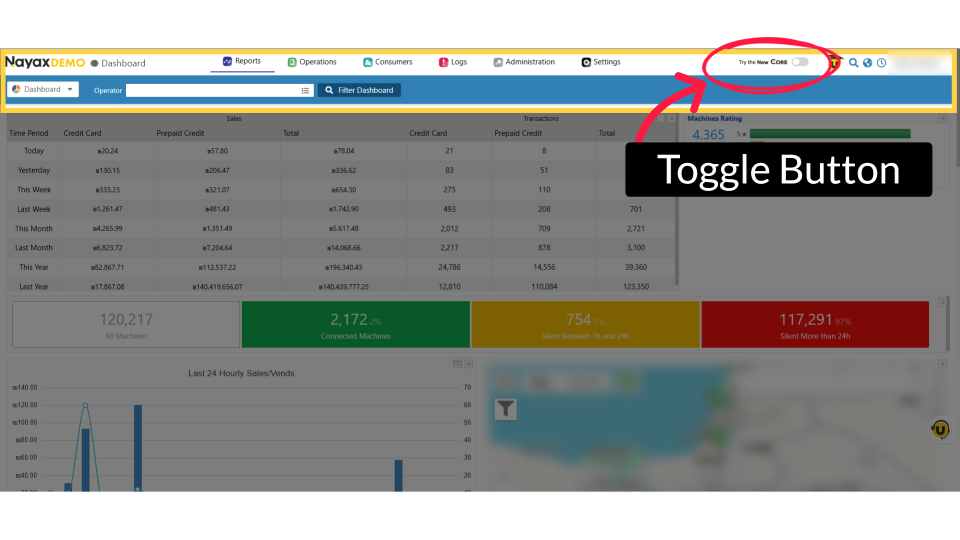
As we gradually transition from the Classic Nayax Core to the new Nayax Core, you may find both guides useful depending on your current system usage.
Support is available to assist you during this change.
Did you find this article helpful?