How to Create a Warehouse | Stock
This guide will walk you through creating a warehouse, properly managing stock, and linking warehouses that supply stock in the Retail Core.
1
Video Guide
2
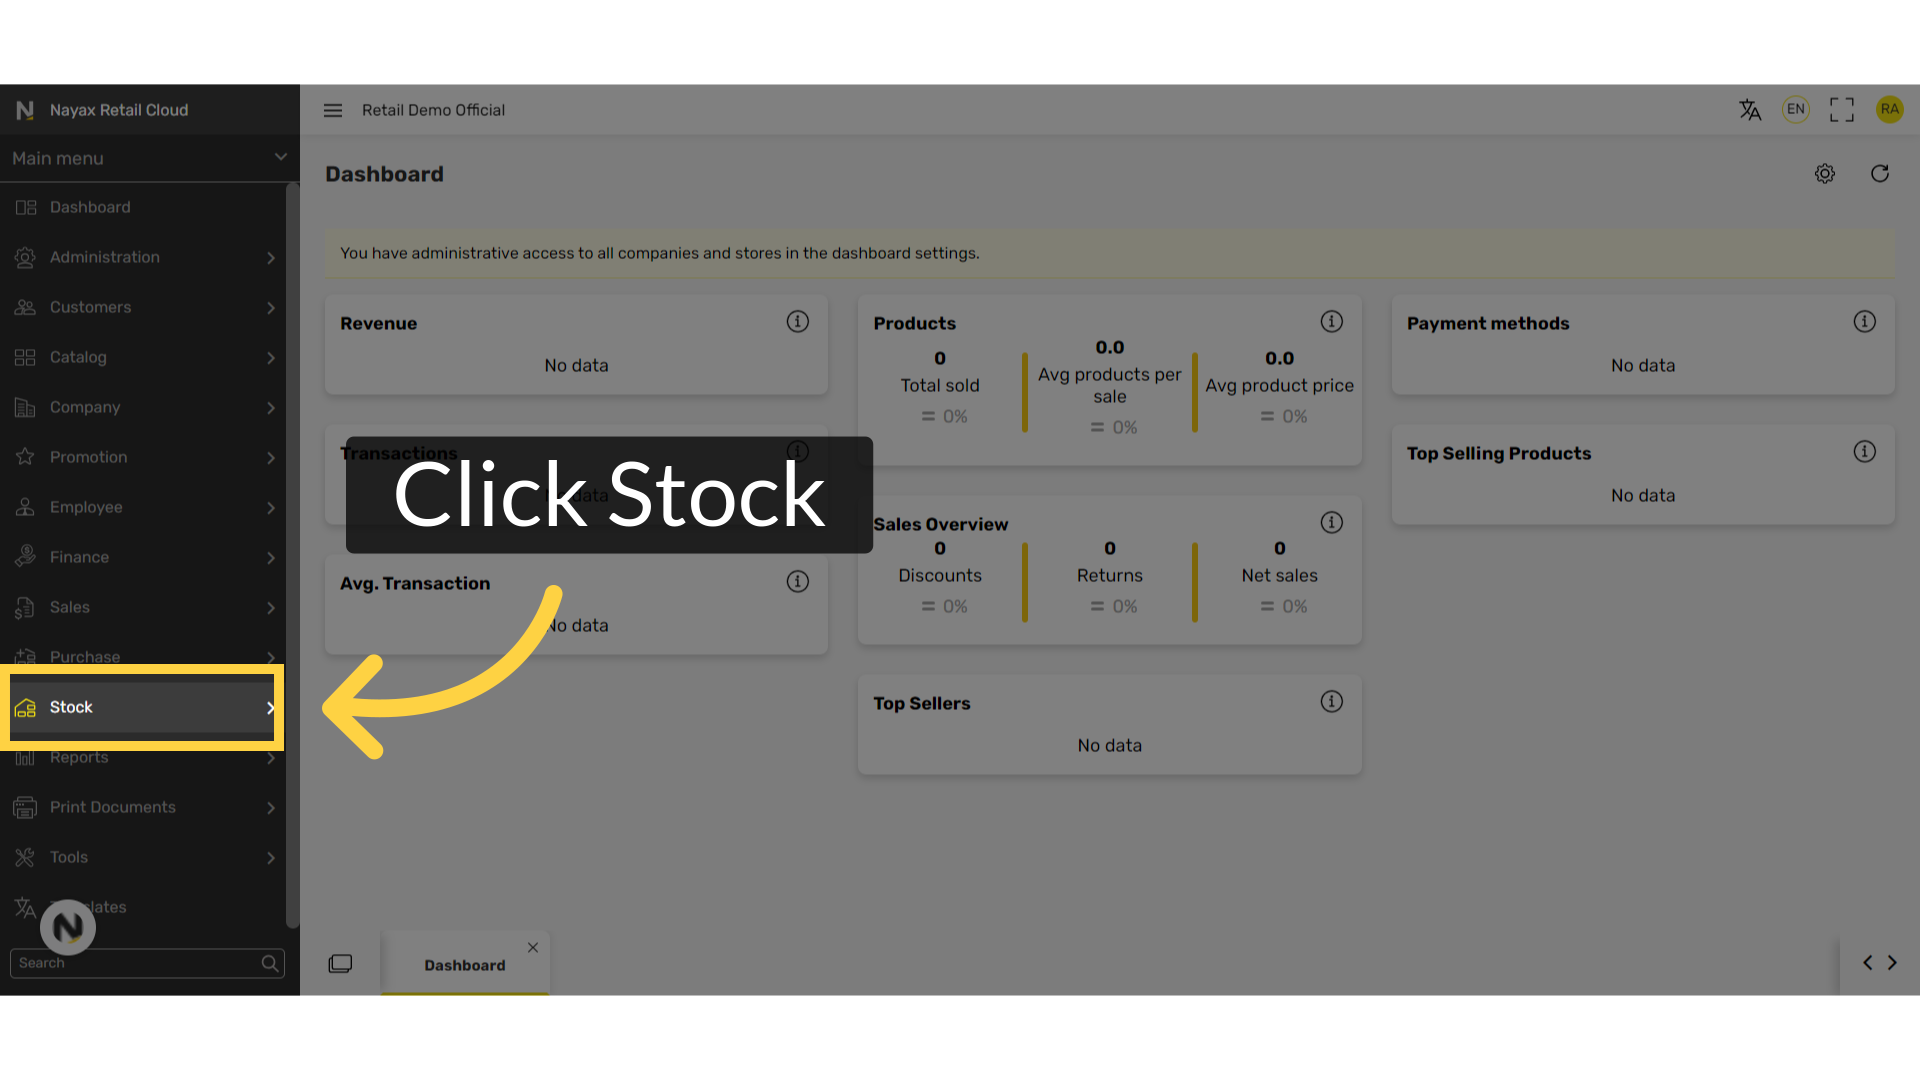
Click Stock Tab
Image AttachedFrom the dashboard of your Retail Core management suite click on the Employee tab from the side menu.
3
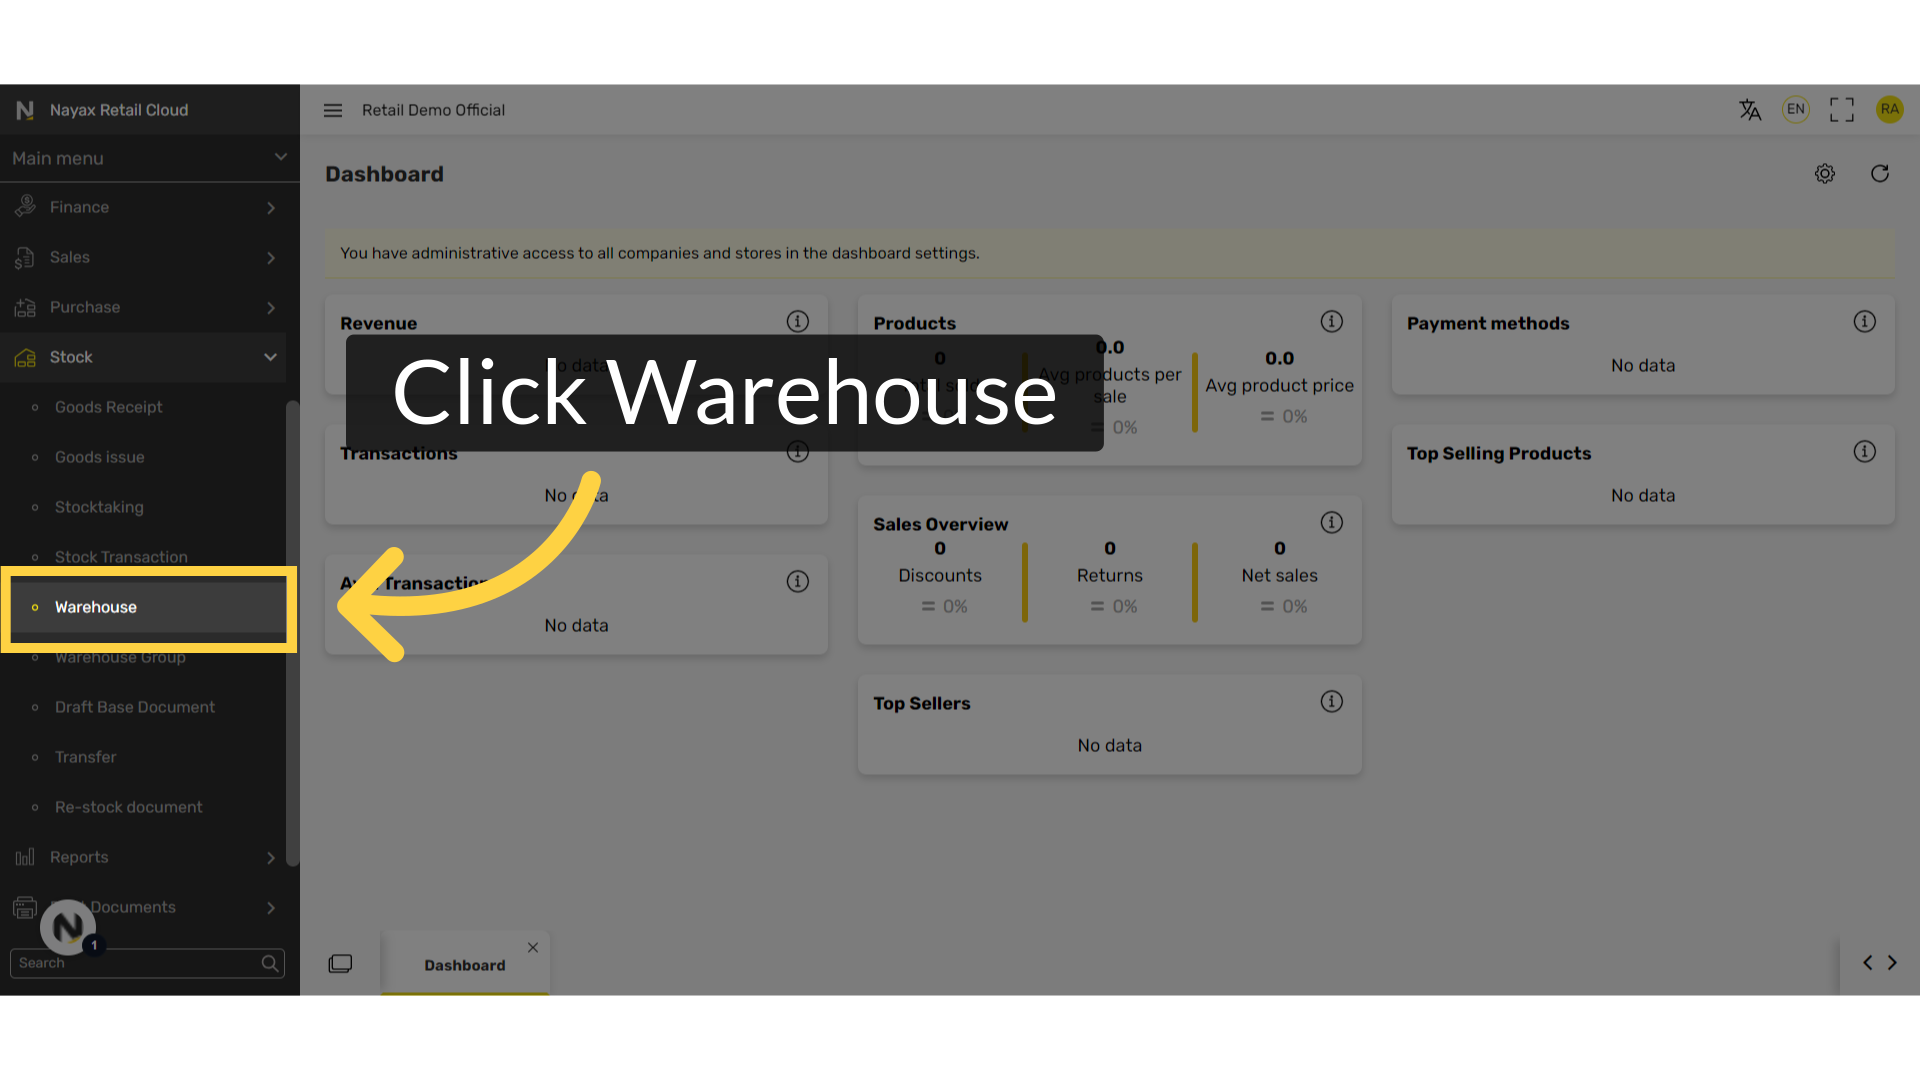
Click Warehouse Tab
Image AttachedFrom the sub-menu, click on Warehouse.
4
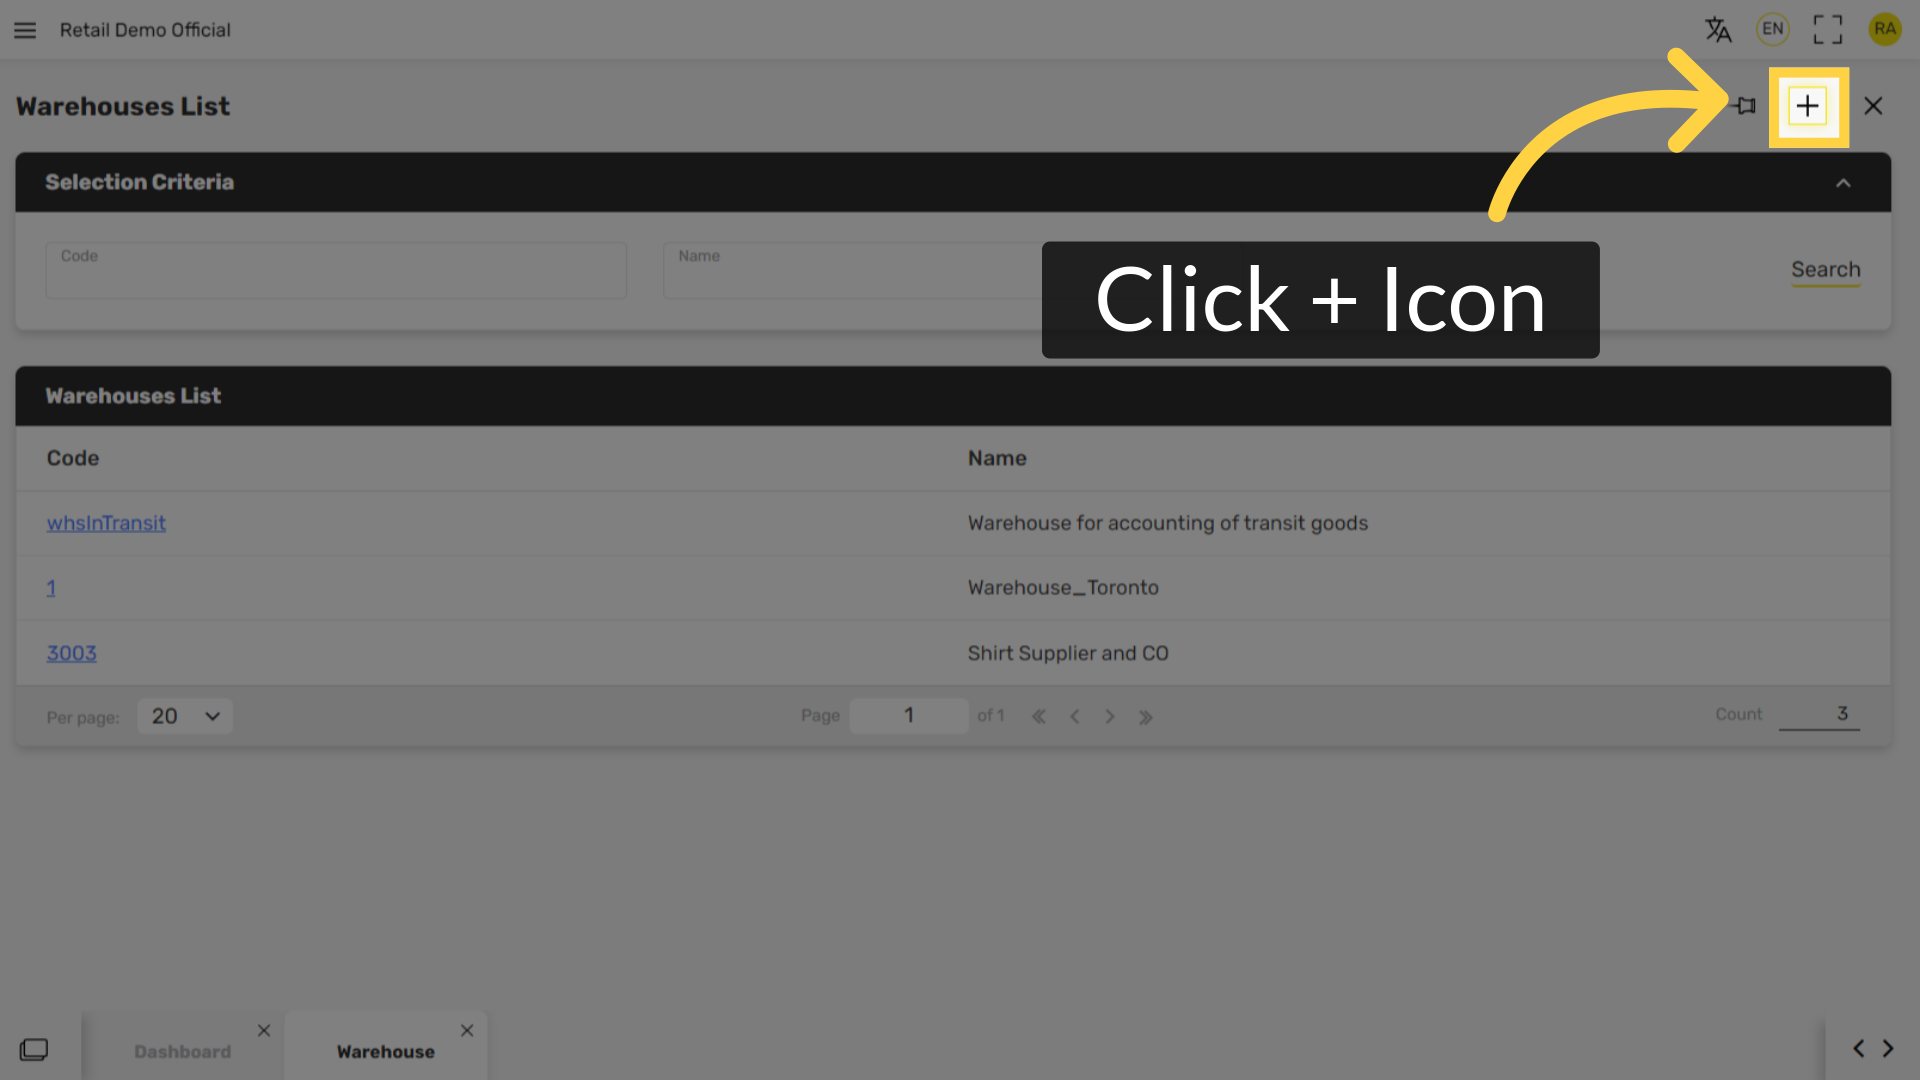
Click + Icon
Image AttachedClick + at the top right of the screen.
5
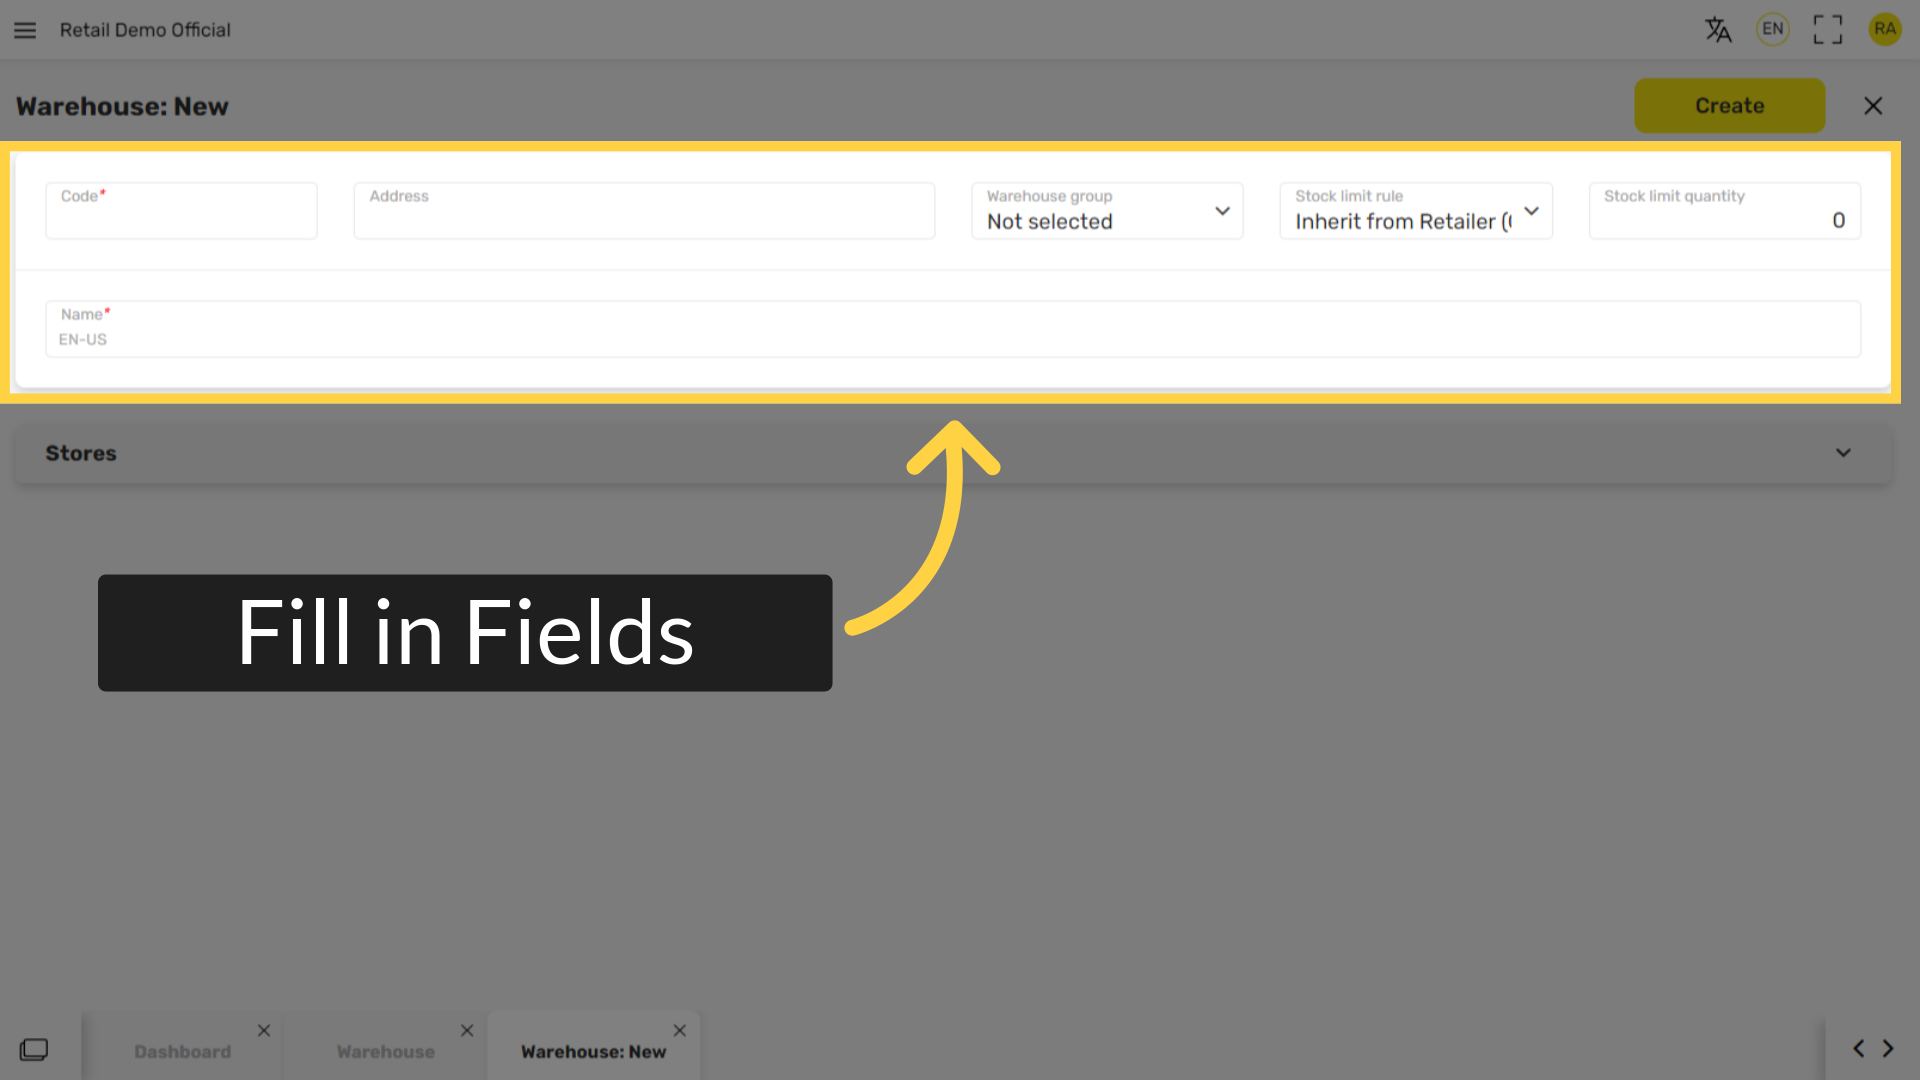
Fill in the following fields:
Image AttachedFill in the warehouse information in the following fields.
6
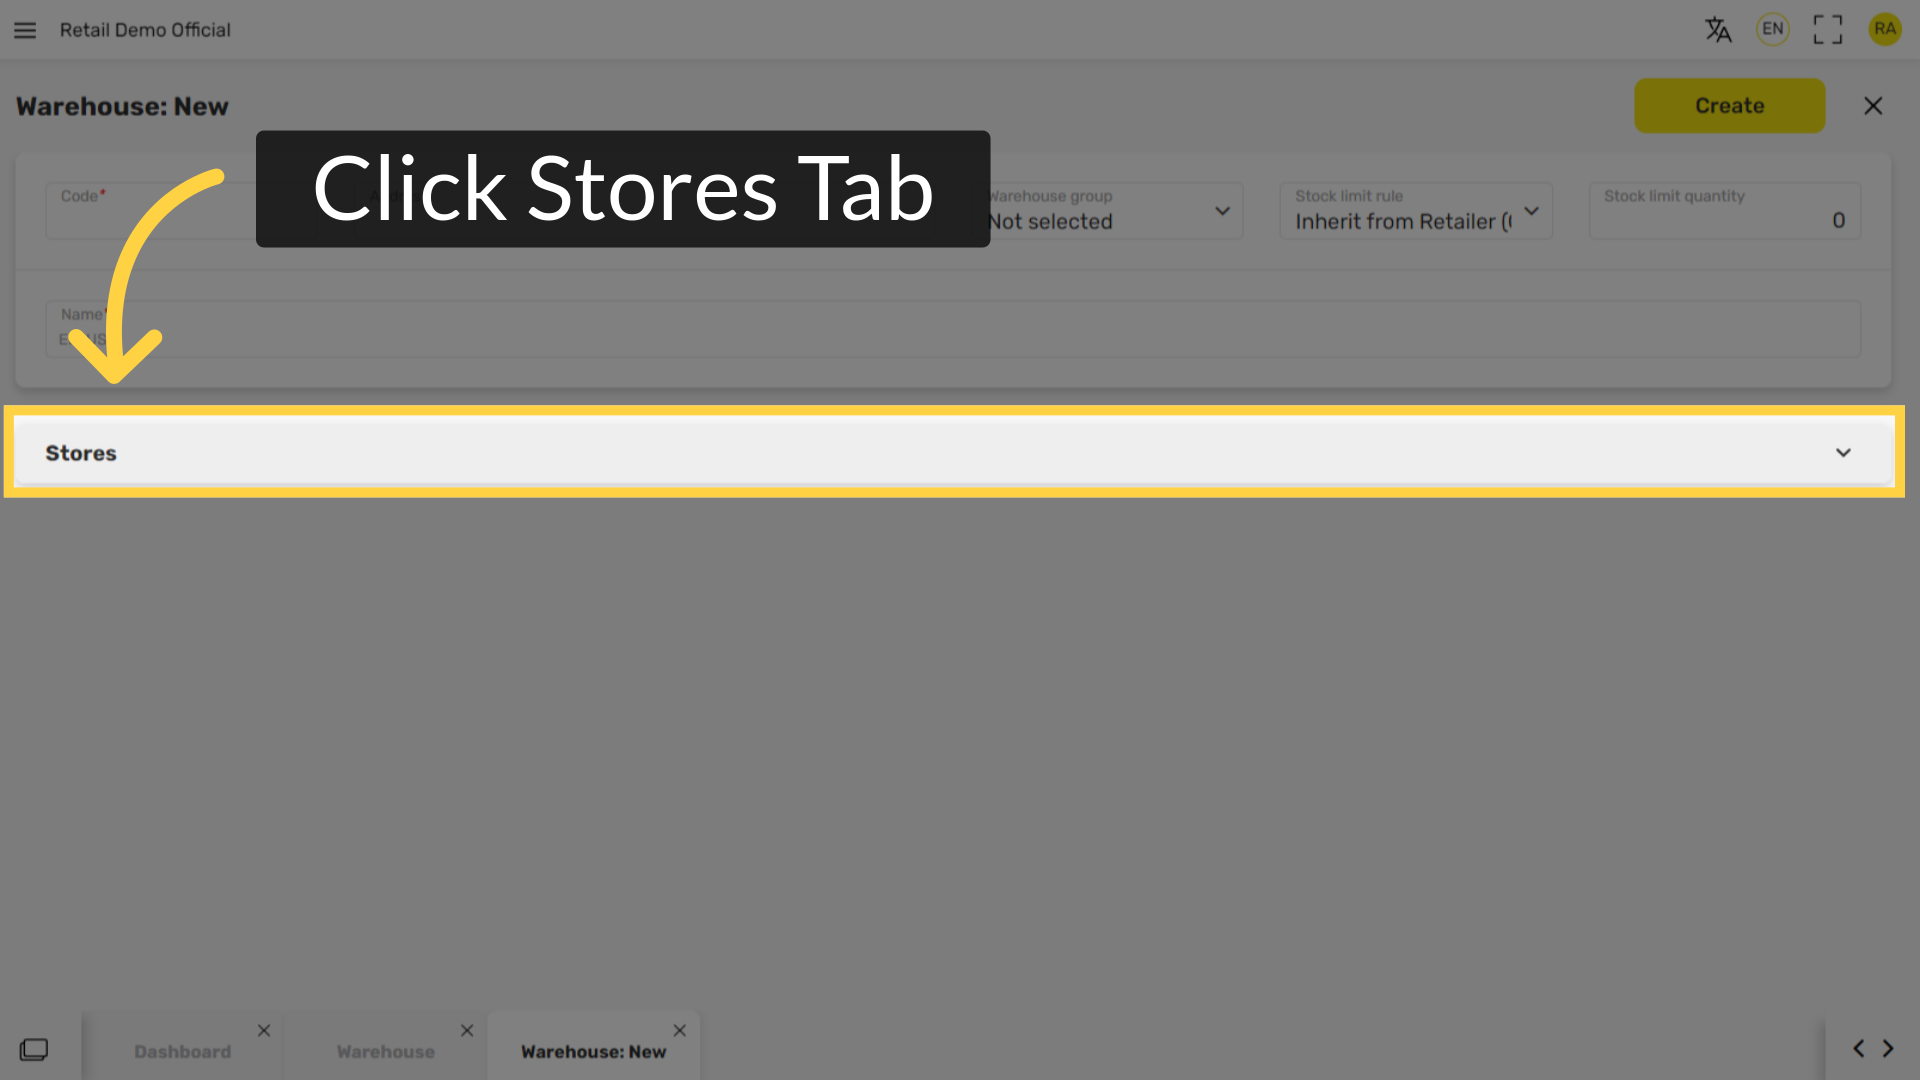
Click Stores Tab
Image AttachedClick on the Stores tab.
7
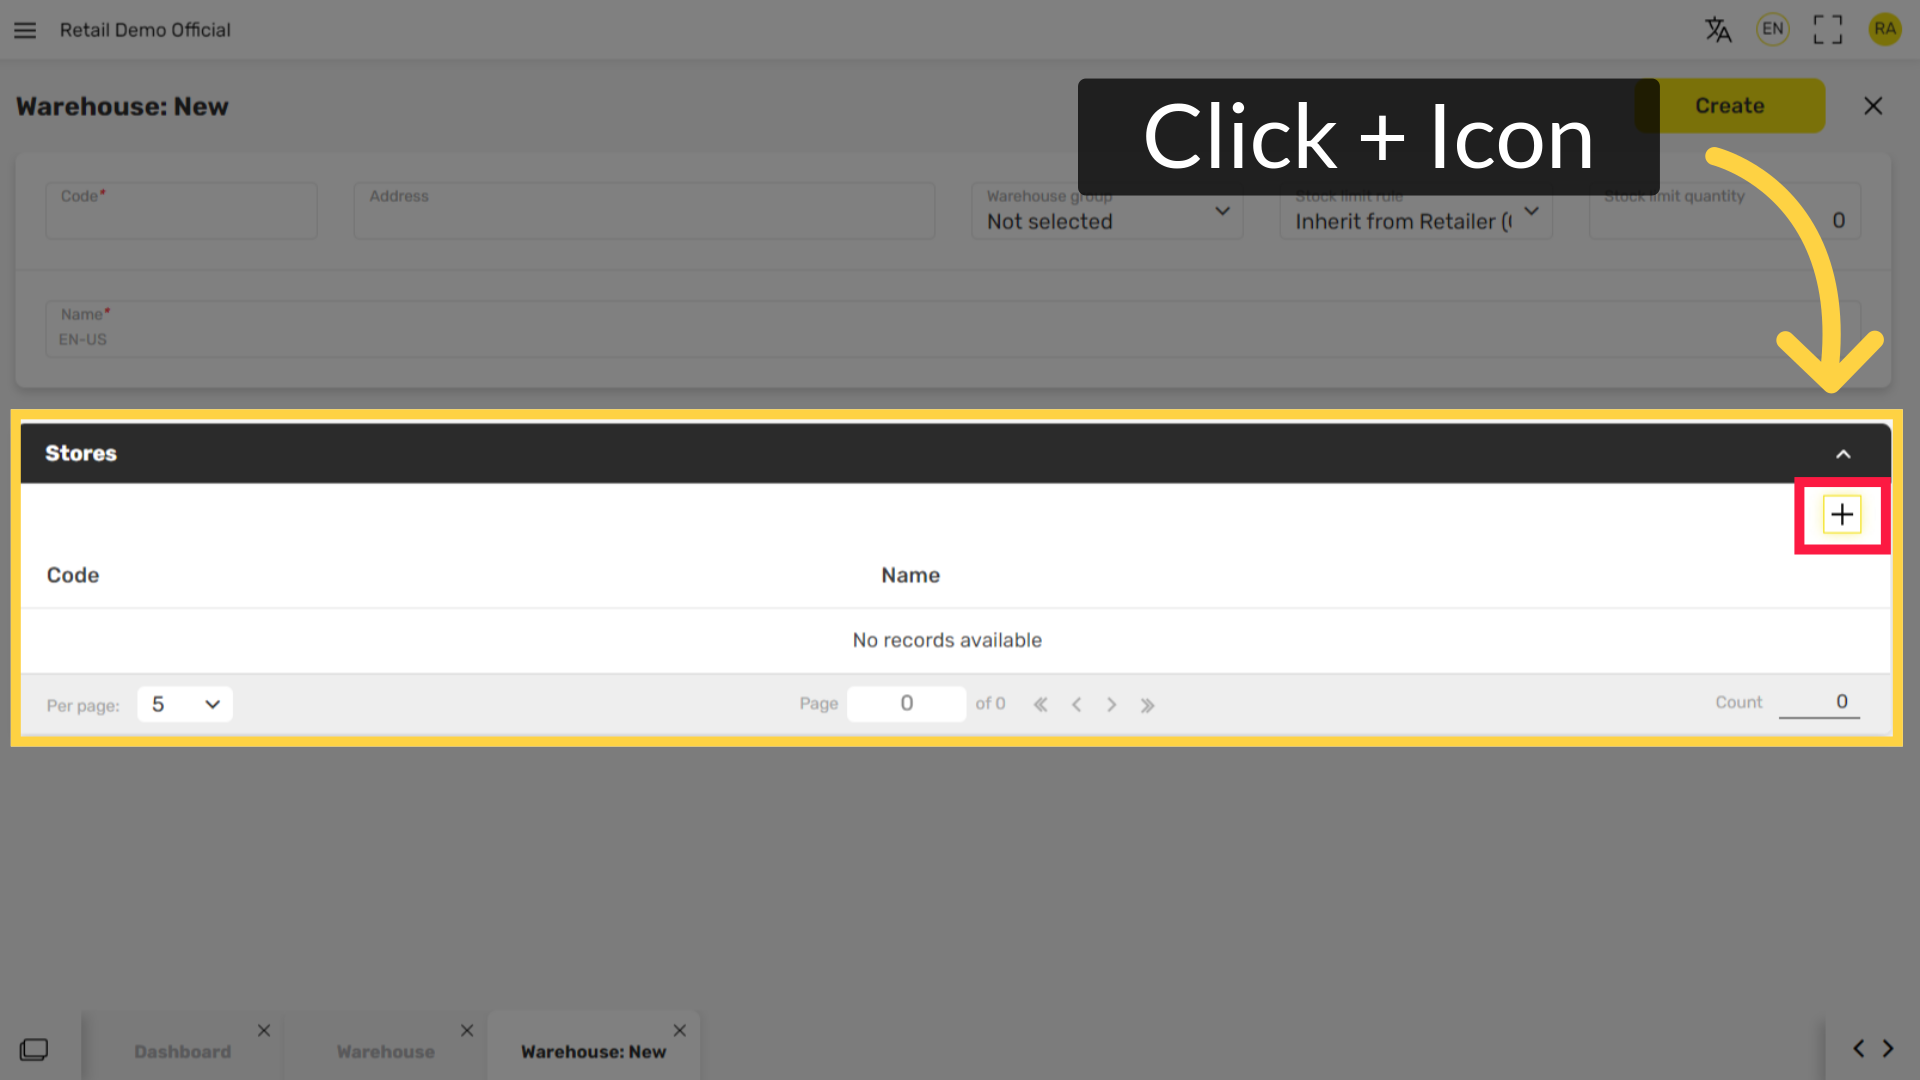
Click + Icon
Image AttachedClick + to the right of the screen.
8
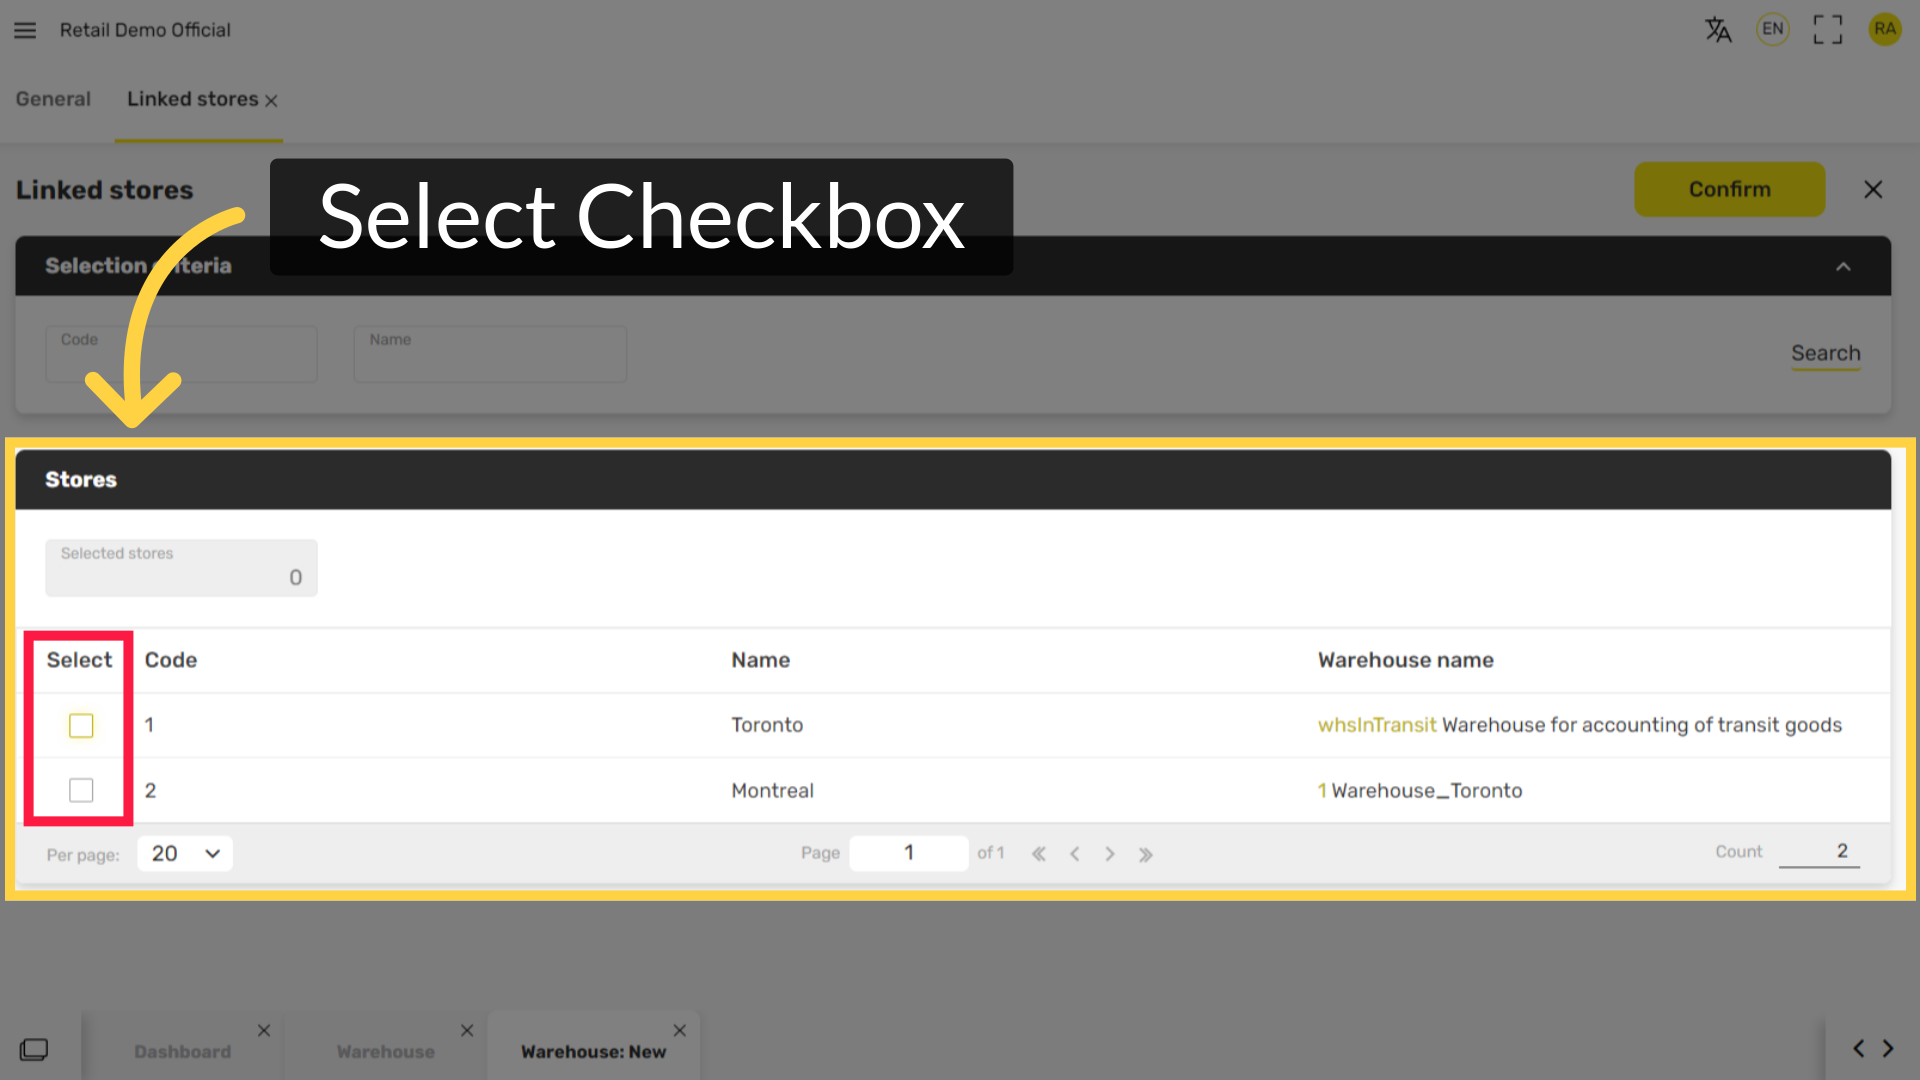
Select Checkbox
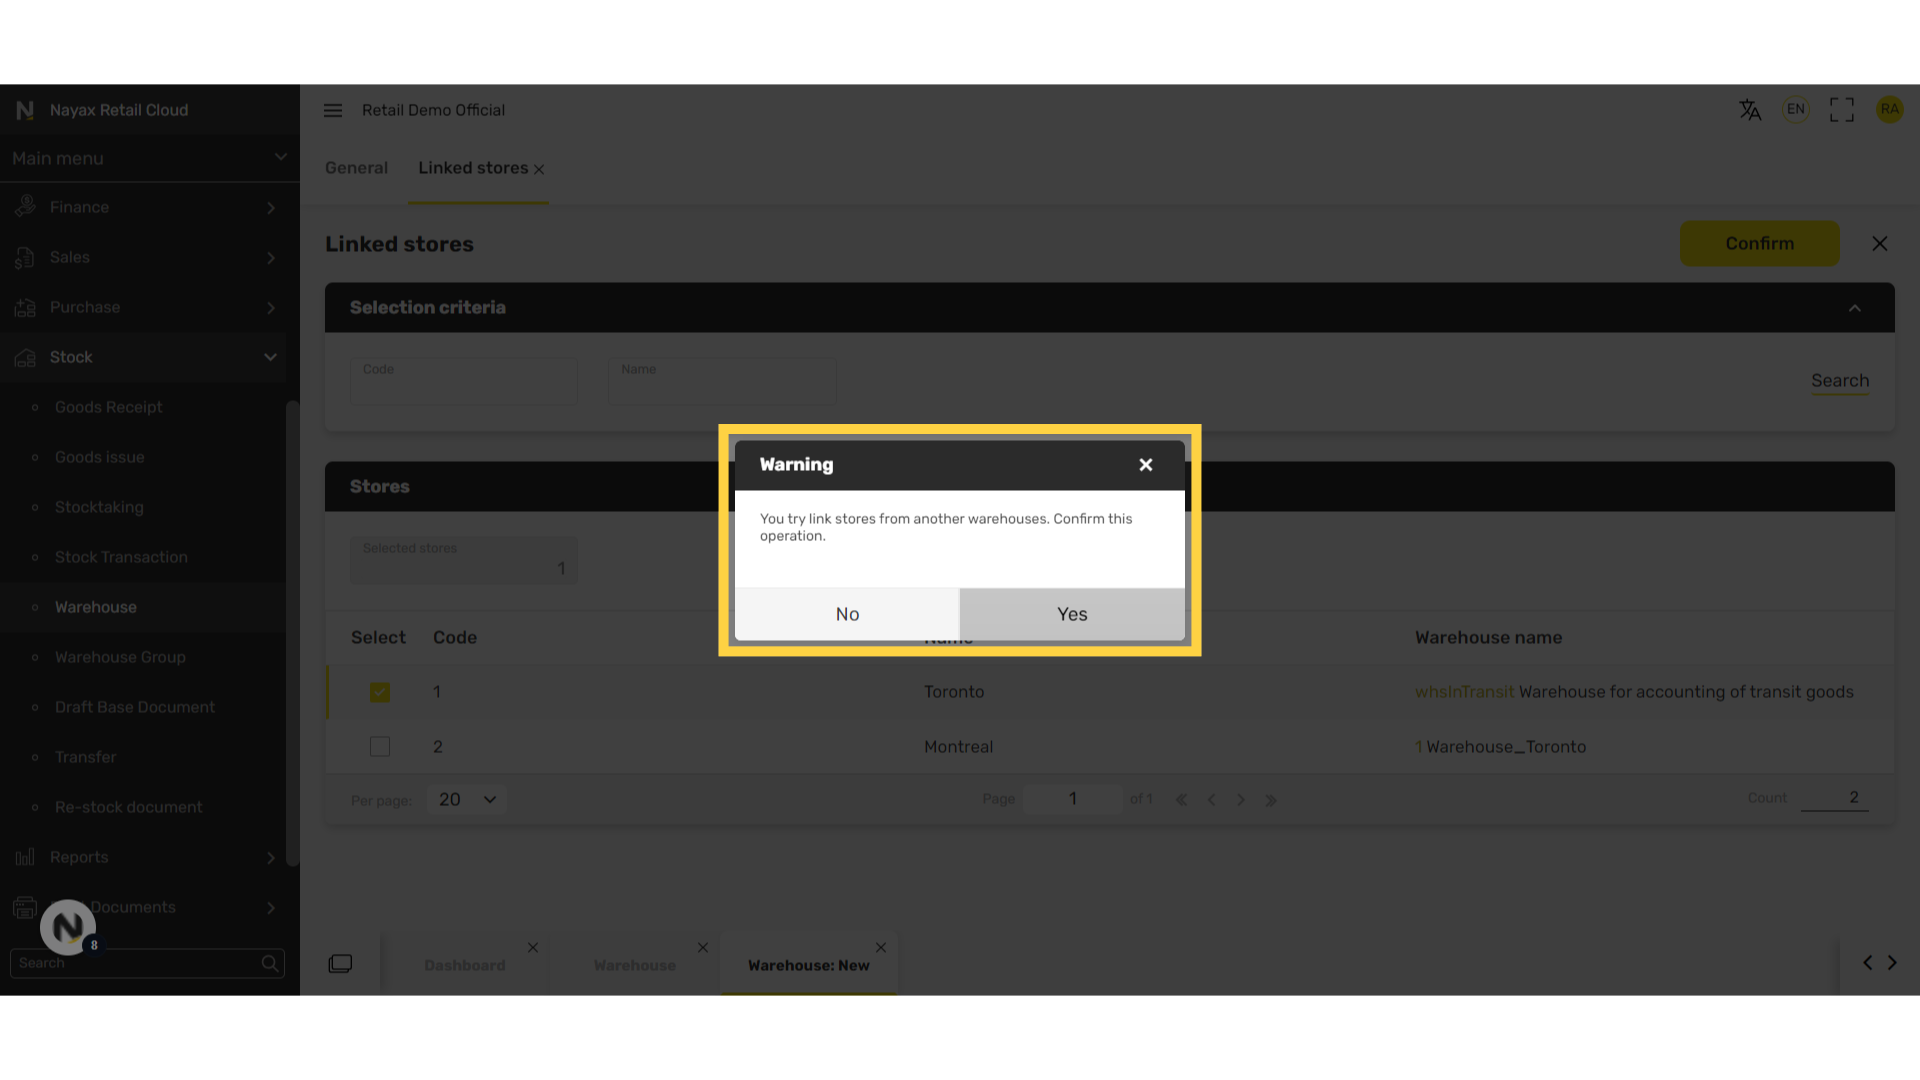
Image AttachedThis tab will reveal the stores associated to the warehouse. To associate more stores click the + icon and select the checkbox of the preferred store. If the store is already associated to another warehouse, there will be a pop up warning but it is possible to link two warehouses to a store.
9
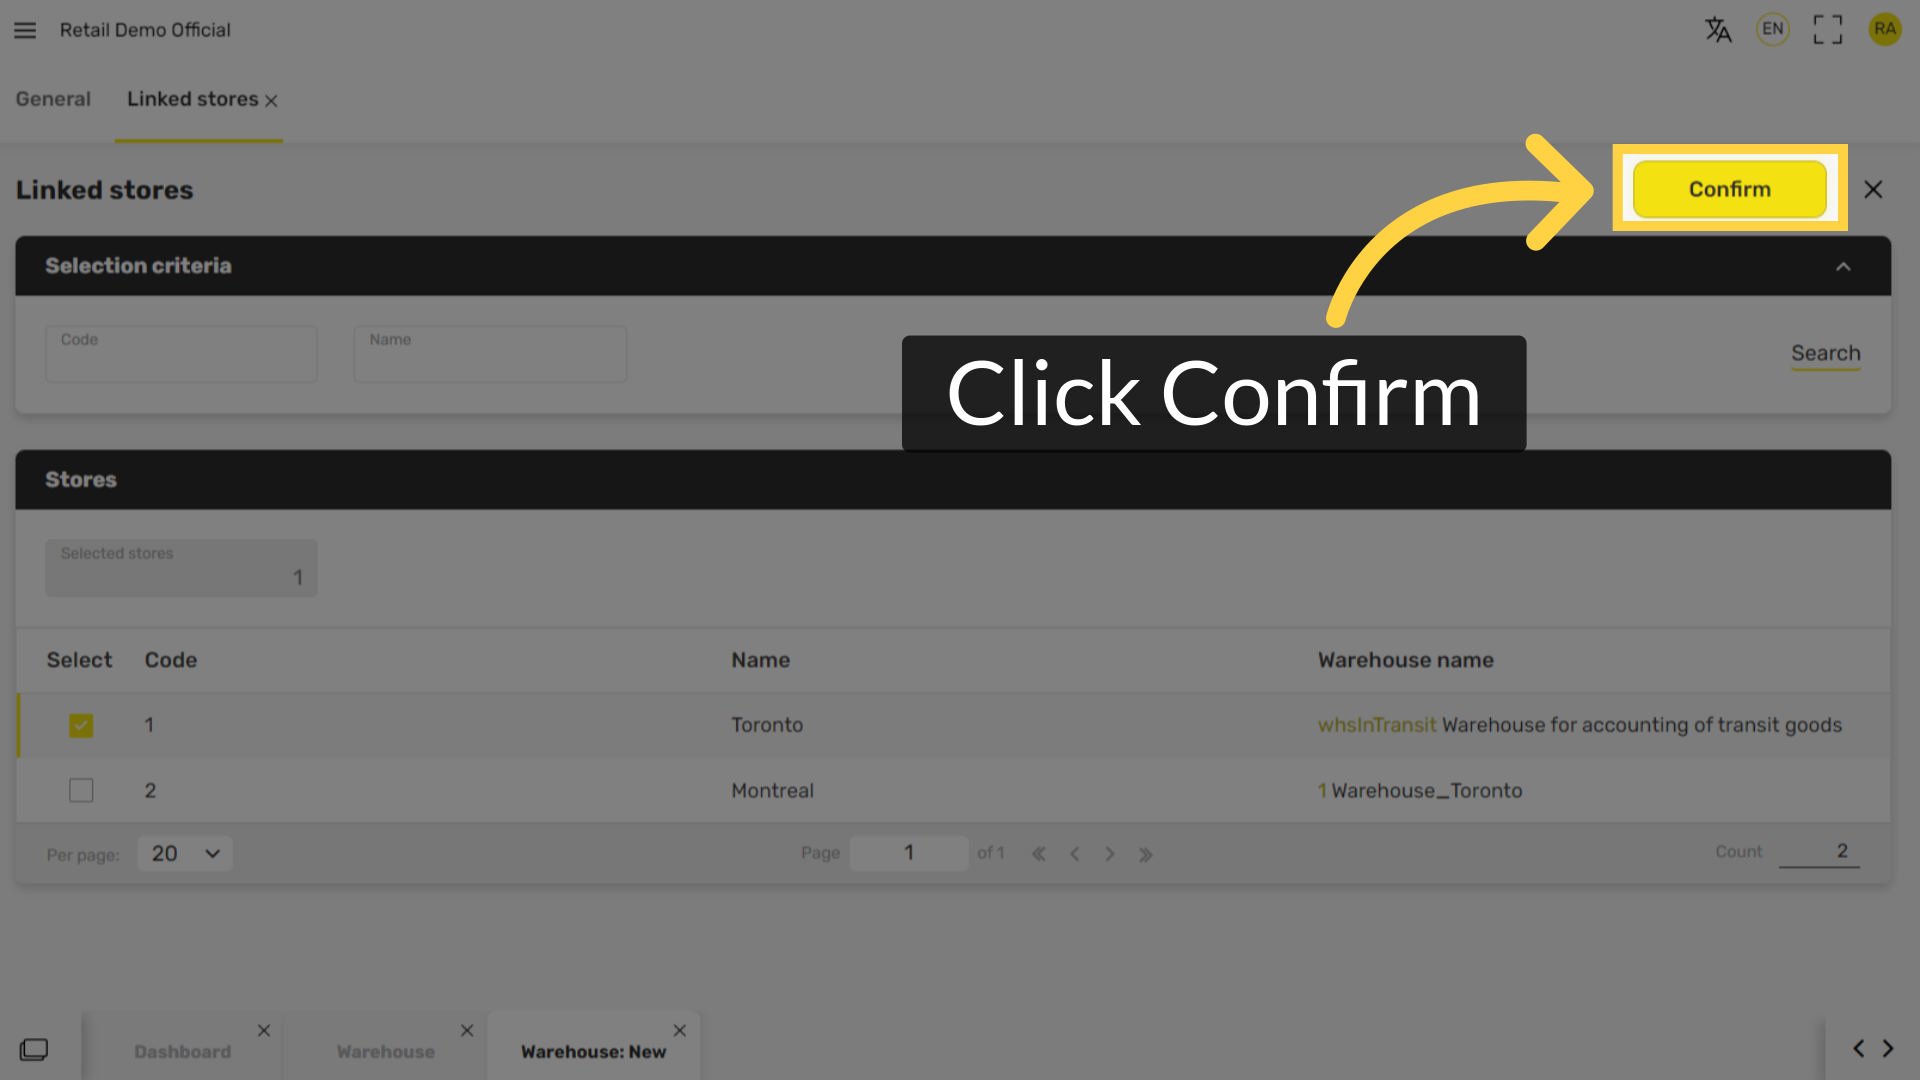
Click Confirm
Image AttachedClick Confirm.

10
Warning Window
Image AttachedIf the store is already associated to another warehouse, there will be a pop up warning but it is possible to link two warehouses to a store.
11
Click Confirm
Image AttachedClick Confirm
12
Click Save
Image AttachedClick Save.
Thank you!
Did you find this article helpful?