EV Communities Overview | Consumers
Discover how EV Communities enable you to define and manage charging discounts for designated EV Accounts at specific operator locations.
Video Guide
00:00: Discover how EV Communities enable you to define and manage charging discounts for designated EV Accounts at specific operator locations.
00:09: From the dashboard of your Nayax Core platform, click the Consumers tab, then click on EV Communities in the drop-down menu.
00:17: This is your EV community page.
00:20: Start by filtering by Location, Strategy (discount type), or Search (name/description). You can also enable the Inclusion to display inactive communities and refine your list.
00:31: The main table lists each community with its Name, Description, Location, Discount Type and value, Start Date, Status, Total Accounts, and Actions (Edit/Delete).
00:40: In the table, double-click the table or edit icon to open its detail view.
00:45: The side panel opens the Community view to review Community Discounts and update settings, including start and expiry dates for community activity. Click Update Community to save changes.
00:57: Click the Accounts tab to see which accounts are assigned to this community.
01:02: To create a new community, from the main communities screen, click Add Community in the top right.
01:08: The side panel opens a form where you can enter the community name, location, discount type, and start date. When you're ready, click Create Community to add it, then assign accounts to the new community.
Click Consumers
Image AttachedFrom the dashboard of your Nayax Core platform, click the Consumers tab, then click on EV Communities in the drop-down menu.

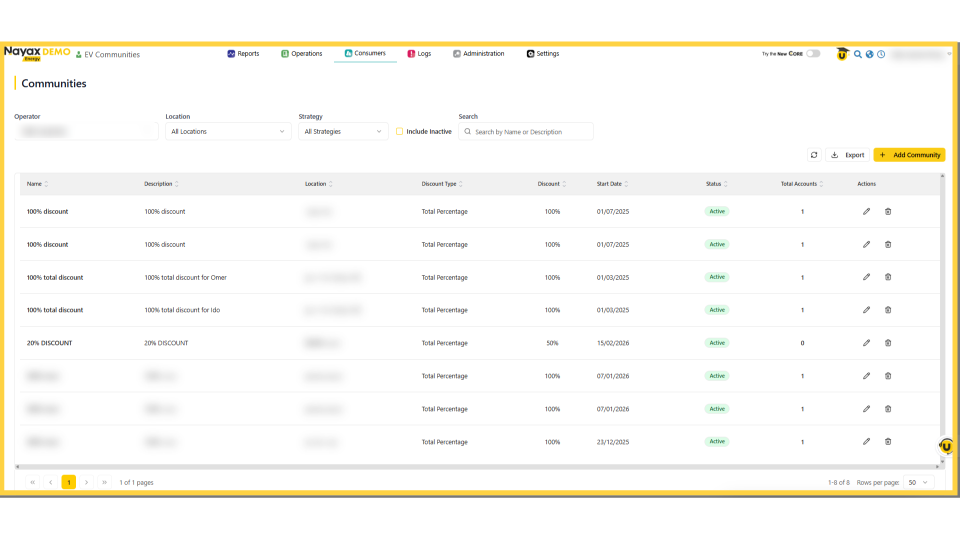
EV Communities
Image AttachedThis is your EV community page.
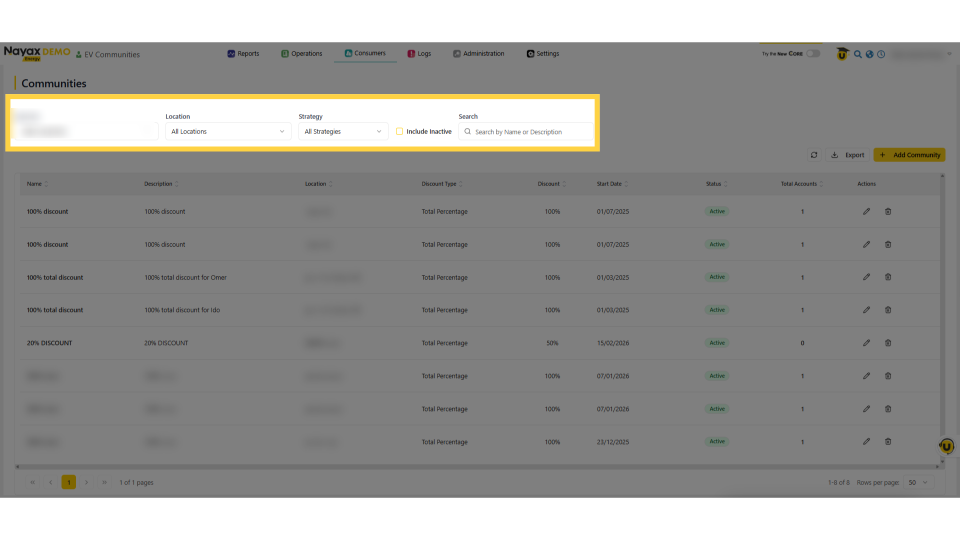
EV Communities Filter View
Image AttachedStart by filtering by Location, Strategy (discount type), or Search (name/description). You can also enable the Inclusion to display inactive communities and refine your list.
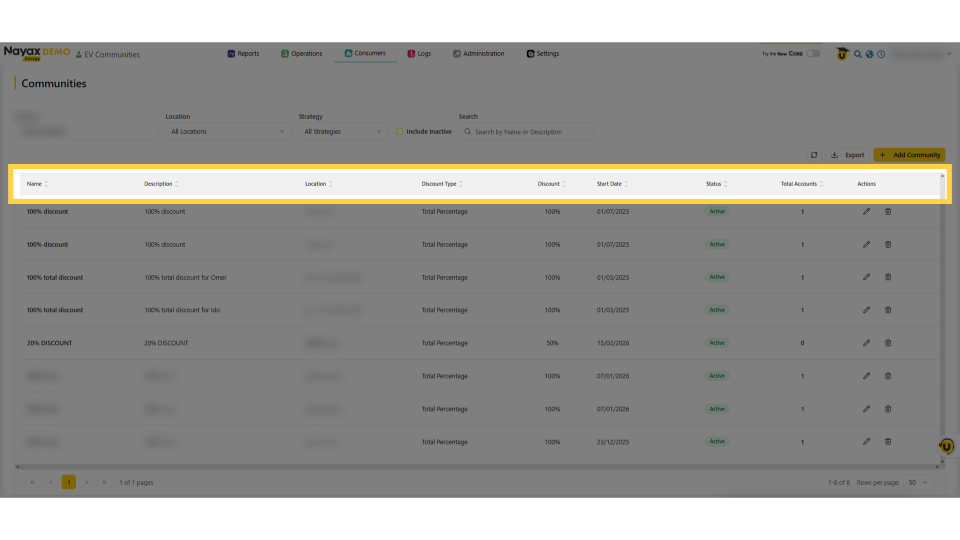
Communities Table
Image AttachedThe main table lists each community with its Name, Description, Location, Discount Type and value, Start Date, Status, Total Accounts, and Actions (Edit/Delete).
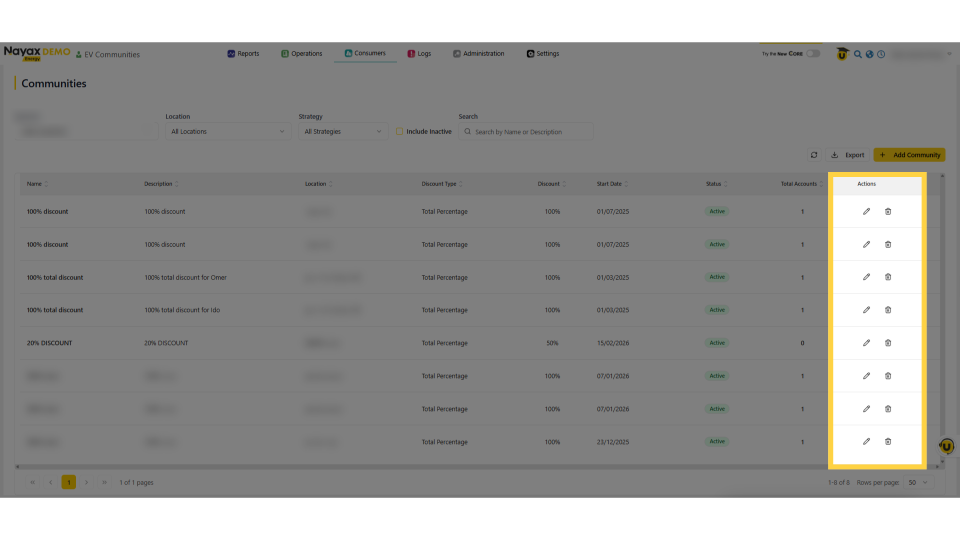
Reading the Communities Table
Image AttachedIn the table, double-click the table or edit icon to open its detail view.
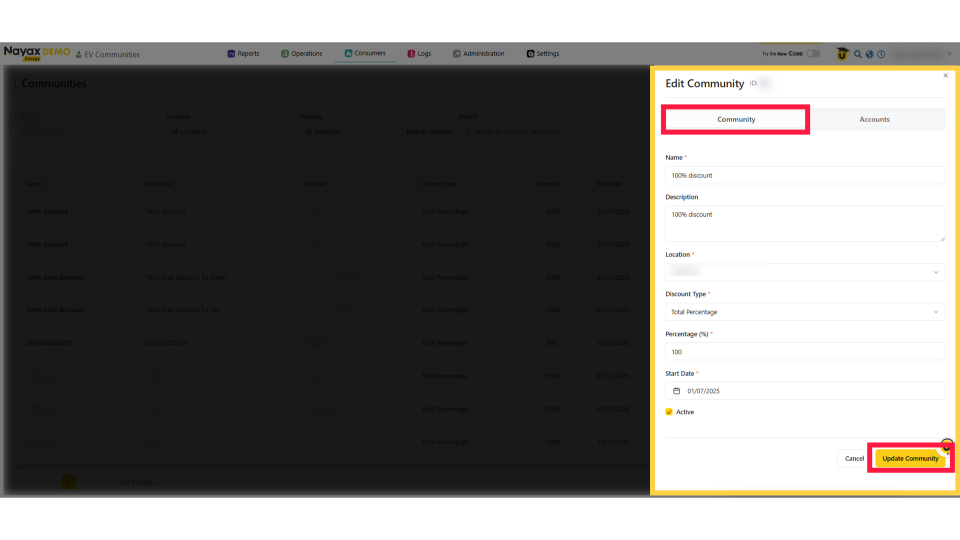
View Community Details
Image AttachedThe side panel opens the Community view to review Community Discounts and update settings, including start and expiry dates for community activity. Click Update Community to save changes.
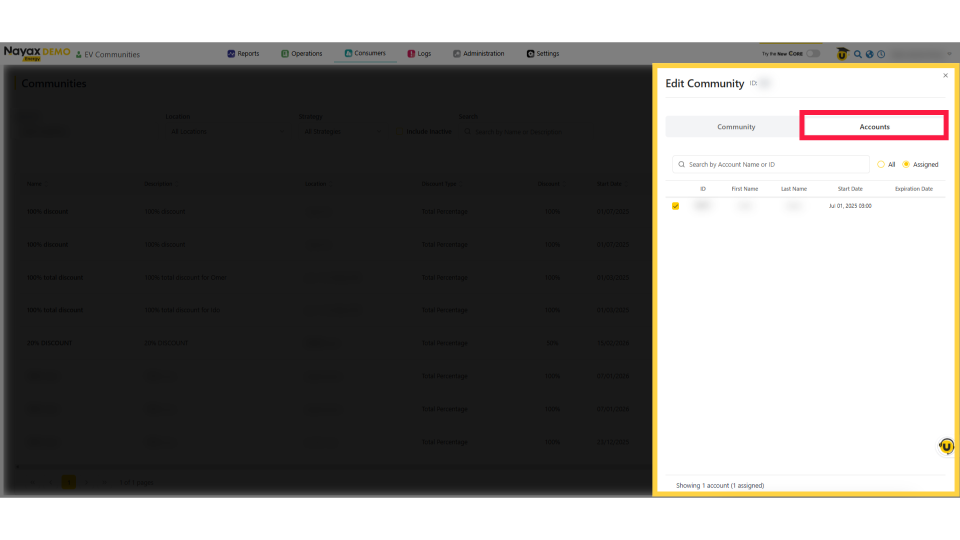
Select Community Details
Image AttachedClick the Accounts tab to see which accounts are assigned to this community.
Add Communities
Image AttachedTo create a new community, from the main communities screen, click Add Community in the top right.

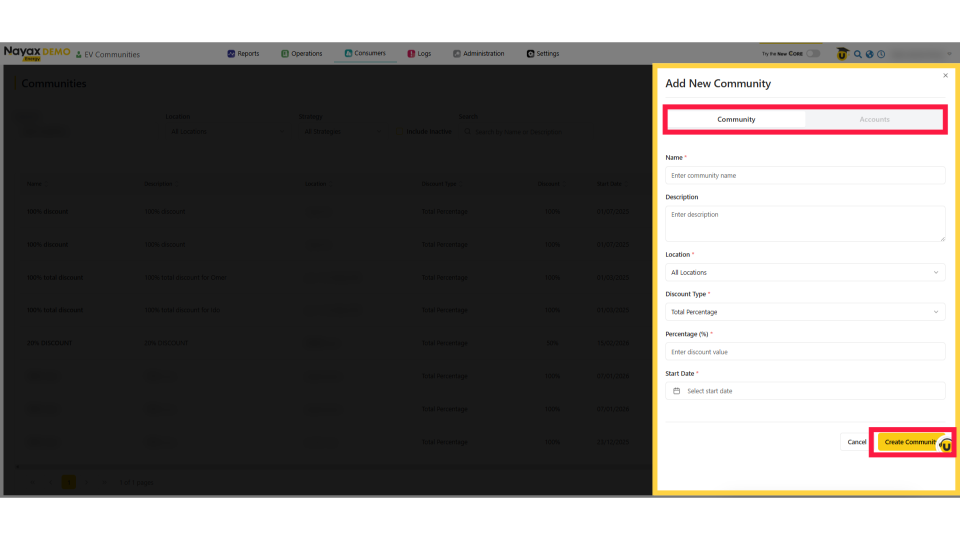
Creating a Community
Image AttachedThe side panel opens a form where you can enter the community name, location, discount type, and start date. When you're ready, click Create Community to add it, then assign accounts to the new community.
Thank you!
Did you find this article helpful?