How to Add Business Details to the Receipt | Company
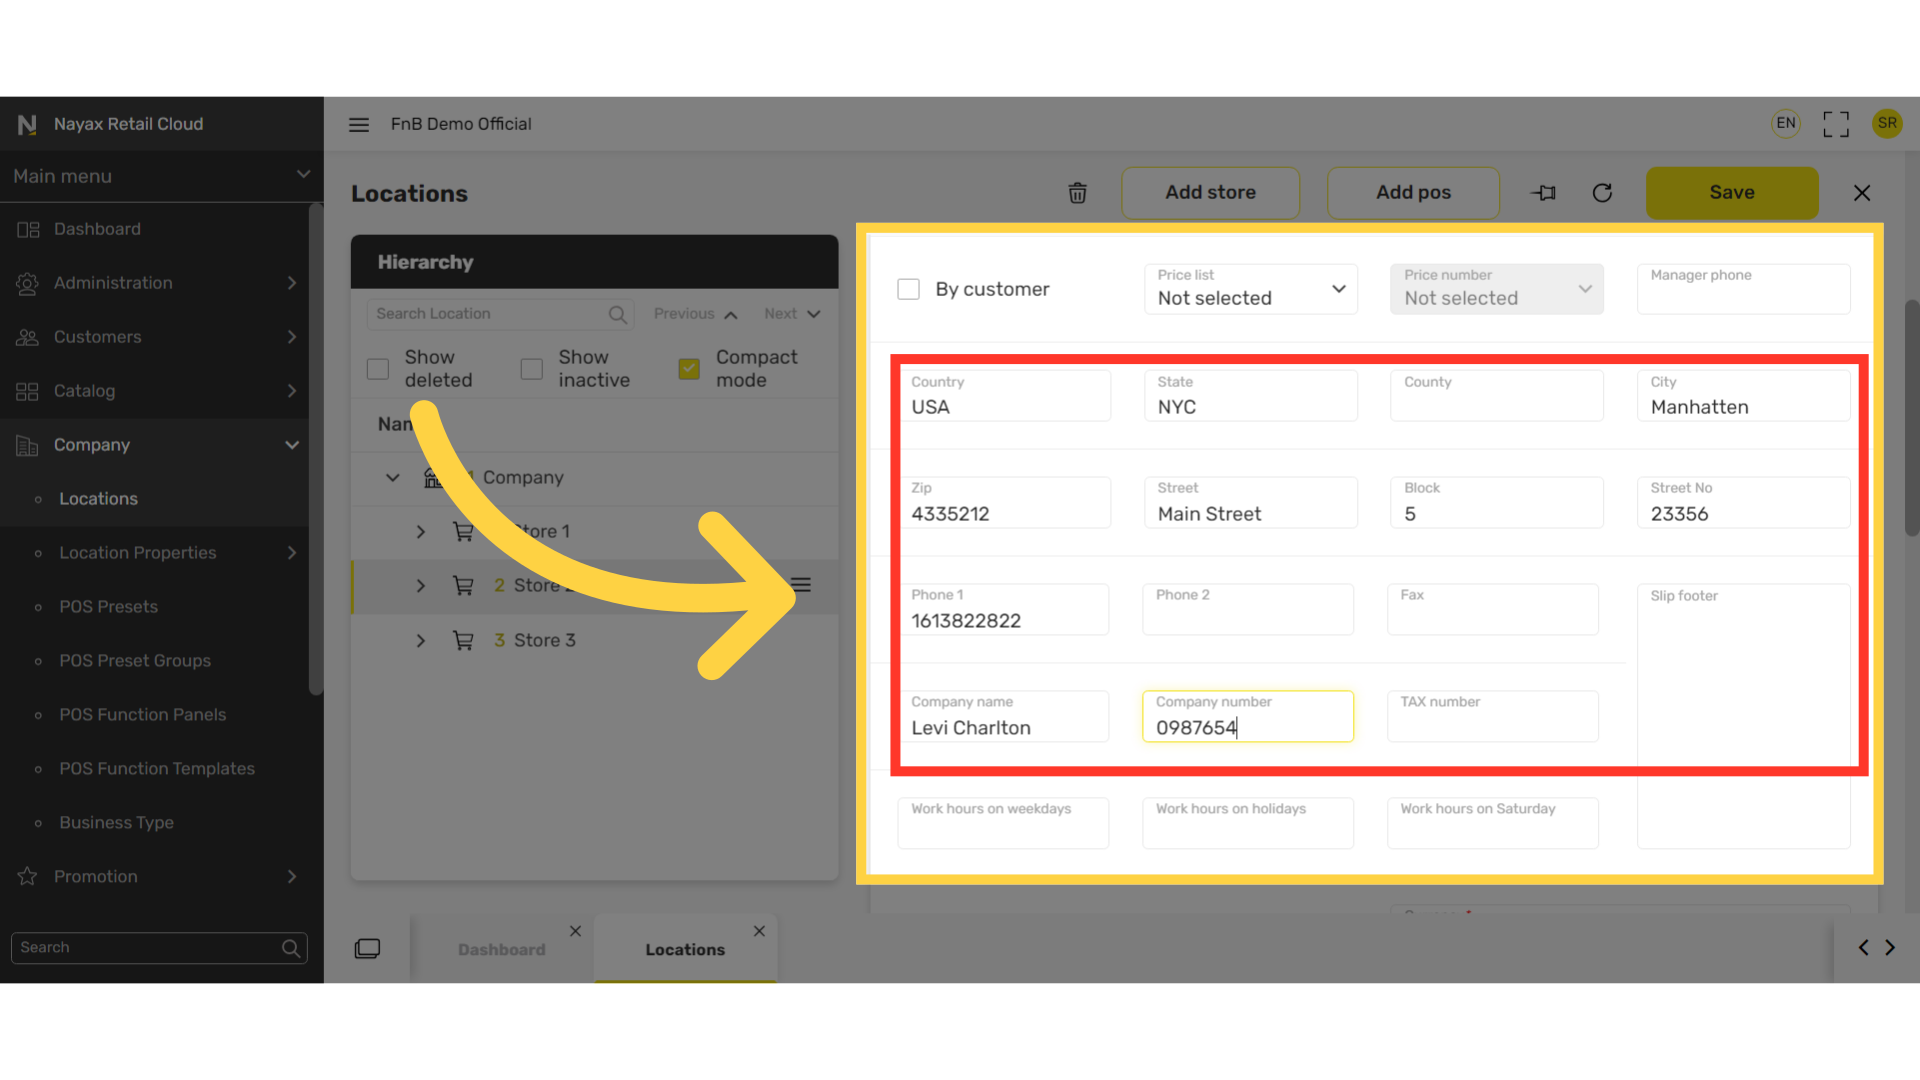
1
Video Guide
2
Click Company Tab
Image Attached
On the dashboard of your Retail Core management suite click the Company tab.

3
Click Locations
Image Attached
From the sub-menu, click on Locations.

4
Click Arrow
Image Attached
Click on the arrow next to the company name as highlighted in RED on the visual.

5
Select Store
Image Attached
Click on the store you wish to add details to. If you click on the arrow, the POS of the store will drop down, therefor click on the store name.

6
Fill in the following fields:
Image Attached
The fields that will appear on the receipt: Store name, all address information, Phone 1, and Company number as highlighted RED in the visual.

7
Click Save
Image Attached
Click on the Save button to save the changes.

Thank you!
Did you find this article helpful?