How to Create a New Charging Station | Operations
Creating a new charging station is a vital step in expanding your EV charging network. This guide will walk you through the process of setting up a new charging station using the Nayax Core.
Video Guide
Click Operations Tab
Image Attached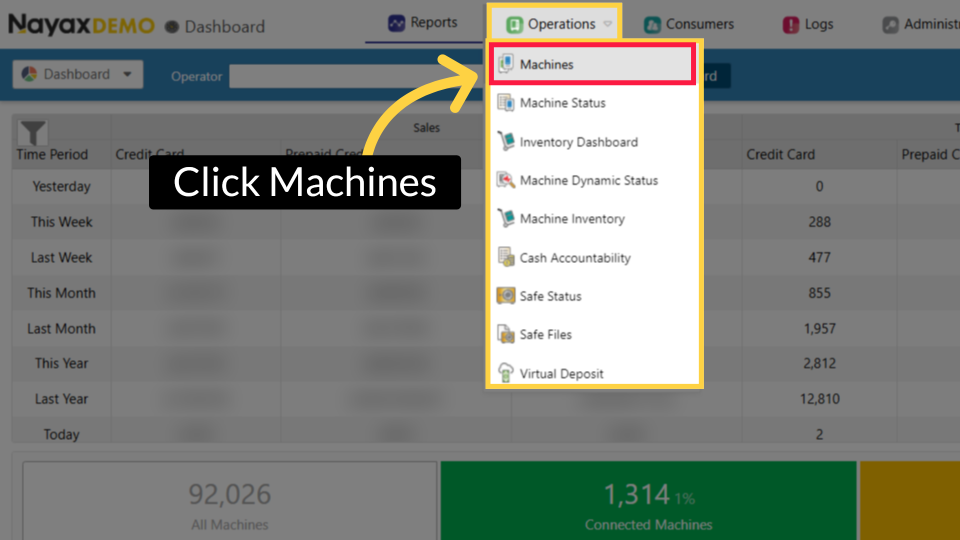
Click Create Tab
Image Attached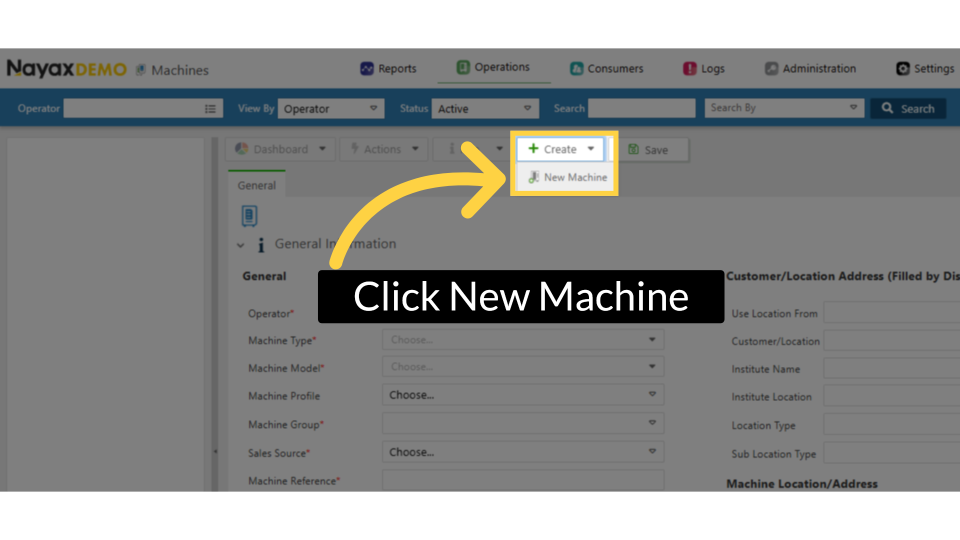
Create Charging Station
Image Attached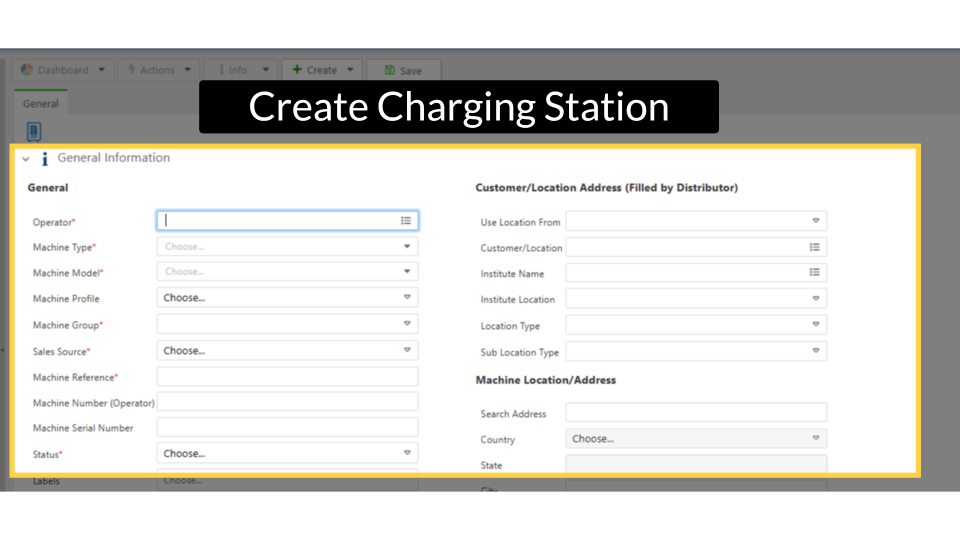
Operator and CPO
Image Attached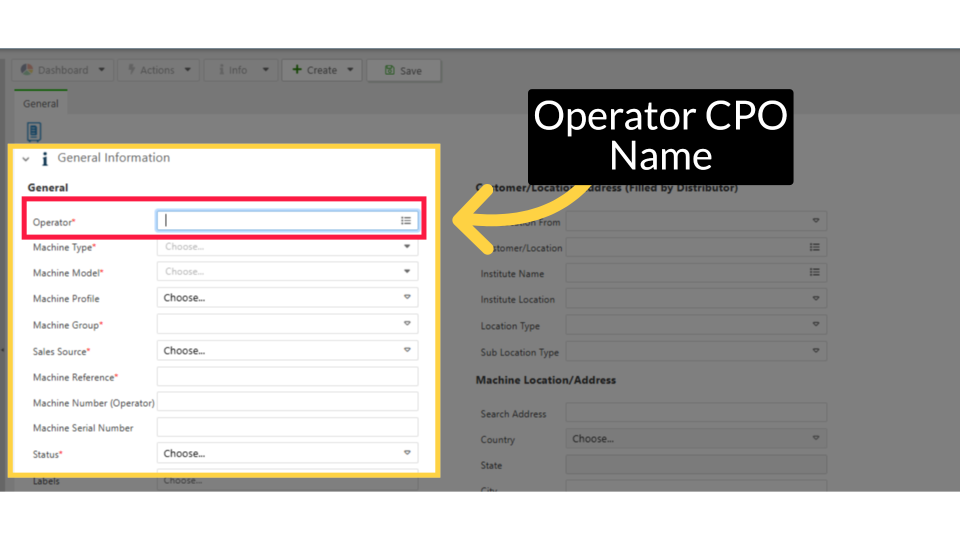
Confirm OCPP Charging Station Selection
Image Attached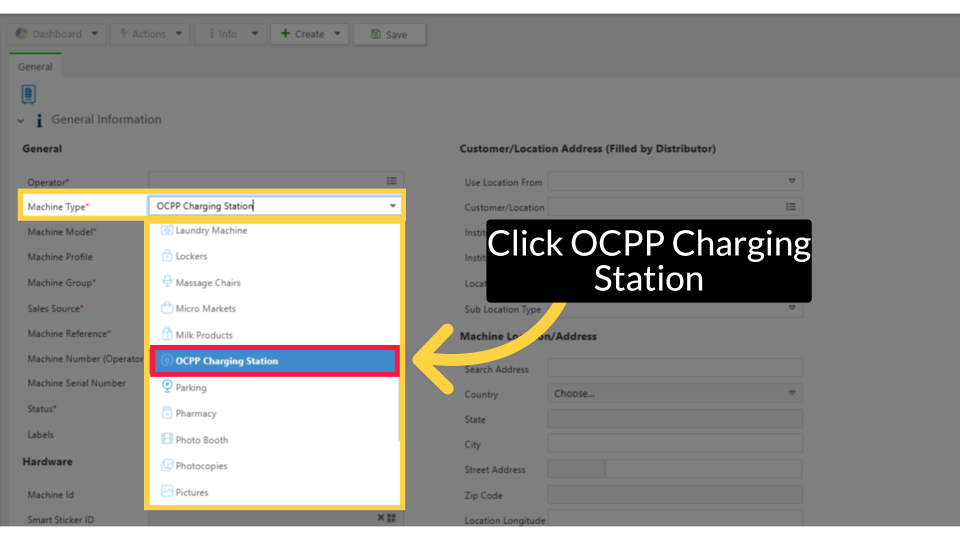
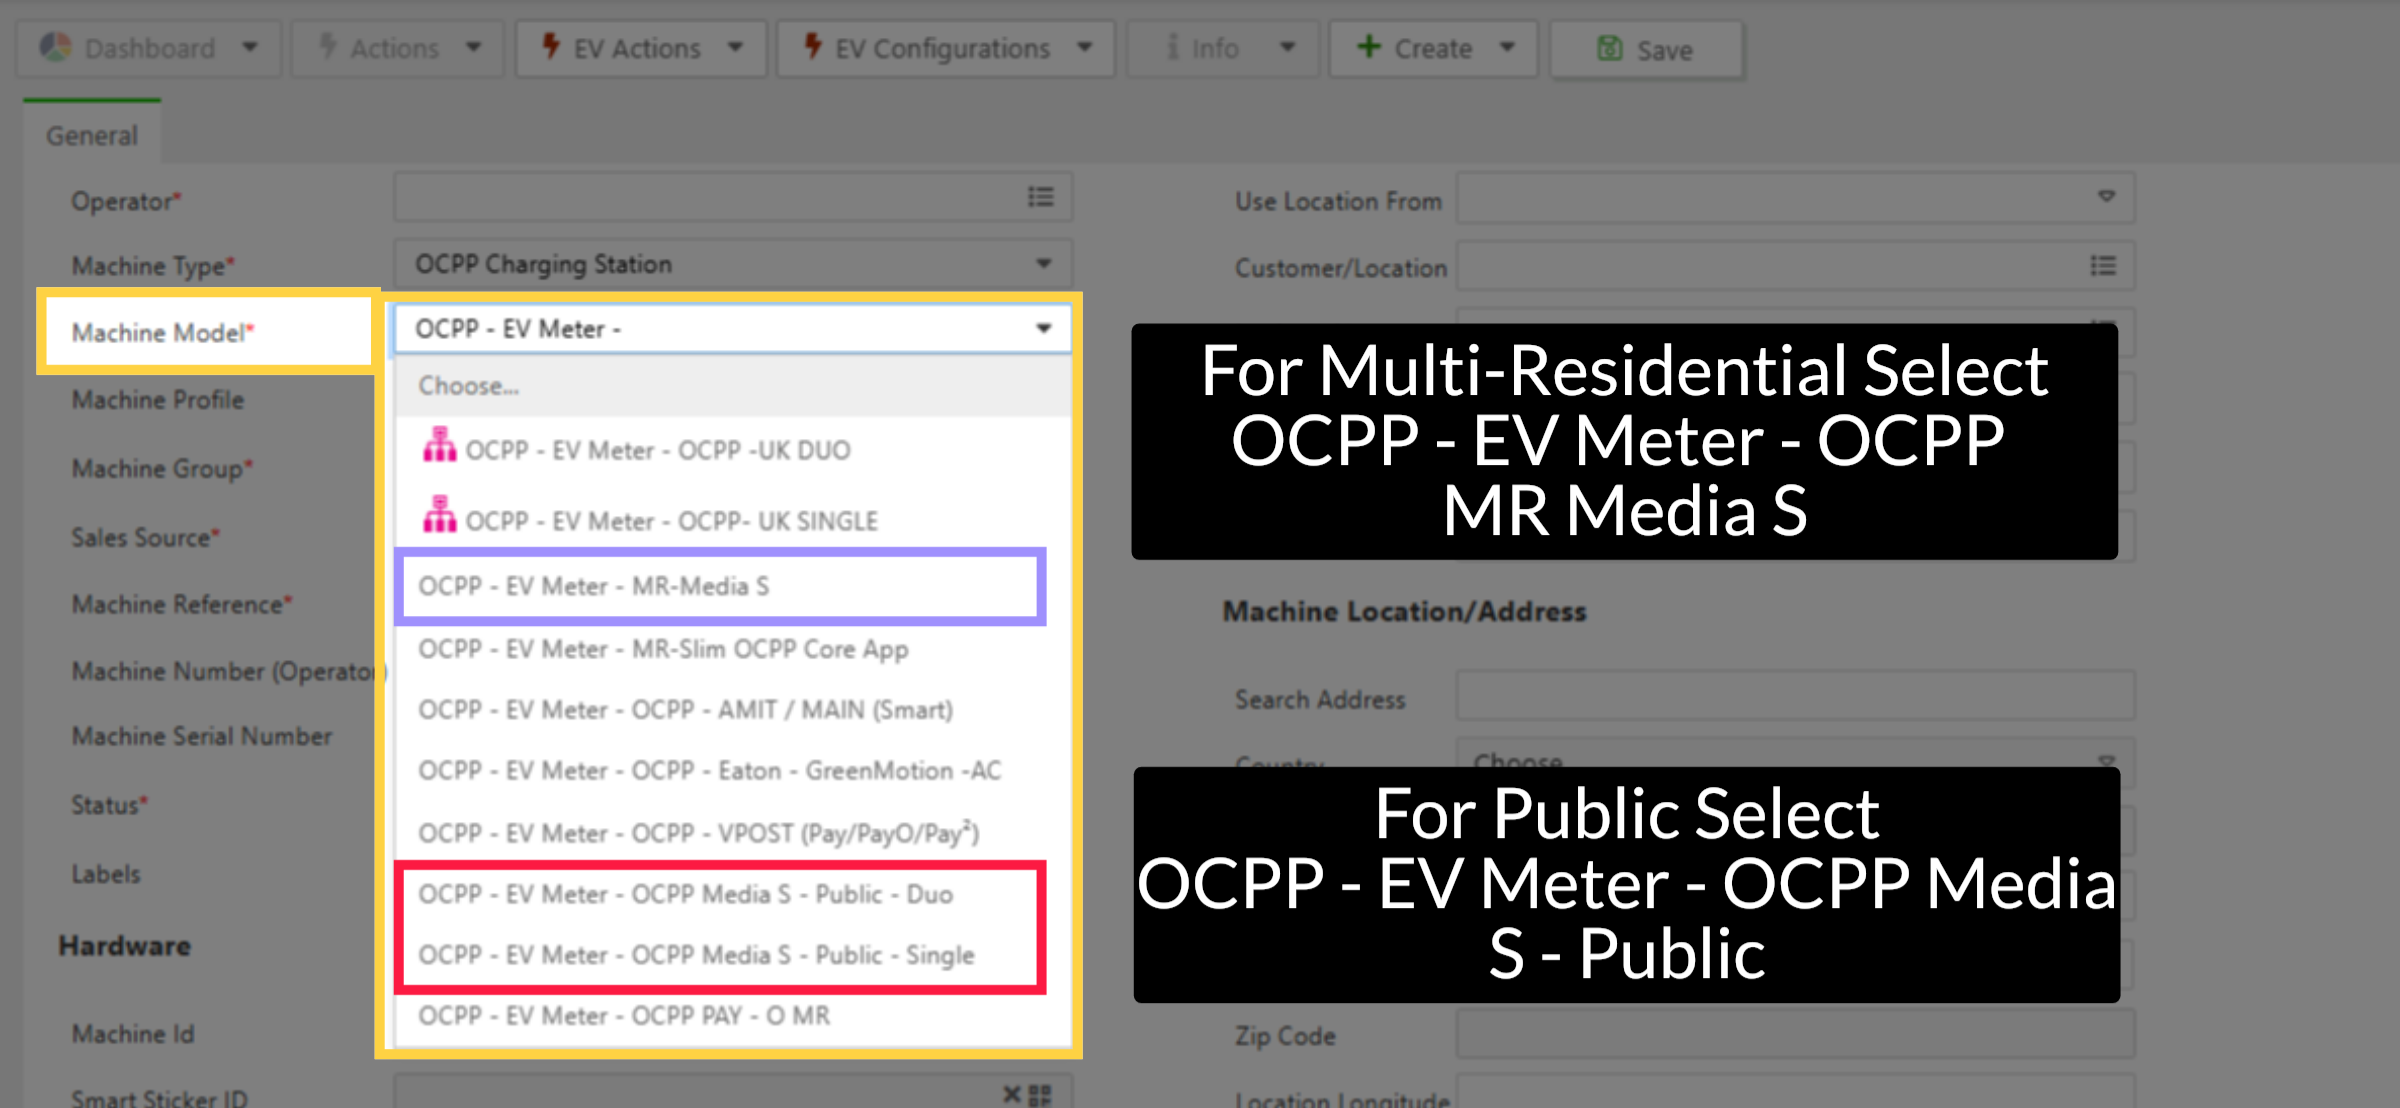
Select OCPP - EV Meter - OCPP Media S
Image AttachedFor the Charging Station Machine Model, select the option that matches your charger and payment device.
For VPOS Media S, PUBLIC select OCPP Media S Public Single or Duo from the drop-down menu, as highlighted in RED.
For Multi-residential select MR Meter S as highlighted in PURPLE.
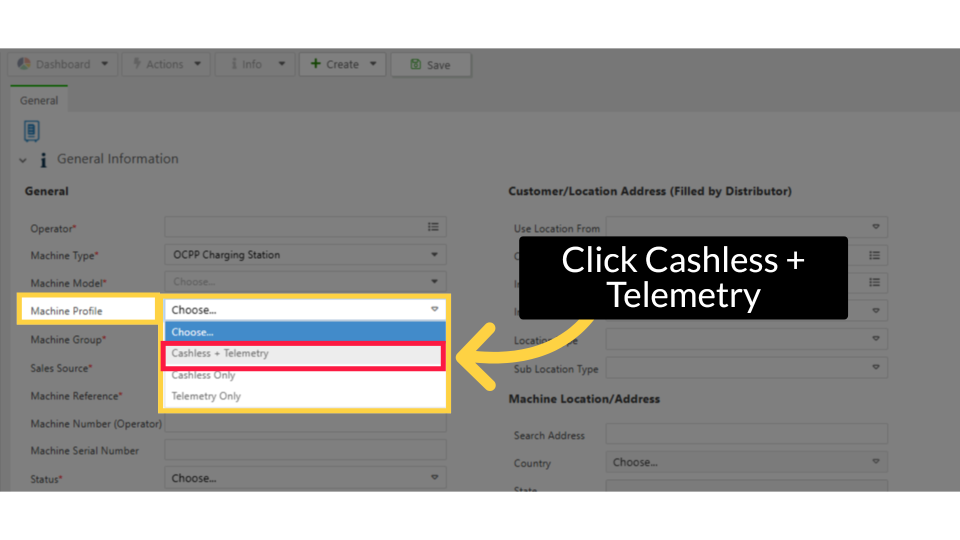
Click Cashless + Telemetry
Image Attached- Choose Cashless + Telemetry for VPOS Media device
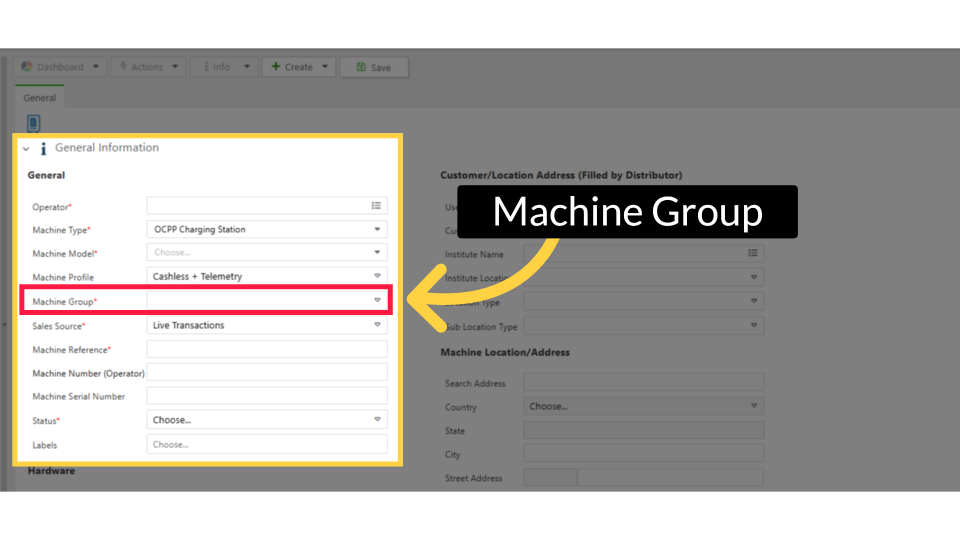
Machine Group
Image AttachedFor the Machine Group, select the group to associate with this charging station for the operator.
Click Live Transactions
Image Attached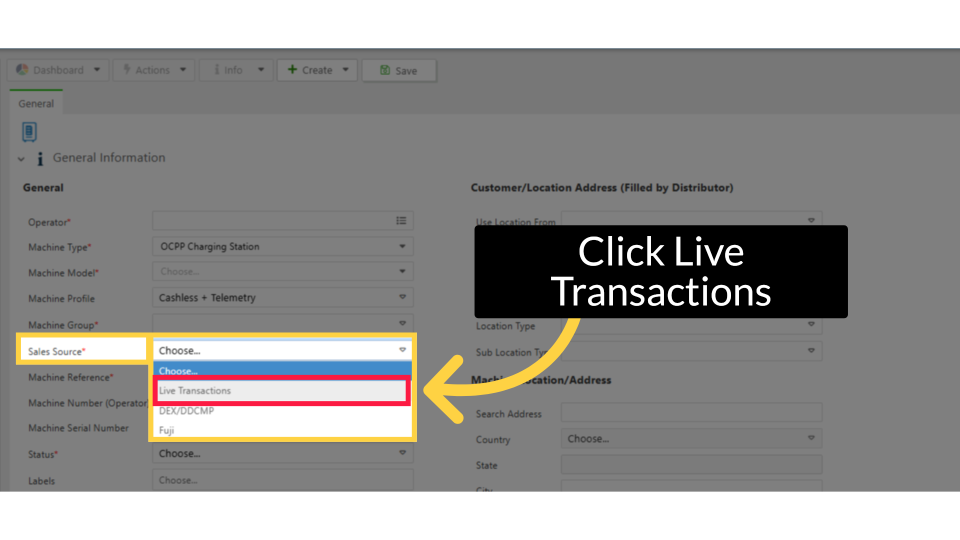
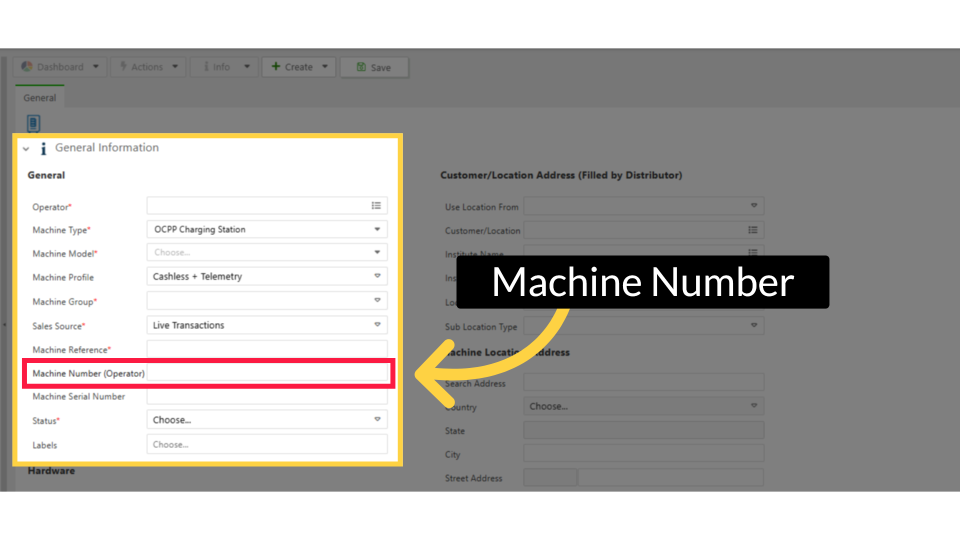
Machine Number
Image AttachedFor Machine Number, input the Device Number. This is a sticker on the edge of the VPOS device.
Device Number
Image Attached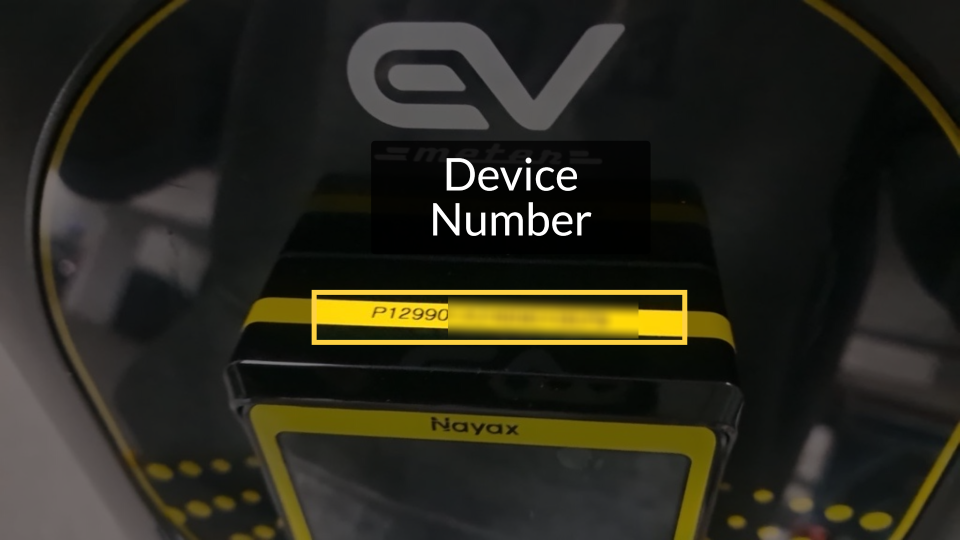
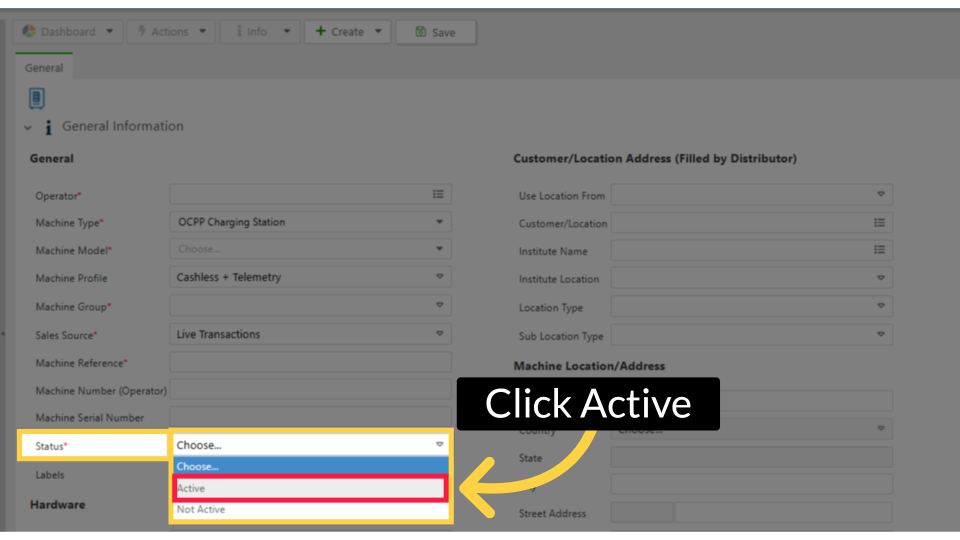
Select Active Status
Image AttachedFor Status, select Active to make this charging station live immediately.
Click Dynamic Descriptor
Image Attached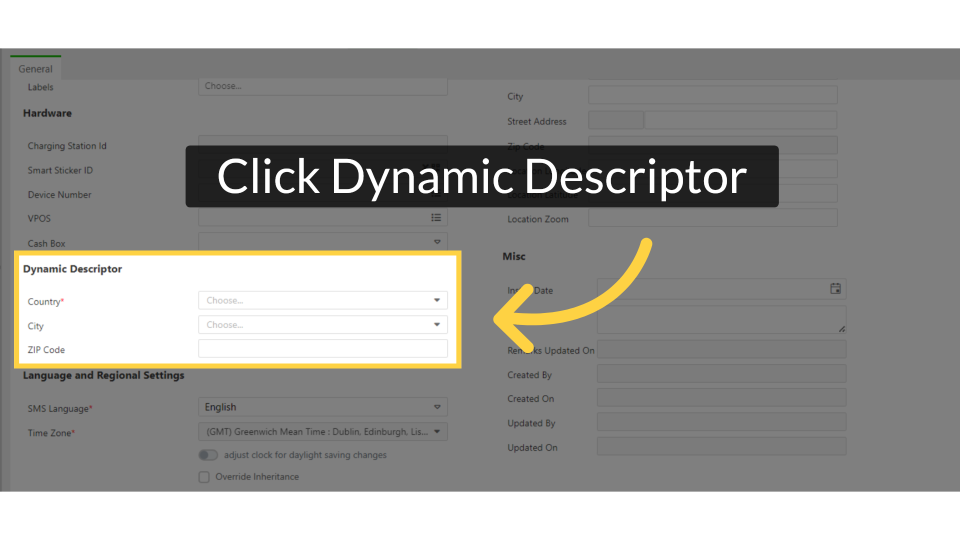
Language and Regional Settings
Image Attached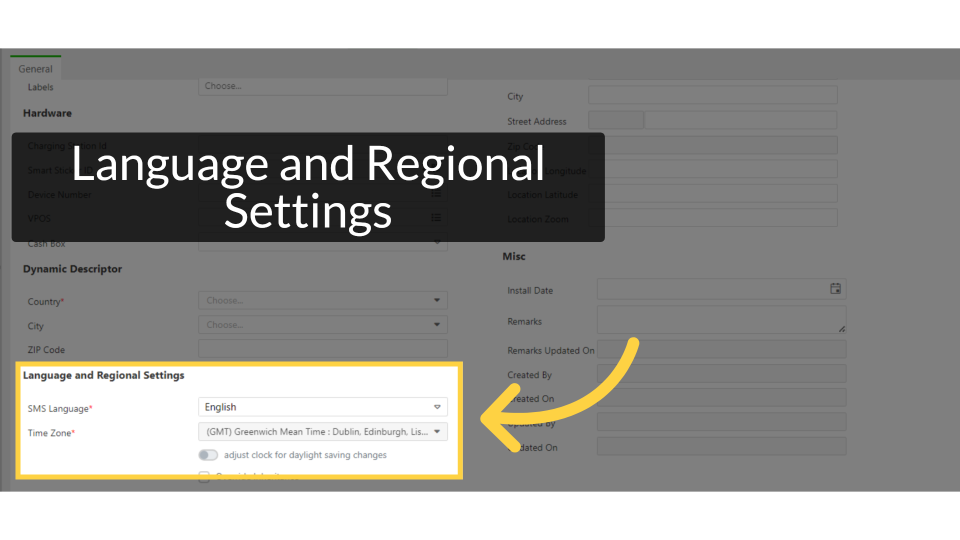
Charging Station Location & Address
Image Attached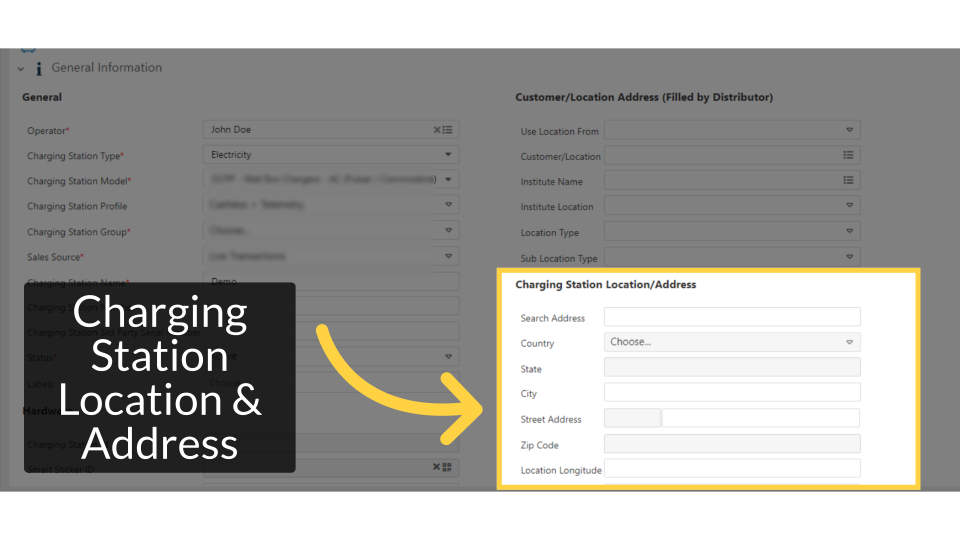
Click Save
Image Attached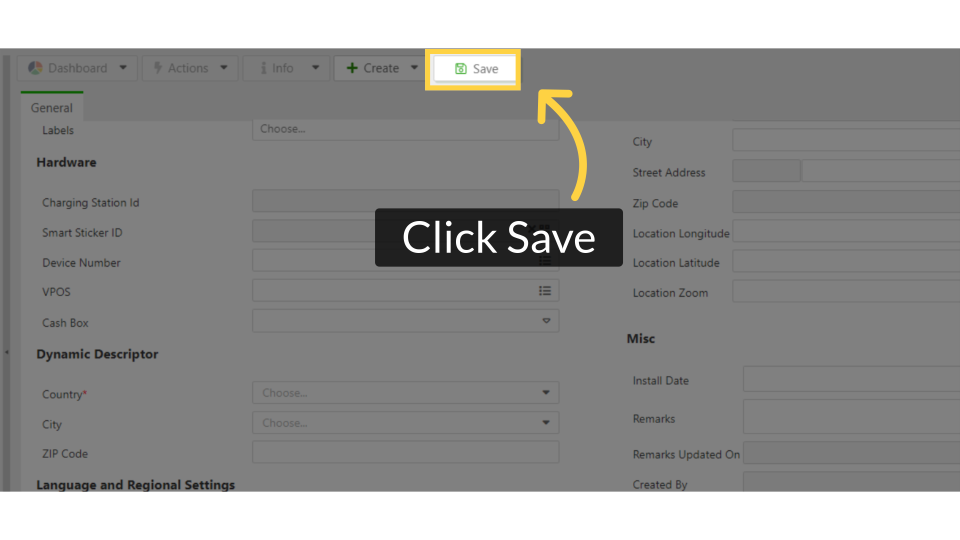
Thank you!
Did you find this article helpful?