How To Create Group Package | Packages
1
Video Guide
2
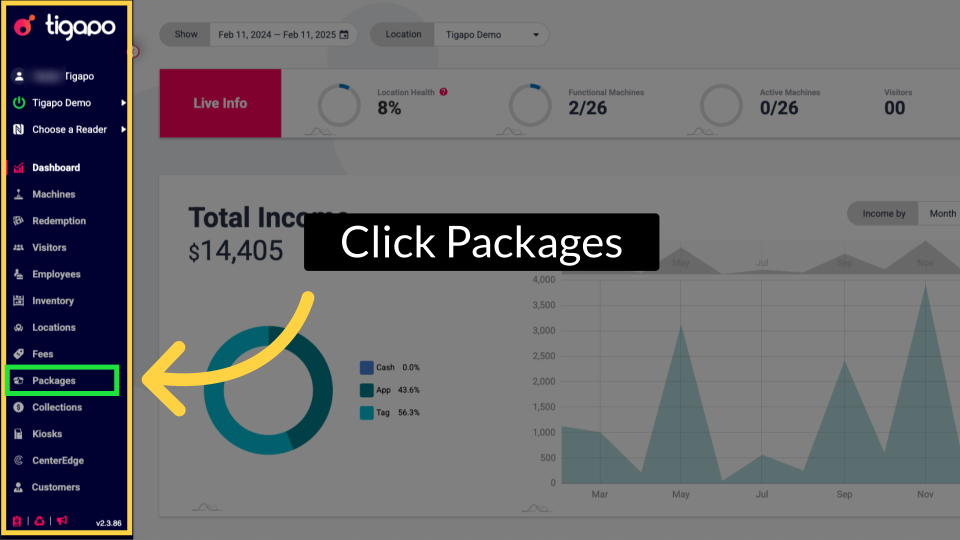
Click Packages
Image Attached
From the tigapo homepage, click on Machines in the side menu as highlighted in GREEN.
3
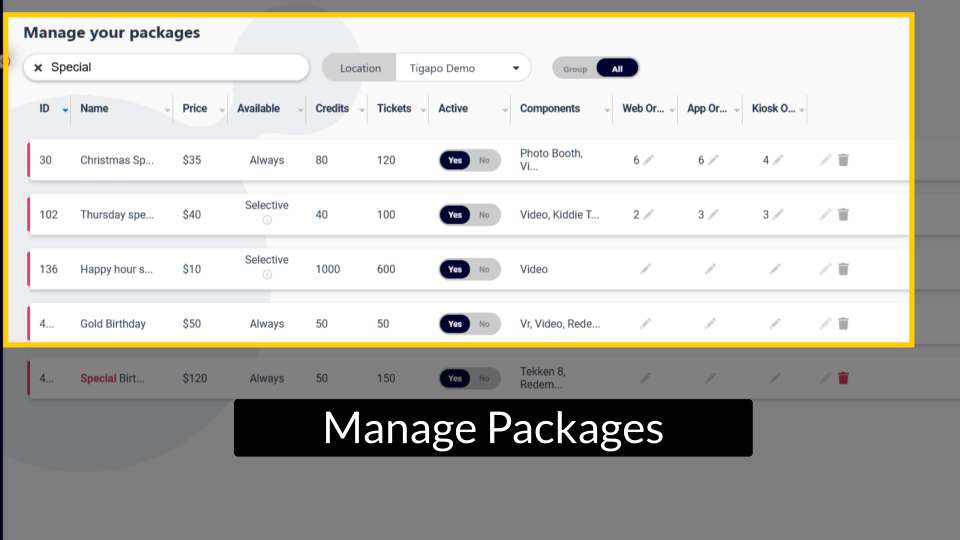
Manage Packages
Image AttachedThe packages page will open and in this section you can view, manage, edit, set activate packages by location.
4
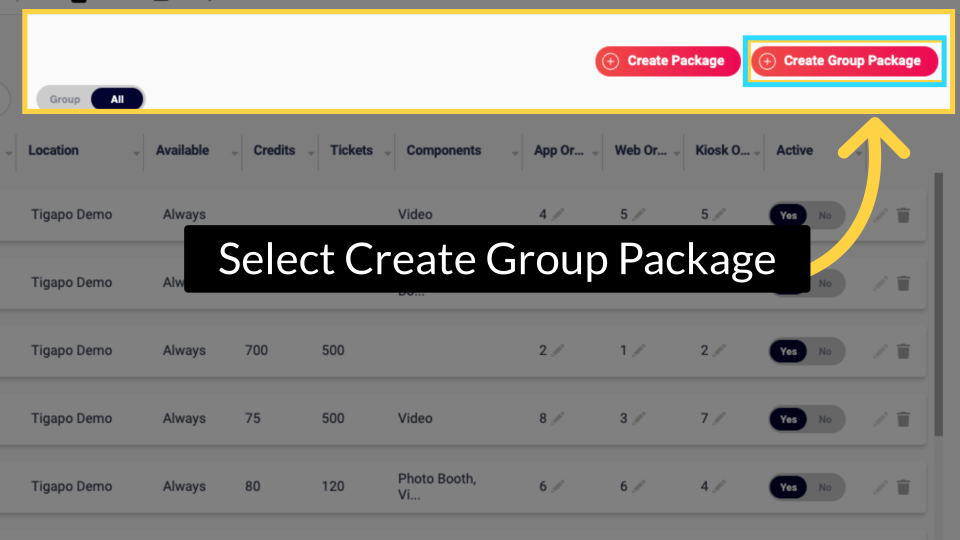
Select Create Group Package
Image Attached
For this guide Click create group package button as highlighted in BLUE on the visual.
5
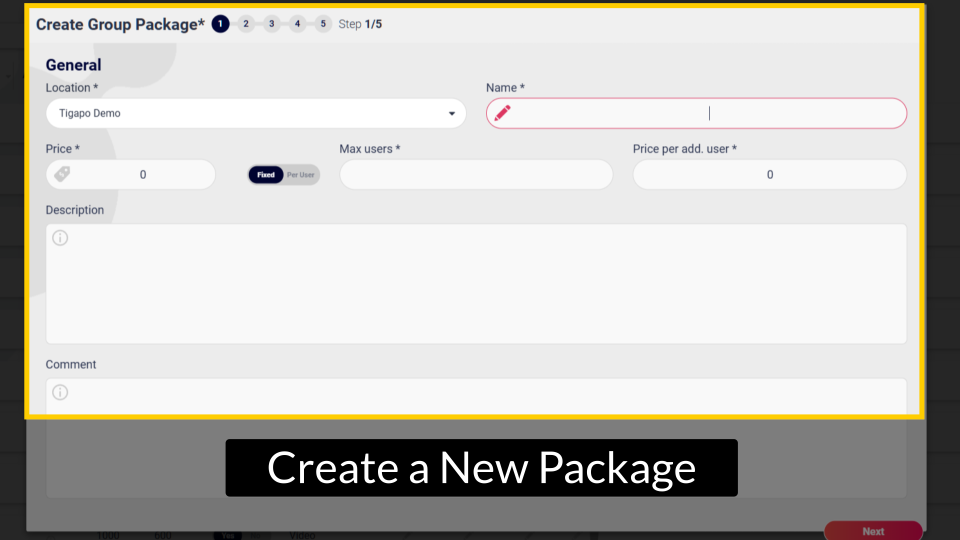
Create a New Package
Image AttachedA window will open for you to create a new package. We need to create it by filling the General Information section as follows.
6
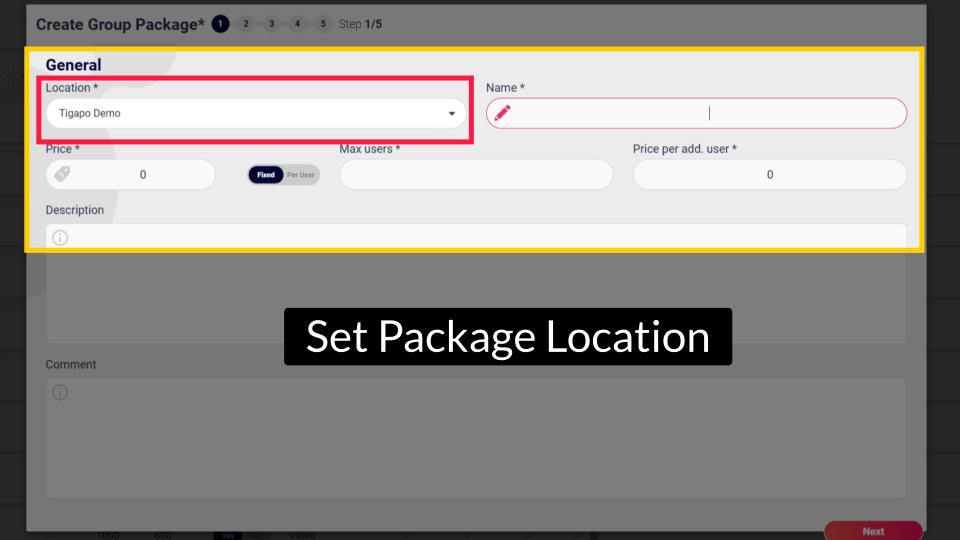
Set Package Location
Image AttachedClick on the arrow as highlighted to select the location according to your preferences.
7
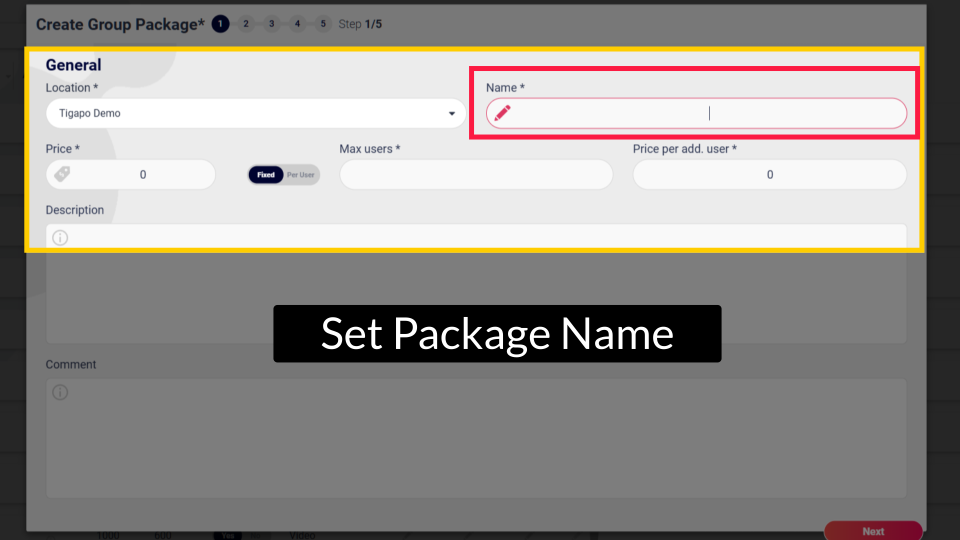
Set Package Name
Image Attached
Type a name for this package in the field as highlighted in RED.
8
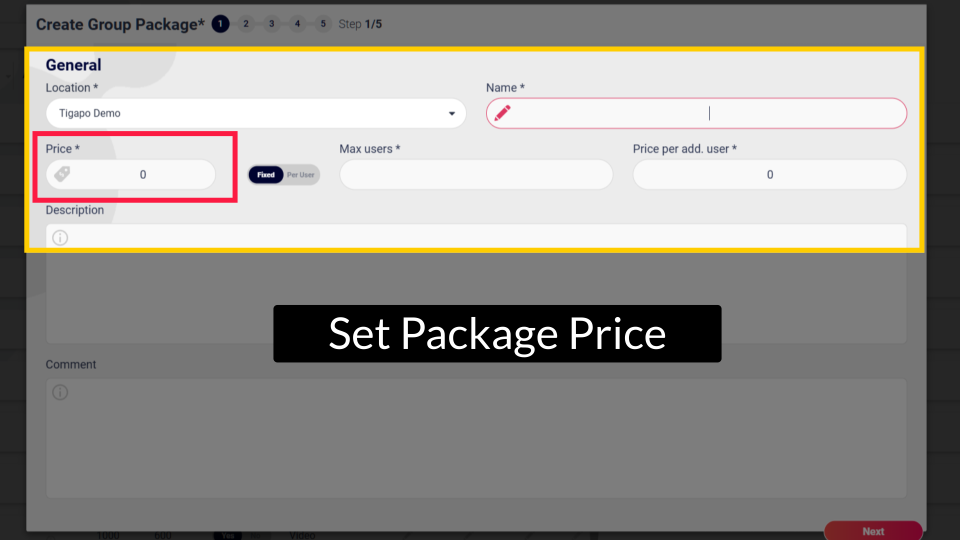
Set Package Price
Image Attached
Set a point of sale price for the package in the field as highlighted in RED.
9
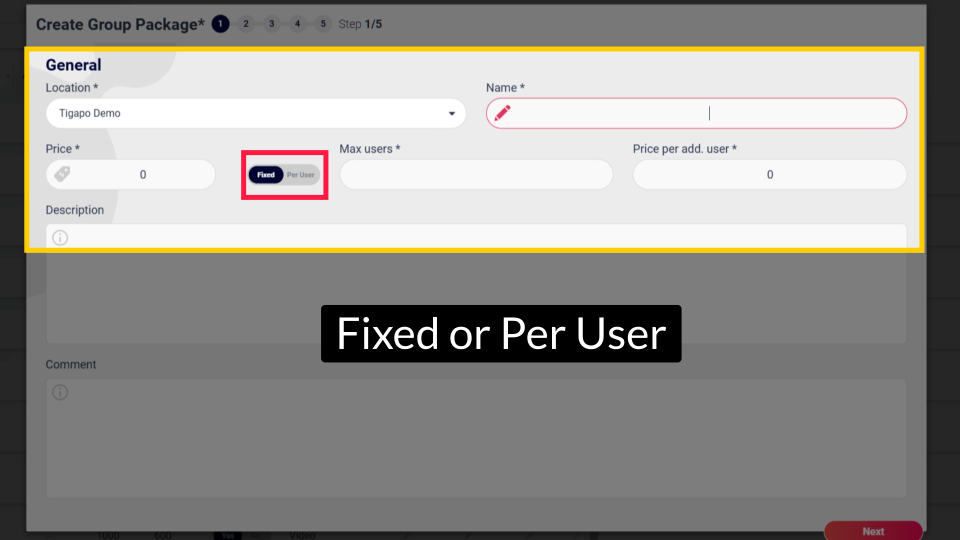
Fixed or Per User
Image AttachedYou can toggle this field to select pricing by Fixed Price or Per User Price.
Fixed Price: The customer pays a total amount that for all participants of this package.
Per User Price: Each contestant pays individually for themselves. This allows flexibility in pricing based on your needs.
10
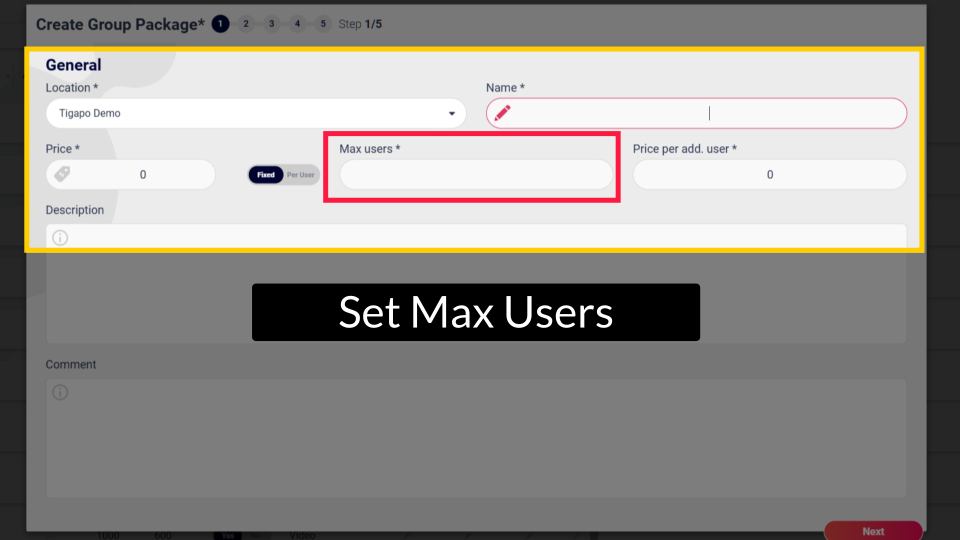
Set Max Users
Image Attached
For Max Users as highlighted in RED, set an amount of maximum users whom can participate for this package.
11
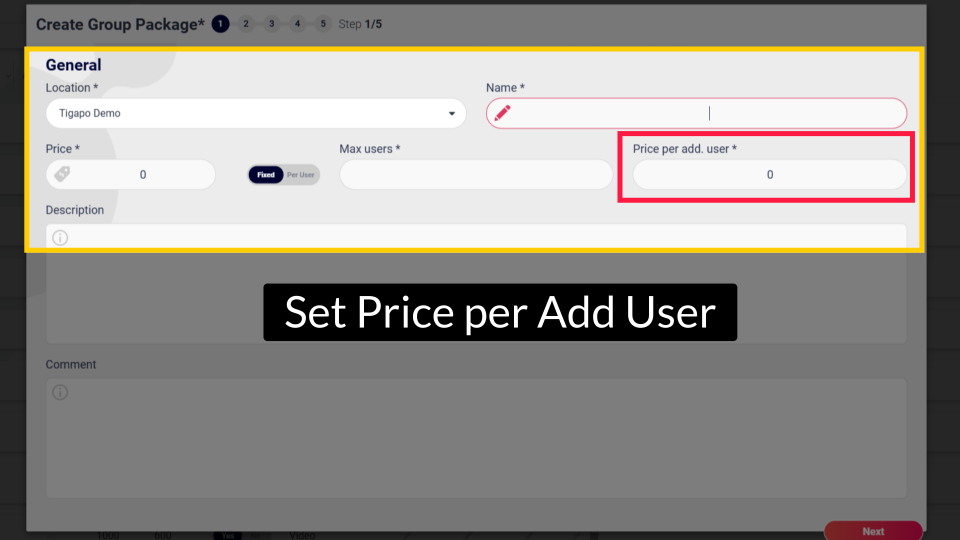
Set Price per Add User
Image AttachedYou can set an additional fee for any users who want to join this package. This determines how much the customer pays for each added user.
12
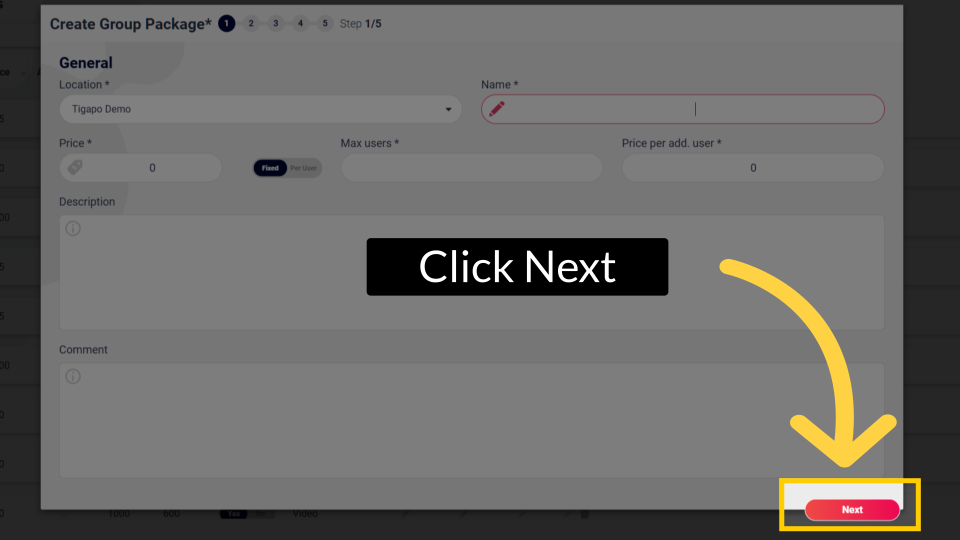
Click Next
Image AttachedOnce you're done with setting the package settings in step 1, proceed to step 2 by clicking next
13
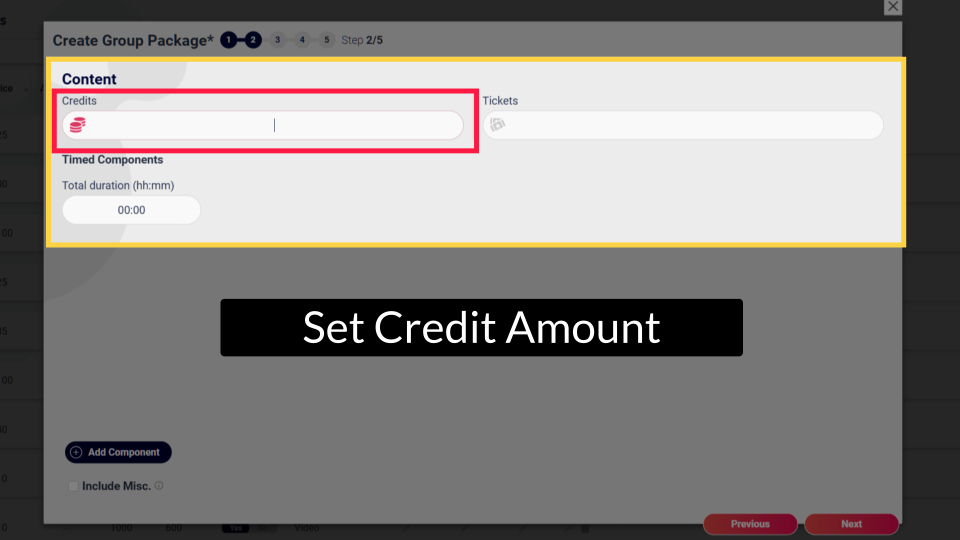
Set Credit Amount
Image Attached
Optional: Here you can grant users an amount of credits if purchasing this package.
14
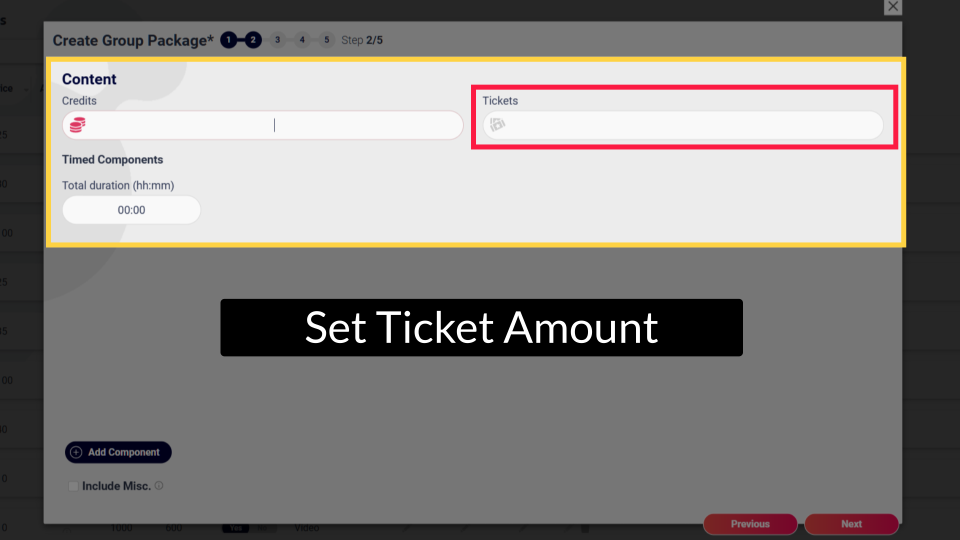
Set Ticket Amount
Image Attached
Optional: Here you can grant users an amount of tickets if purchasing this package.
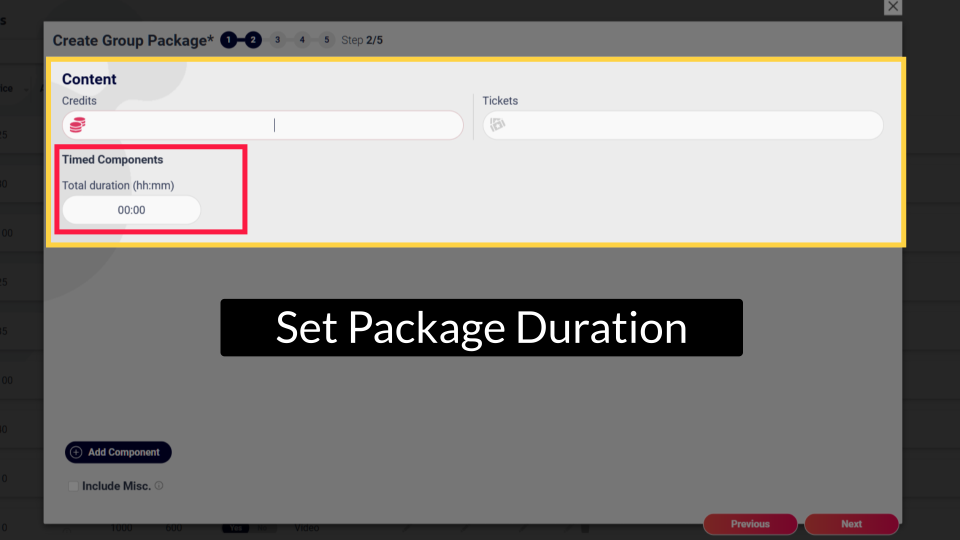
15
Set Package Duration
Image AttachedHere you can set a duration for this package to be active.
16
Add Component Button
Image AttachedTo define the core elements of the package click the Add Component button.

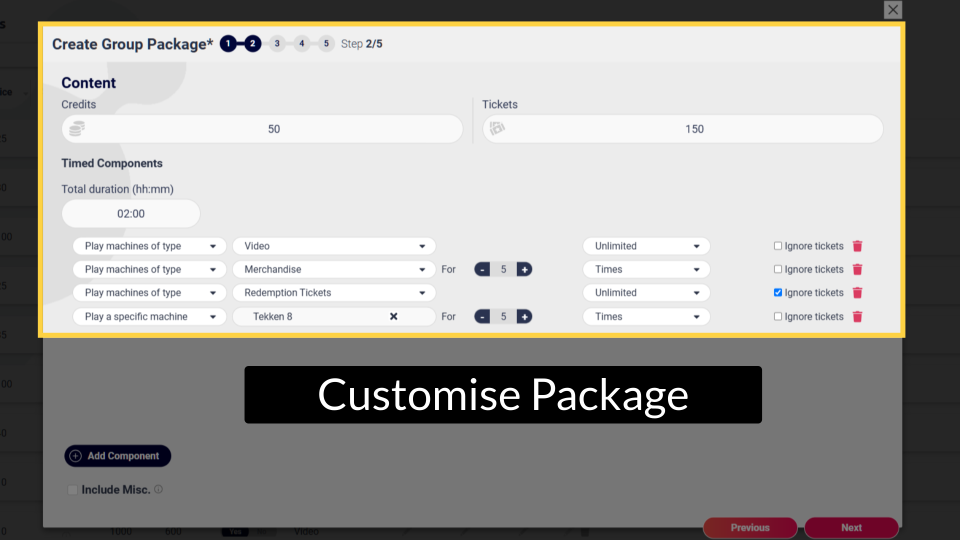
17
Customise Package
Image AttachedHere, you can select and customize which types of machines contestants can play during the package duration.
You can also set the number of times they can play whether it’s a specific machine or the entire arcade!
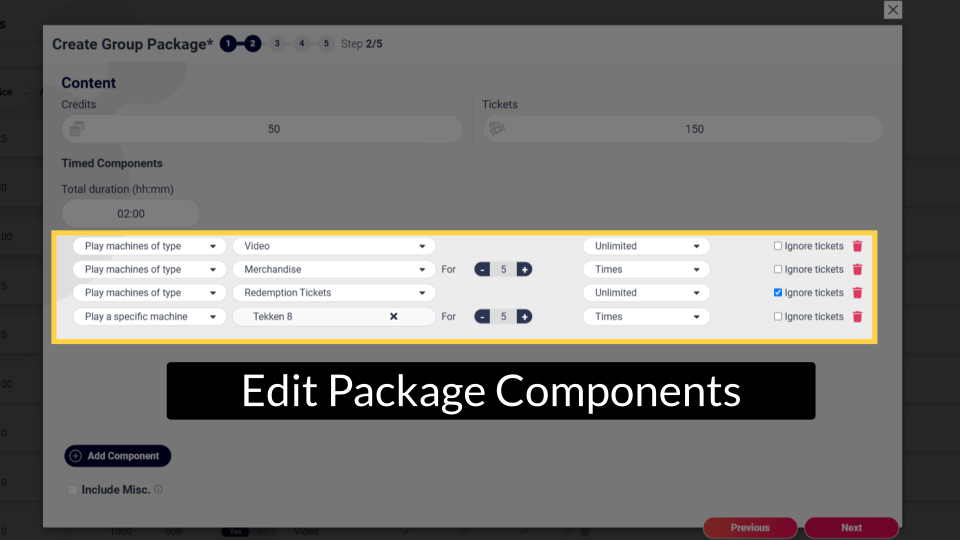
18
Edit Package Components
Image AttachedEdit the components of the package by selecting the machine type and setting the number of play sessions for each machine.
19
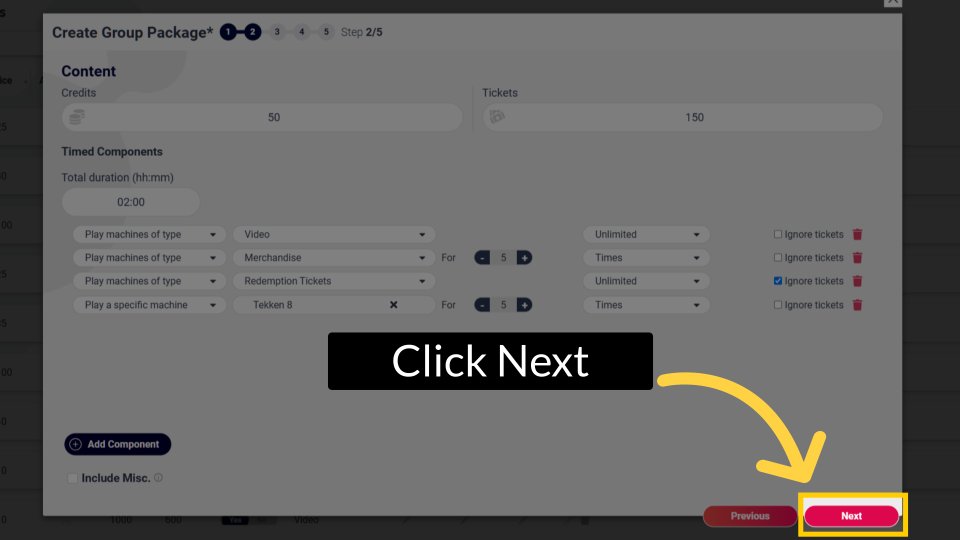
Click Next
Image AttachedAfter you have finished building your group package click the Next button.
20
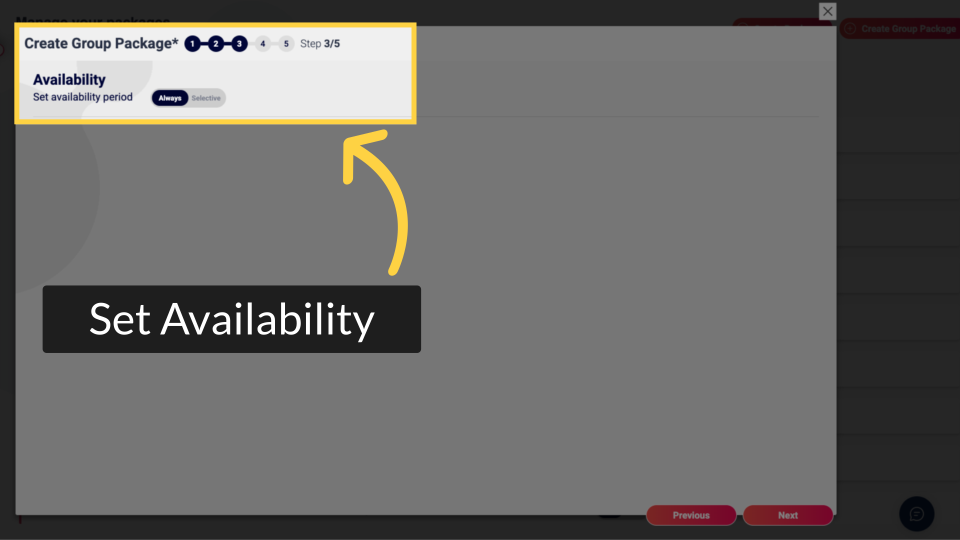
Set Availability
Image AttachedYou can set a specific day and time for when the package will be available or unavailable. Alternatively, you can keep it set to “Always Available.”
21
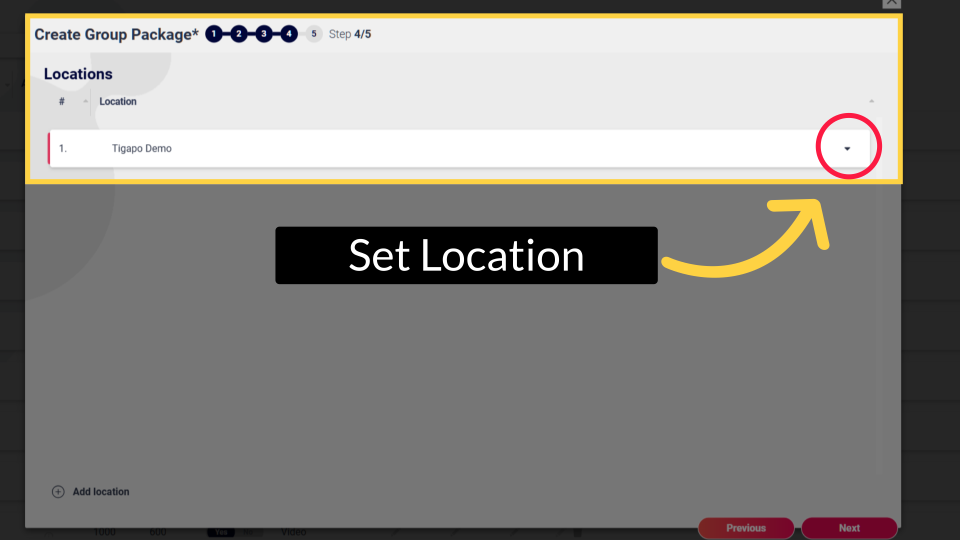
Set Location
Image Attached
Set location for this package. To view the list of available locations click the arrow button highlighted in RED.
22
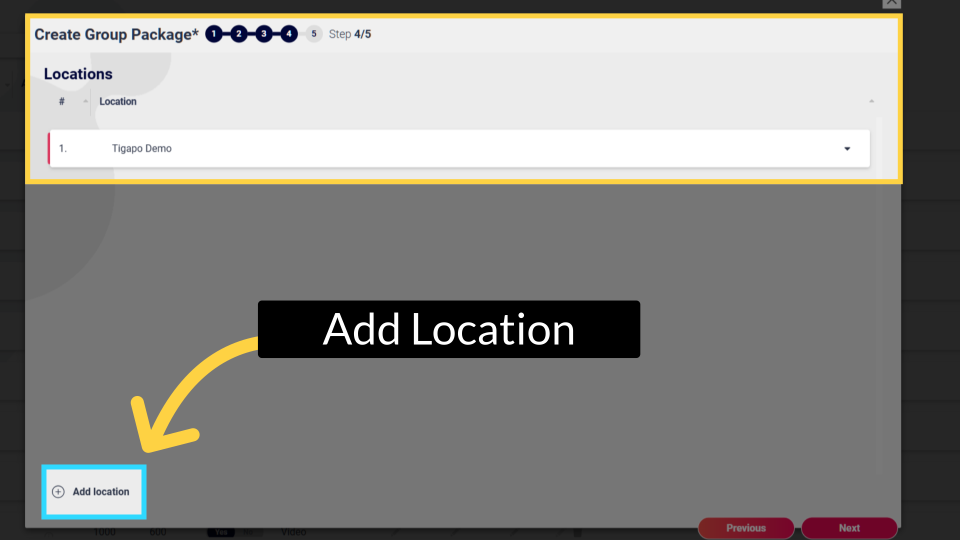
Add Location
Image AttachedTo add a location for this package click on Add Location plus icon as highlighted.
23
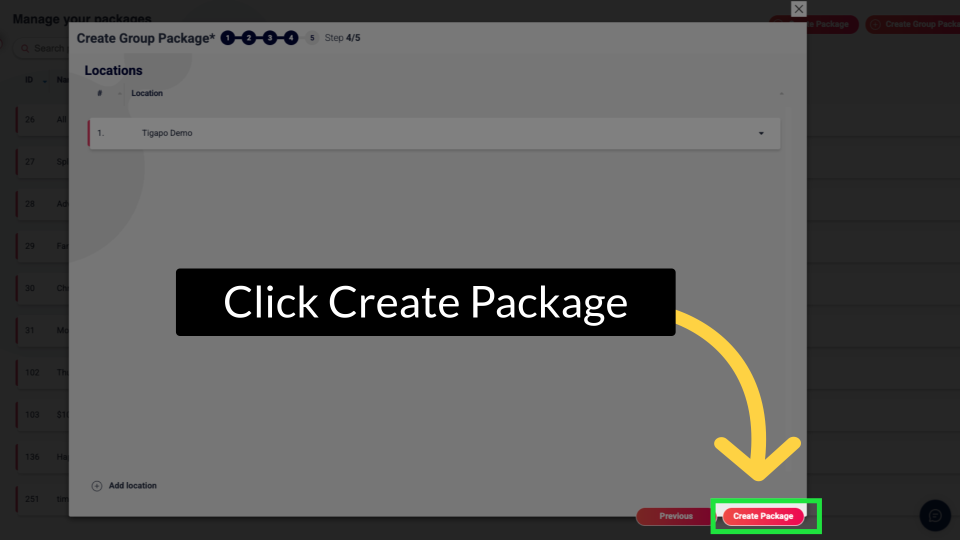
Choose Create Package
Image AttachedOnce you have selected the relevant locations for the package to be available at click on the create package button.
Thank you!
Did you find this article helpful?