How to Assign a Tigapo I/O Reader | Machines
1
Video Guide
2
Click Machines
Image Attached
From the tigapo homepage, click on Machines in the side menu as highlighted in GREEN.

3
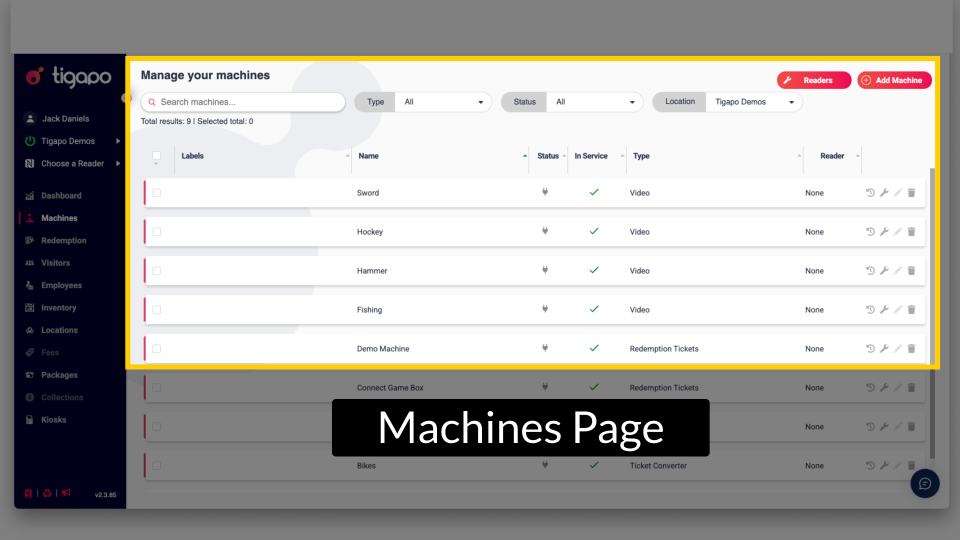
Machines Page
Image AttachedThe machines page will open and display the machines. Each row on the page represents a machine by name.
4
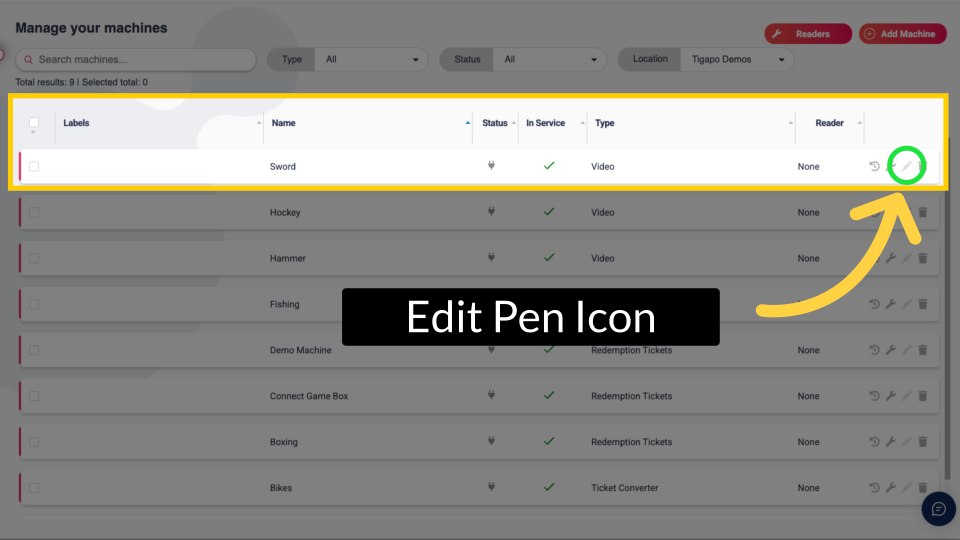
Edit Pen Icon
Image Attached
To replace a machines I/O reader click on the pencil Icon as highlighted in GREEN on the visual located on each machine row.
5
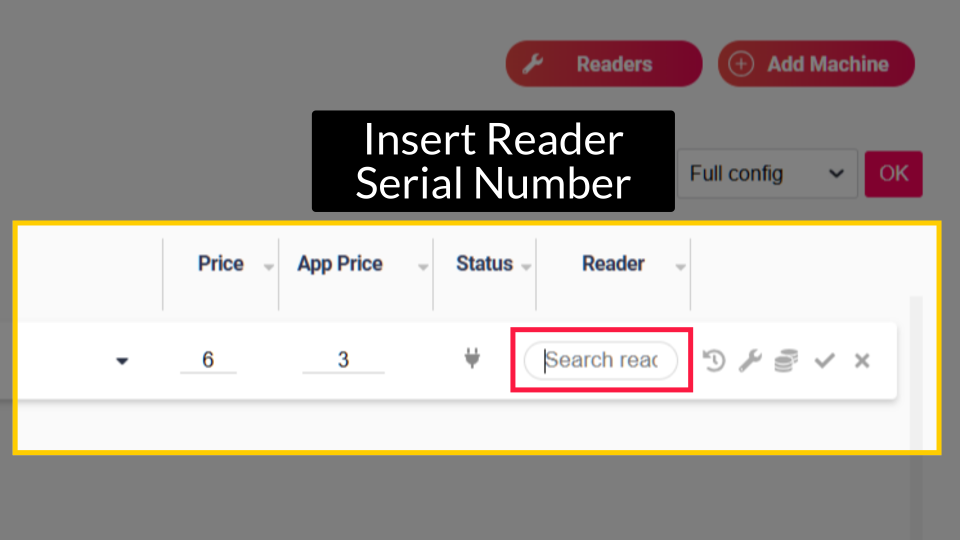
Insert Reader Serial Number
Image AttachedA search field will appear, fill in the new tigapo reader serial number in the search field.
6
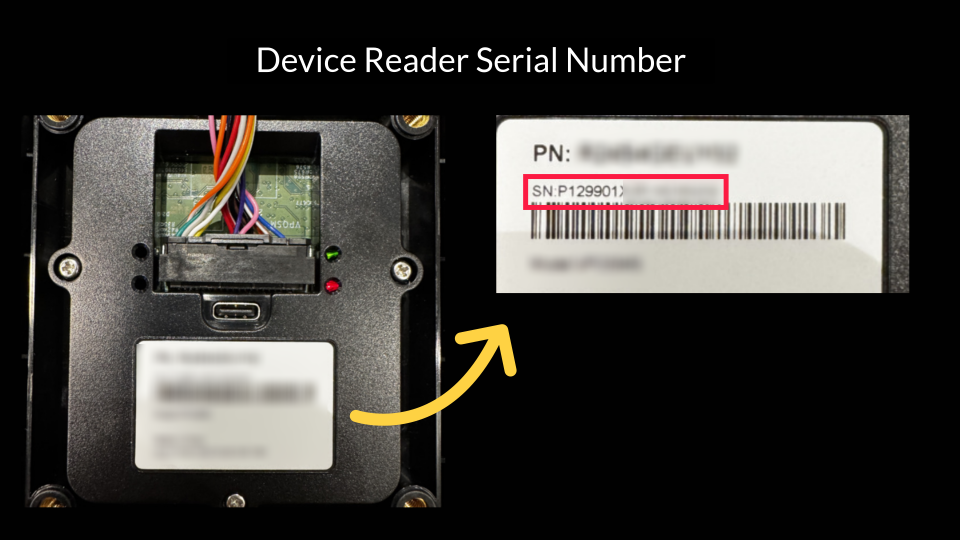
Device Reader Serial Number
Image AttachedThe serial number is displayed on the back part of the I/O reader
7
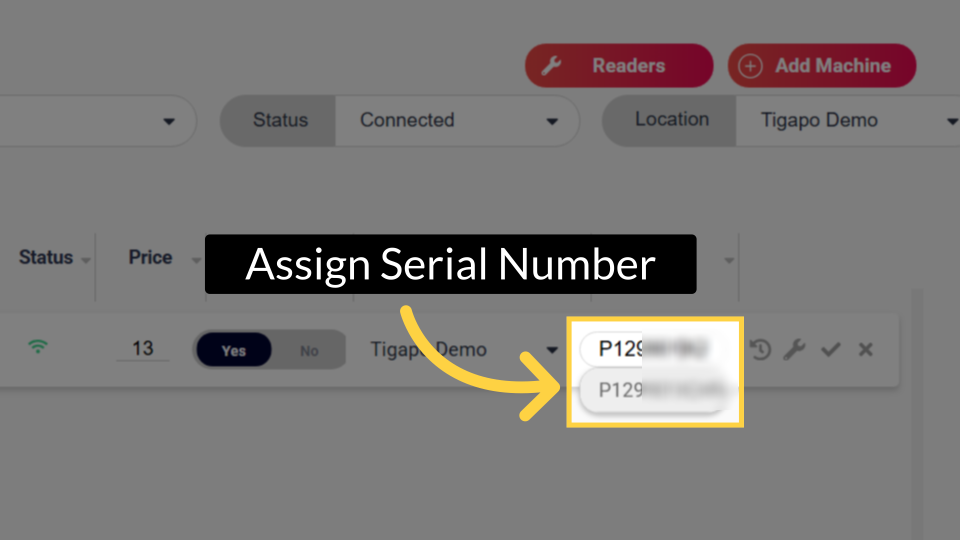
Assign Serial Number
Image AttachedThe search should offer the new I O reader serial number in the drop down menu. When it appears click on the serial number to assign it to this machine.
8
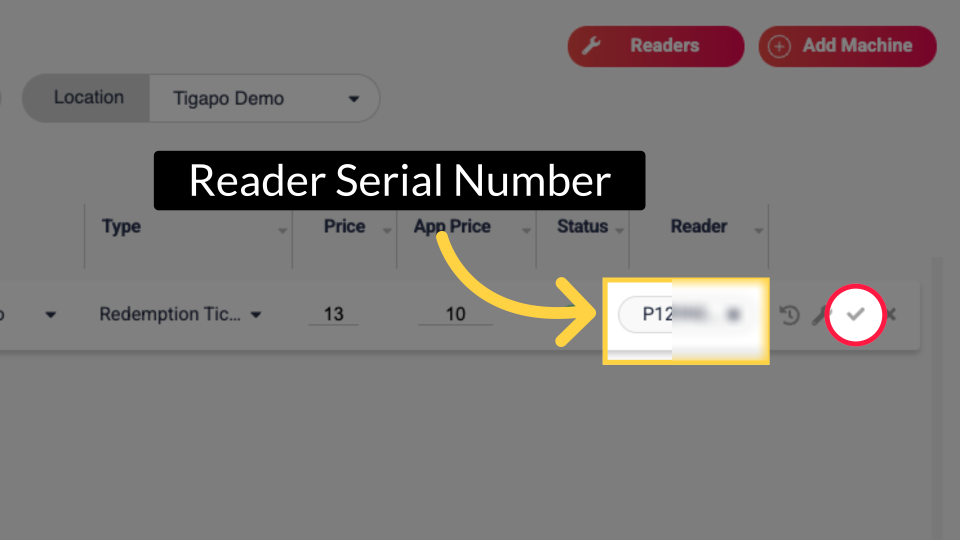
Reader Serial Number
Image Attached
Click on checkmark icon as highlighted in RED to save your changes.
9
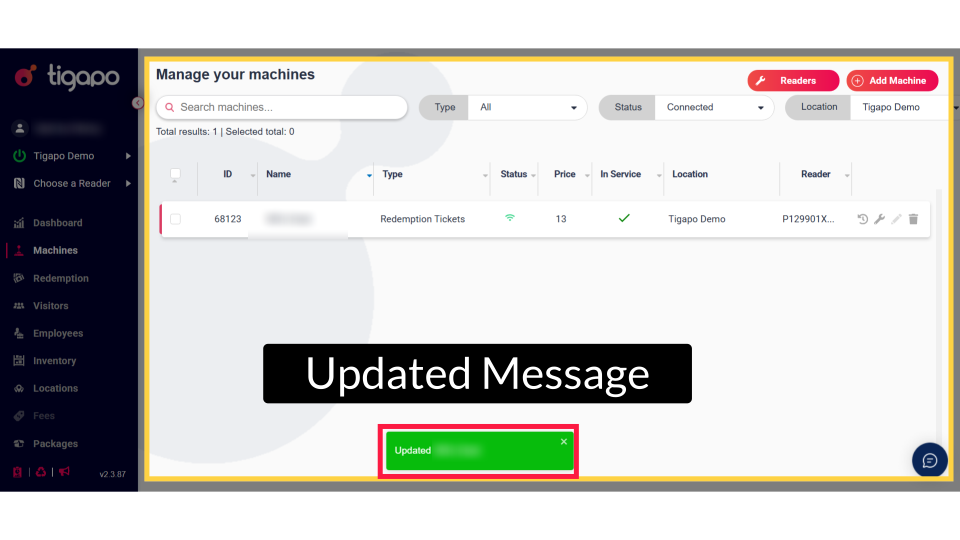
Updated Message
Image AttachedOnce saved a pop up message will appear to confirm your update was successful.
Thank you!
Did you find this article helpful?