How to Generate a Machine Picklist | Operations
Generate a machine's picklist using Nayax Core - Work much more effectively and conveniently with your inventories. Fill the BINs in the machine according to the last picklist generated.
1
Video Guide
2
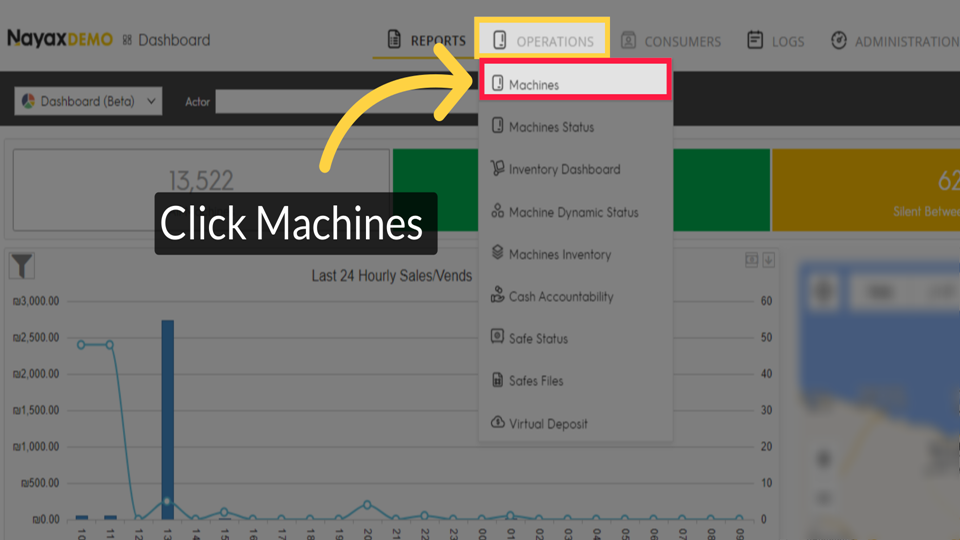
Click Operations
Image AttachedOn the dashboard of your New Nayax Core management suite click on the Operations tab.

3
Click Machines
Image AttachedSelect the Machines option from the drop-down menu.
4
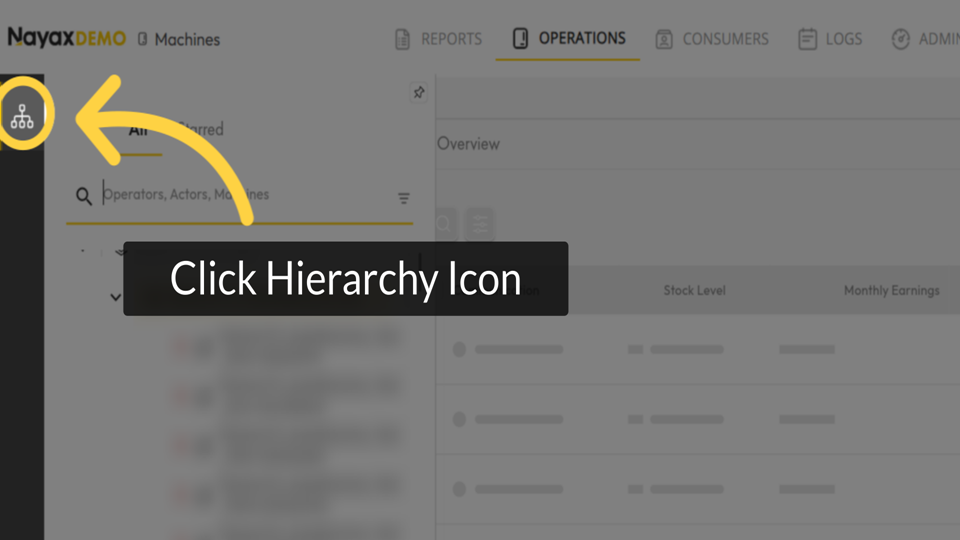
Click on the Hierarchy Icon
Image AttachedClick on the Hierarchy icon on the top left in order to search for your specific machine or operator.
5
Fill in the Search Field
Image AttachedType in your operators name or machine ID in the search field.

6
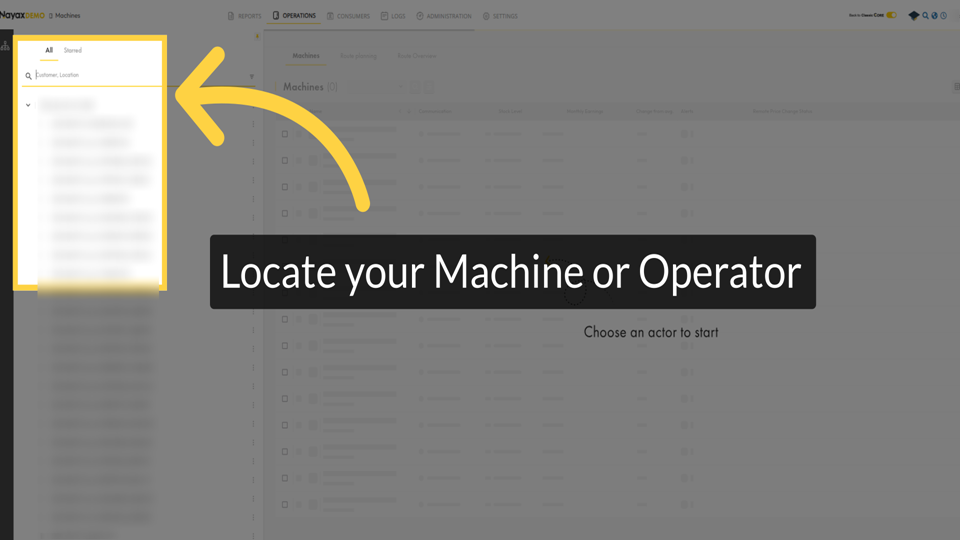
Locate your Machine or Operator
Image AttachedIn the hierarchy sidebar, locate your machine or operator.
7
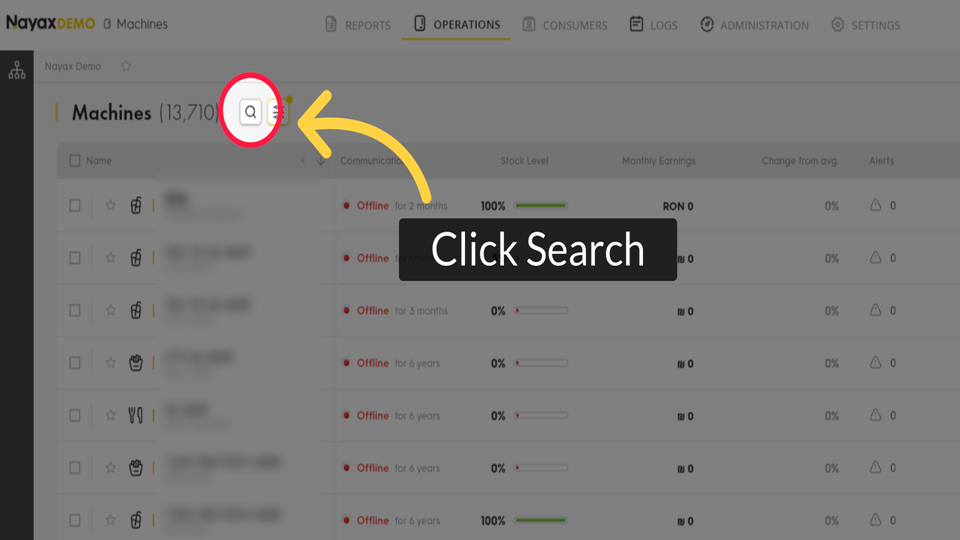
Click Icon to Search
Image AttachedClick the magnifying glass icon to search.
8
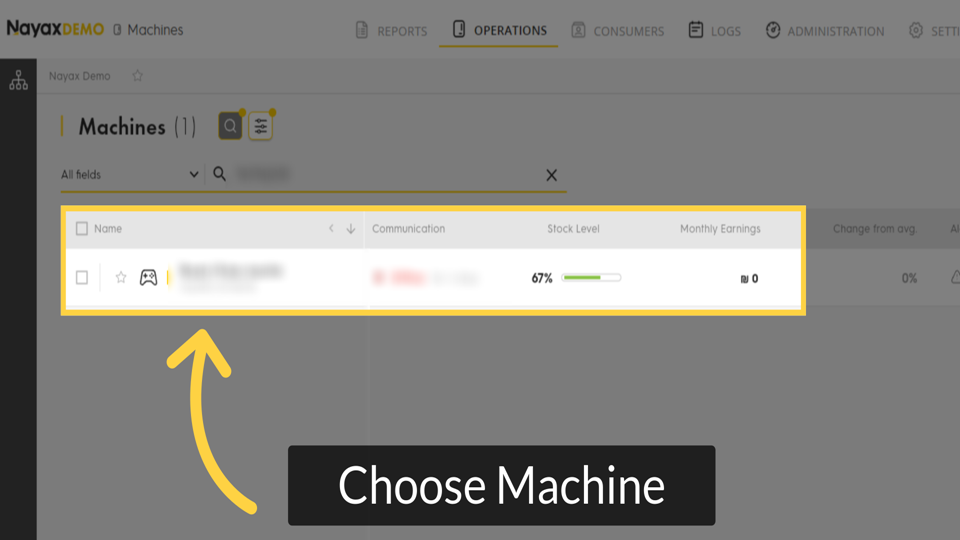
Choose Machine
Image AttachedSelect the relevant machine you wish to generate the picklist.
9
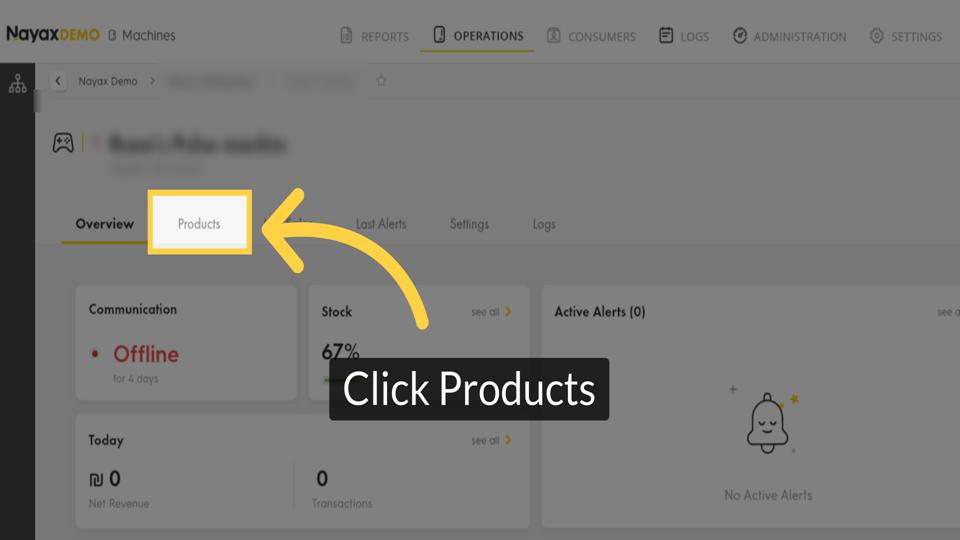
Click Products
Image AttachedClick on the Products tab.
10
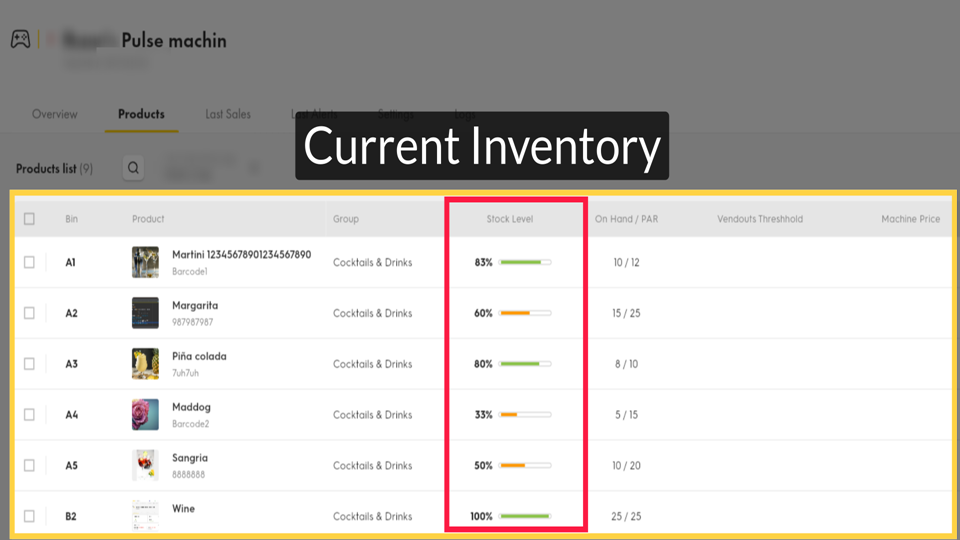
Current Inventory
Image AttachedYou can view your current inventory status here. Please note, by clicking on this column, you can generate status preferences per product.
11
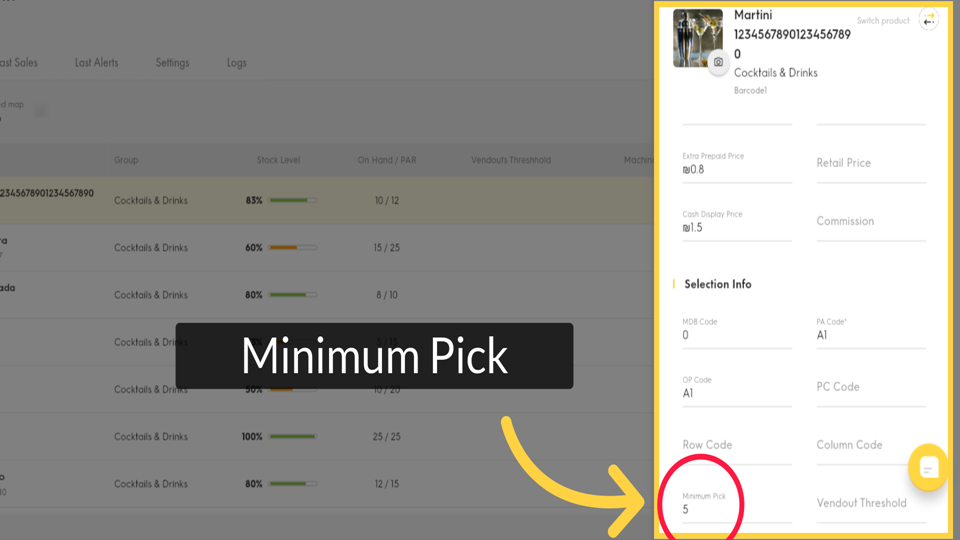
Minimum Pick
Image AttachedThis section, for example, allows you to define a minimum pick of 5, so you'll be notified if 5 pieces of that product are missing.
12
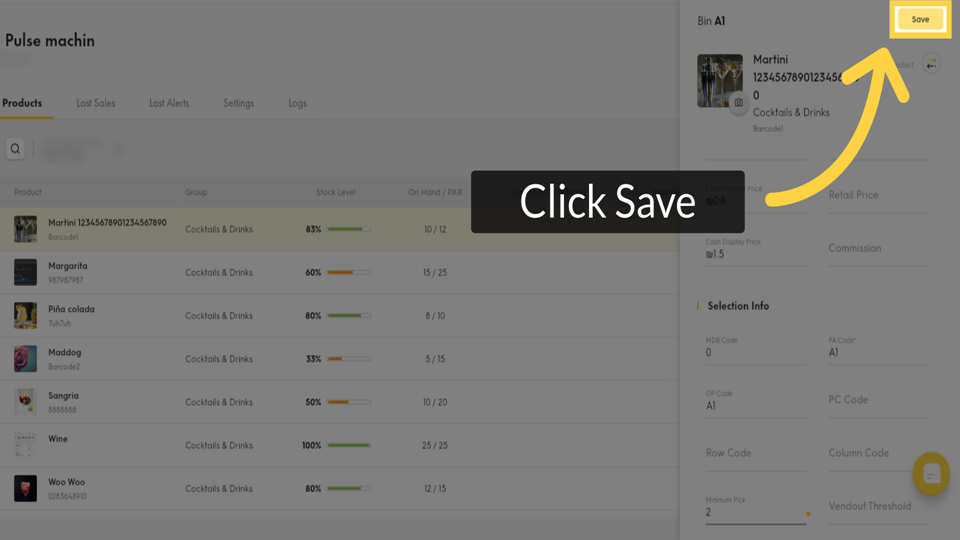
Click Save
Image AttachedClick Save to save your progress.
13
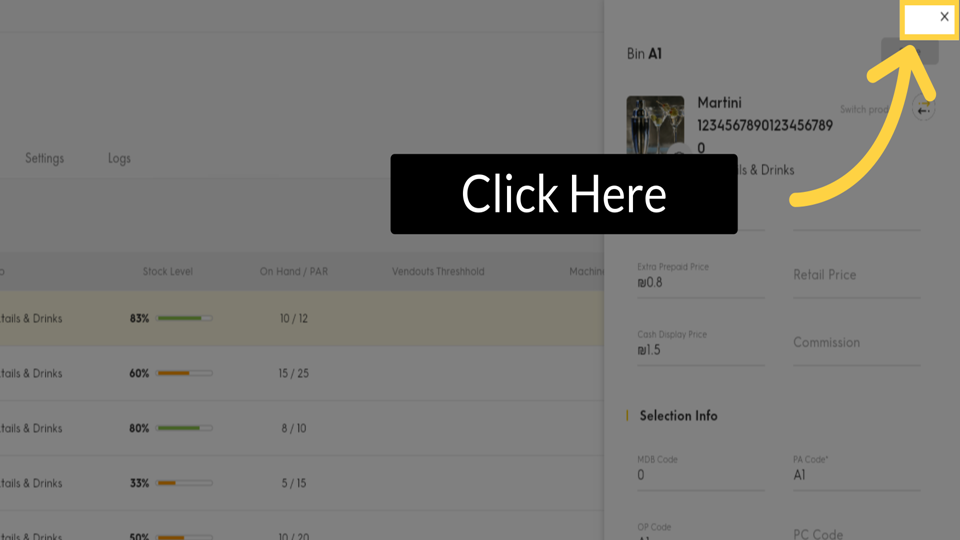
Click Here
Image AttachedThen select the "X" button to exit this screen.
14
Click Generate Picklist
Image AttachedNow, click on "Generate Picklist" button.

15
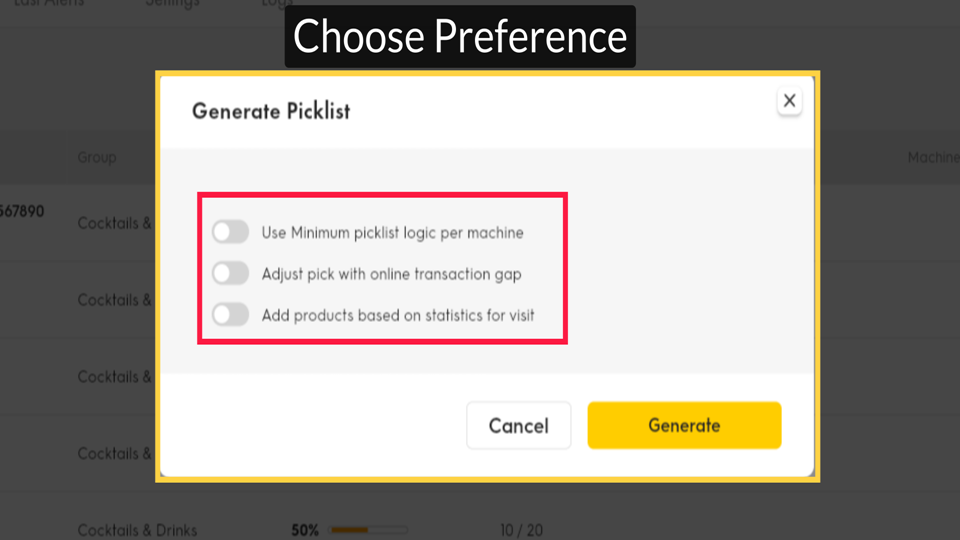
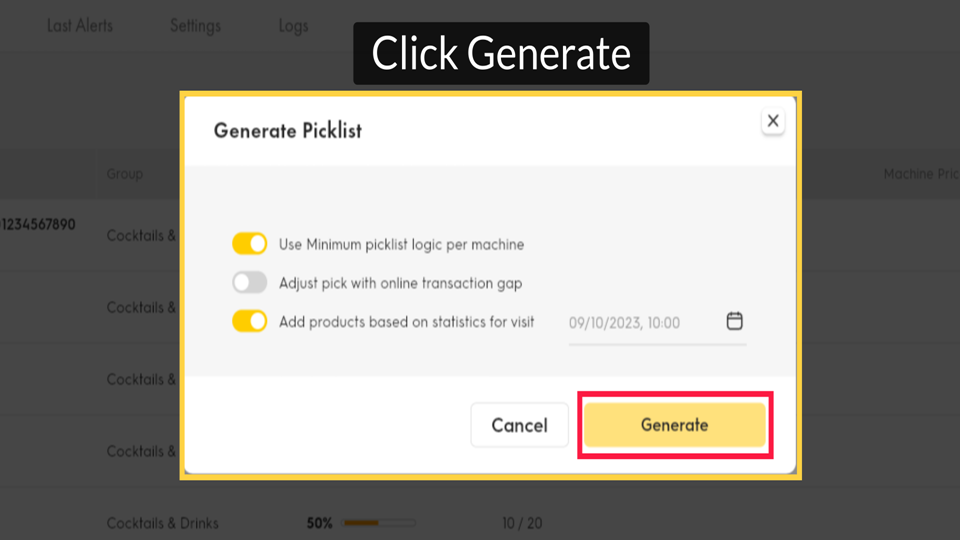
Choose Preference
Image Attached
Choose your preference.
To get notified if the minimum picklist is not present on a machine, you can toggle the option "Use minimum picklist logic per machine".
In order to define a picklist for the future and predict the number of required products, you can toggle the "Add products based on statistics for visit" option.
To get notified if the minimum picklist is not present on a machine, you can toggle the option "Use minimum picklist logic per machine".
In order to define a picklist for the future and predict the number of required products, you can toggle the "Add products based on statistics for visit" option.
16
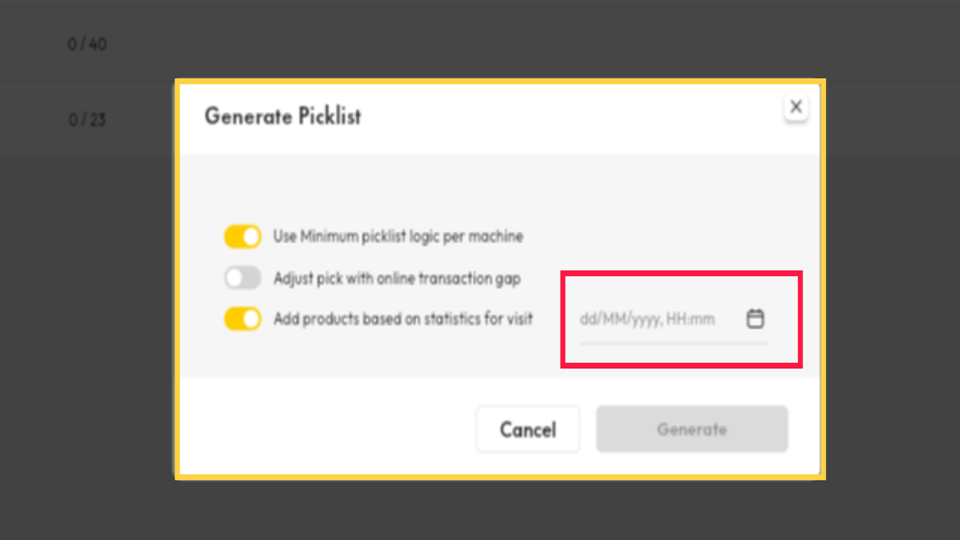
Define Time
Image AttachedYou also have the option to define the time based on your picklist.
17
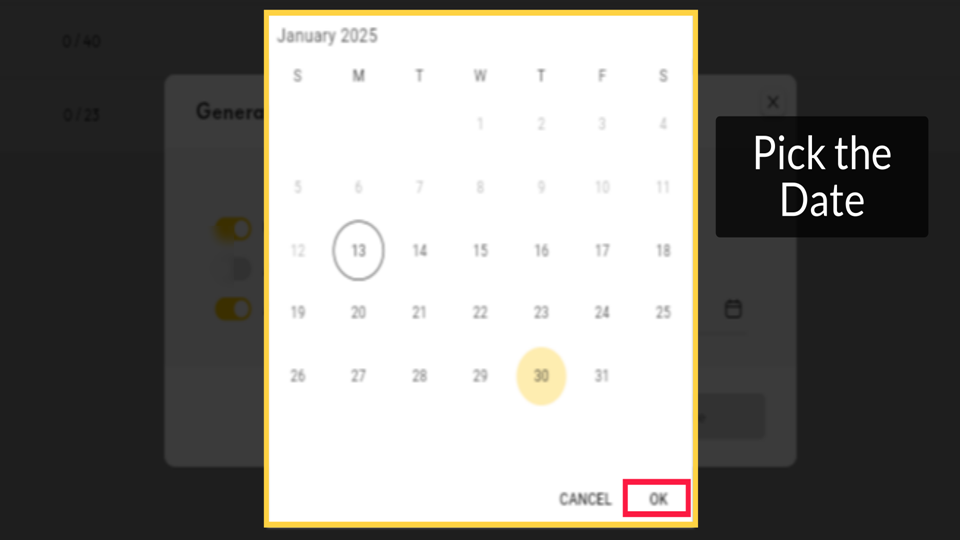
Select Date
Image AttachedSelect the date and click Ok when you're done.
18
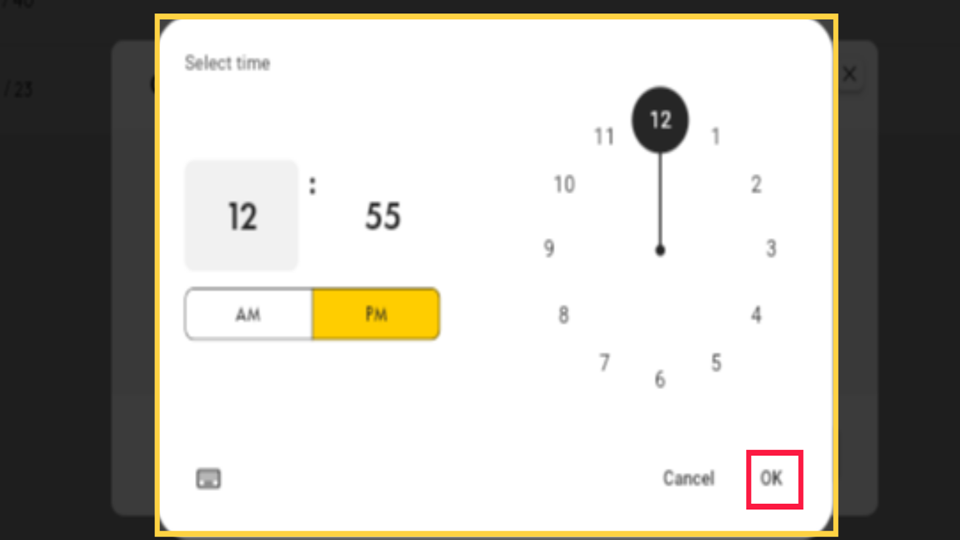
Select the Time
Image AttachedSelect the Time and click Ok when you're done.
19
Click Generate
Image AttachedClick Generate to continue.
20
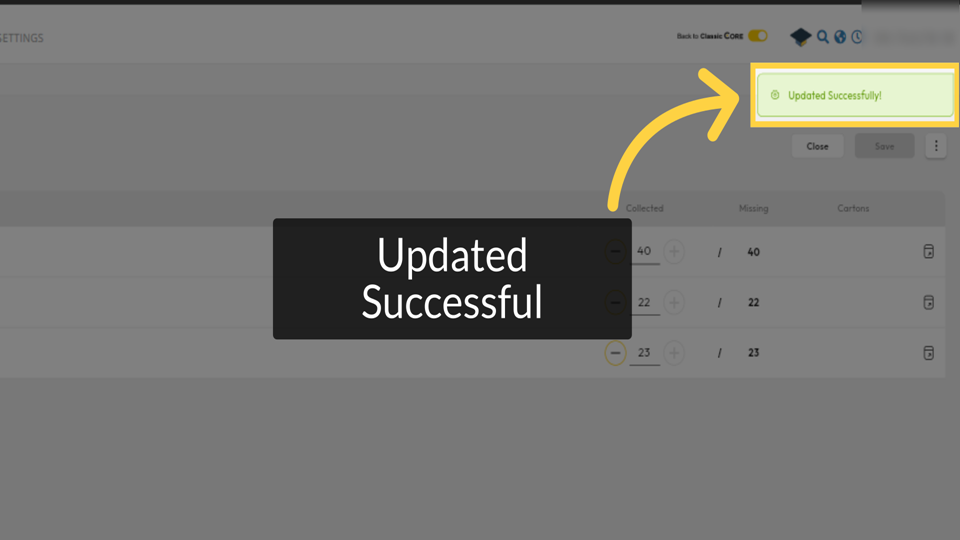
Updated Successful
Image AttachedA pop up will be displayed, confirming the action to generate a picklist was made successfully.
21
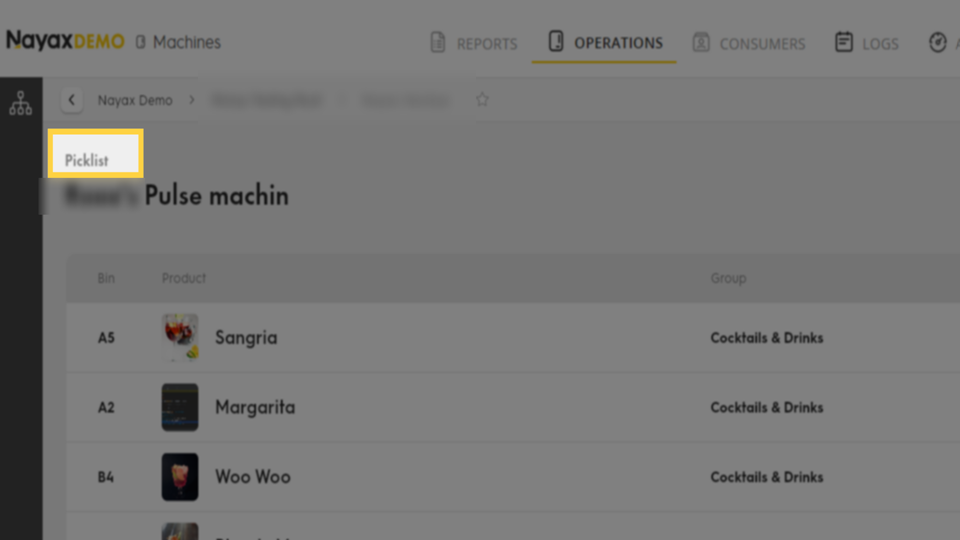
View Newly Created Picklist
Image AttachedYour picklist is now can be viewed and managed effectively.
Thank you!
Did you find this article helpful?