How to Create a Preset in Dynamic Transaction Monitor | Reports
The DTM report comprises of various filter options to look up transaction records. A preset can help you in creating a customized report, so you can generate a report that displays exactly what you want to see.
Video Guide
00:00: A preset can help you in creating a customized report so you can generate 00:04: a report that displays exactly what you need to see. 00:08: On the dashboard of your NYX core management Suite, click on the reports tab. 00:13: Click on online reports. And then click Dynamic, transactions, monitor tab 00:17: from the submenu. 00:19: Type in your operator name or sub actor and any other fields to obtain 00:23: the desired reports. Then press view report Button as highlighted in red 00:27: on the visual. 00:29: Click on the add table button to create a new preset is highlighted in red 00:33: on the visual. 00:35: Type a name for the preset in the field, titled preset name for the example. 00:39: In this guide, we will show how to create a preset that will display all the refund 00:43: requests. So we typed refunds preset 00:47: Next choose the information you would like to see on the preset. 00:51: Categories, on the left hand side of this window, organize all Fields, as highlighted 00:55: in red on the visual. 00:58: Next choose the relevant Fields. You would like to see on the preset. 01:02: Categories on the middle section of this window, organize all Fields, 01:06: as highlighted on the visual. 01:08: Drag and drop the fields on the right hand side as highlighted in red on the visual 01:12: to reorganize, their order in the report. 01:15: Click on the save button to save the preset. 01:19: You will see the preset tab on the main screen. 01:24: Pro tip to make this preset, the default. 01:26: When you open the DTM right, click on the preset name, then click 01:30: on the set as default button to set the preset as default as highlighted in 01:34: red on the visual. You can always go back and edit the preset 01:38: by. Right. Clicking its name and choosing edit preset. 01:42: We ask you to, please help us help you by leaving feedback. 01:44: Thanks for watching.
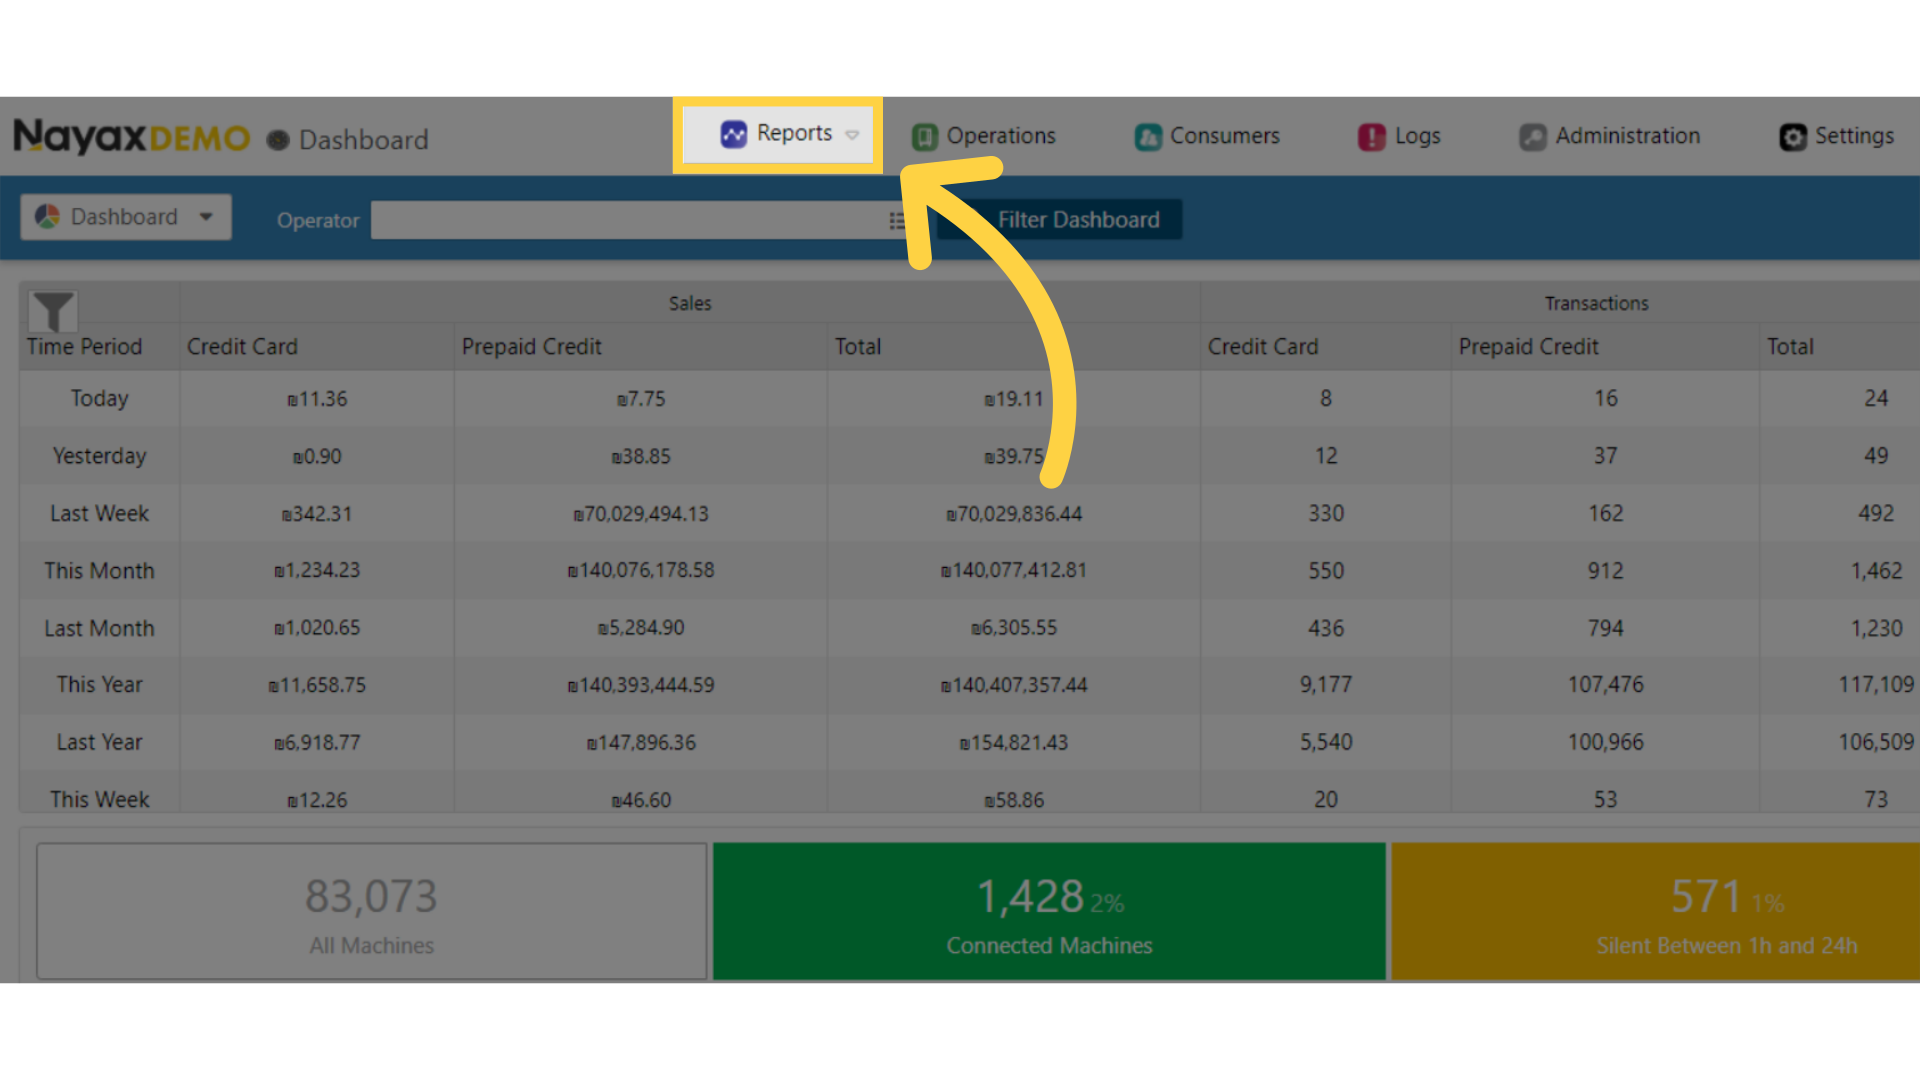
Click Reports
Image AttachedOn the Dashboard of your Nayax Core platform, click on the Reports tab.
Click Dynamic Transactions Monitor
Image Attached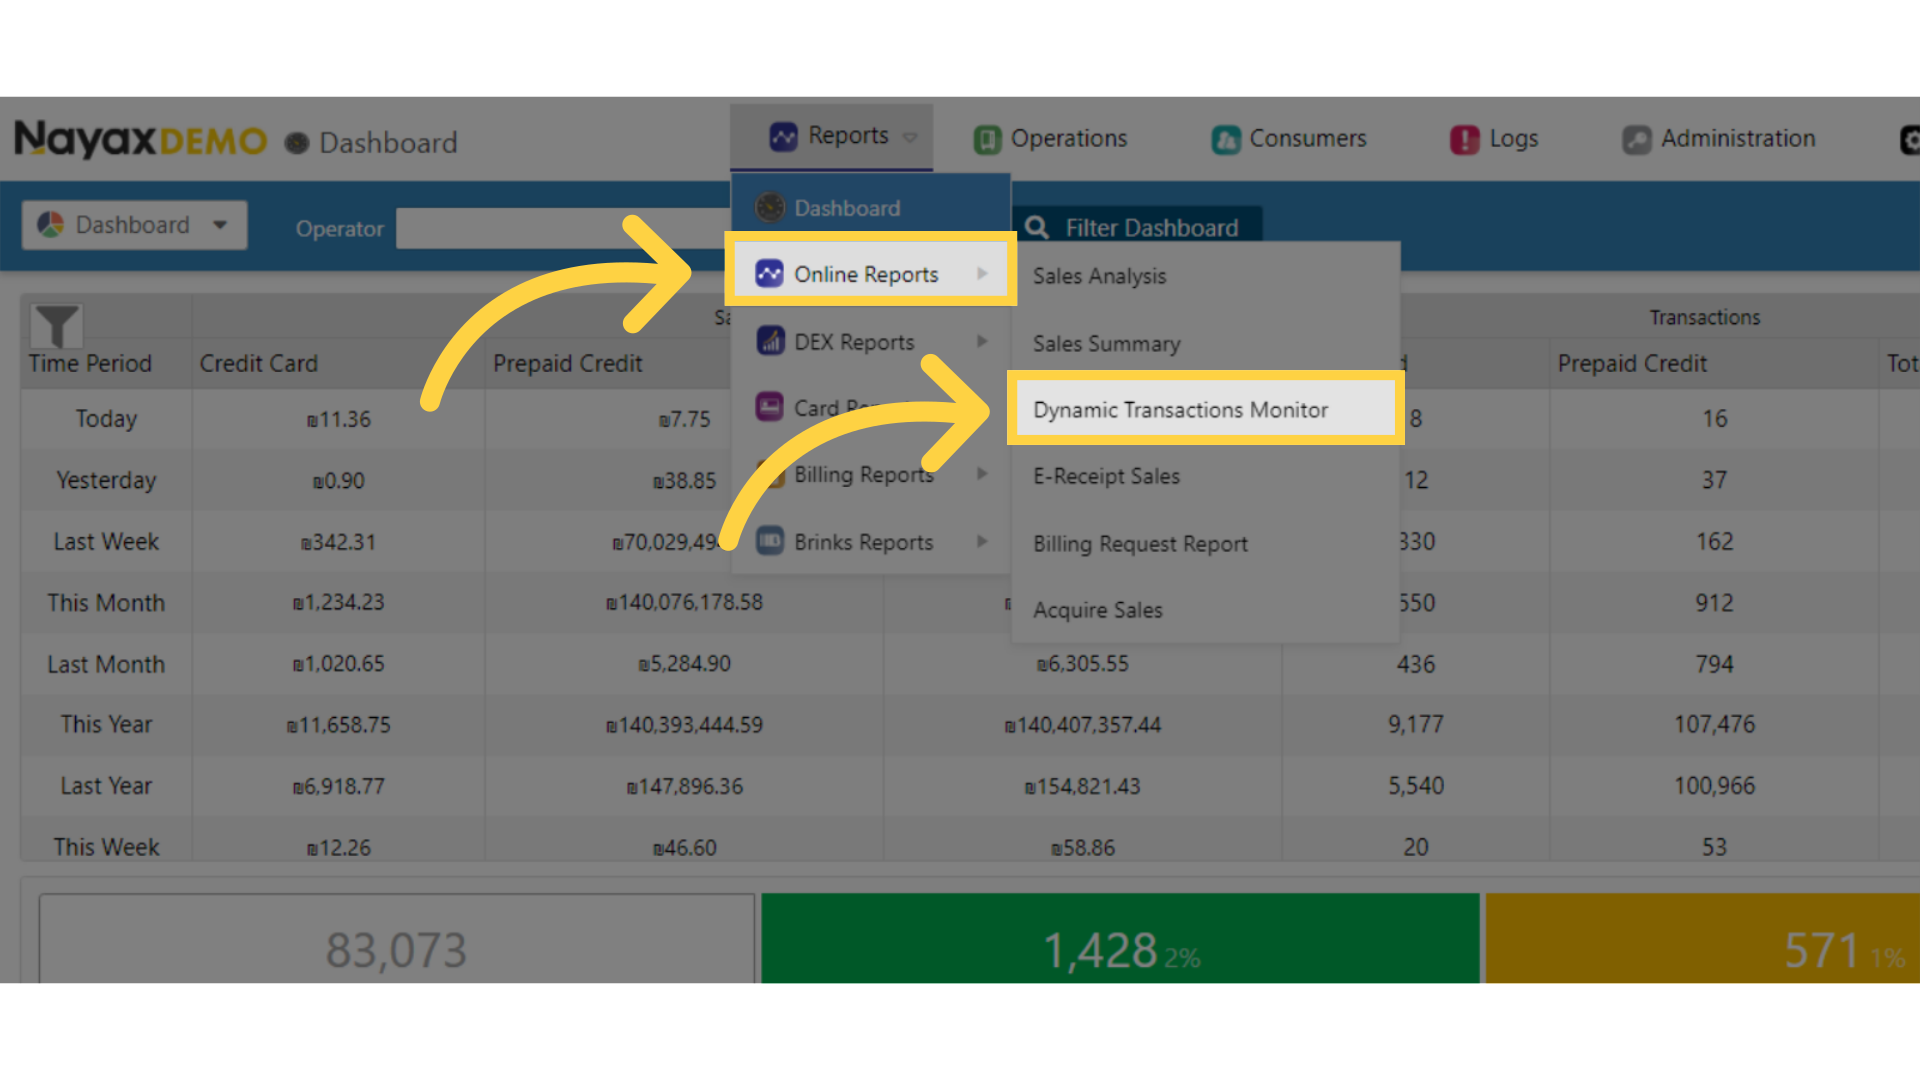
Fill in Actor Fields
Image Attached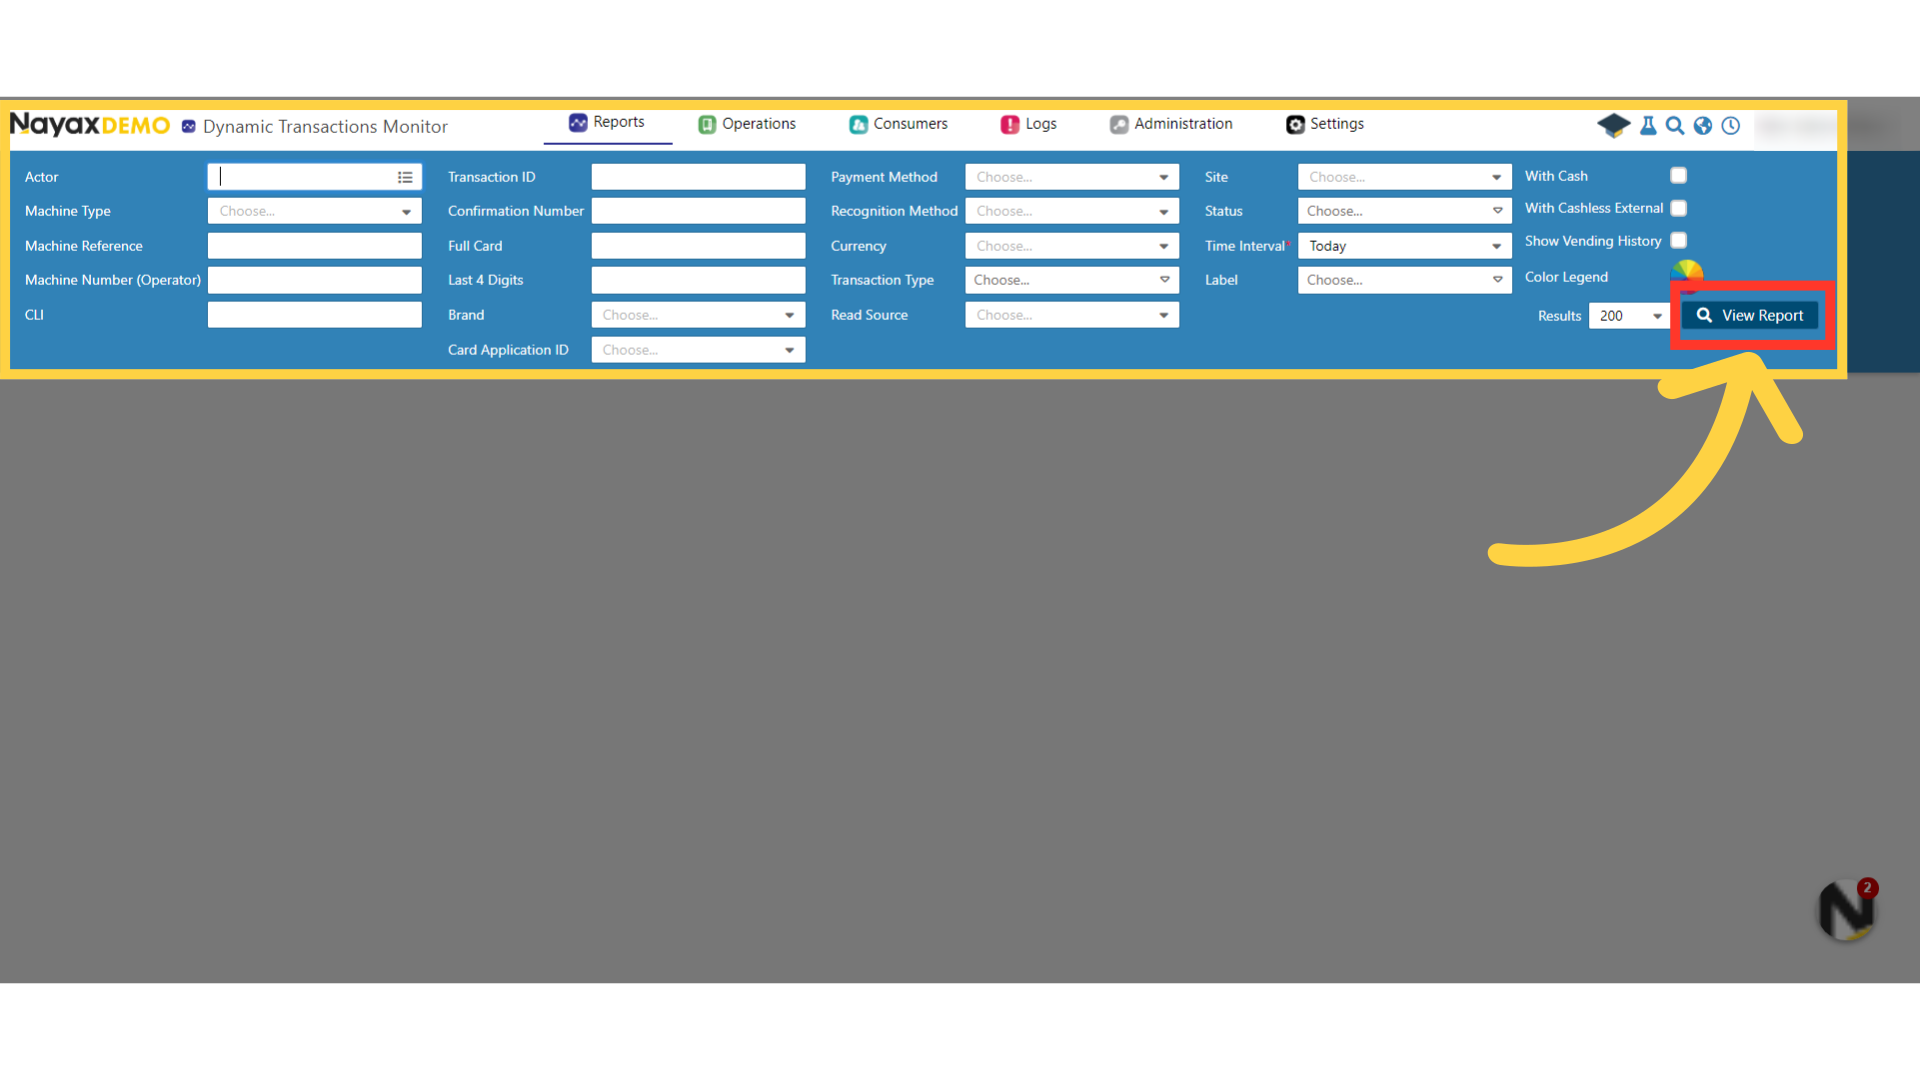
Click Add Tab
Image Attached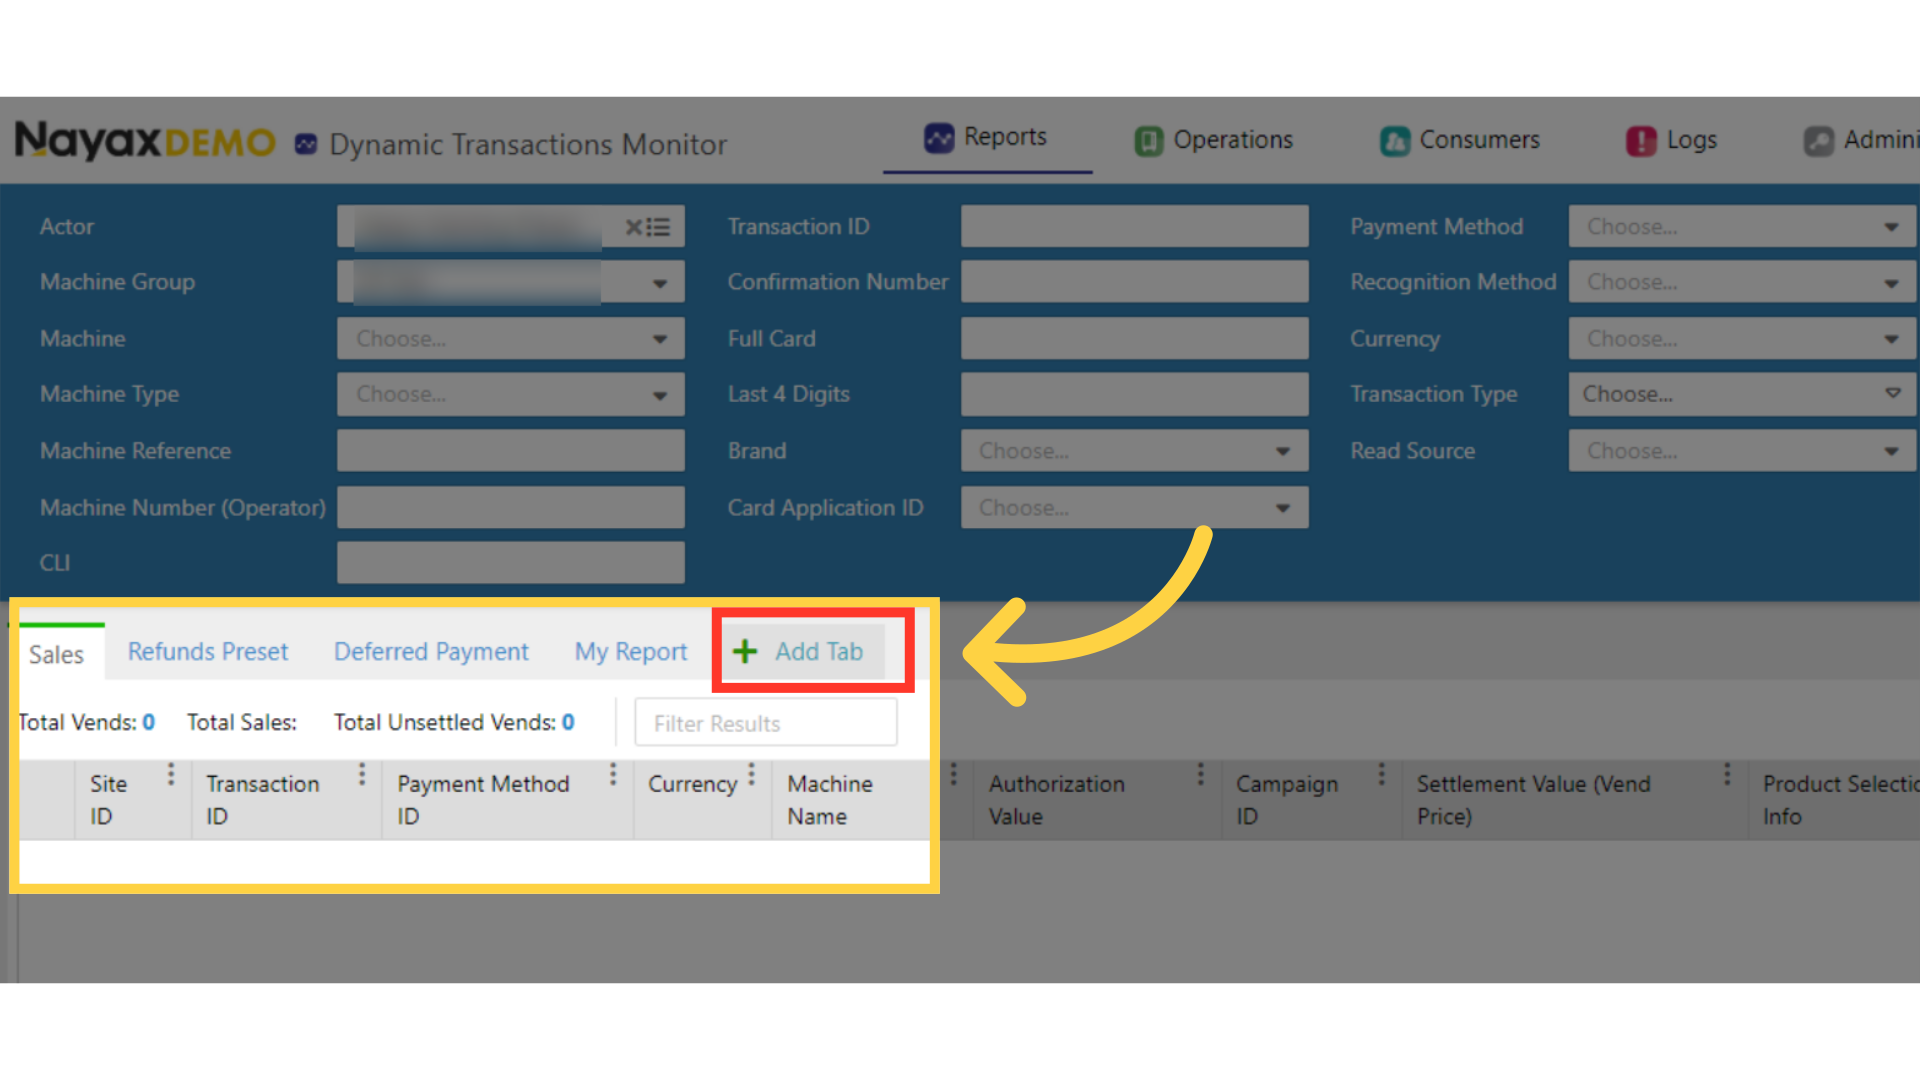
Type Preset Name
Image Attached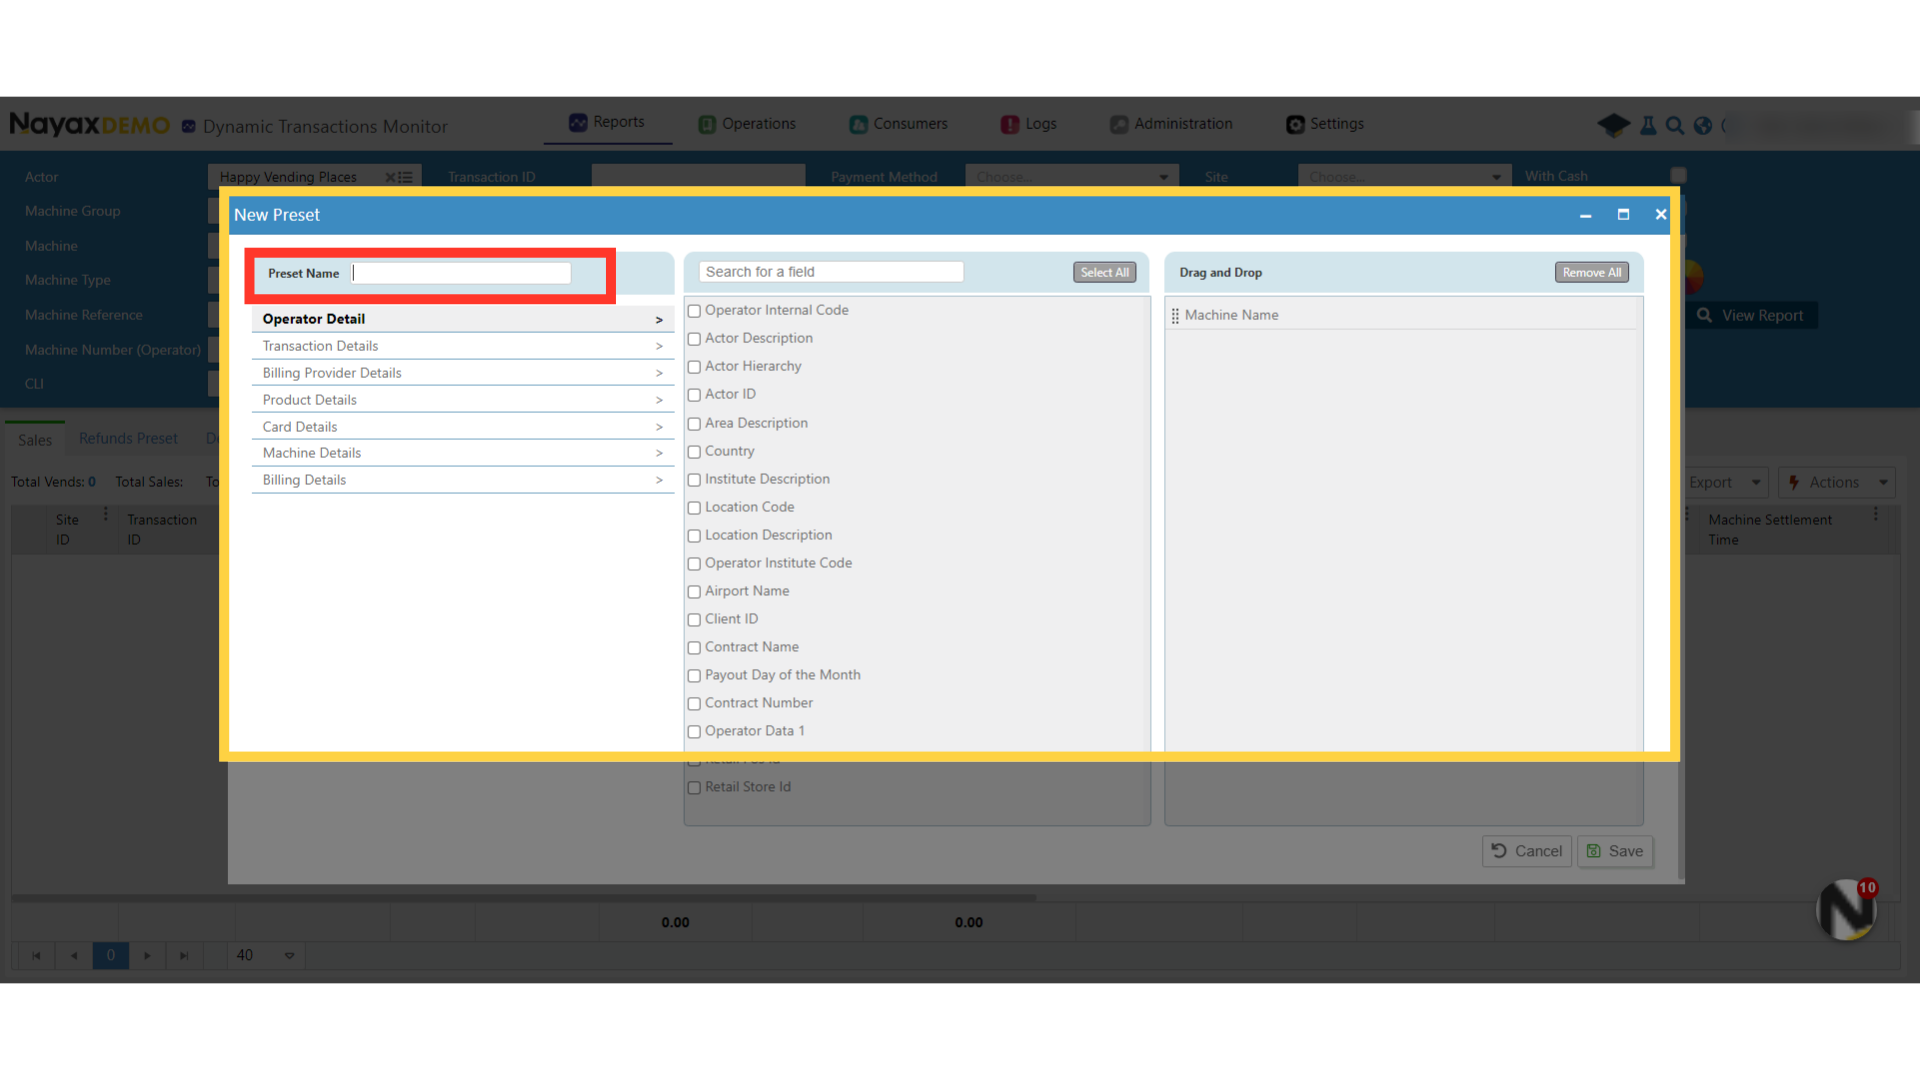
Select Relevant Category
Image Attached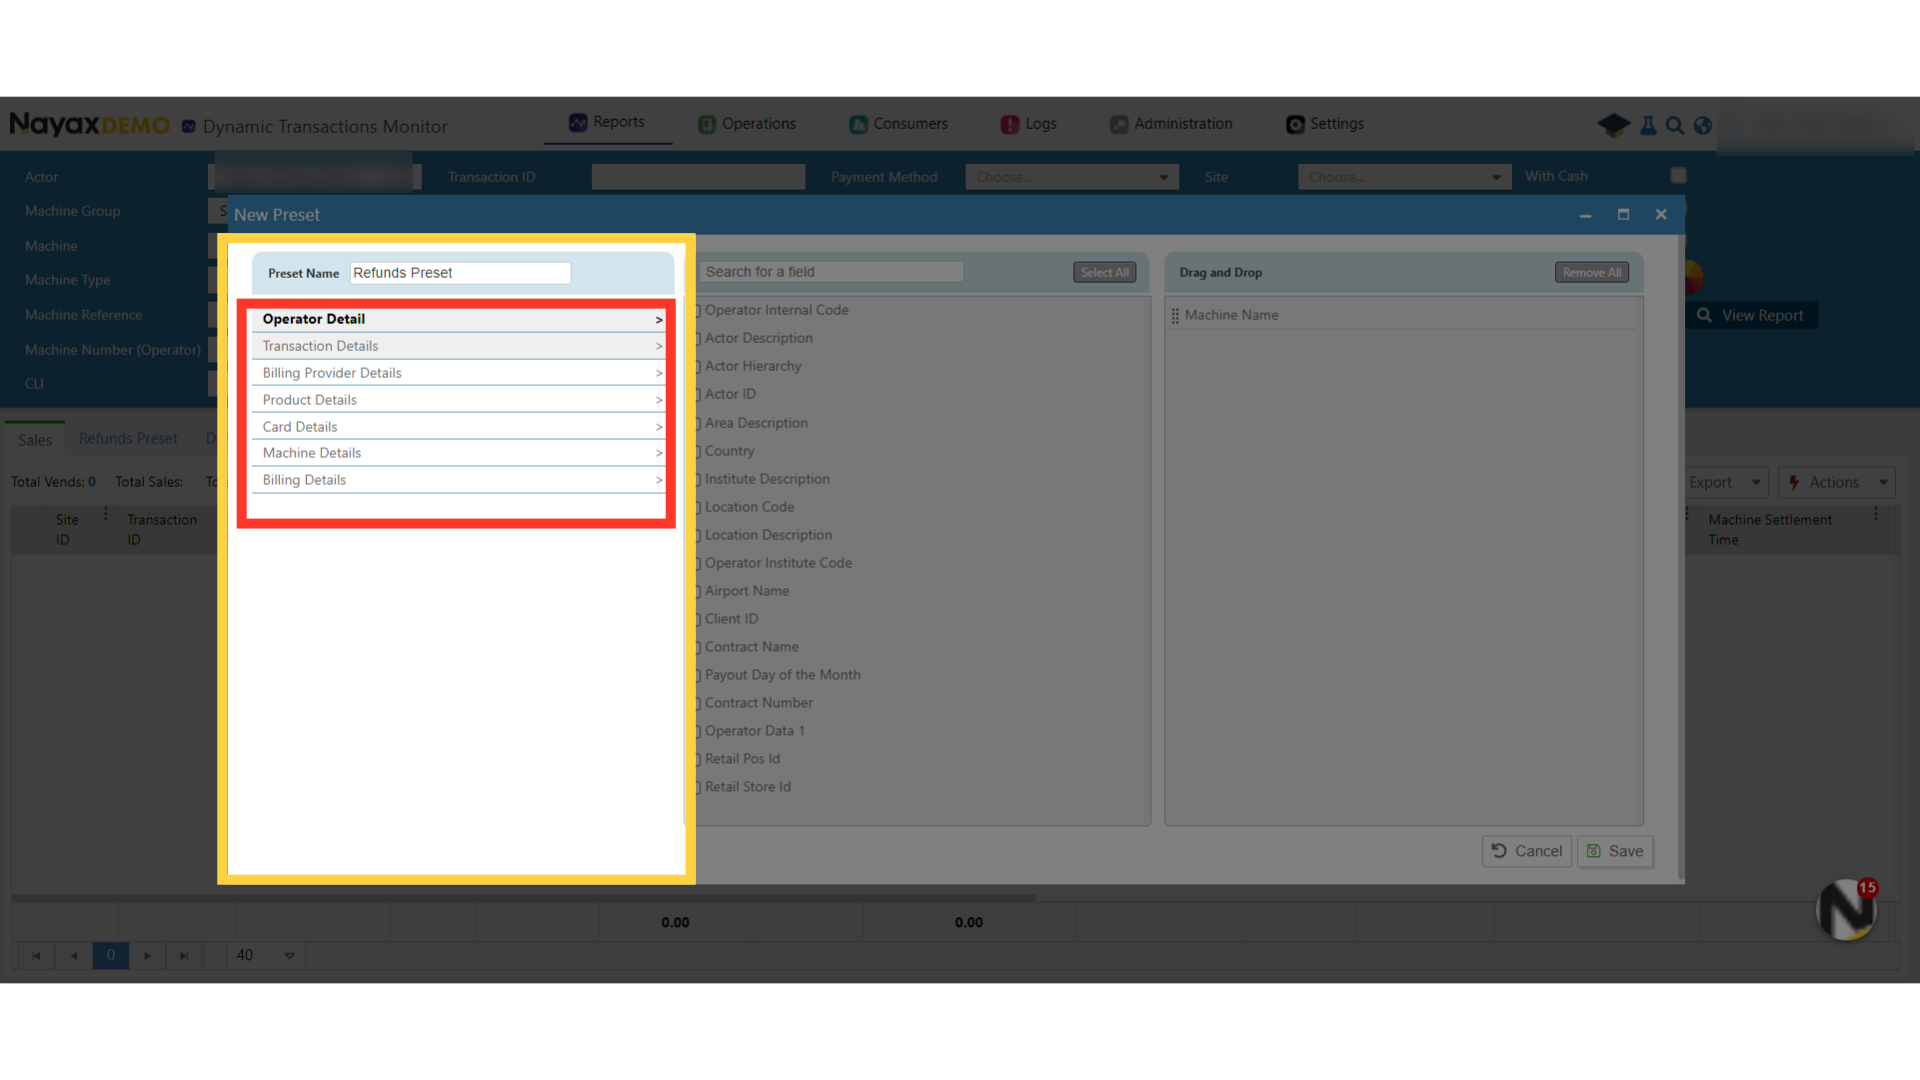
Select Relevant Fields
Image Attached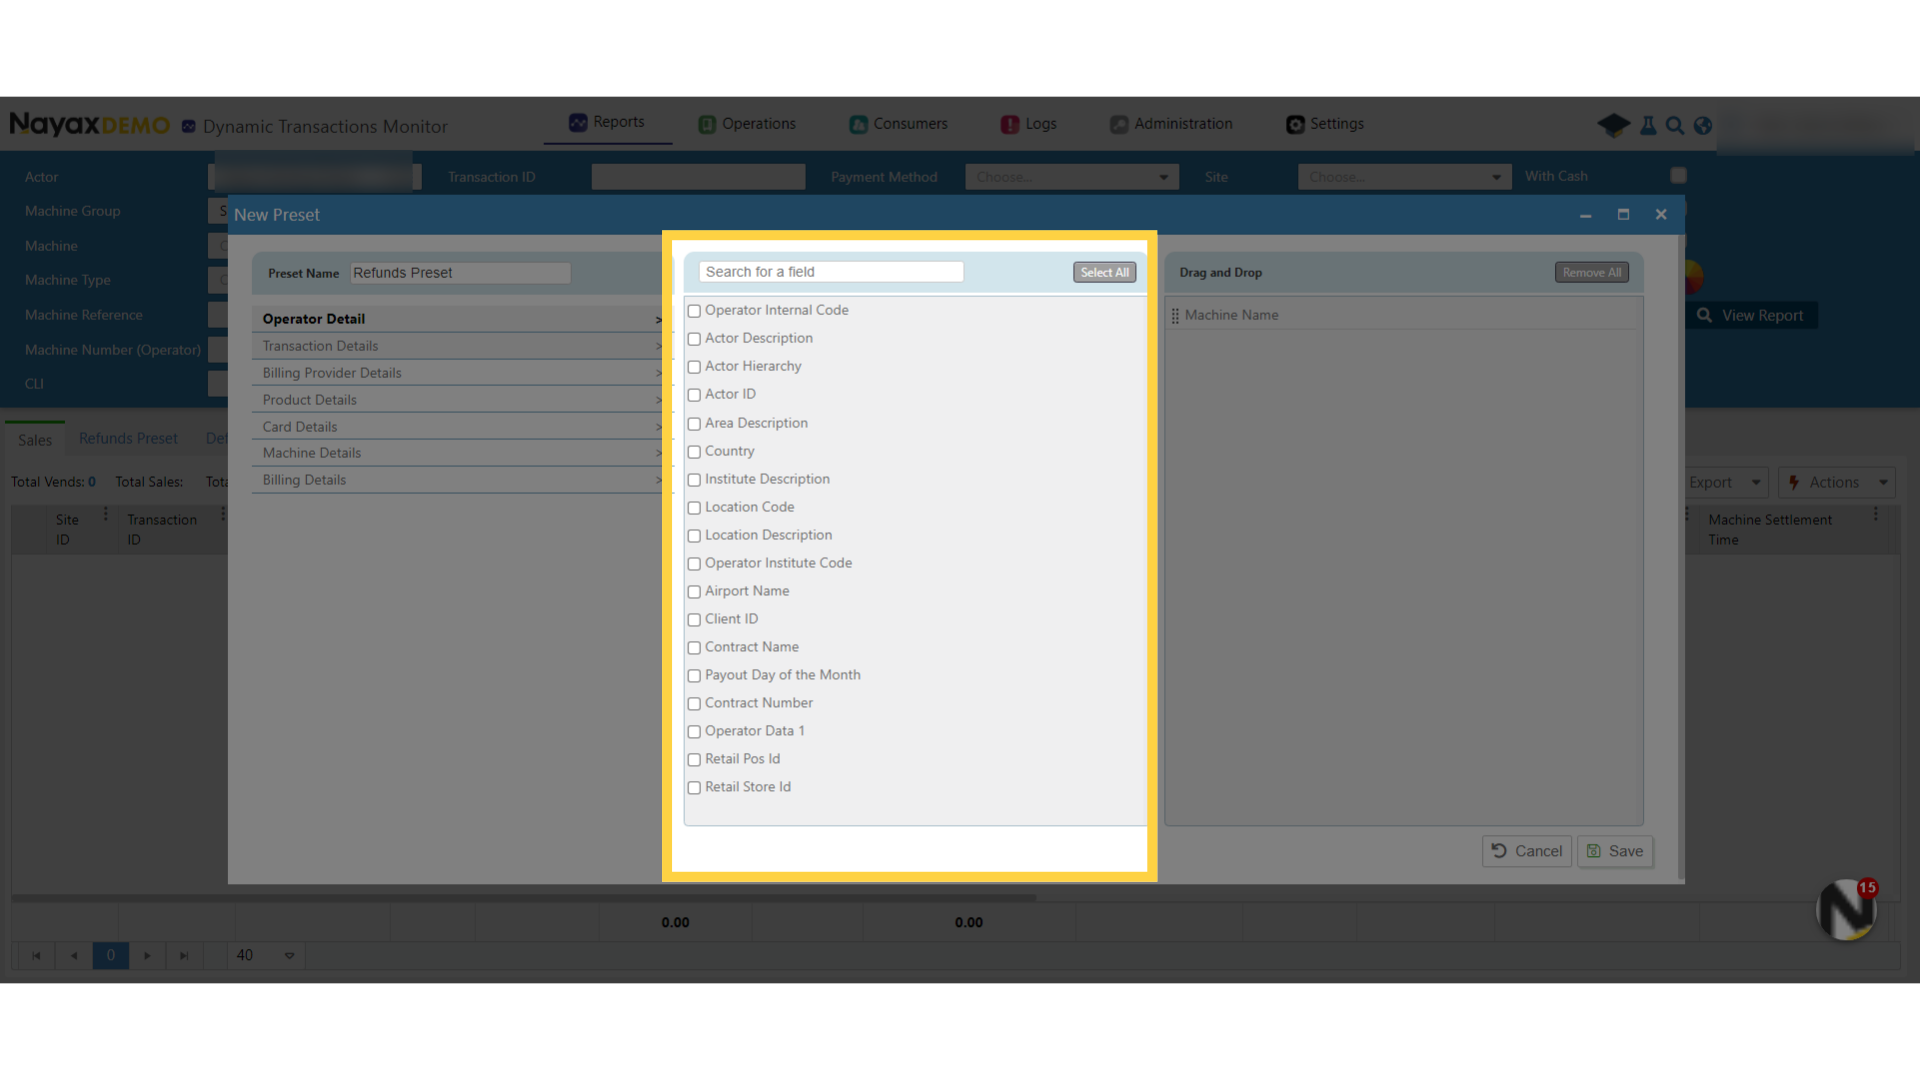
Create Order
Image Attached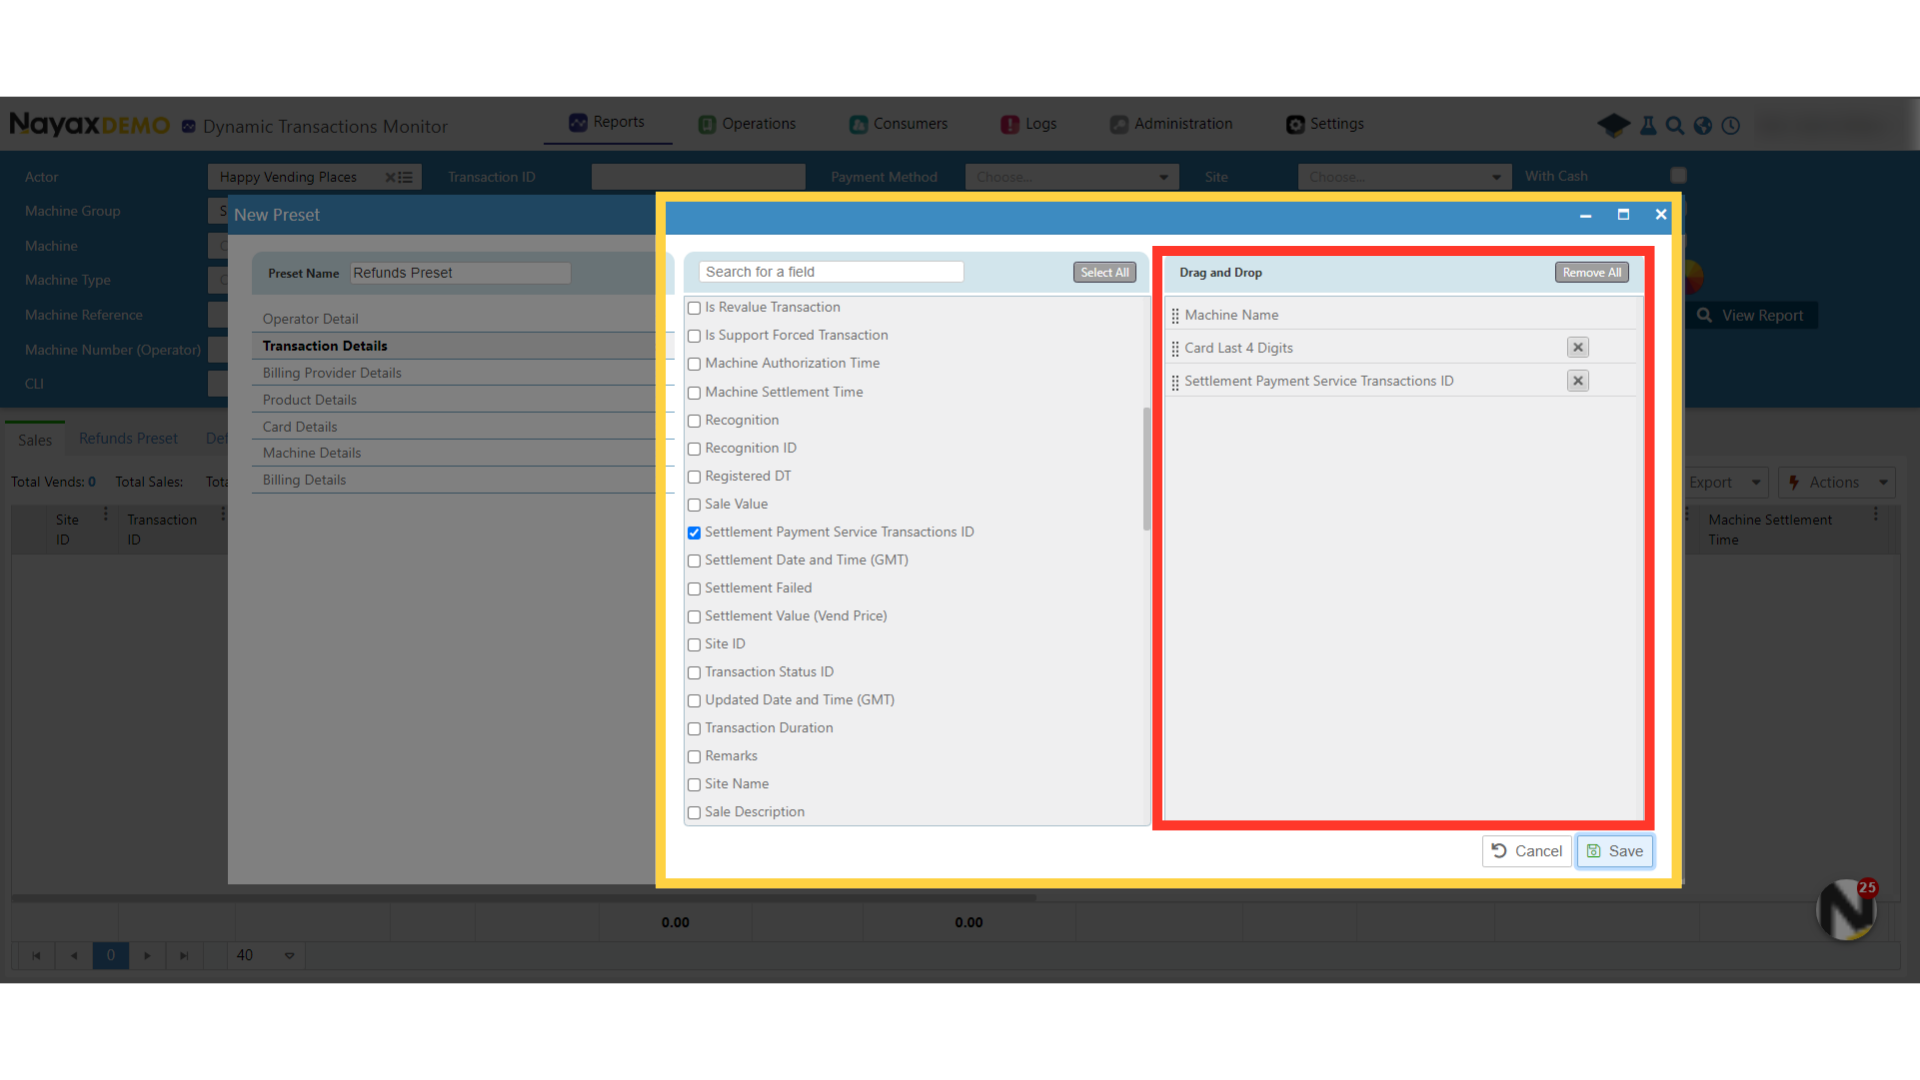
Click Save
Image Attached
Preset Tab
Image Attached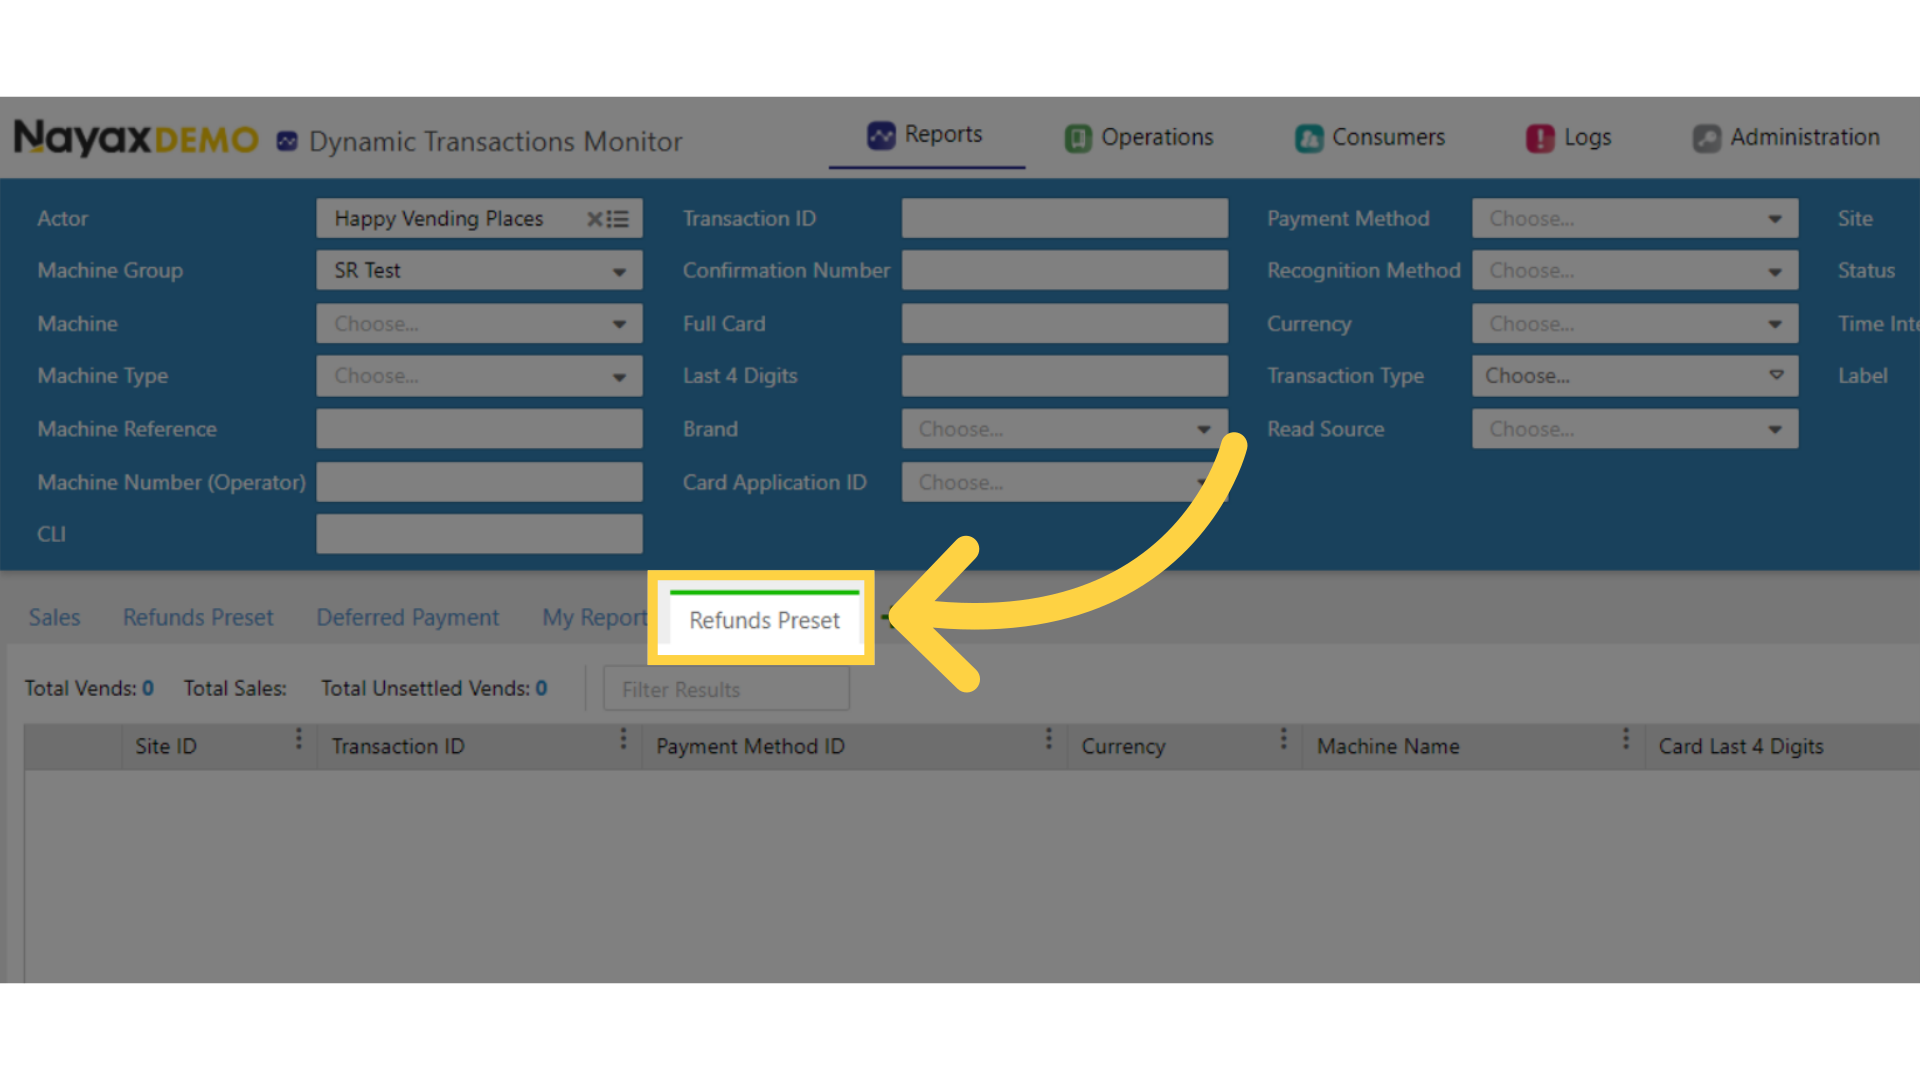
Set As Default
Image Attached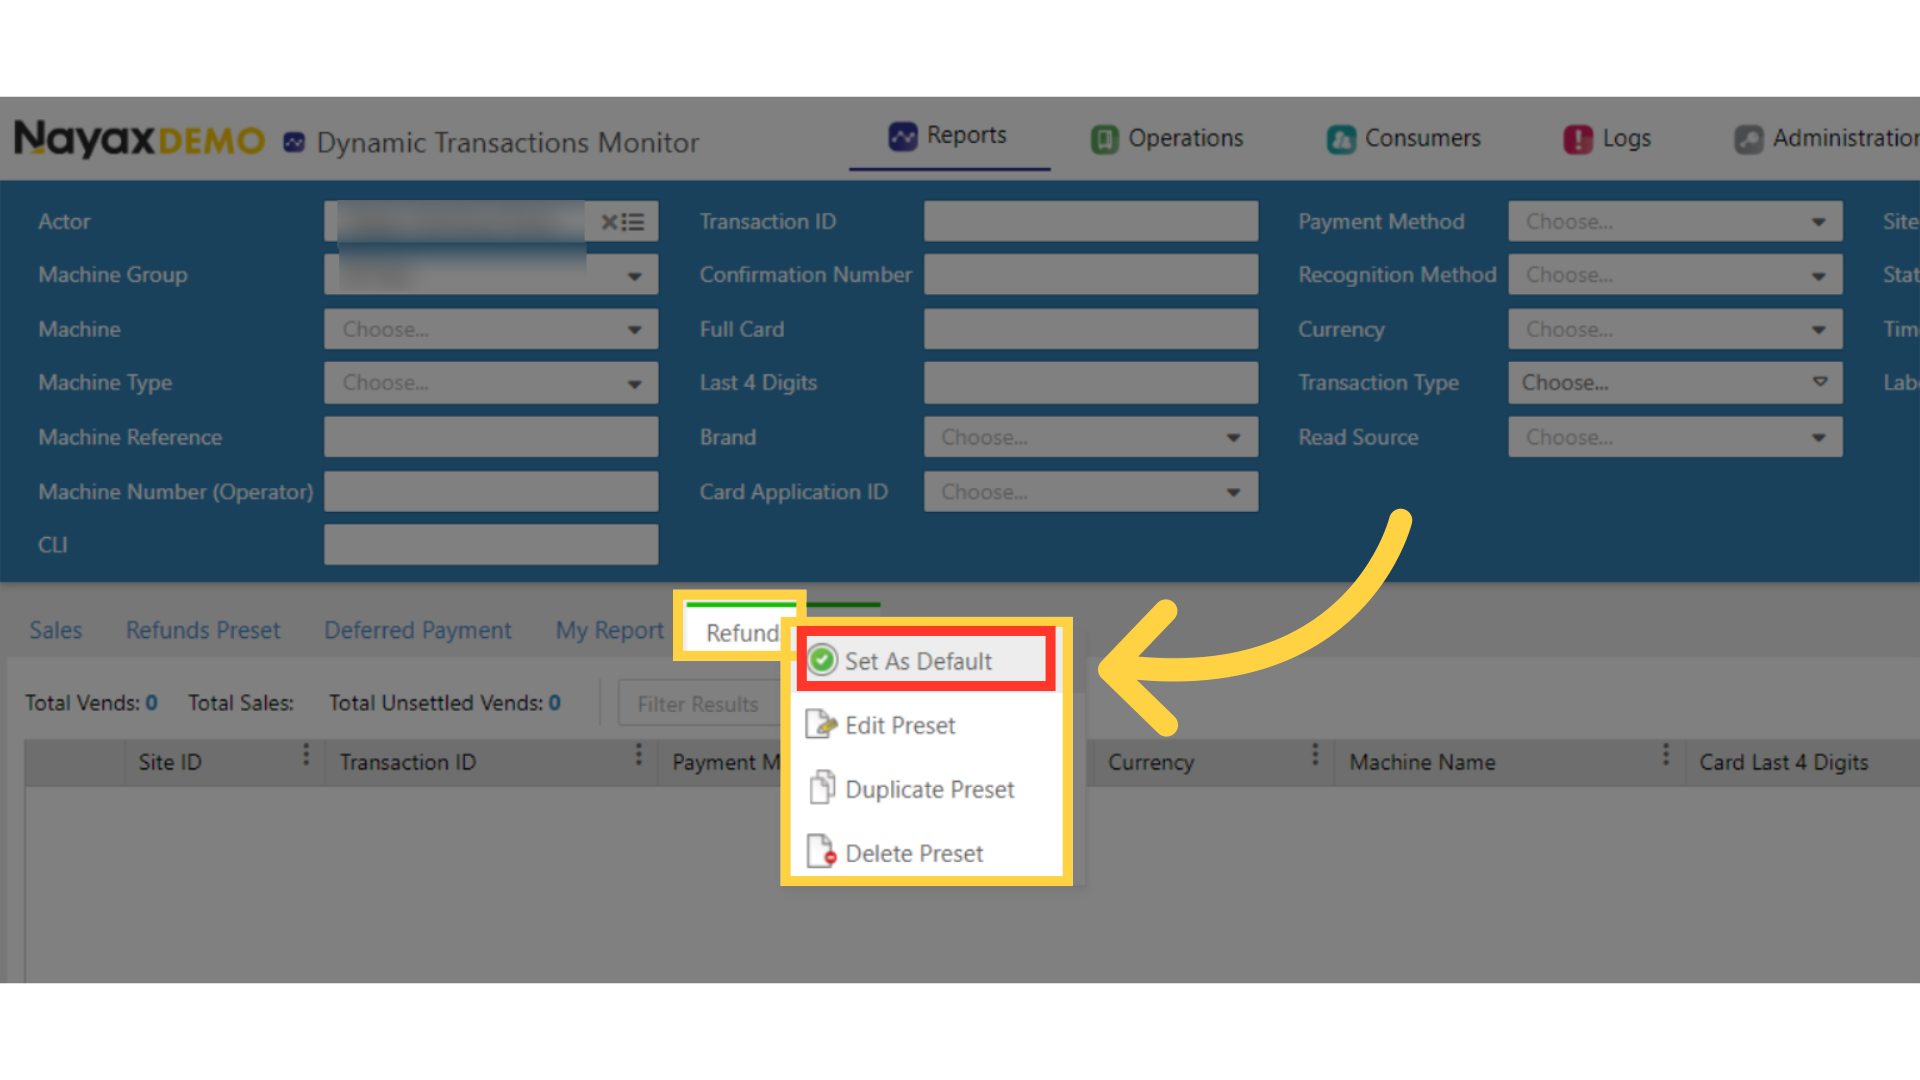
Thank you!
Did you find this article helpful?