How to Configure Barcodes for Weighted Products | Administration
Configure barcodes to allow price calculations for weighted items.
Video Guide
Click Administration Tab
Image Attached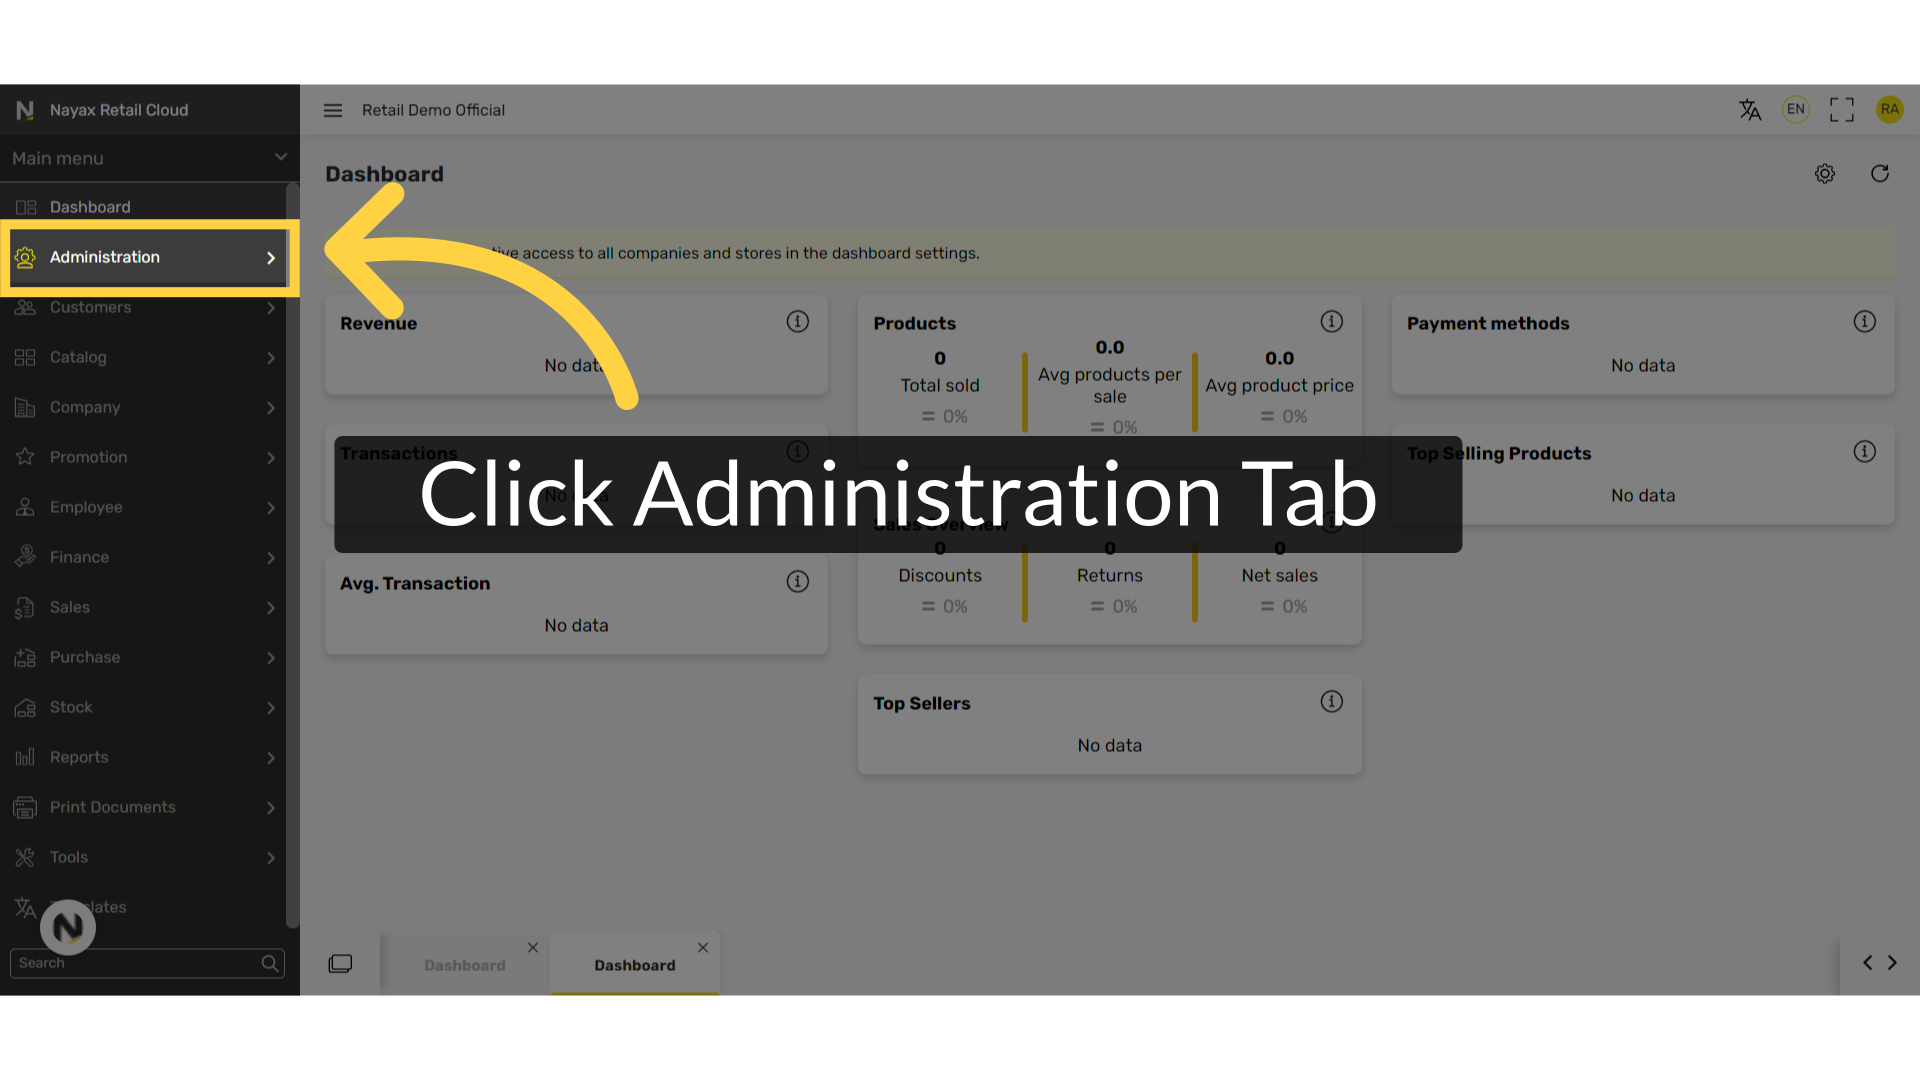
Click Set Up Tab
Image Attached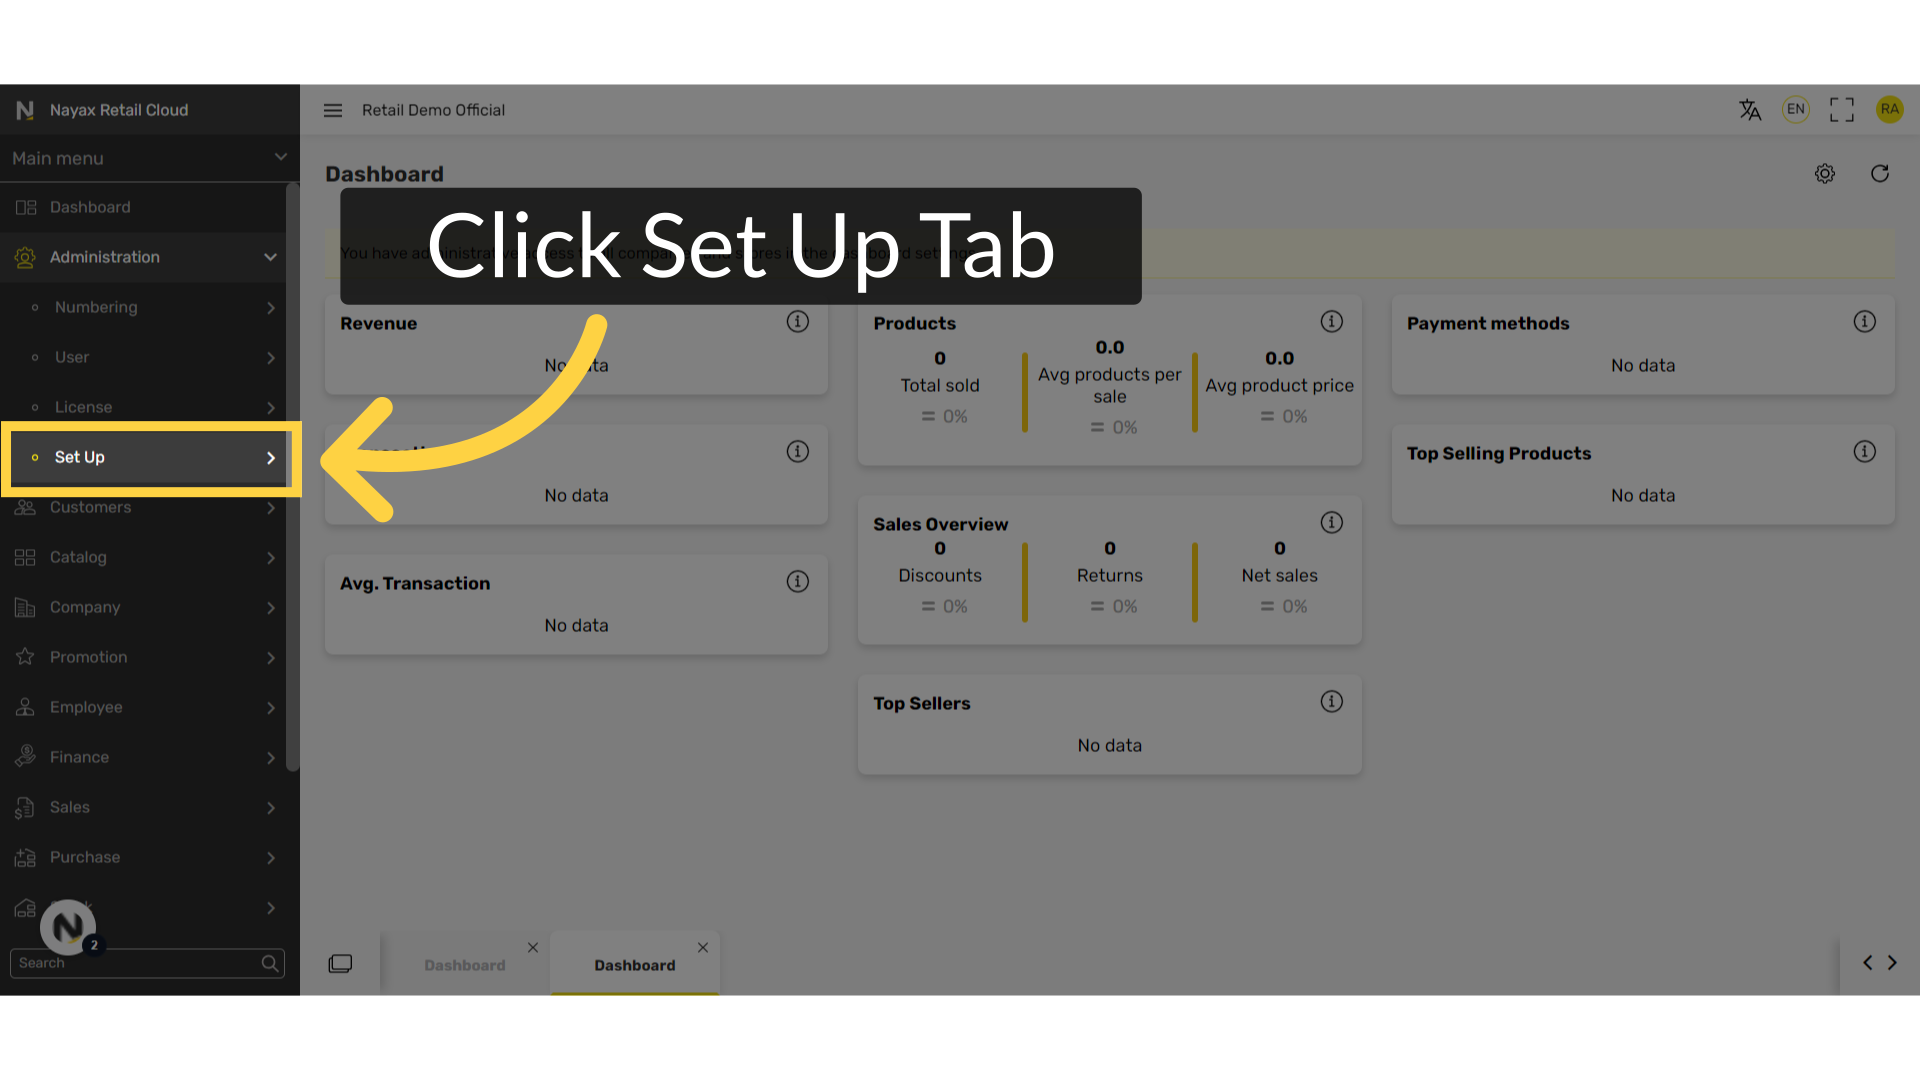
Click Barcode Set Up Tab
Image Attached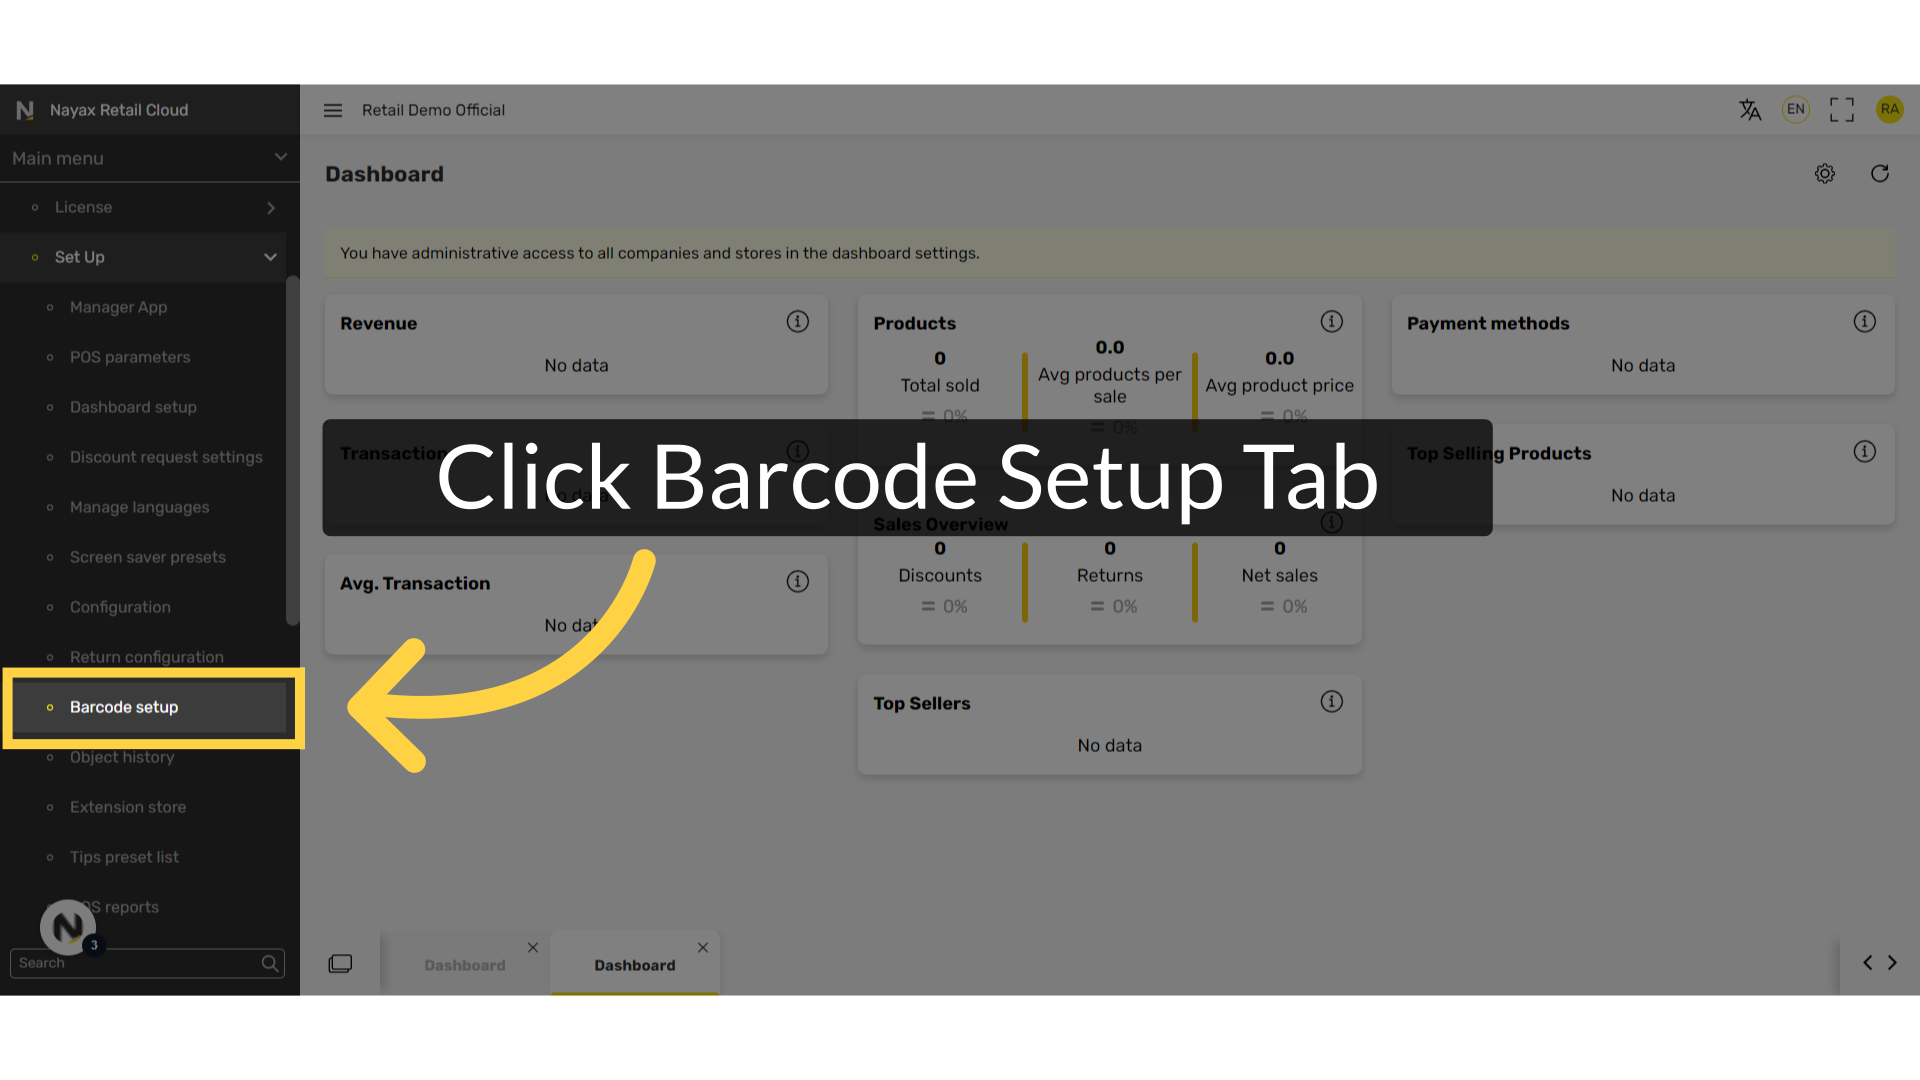
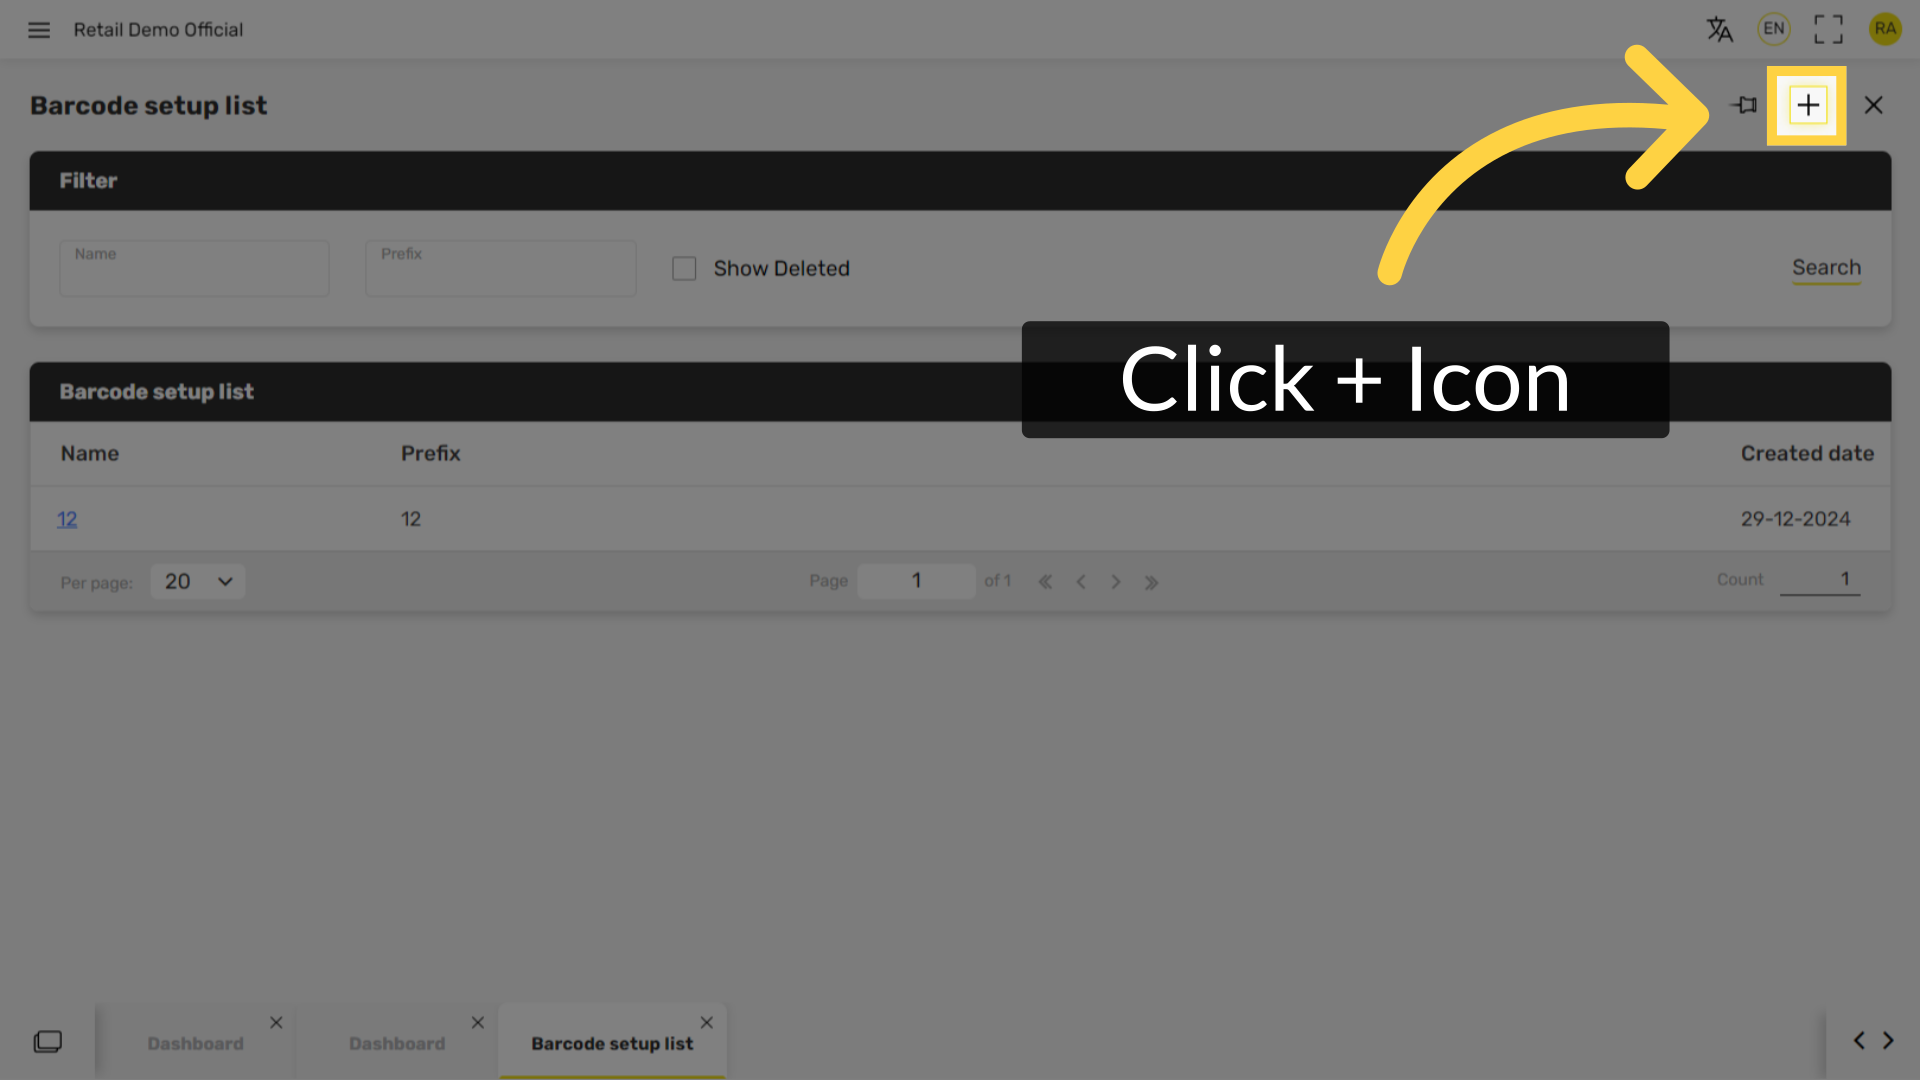
Click + Icon
Image AttachedClick the plus icon at the top right of the screen.
Fill in the following fields:
Image Attached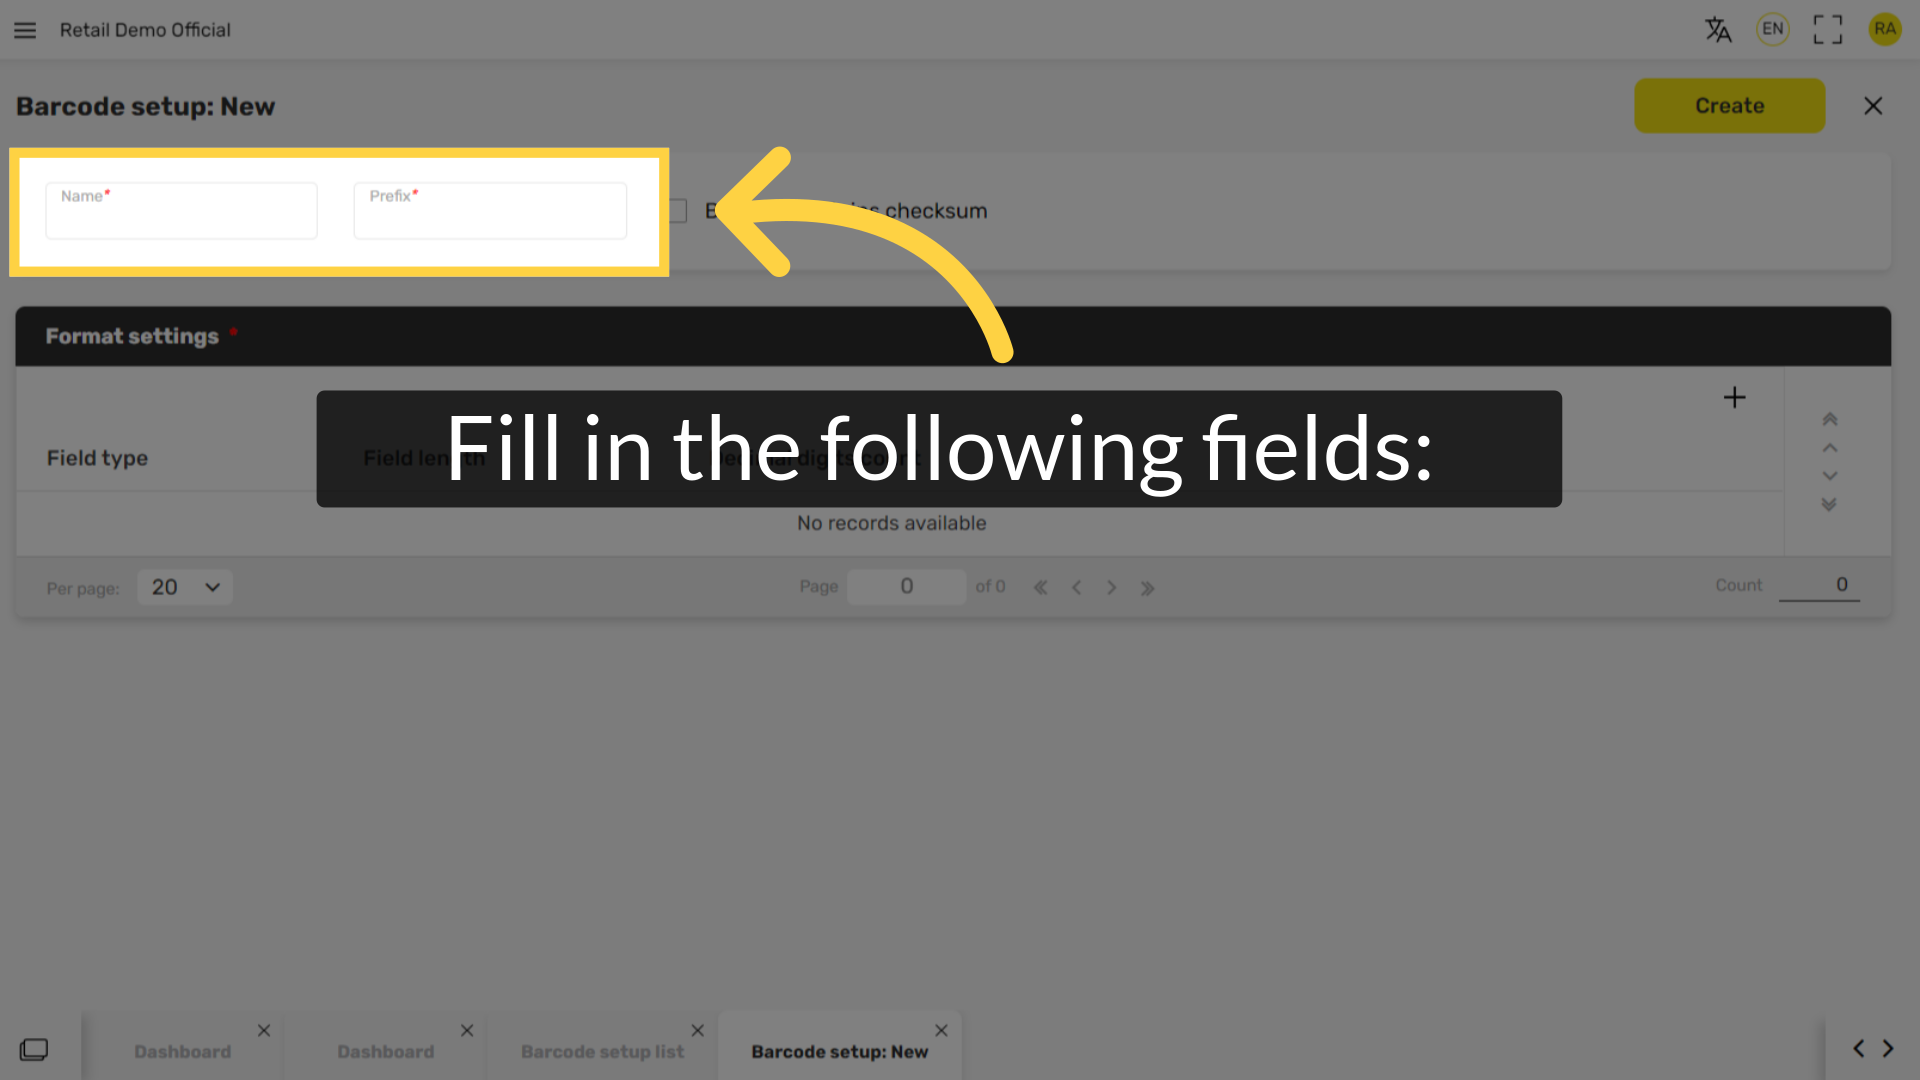
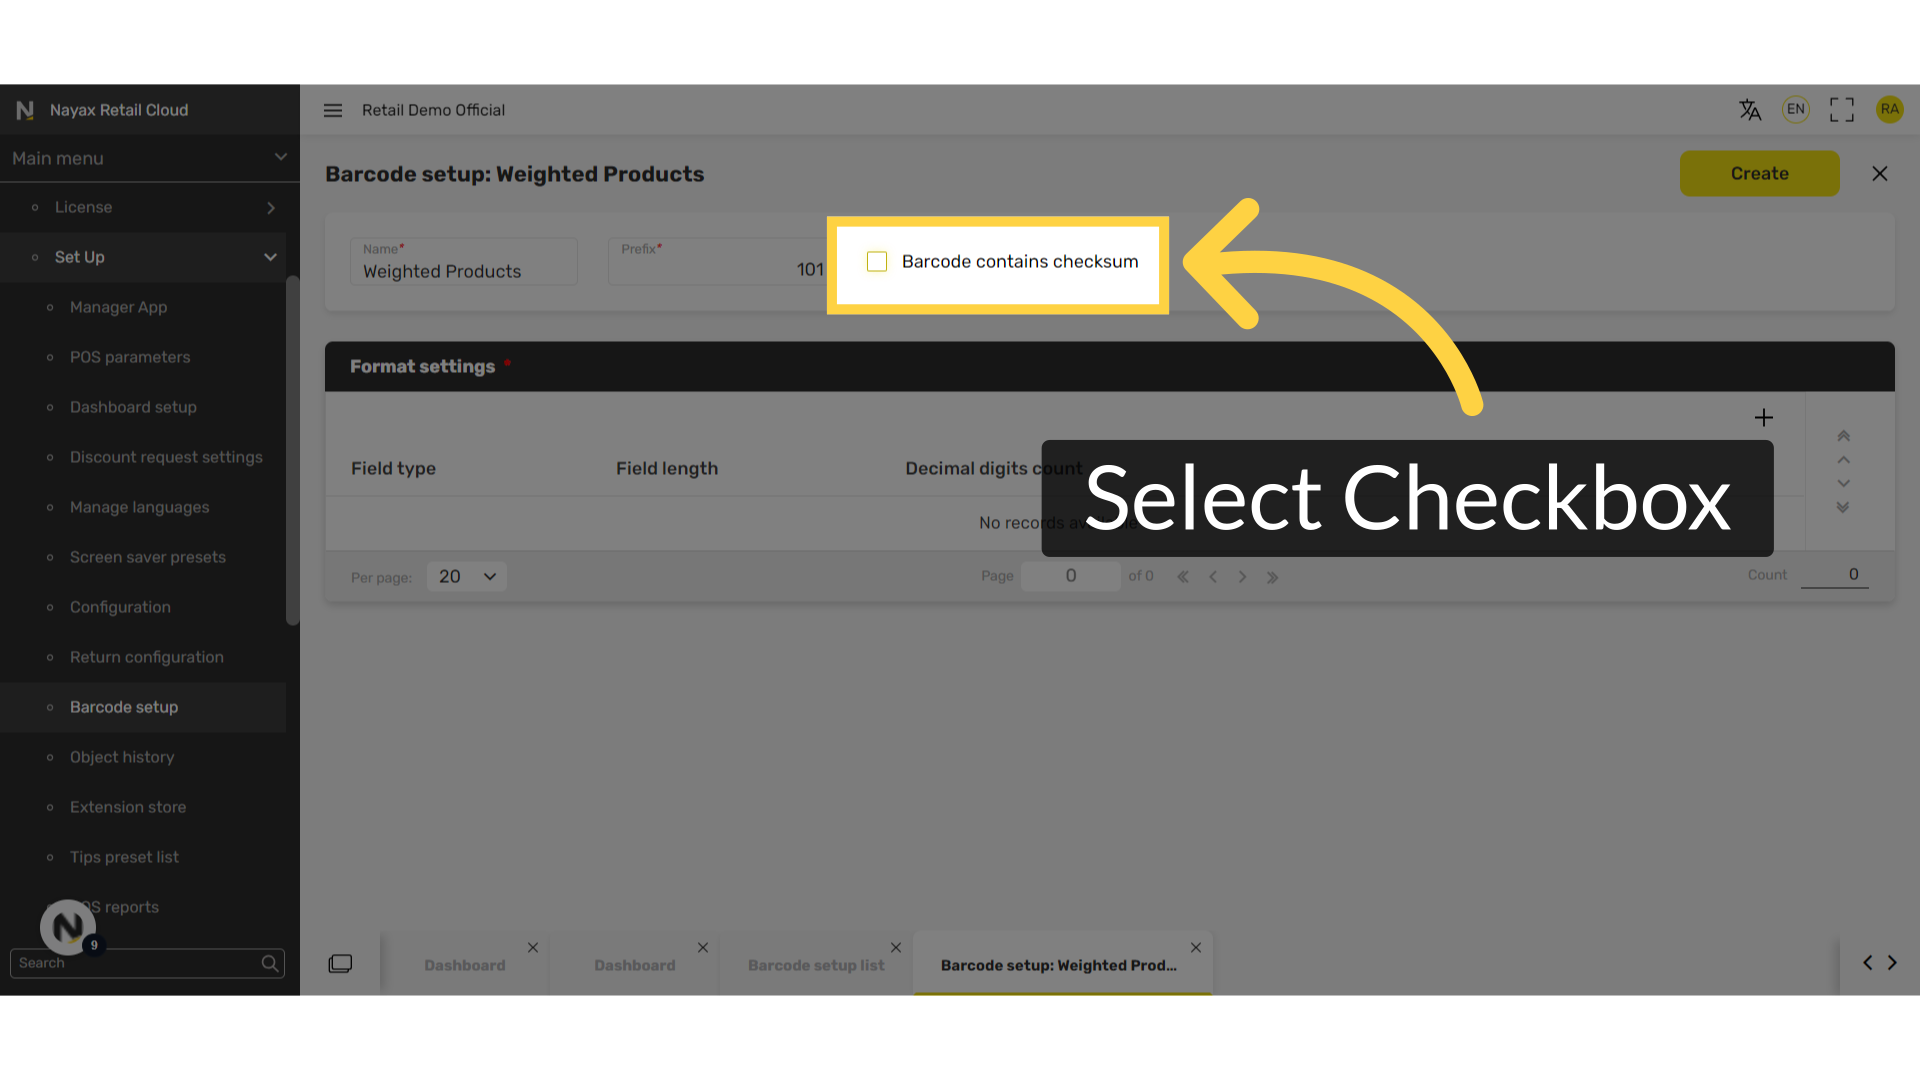
Select Checkbox
Image AttachedSelect the Barcode contains checksum checkbox if there is a need to add an additional number at the end of the barcode.
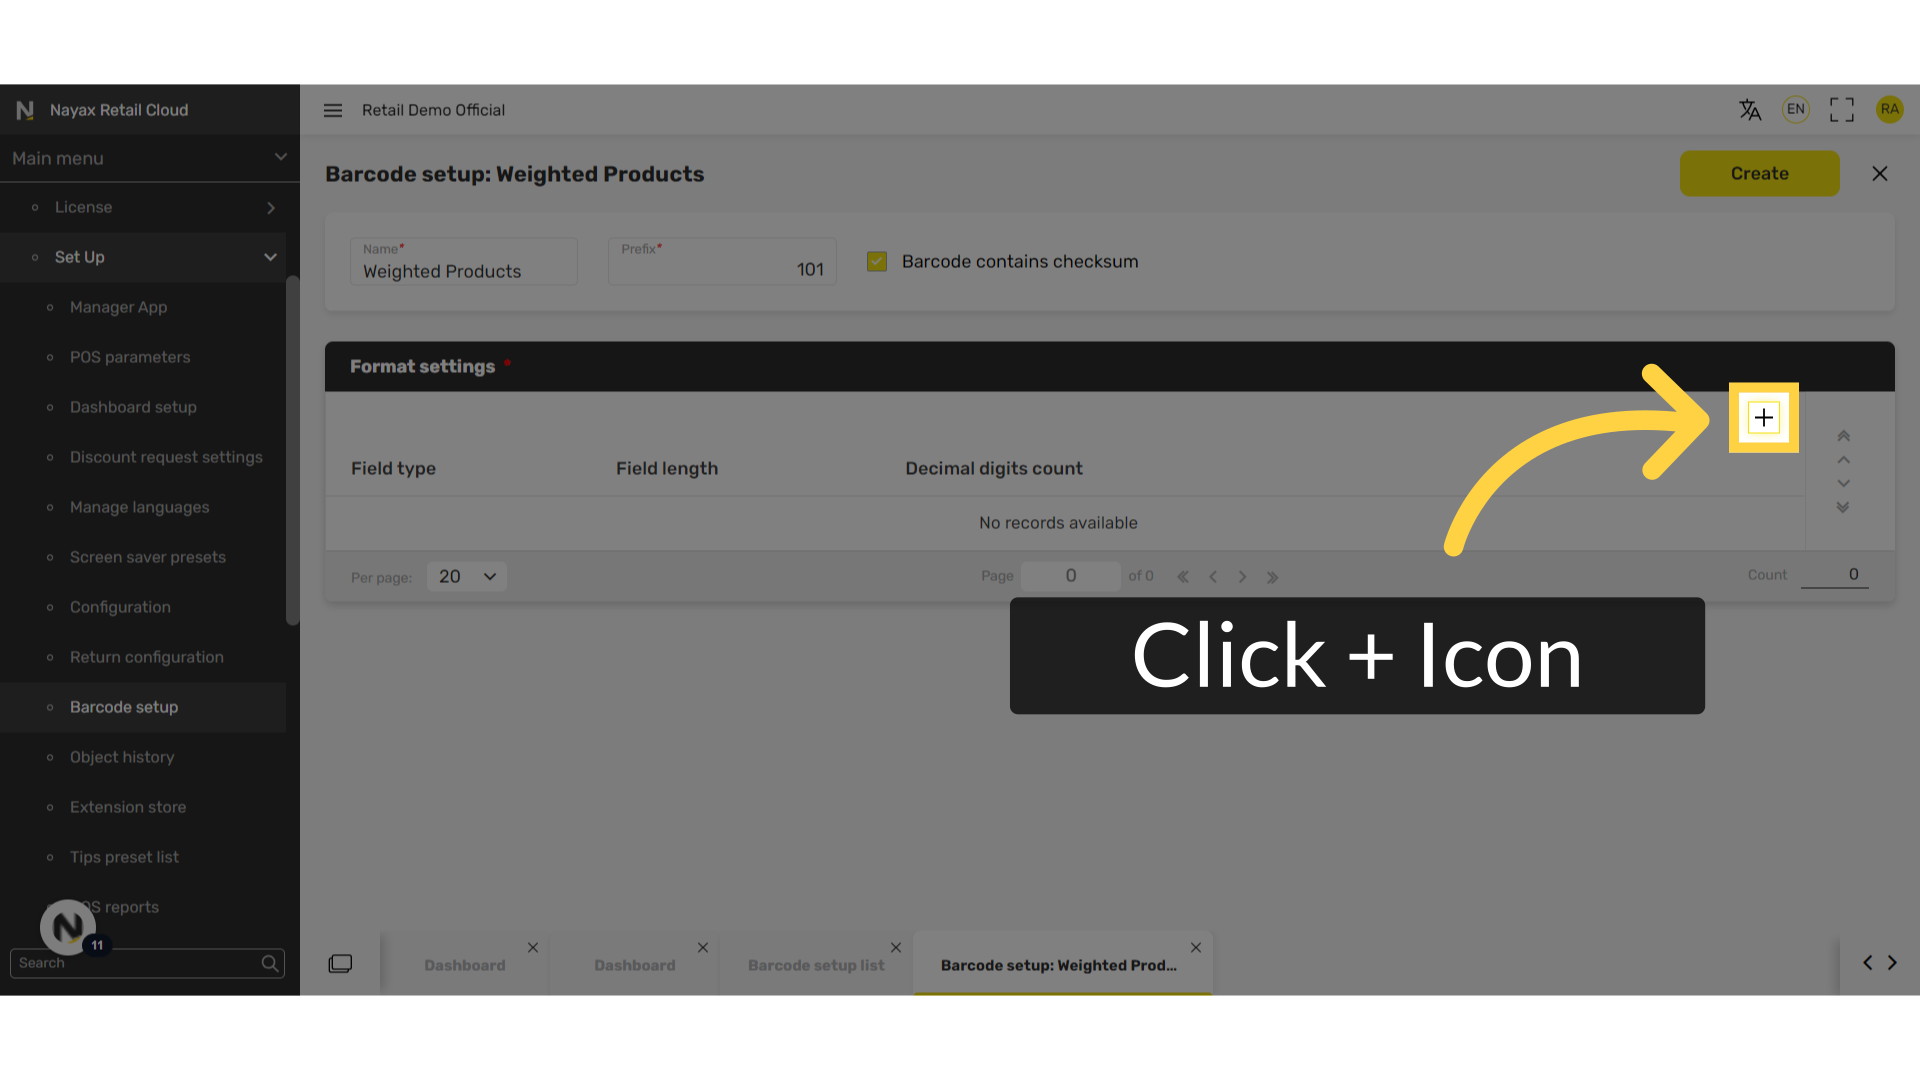
Click + Icon
Image AttachedUnder the Format settings tab, click the plus icon.
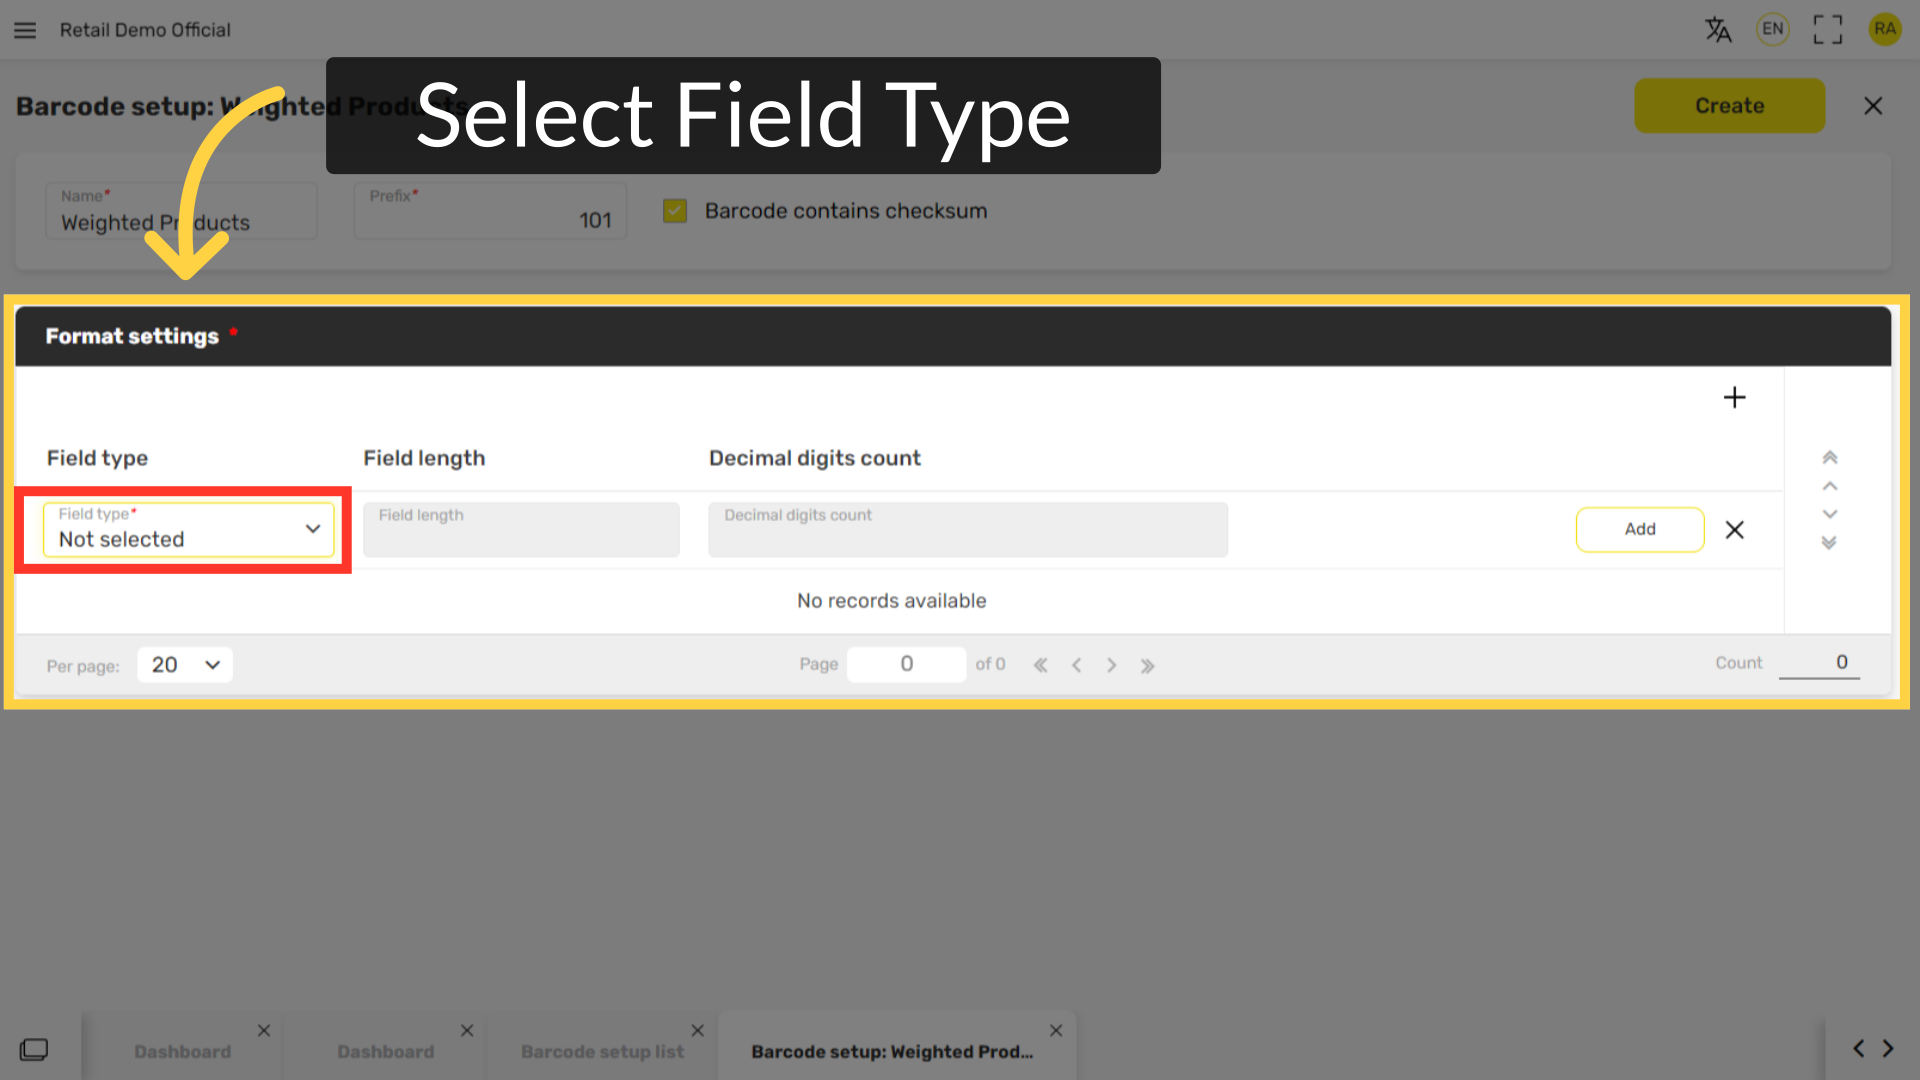
Select Field Type
Image AttachedSelect Item code.
This set of numbers will associate the item to the barcode and will show as the first set of numbers under the barcode.
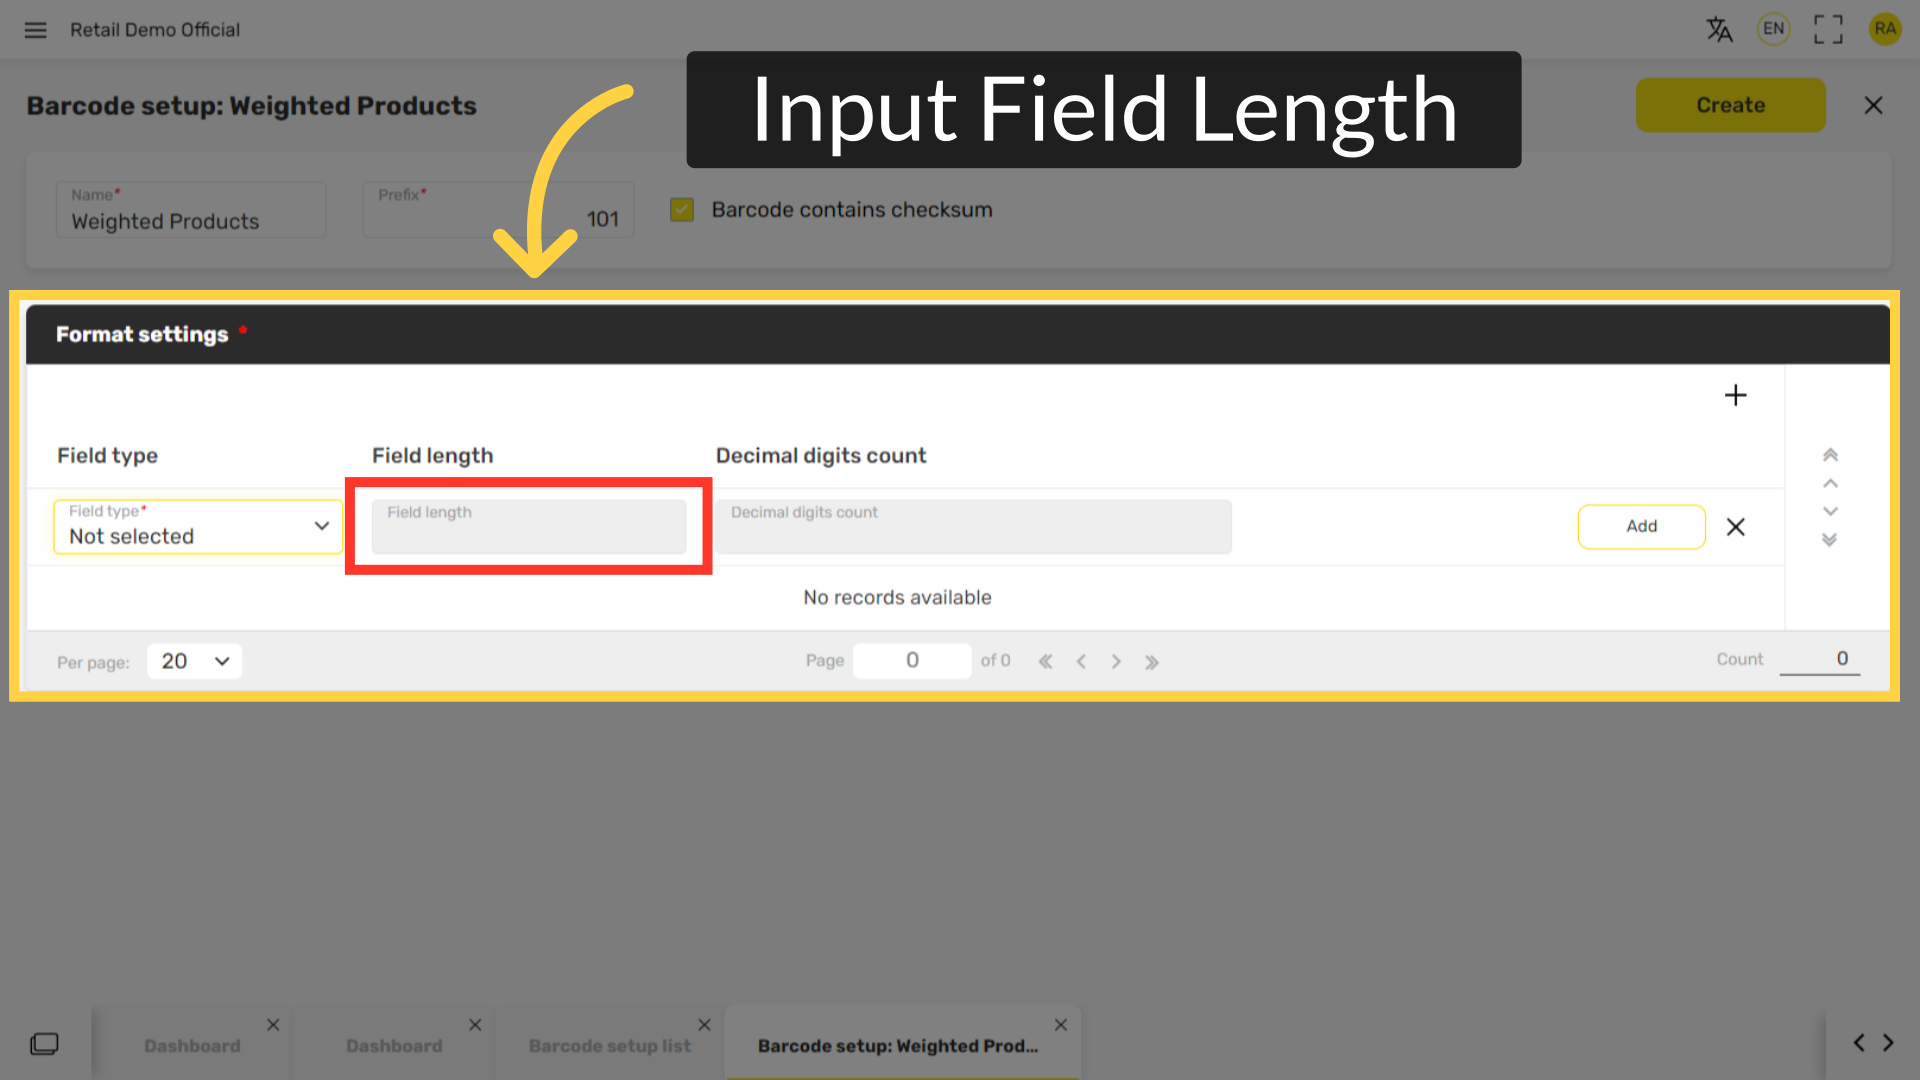
Input Field Length
Image AttachedInput the number of digits to appear on the barcode. Make sure the item code is shorter or the same as the amount of digits selected.
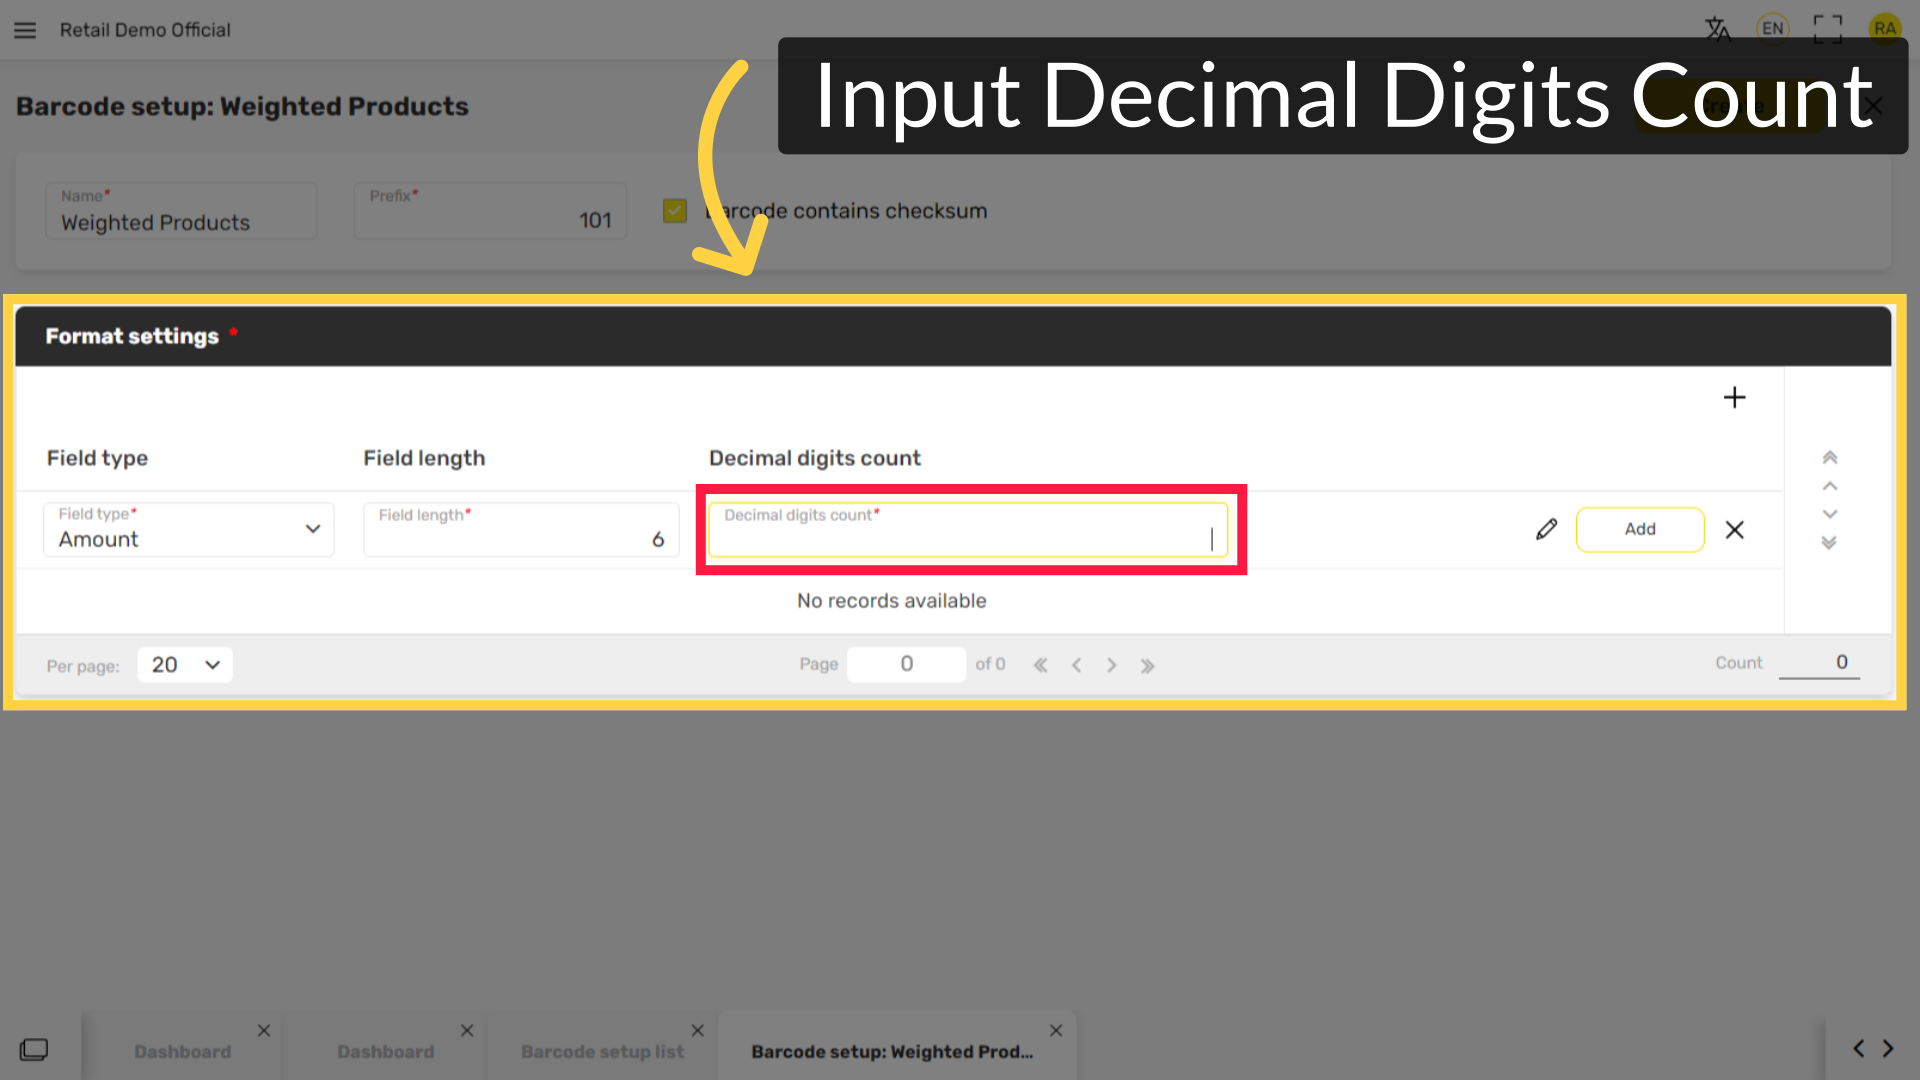
Input Decimal Digits Count
Image AttachedAccording to the field length selected, input a number where the decimal should be placed in the number shown.
Eg. If the field length is 6 and the decimal digit count is 1, the count will look like this: 00001.0 (one unit)
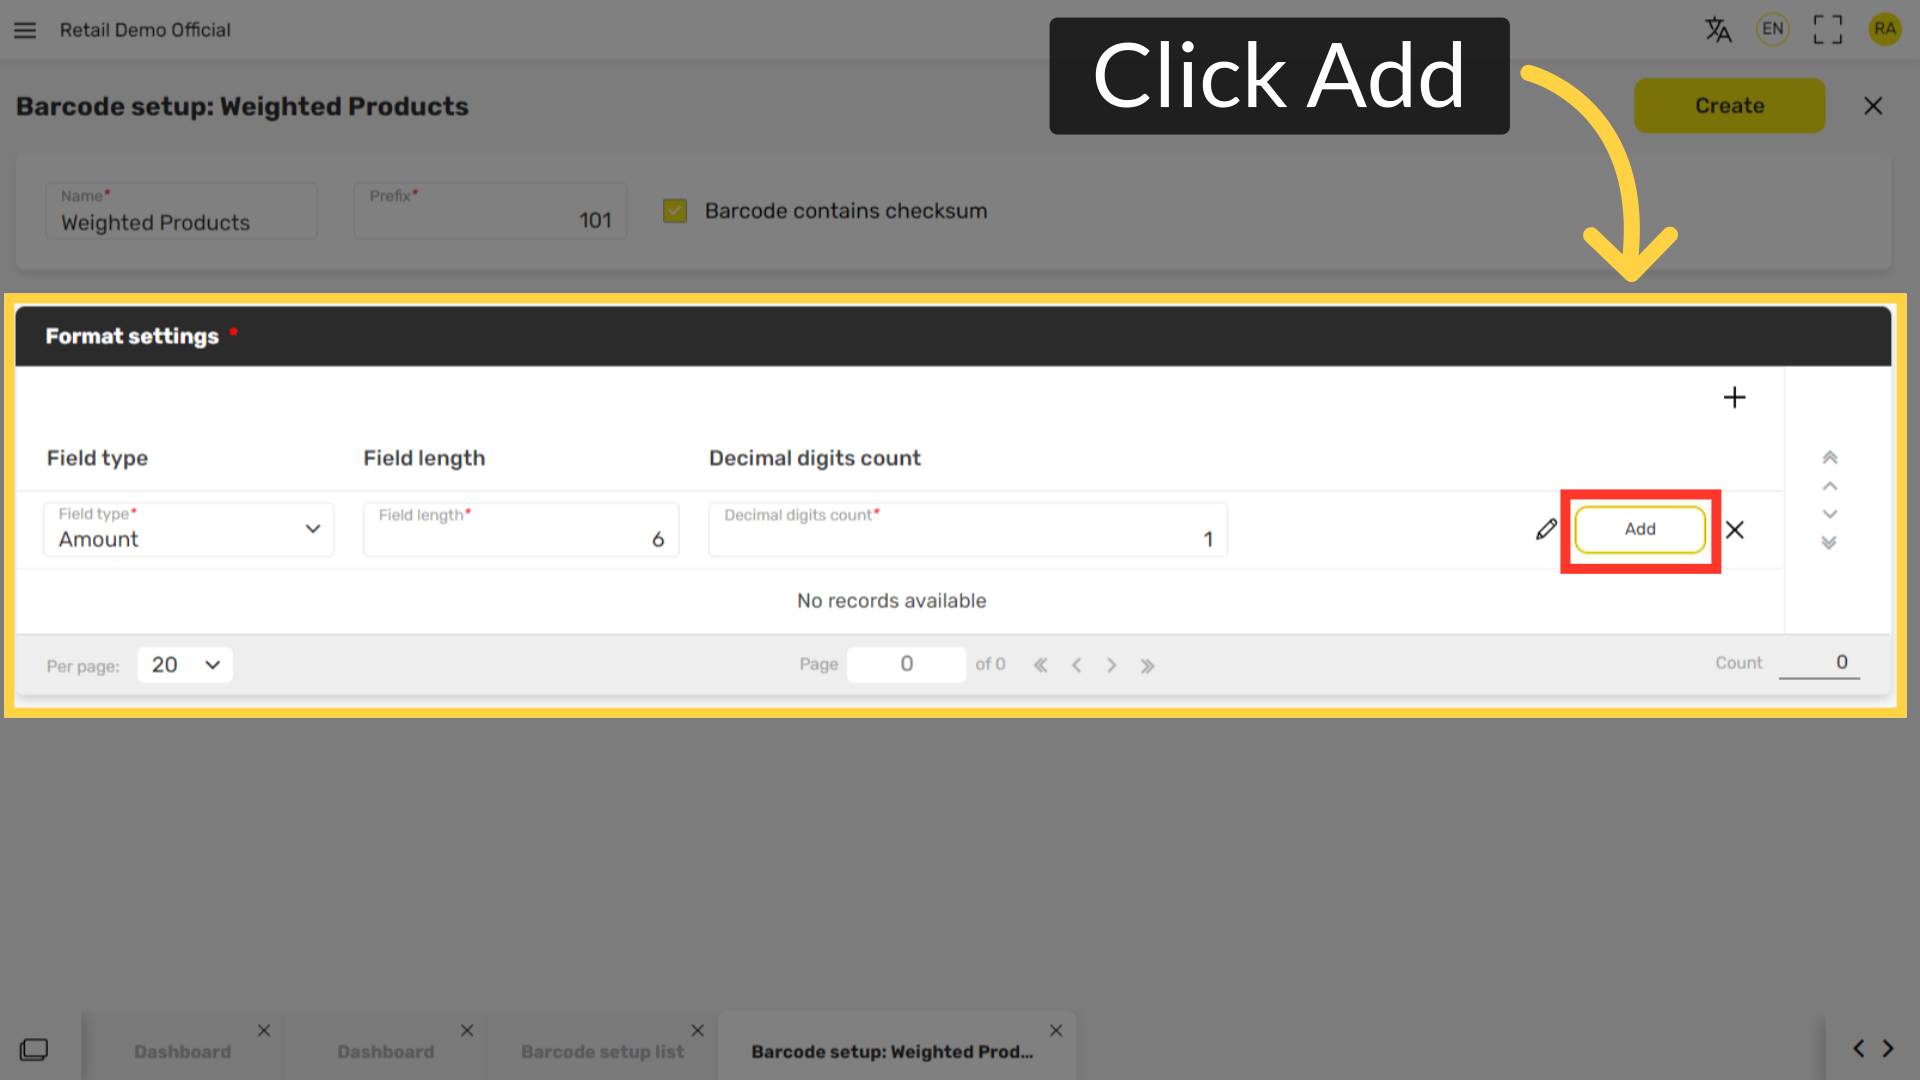
Click Add
Image AttachedClick Add.
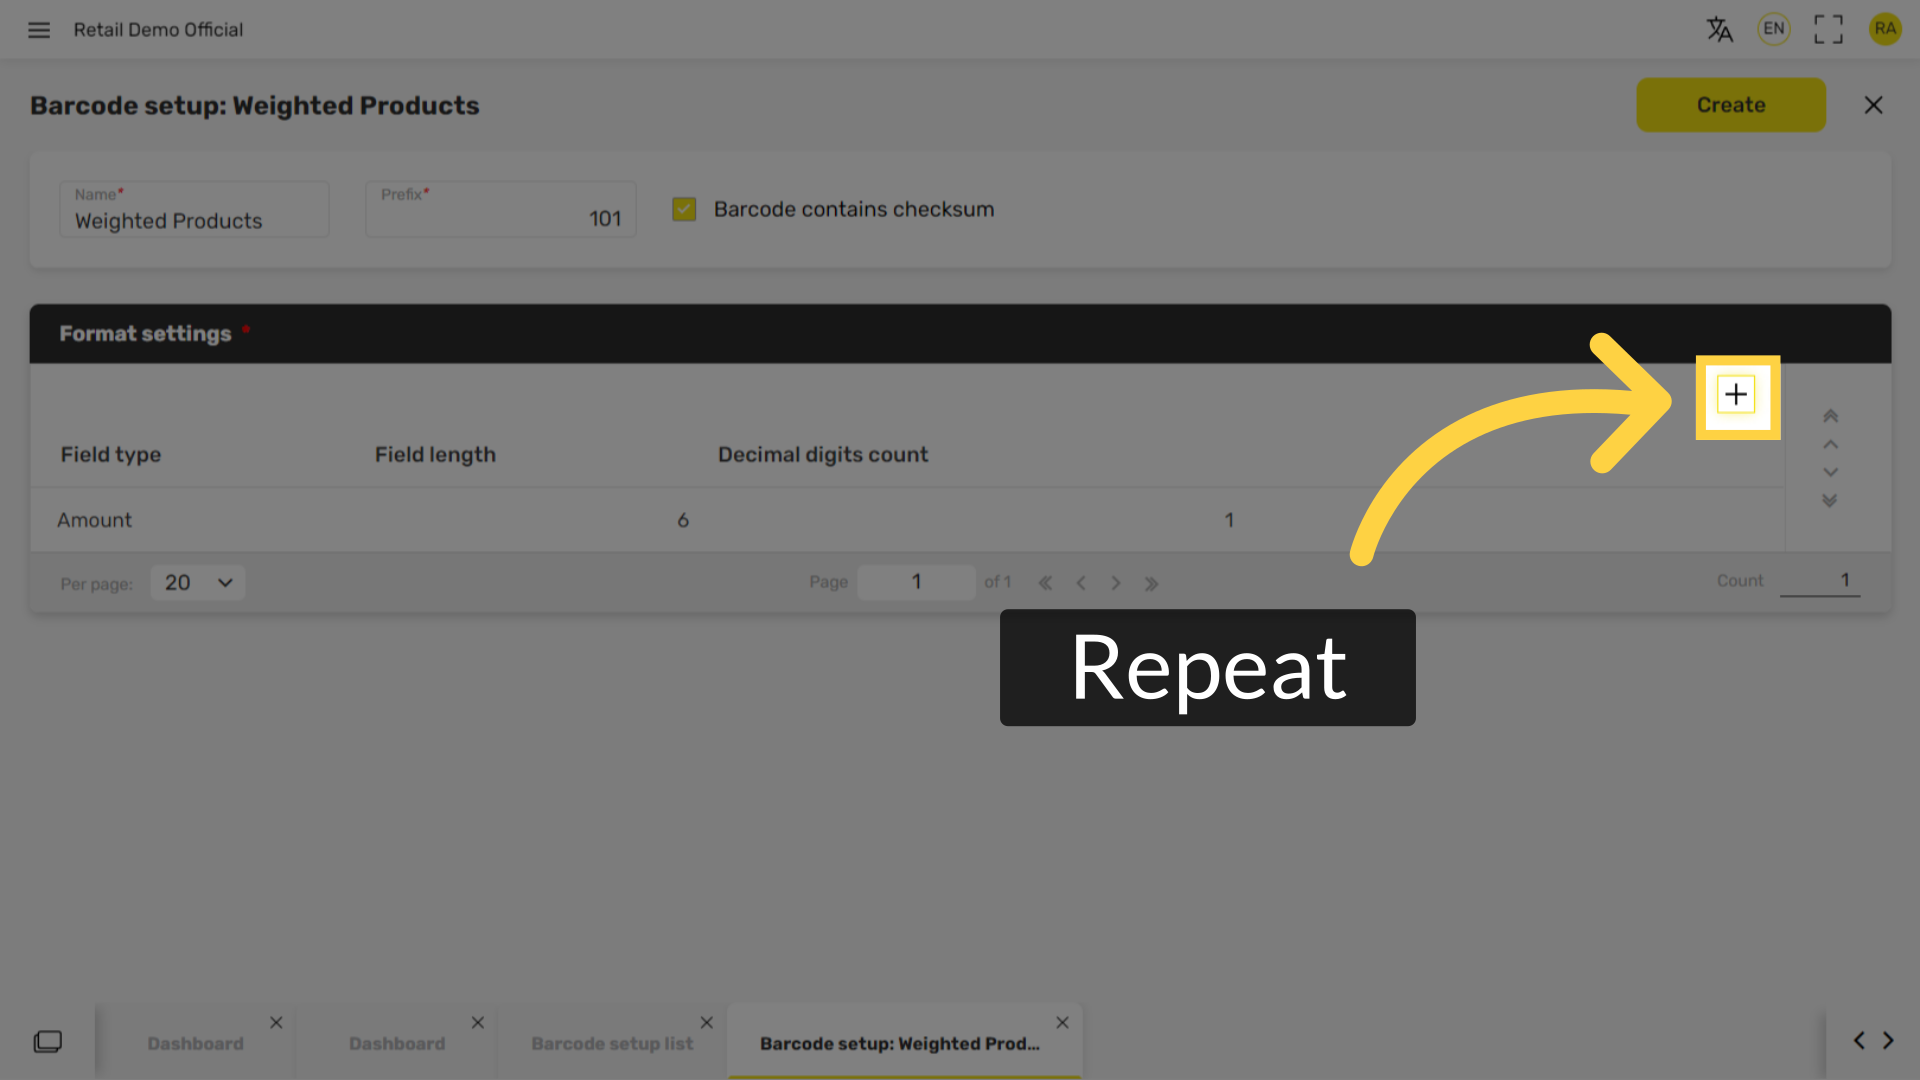
Repeat
Image AttachedRepeat this process at least more time with a different field type in order to supply sufficient information for the barcode.
Click Create
Image Attached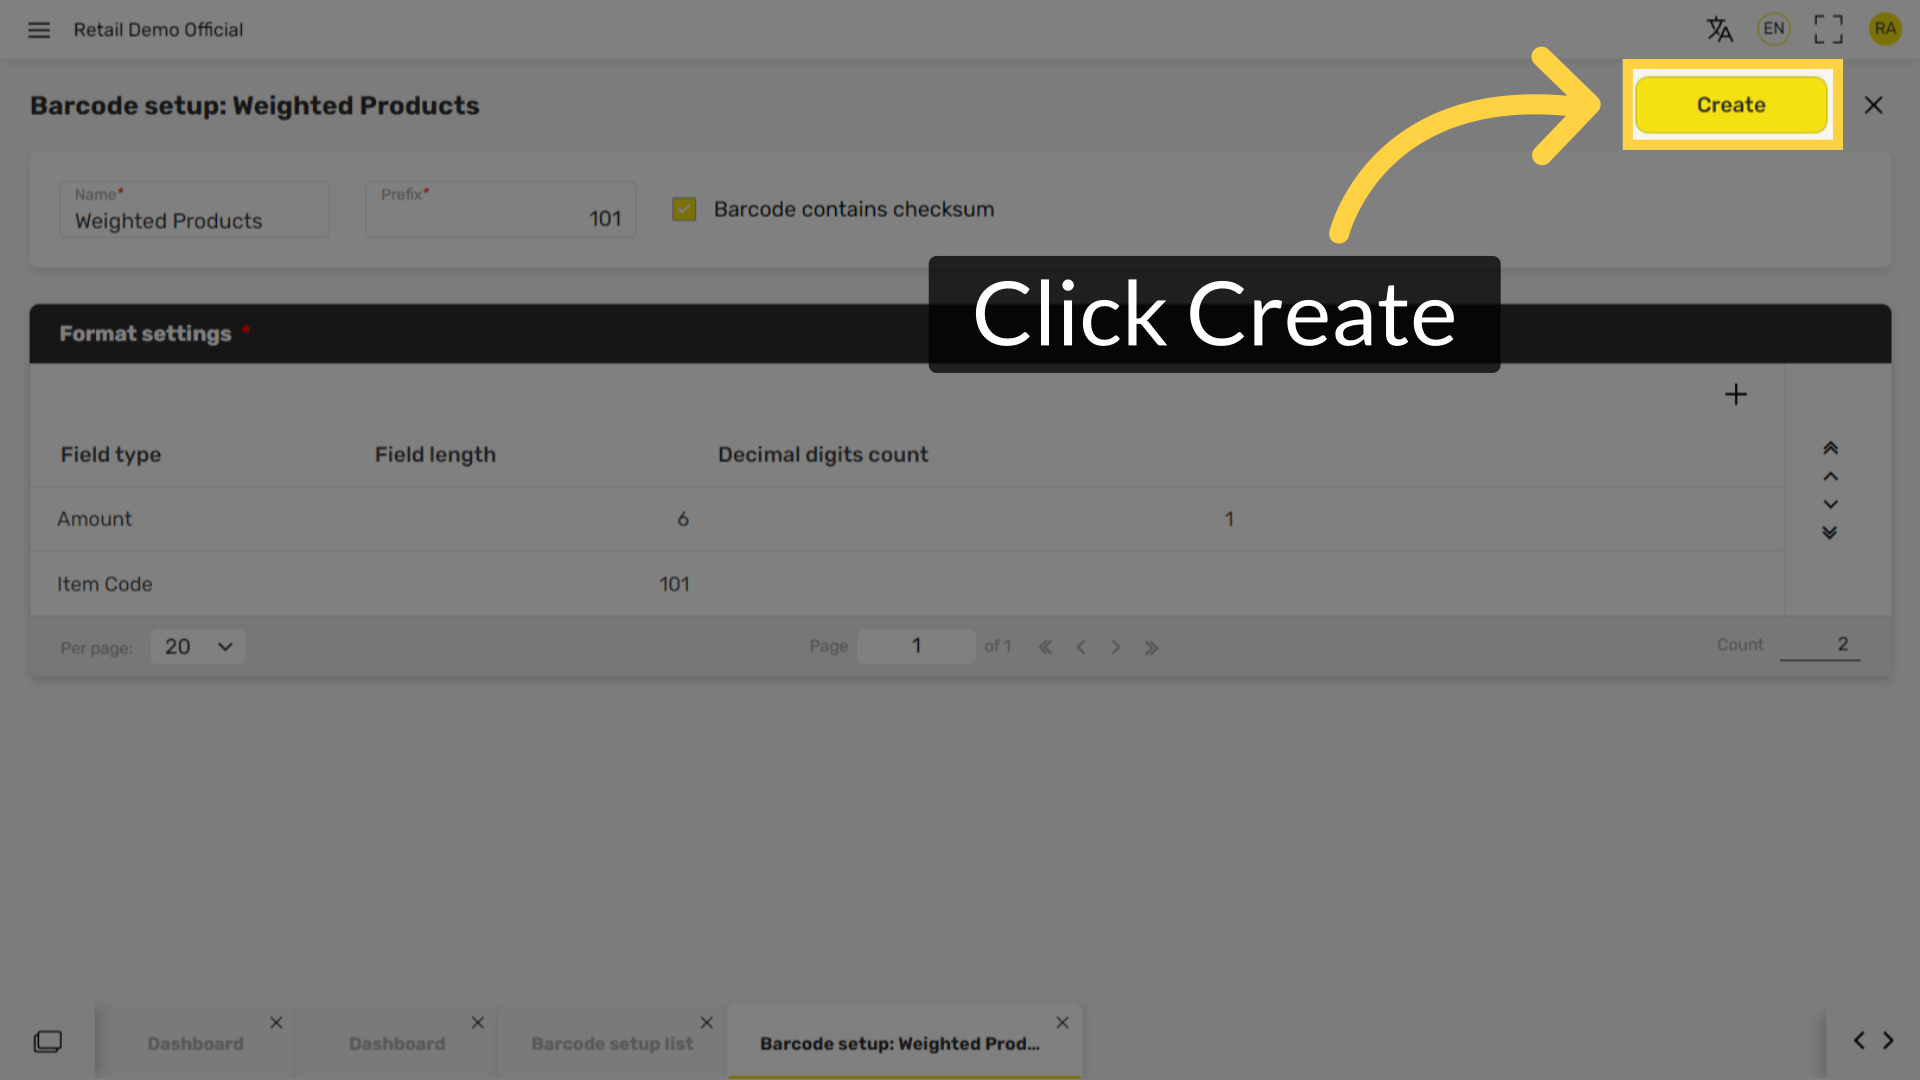
Click Save
Image Attached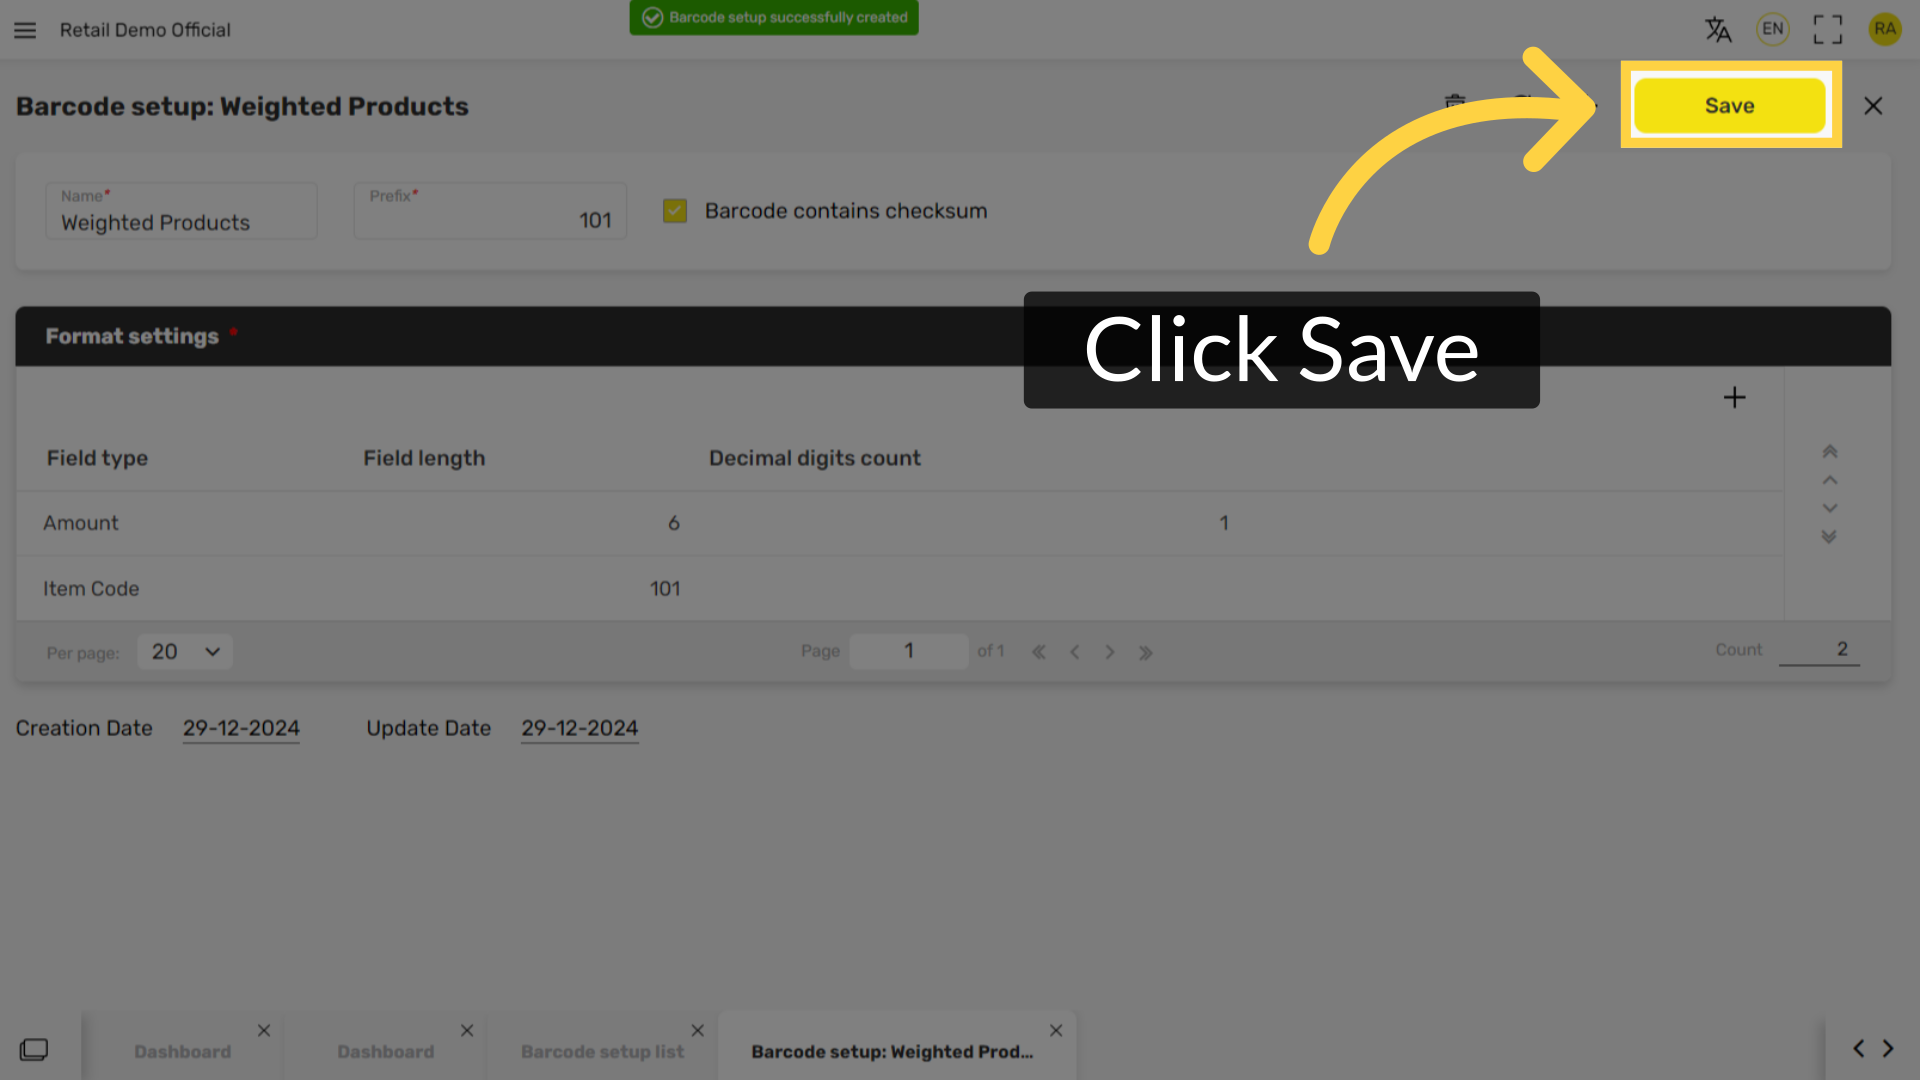
Thank you!
Did you find this article helpful?