How to Create Punch Cards | Promotion
1
Video Guide
2
Click Promotion Tab
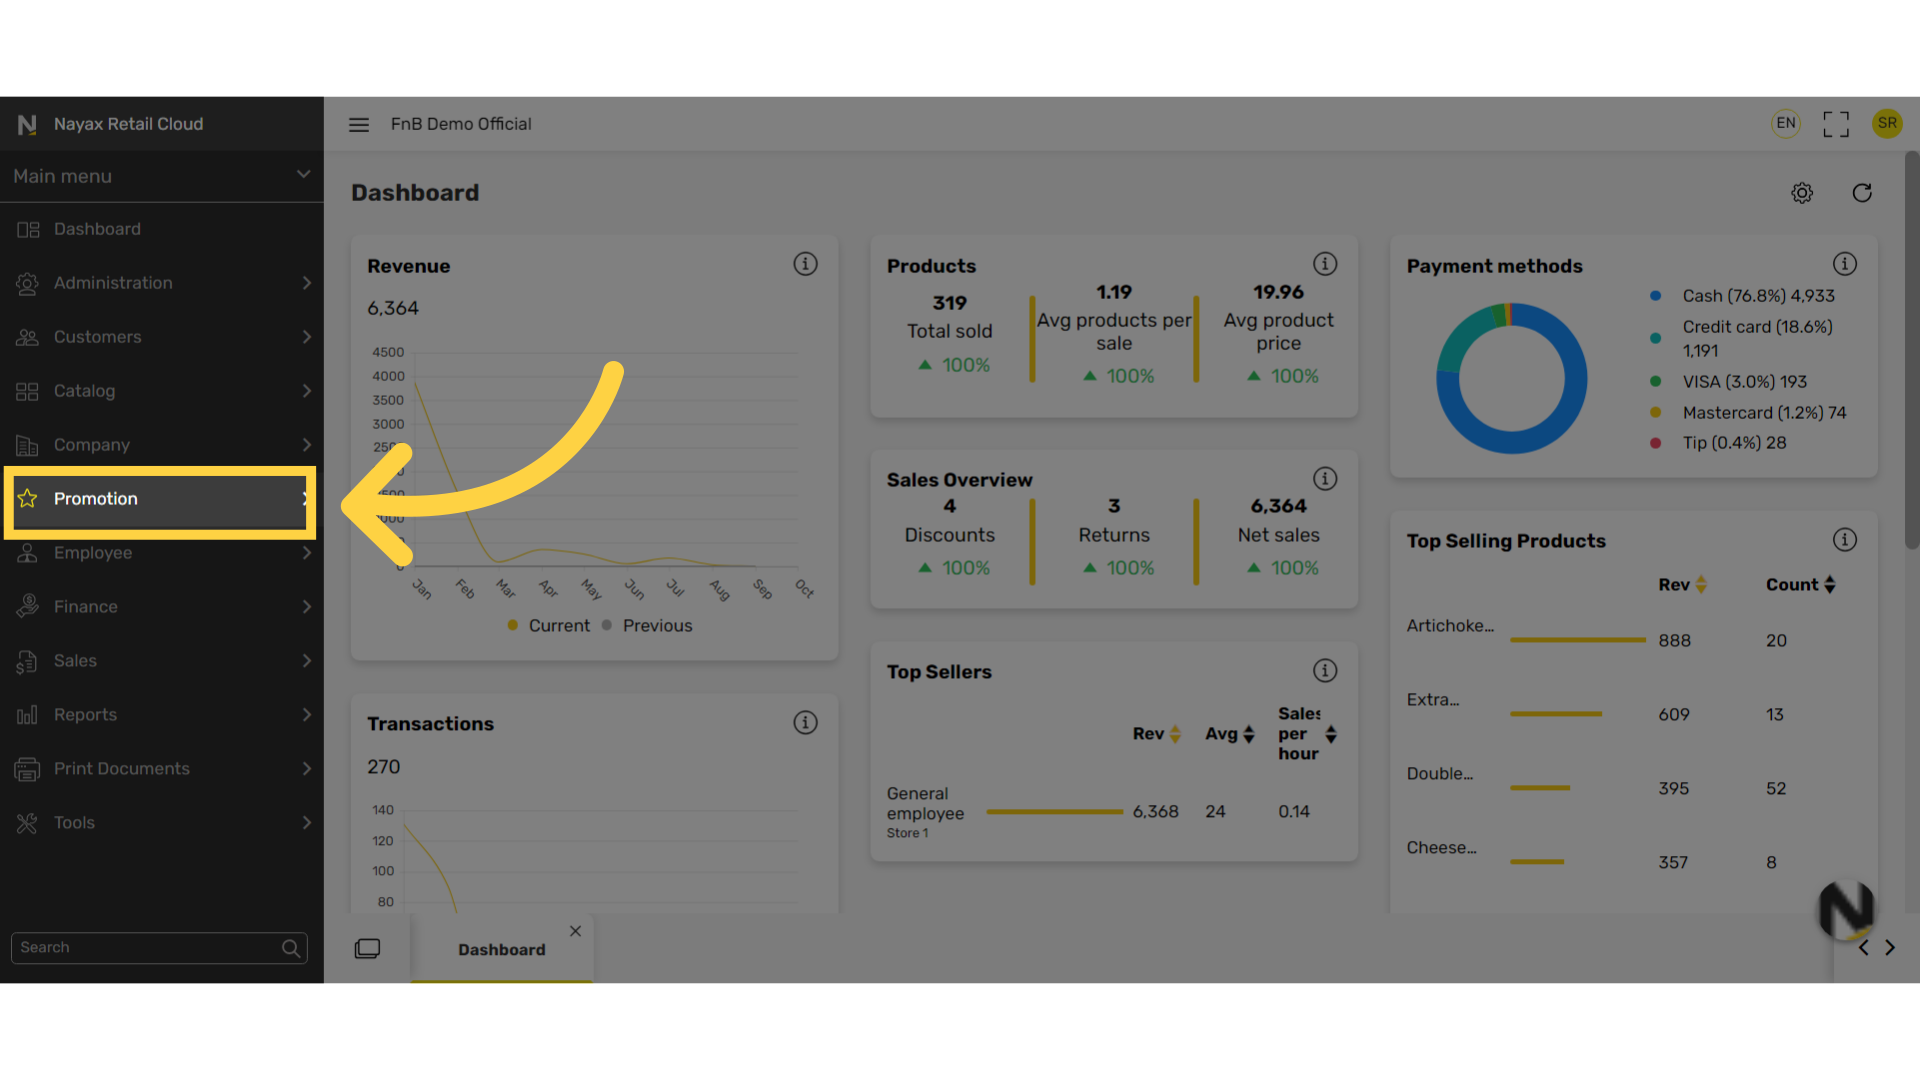
Image AttachedFrom the dashboard of your Retail Core account click on the Promotion tab.
3
Click Punch Template Cards Tab
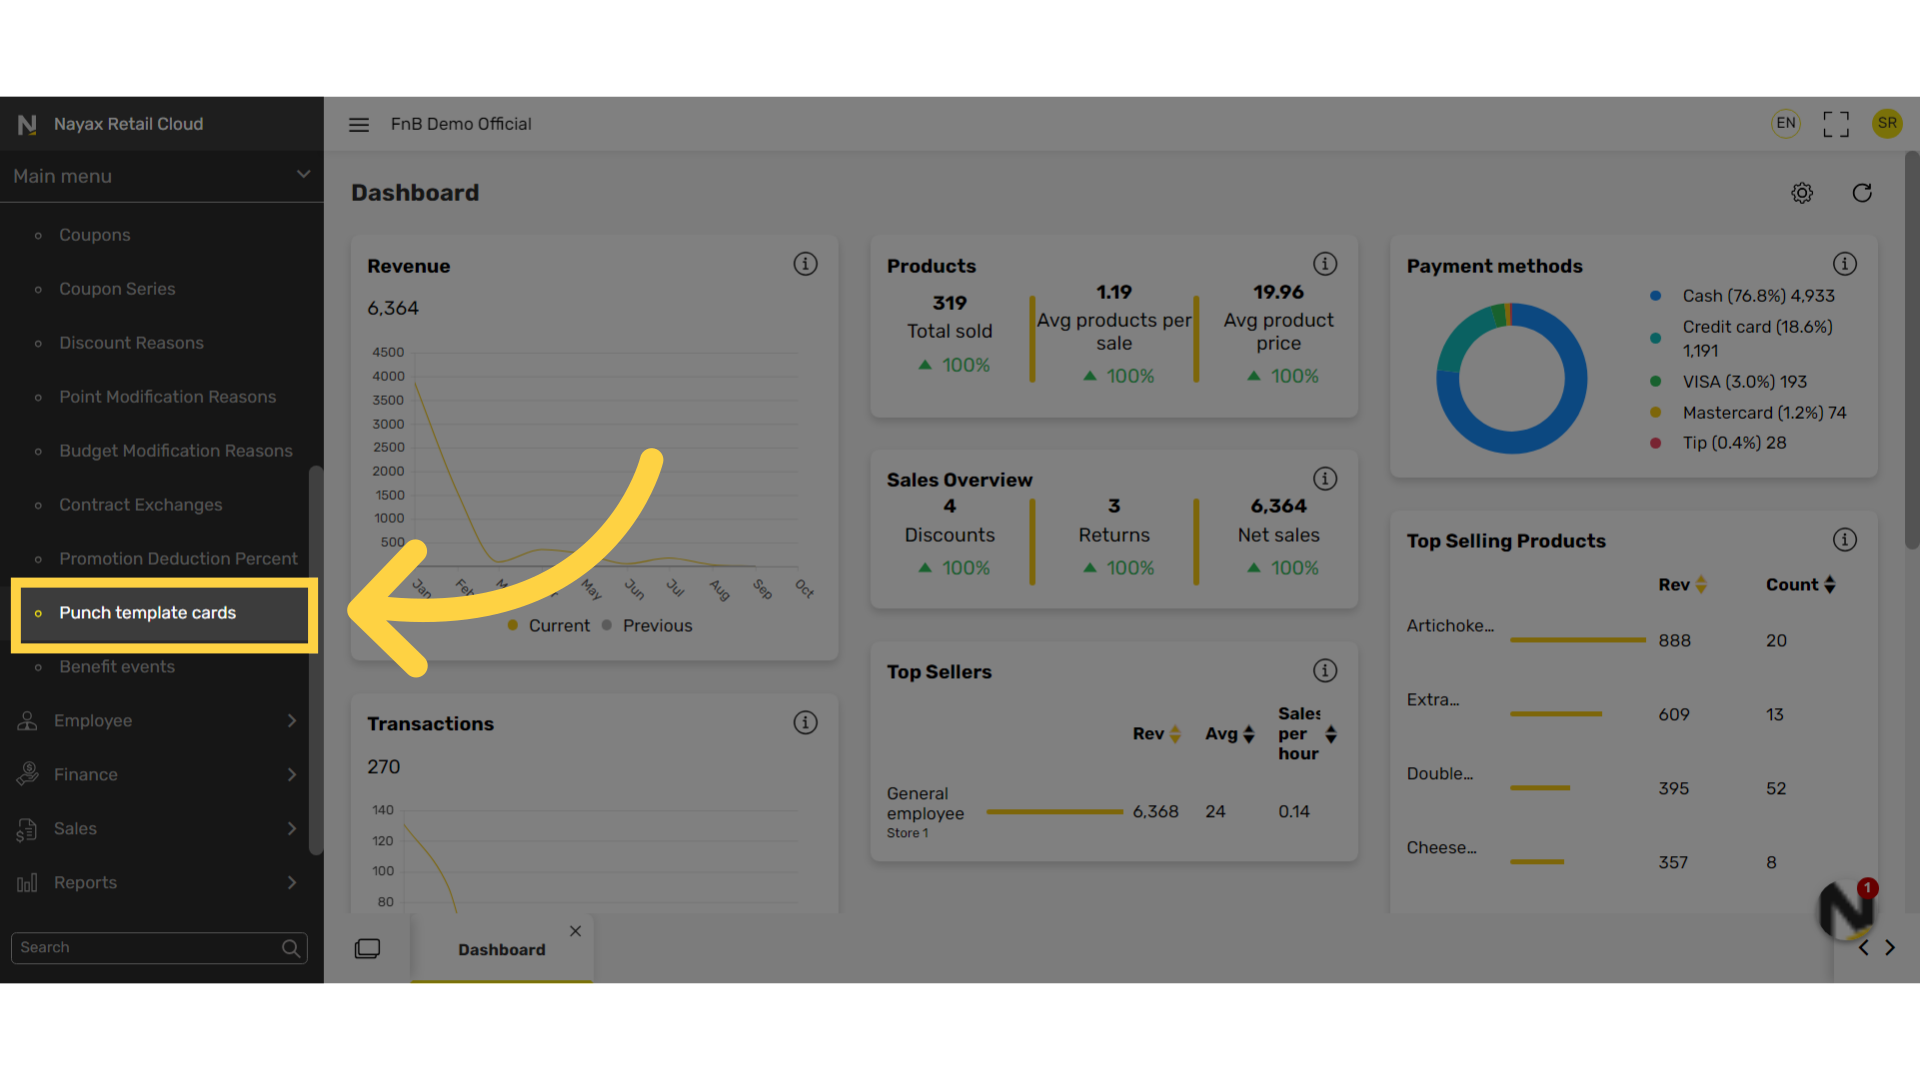
Image AttachedIn the sub-menu, click on Punch Template Cards tab.
4
Click + Icon
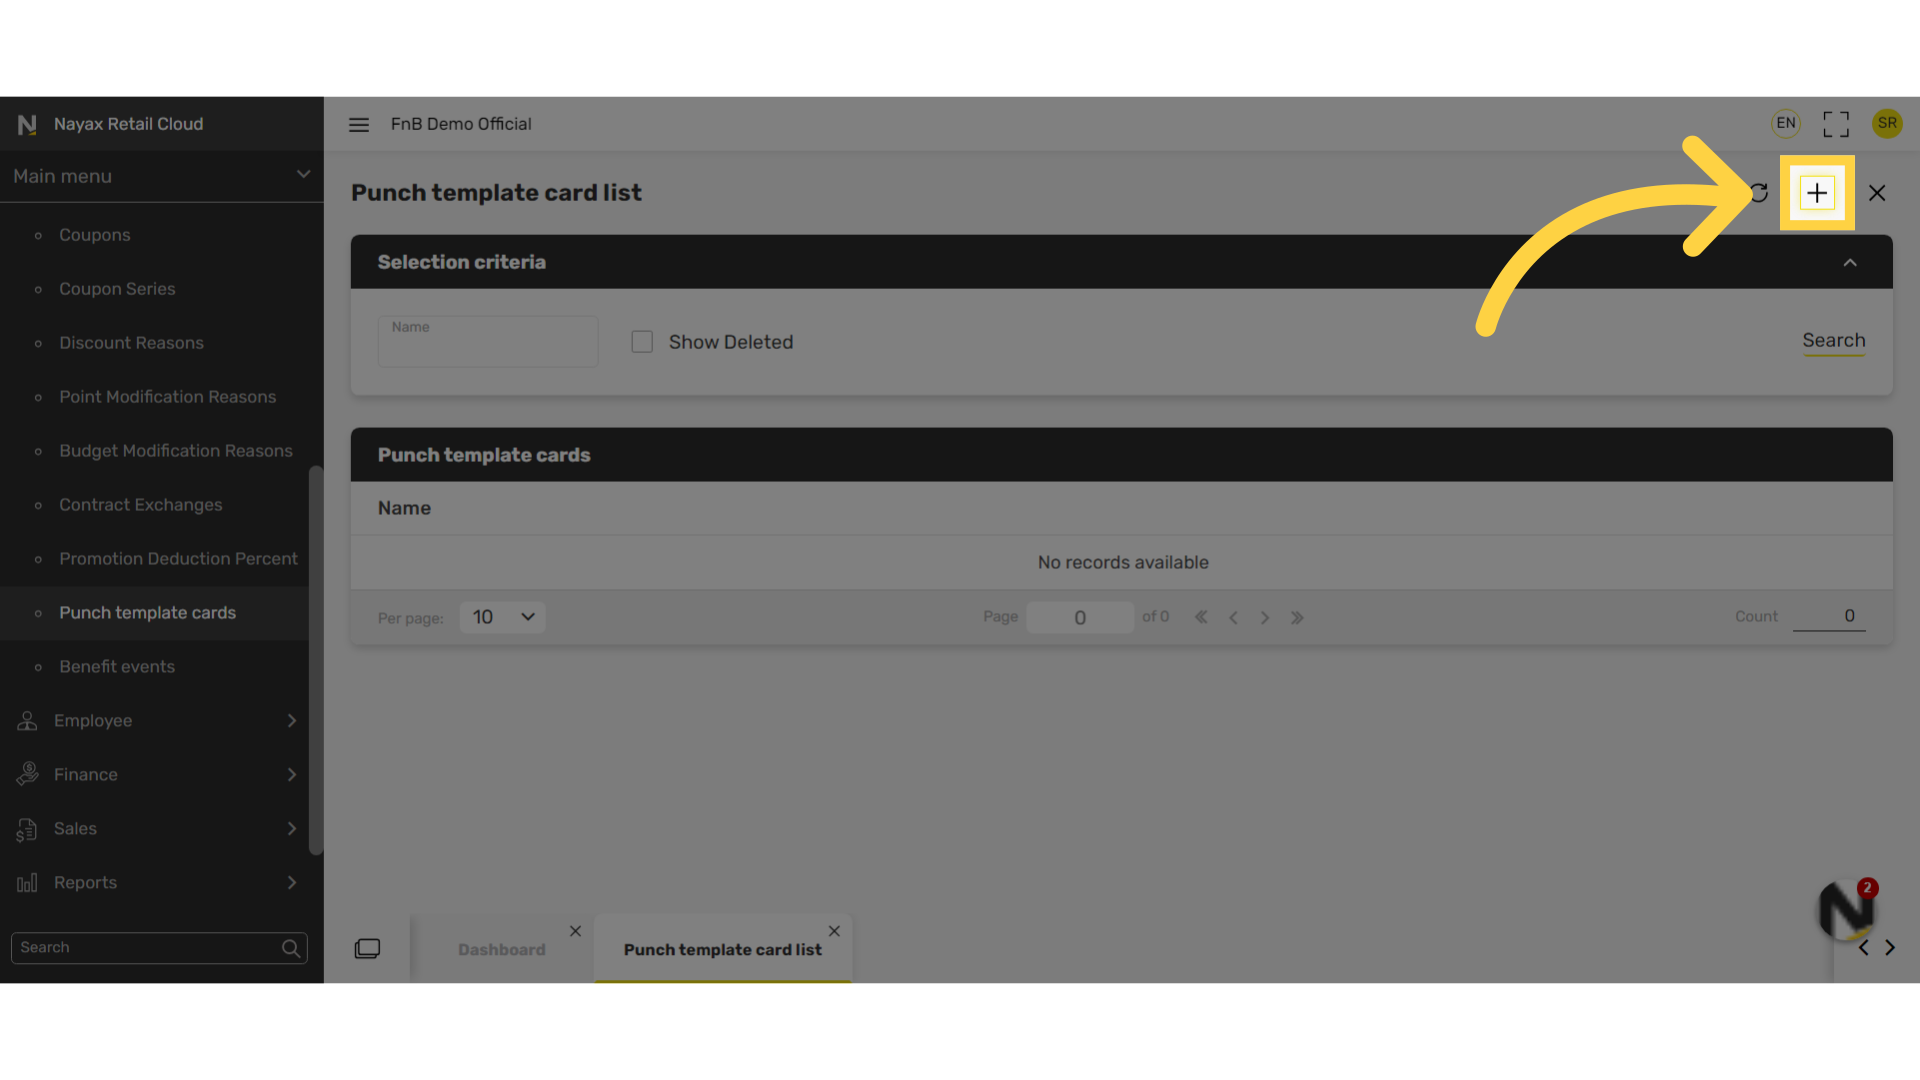
Image AttachedClick the plus icon at the top right of the screen.
5
Name Punch Card Template
Image AttachedType a name for this punch card template. For example Mid Week Deal.

6
Click + Icon
Image Attached
Scroll down to Under the Conditional sets tab, click on the plus icon to the right as highlighted in RED on the visual.

7
Union Type Options
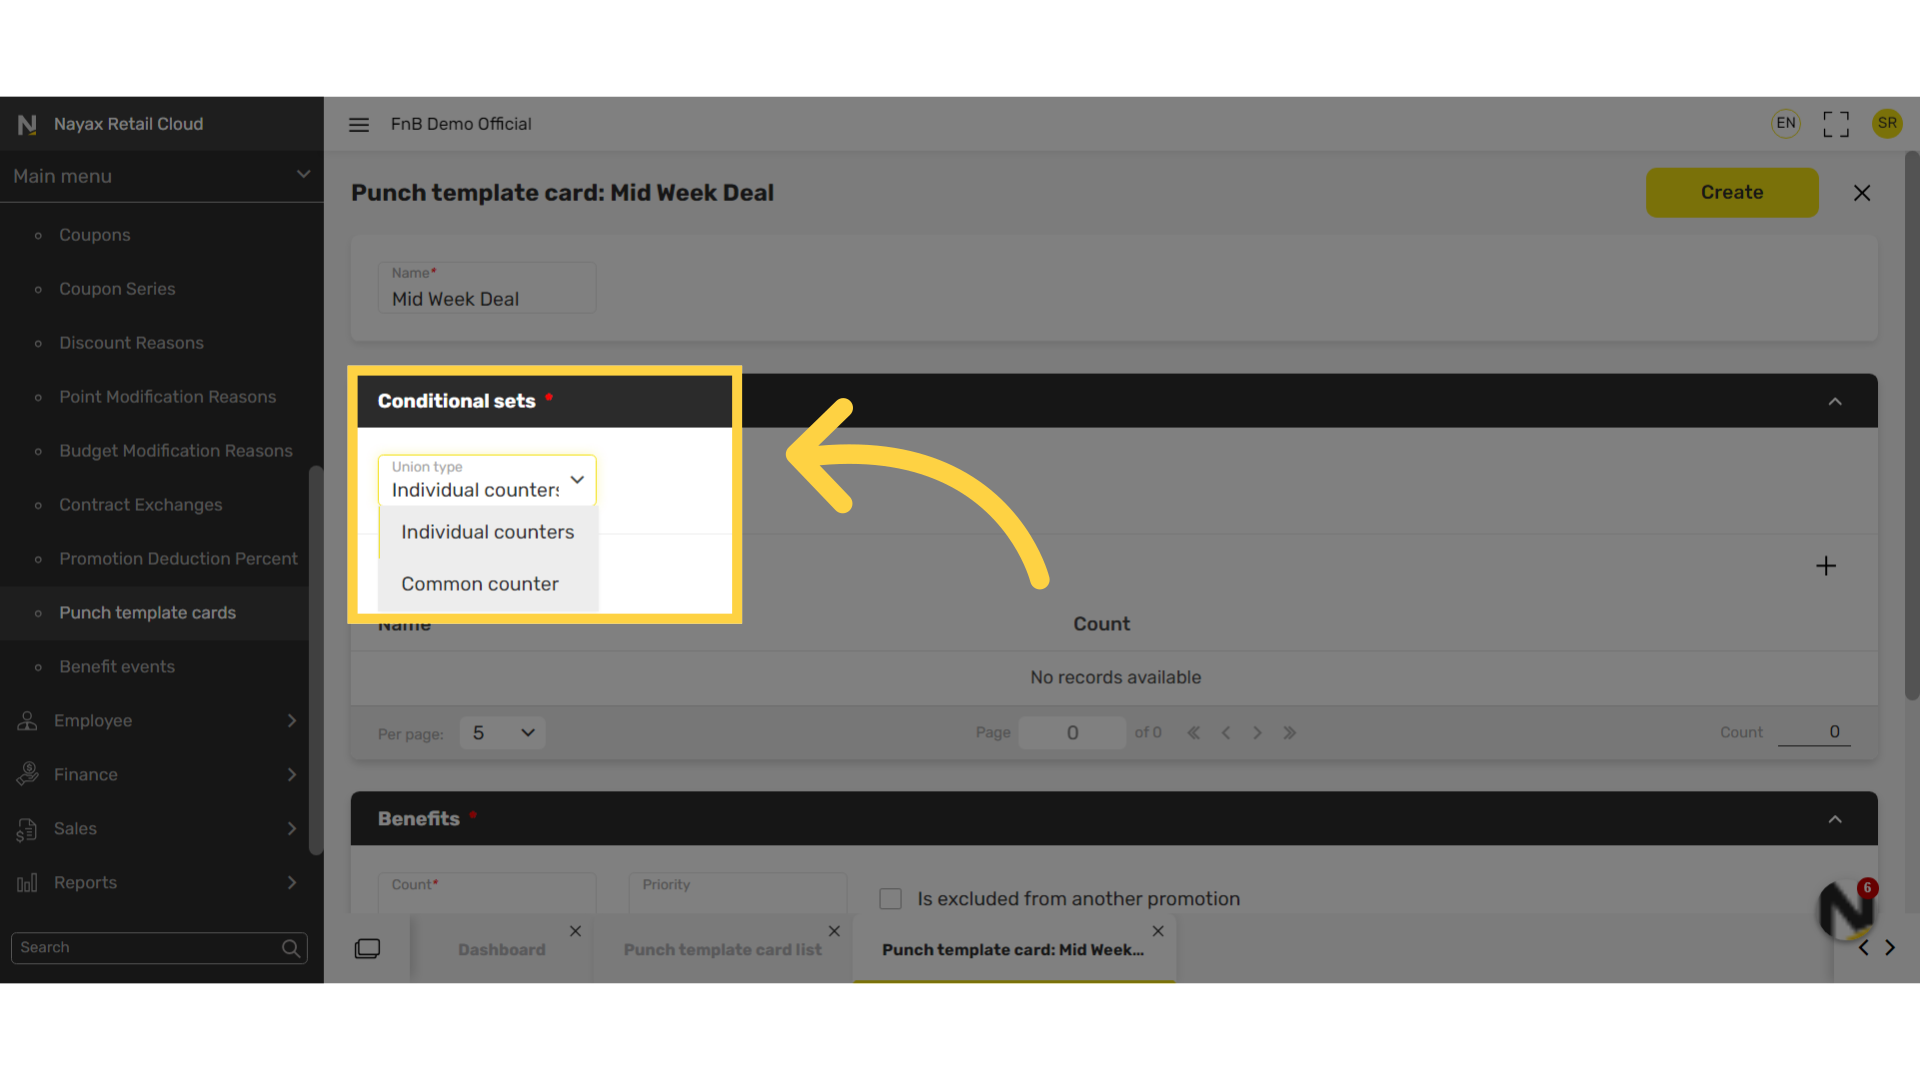
Image AttachedUnder the Conditional sets tab, select a Union type.
Click on the drop down menu and two options will appear: Individual counters and Common counters.
Individual counters: This should only be selected when there is only one set in a punch card deal.
Common counters: When there are different sets that can apply a punch, this requires a common counter.
What are these sets?
For example, for every purchase of a coffee and croissant the customer receives a punch. If this deal applies to different types of coffees and croissants, they all need to be added as sets in order for the deal to apply.
Therefore the recommended option is always Common counters.
8
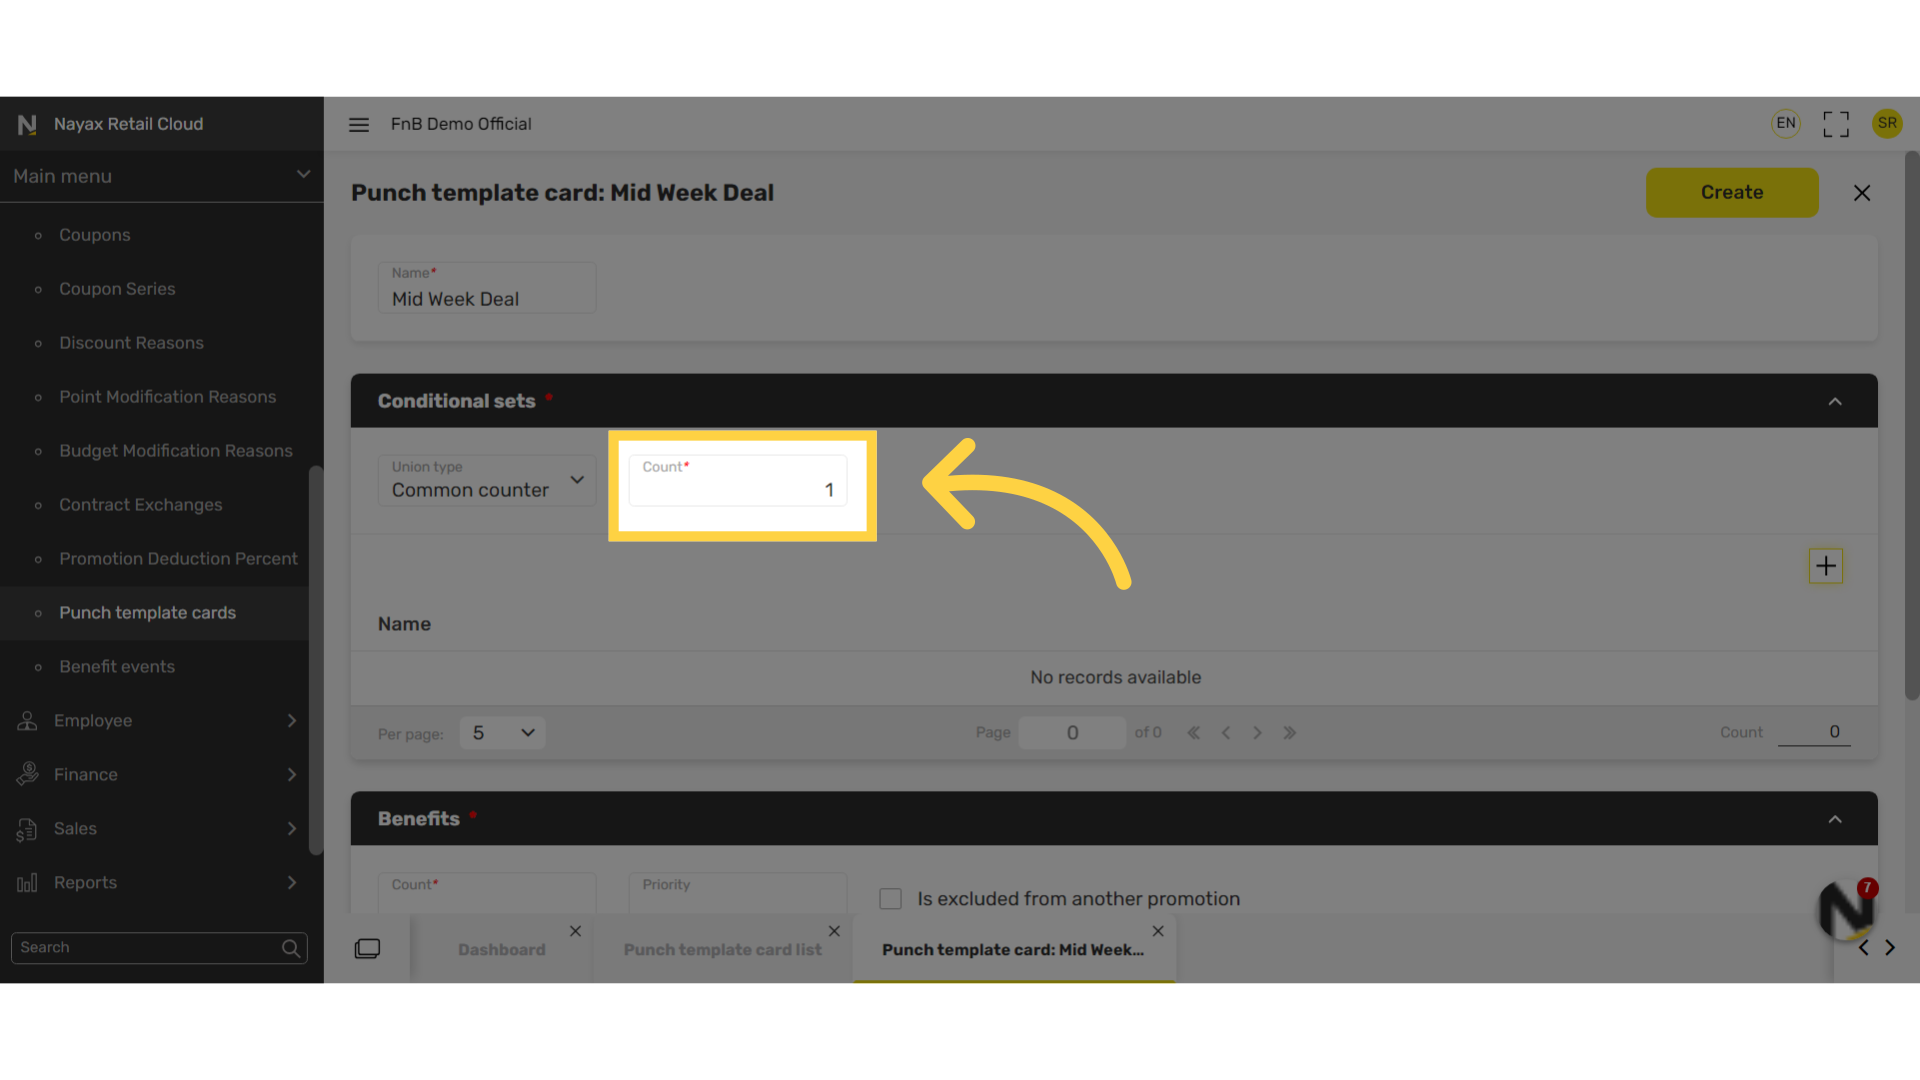
Type Count Number
Image AttachedThe count is the number of purchases the customer needs to make before receiving the benefit from the deal.
9
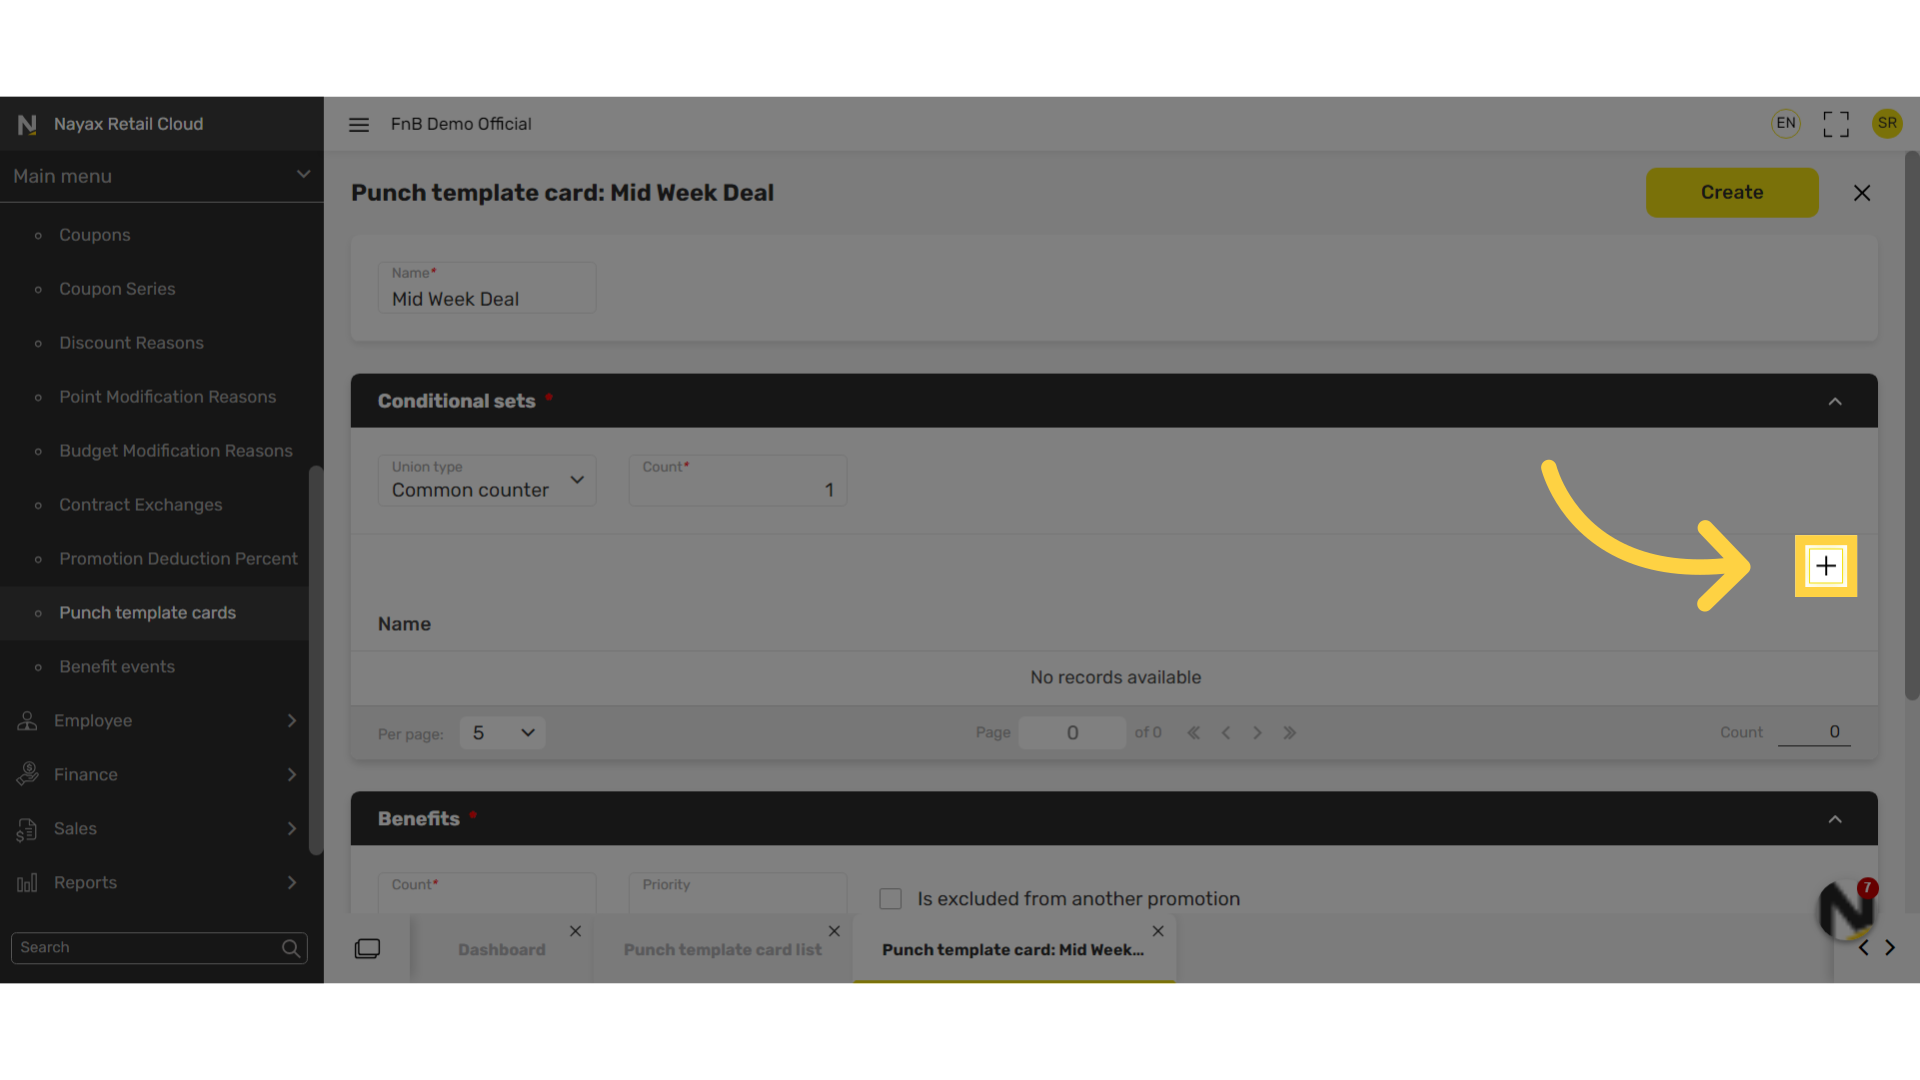
Click + Icon
Image AttachedClick the plus icon to the right.
10
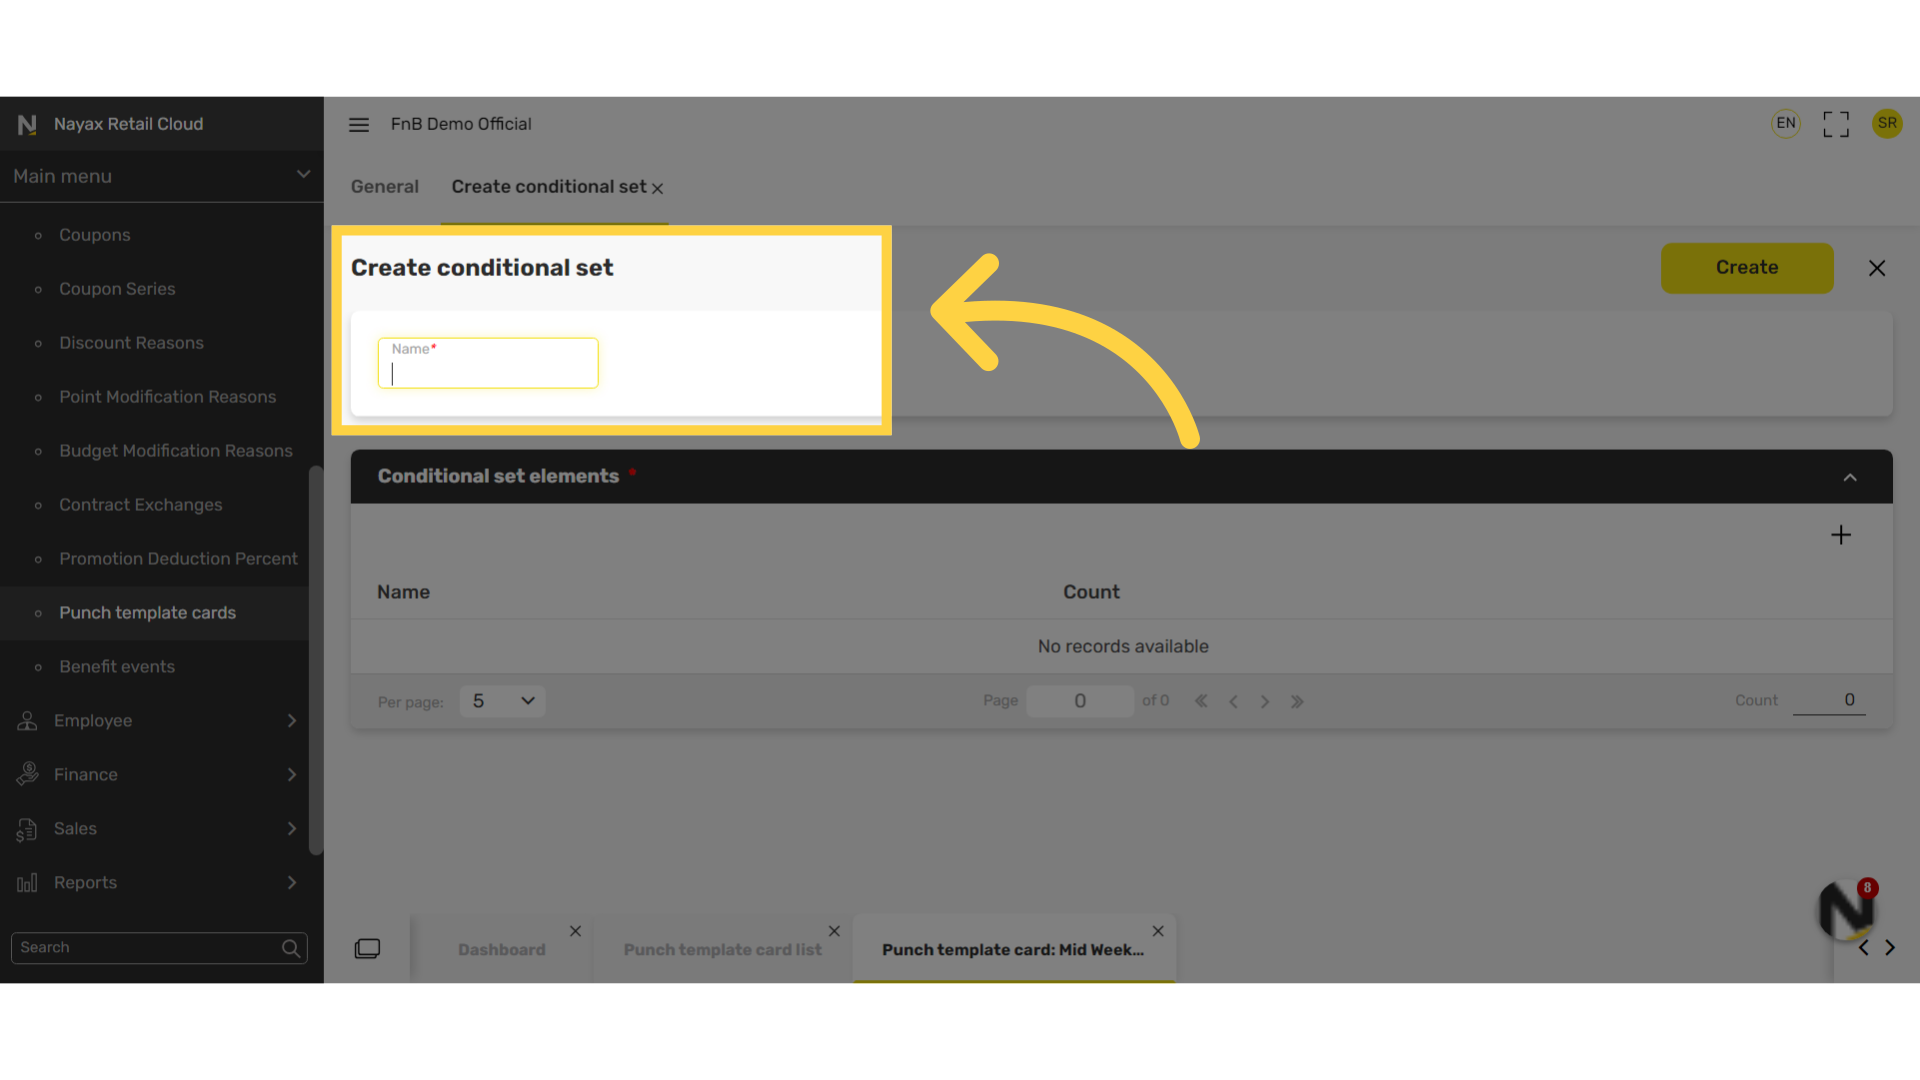
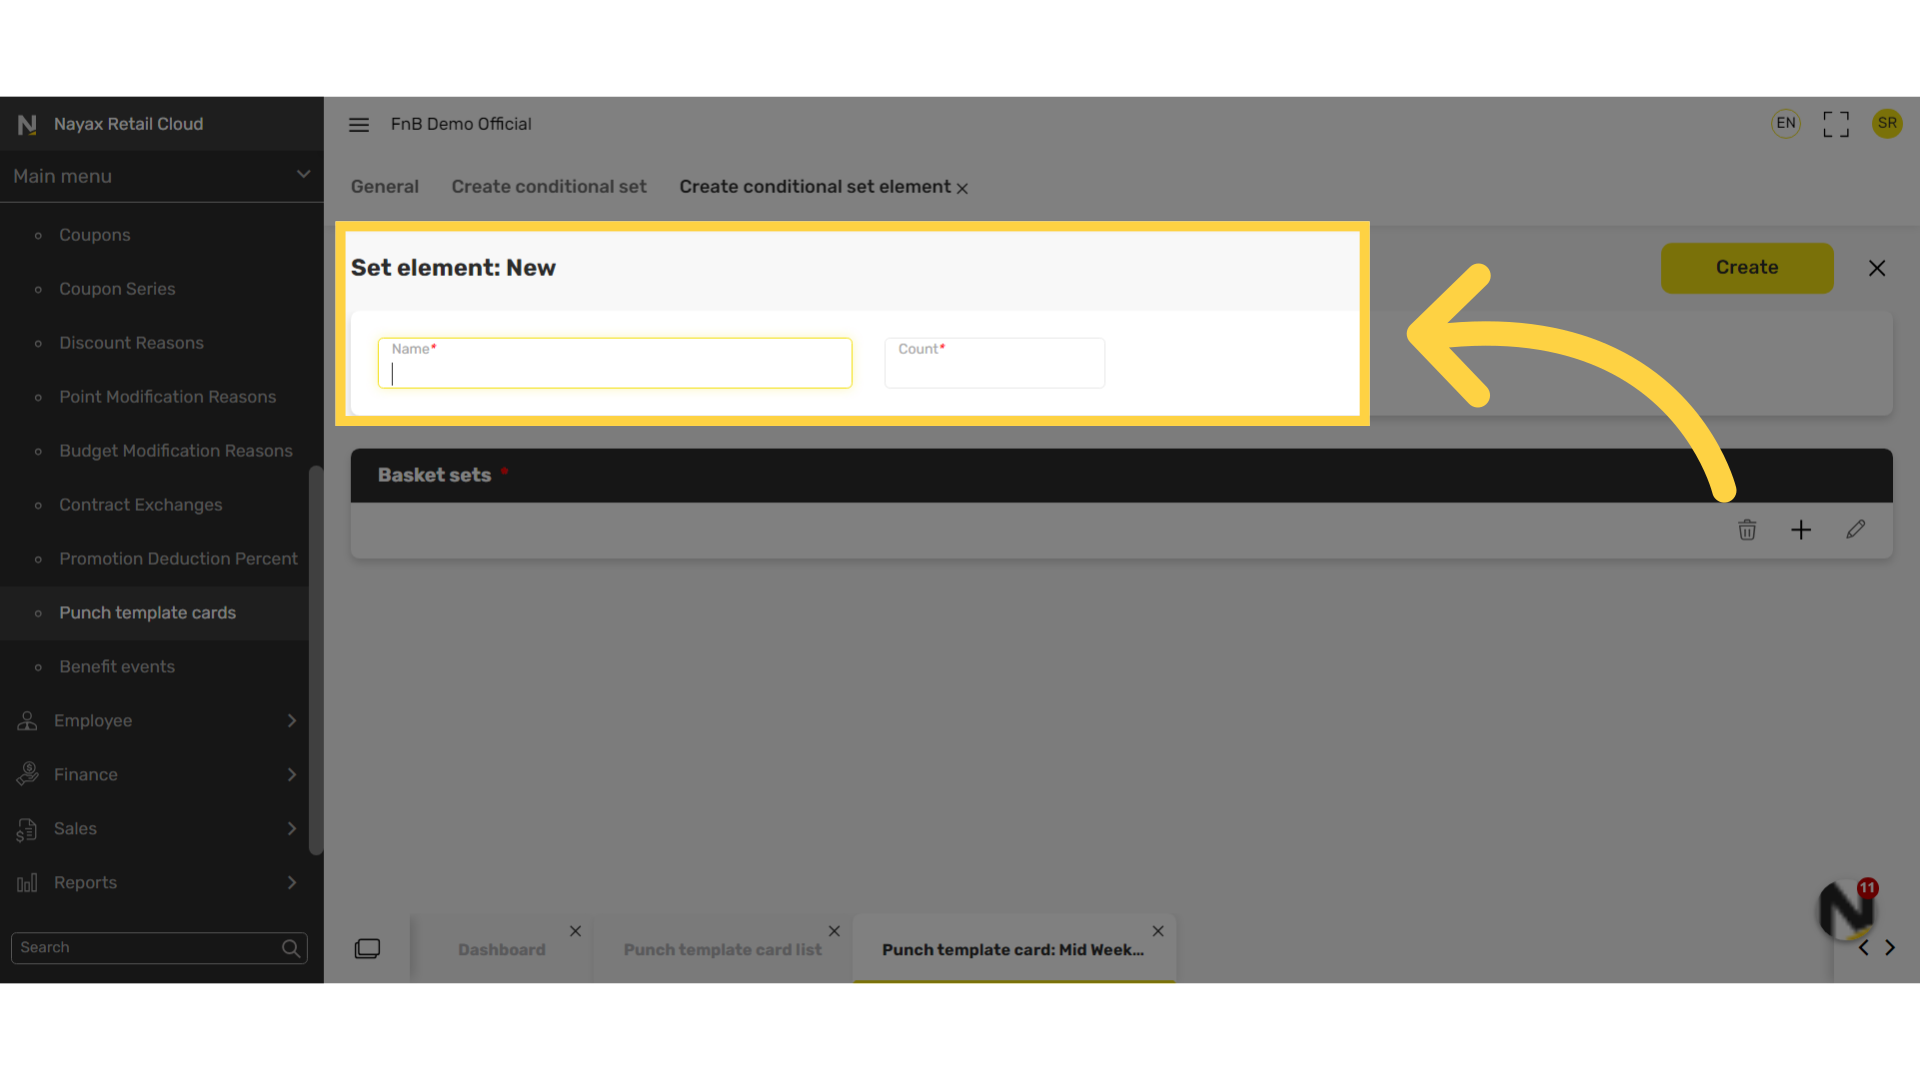
Type Name for Set
Image AttachedType a name for this set. For example Deal 1
11
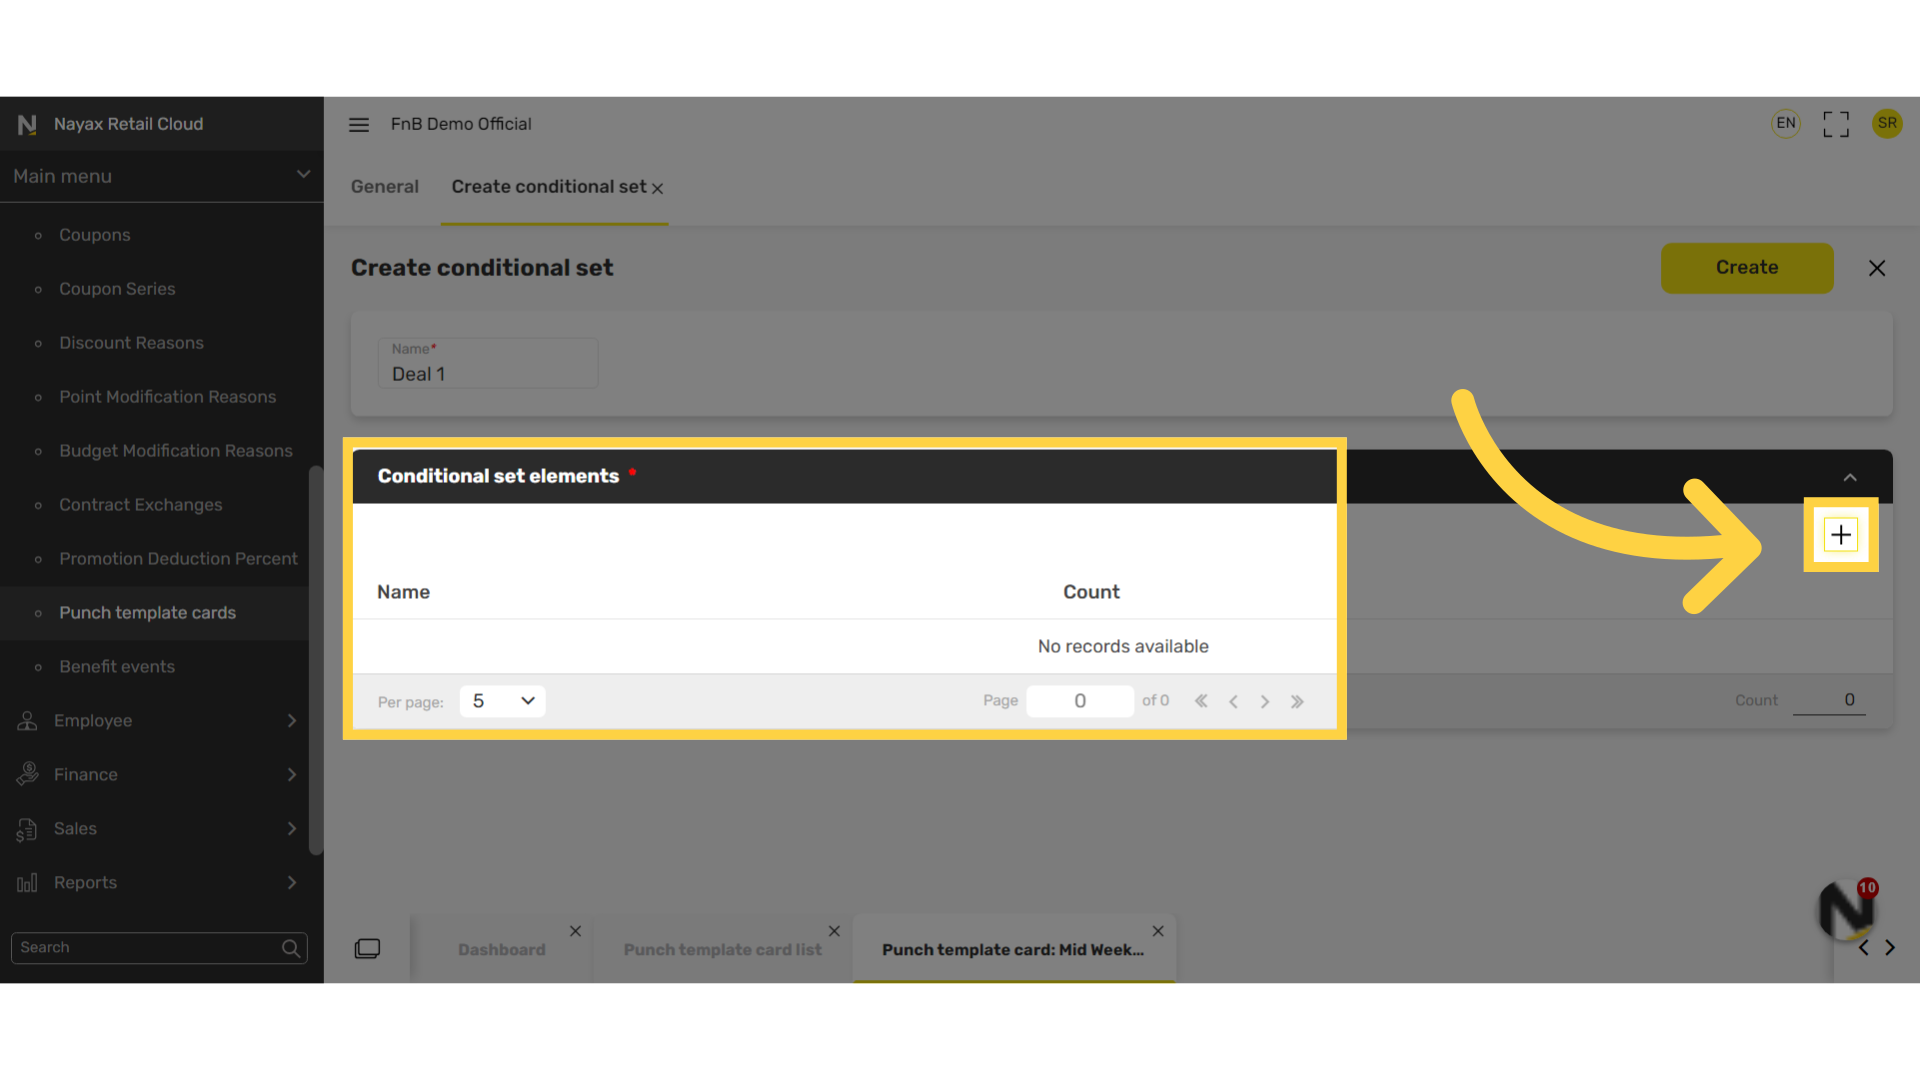
Click + Icon
Image AttachedIn the conditional sets elements section, click the plus icon
12
Assign Items to Punch Card
Image AttachedUnder the Population basket tab, fill in the items to be included in the punch card.
Click on type and choose the best way for you to categorize items.
Add specific items one by one based on item code or add item categories to include a whole category of items into the deal.
For example, you can choose that a punch is given only with a purchase of a large coffee or a specific coffee, therefor the need to individually add items is essential. But if a punch is given for all coffee purchases no matter the size or type, if you have a category for coffee, add the category to include all items.
13
Type Set Name & Set Count
Image AttachedType Name set name again, for example Deal 1 and set a count for the number of purchases the deal offers.
14
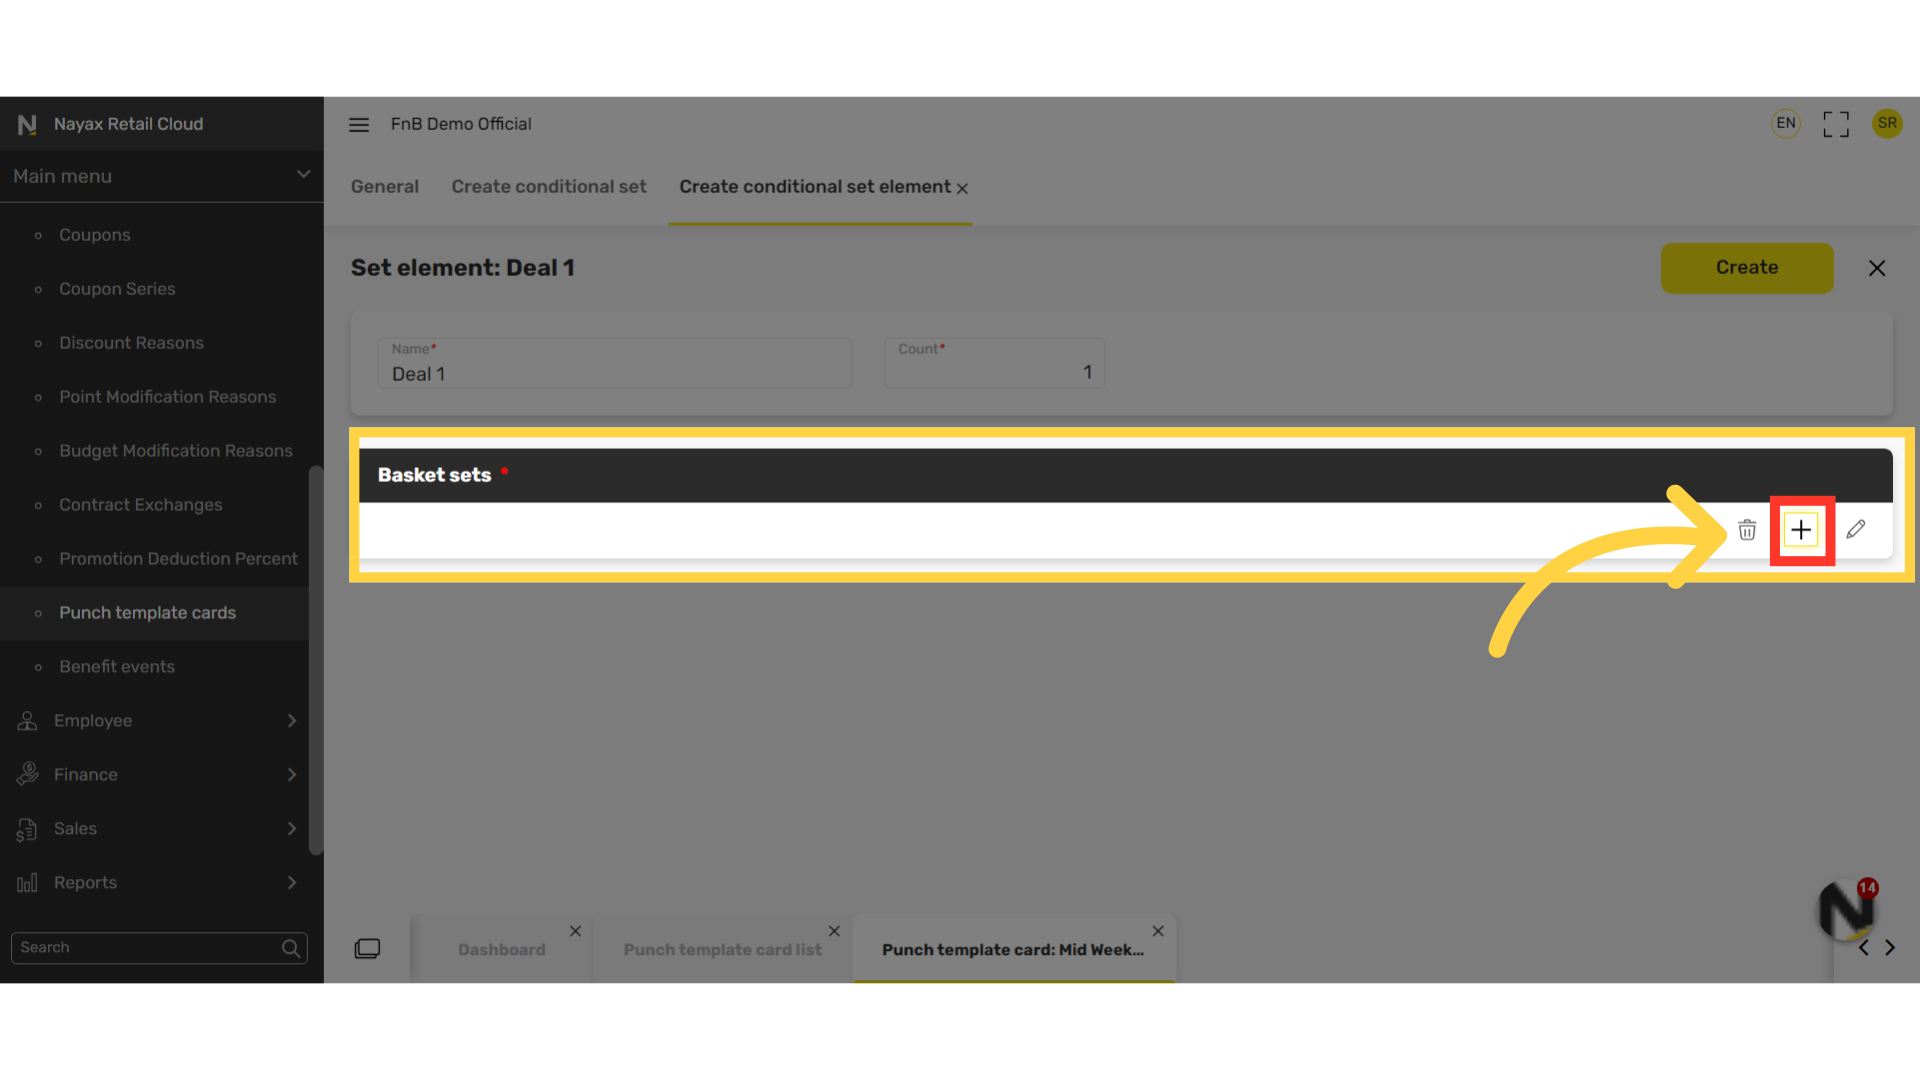
Click + Icon
Image Attached
Click plus Icon as highlighted in RED on the visual.
15
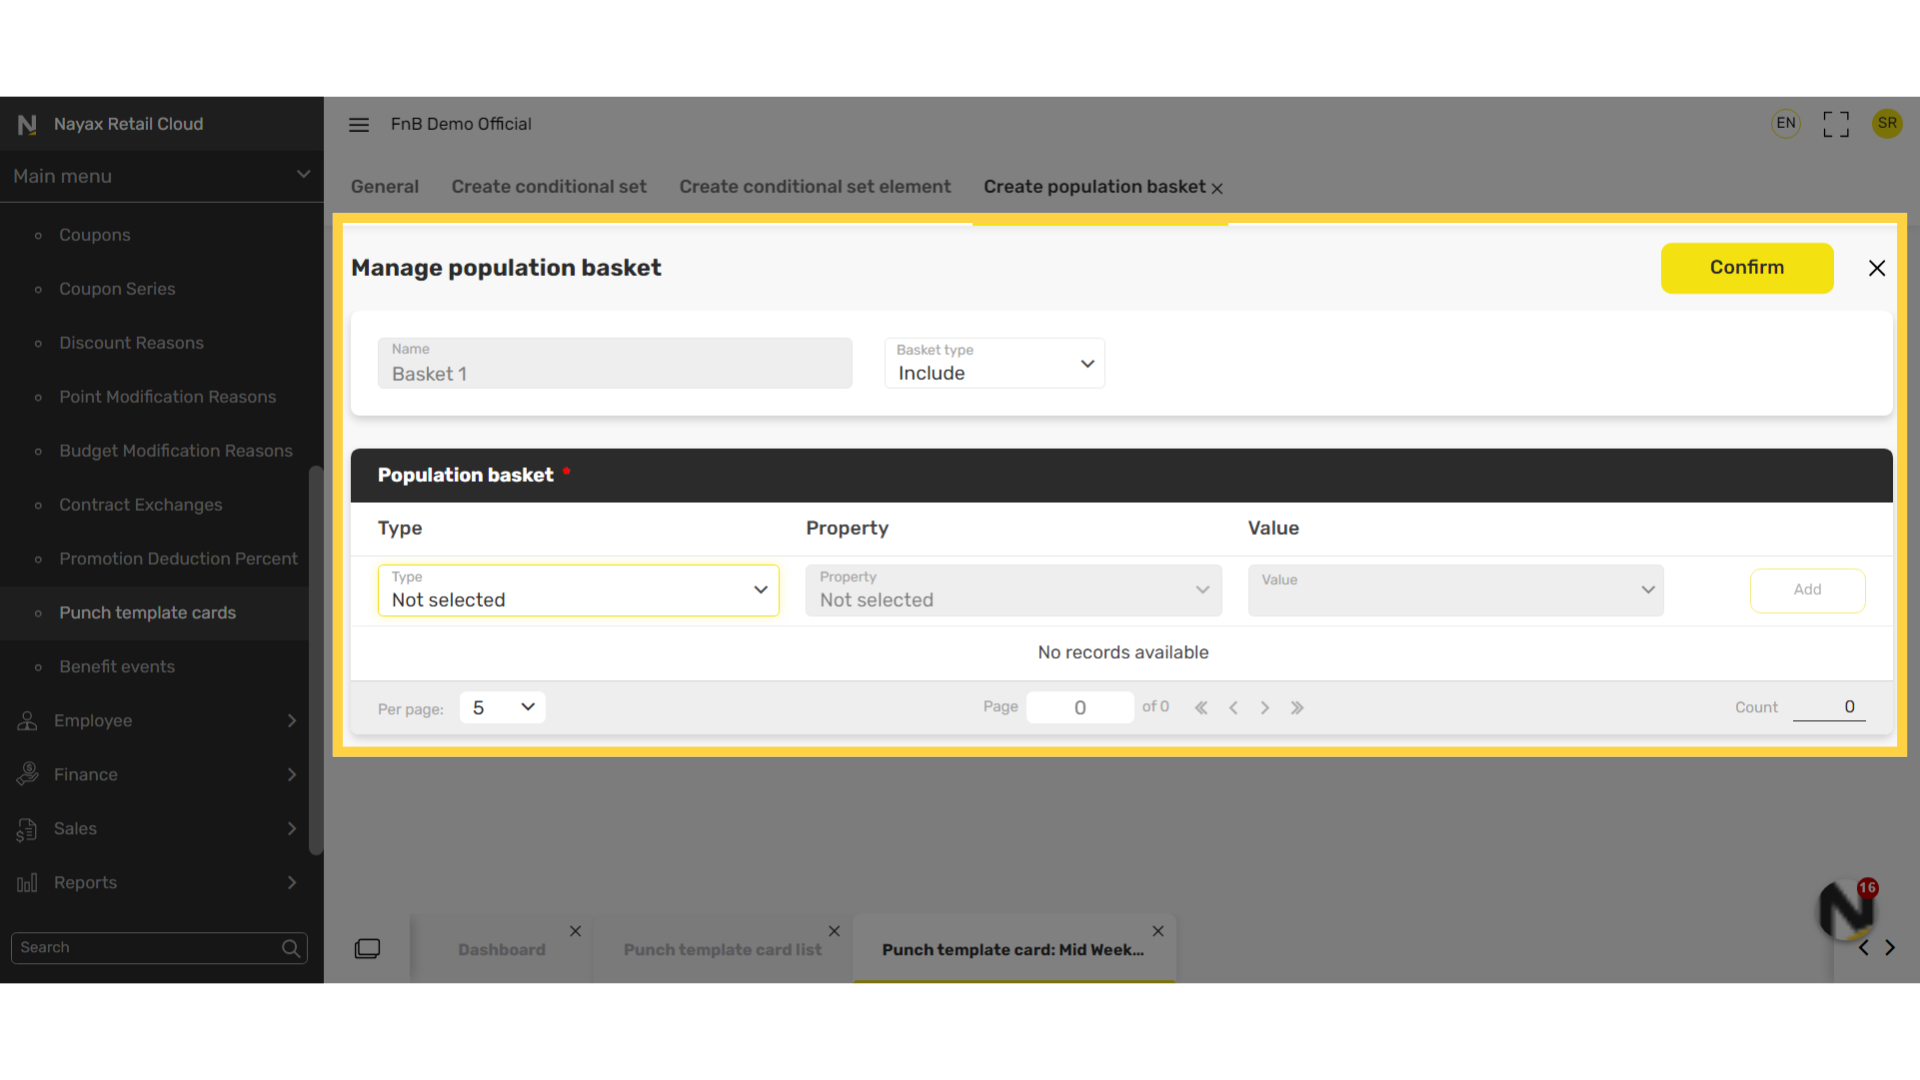
Build Deal Set
Image AttachedA new Population basket window will pop up and now to build each of the deal sets.
16
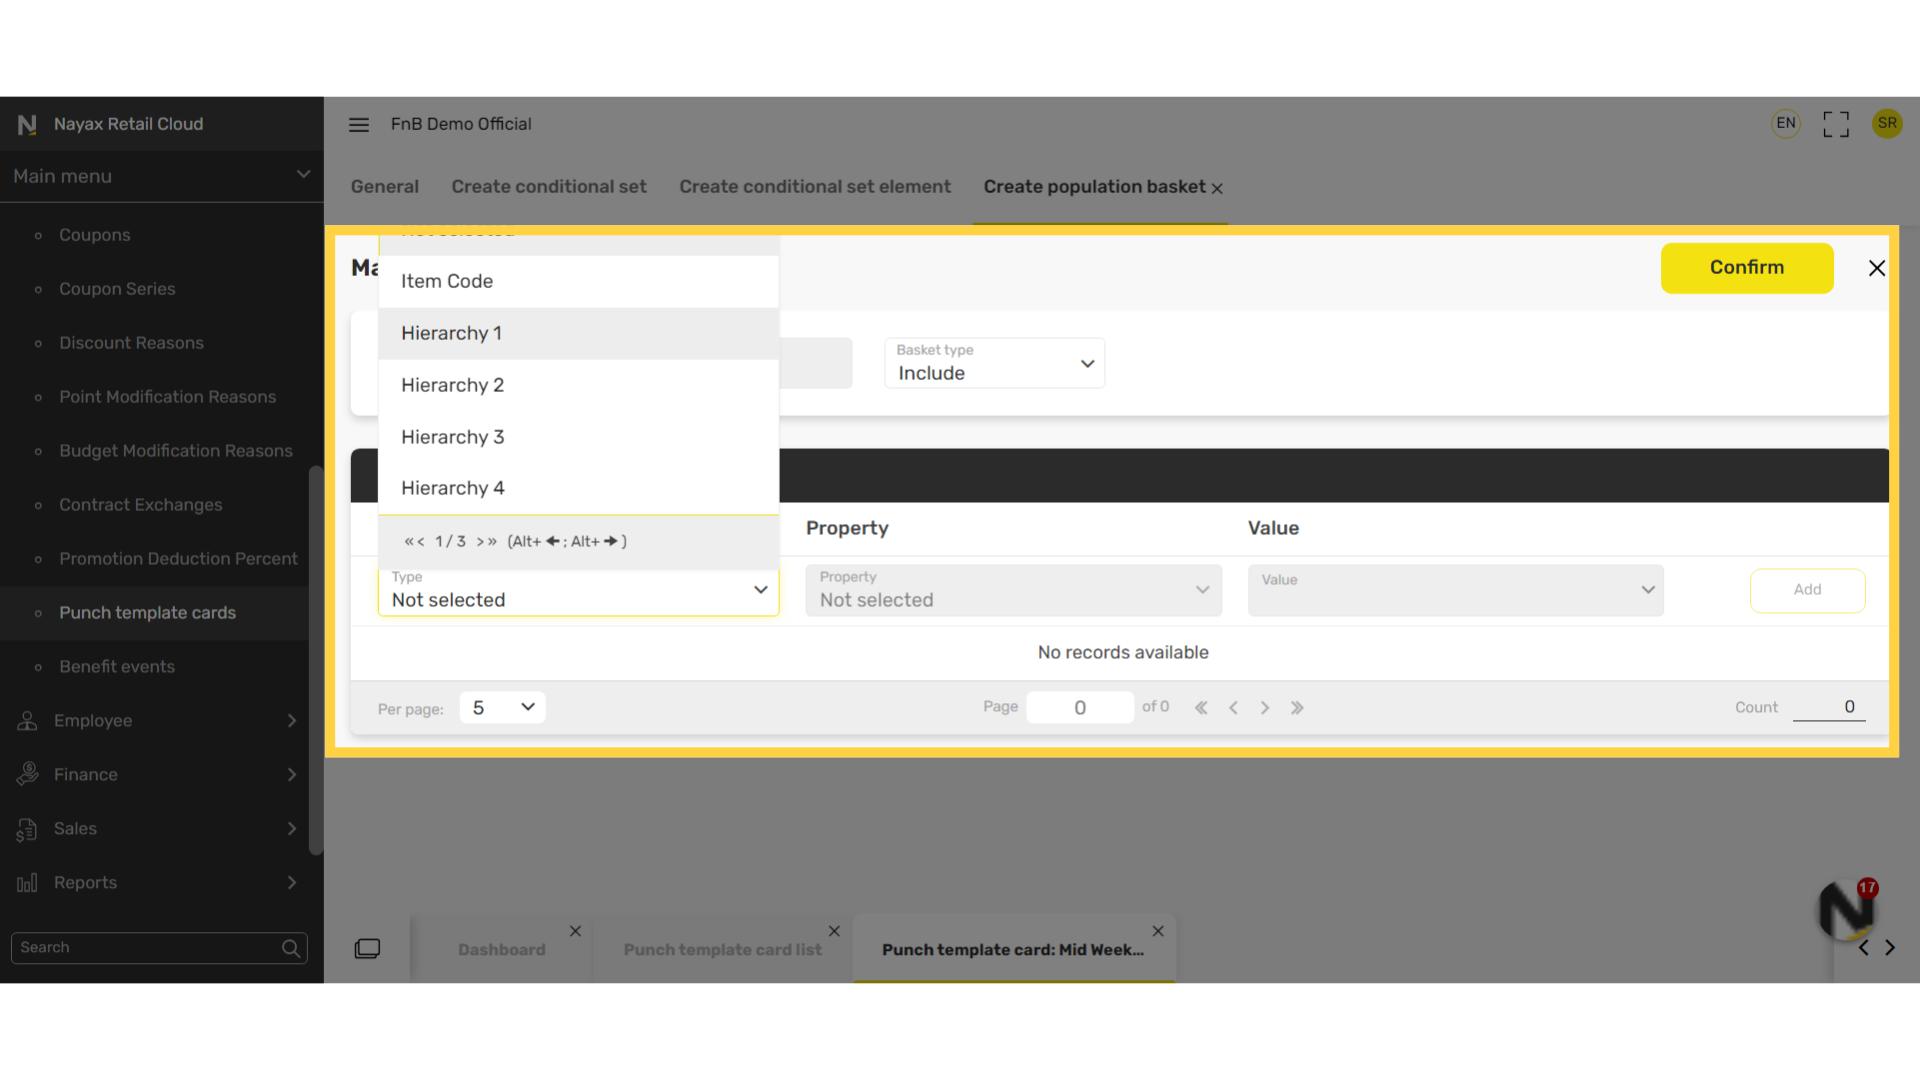
Click Hierarchy
Image AttachedSelect the Hierarchy from the options of where the item is located.
17
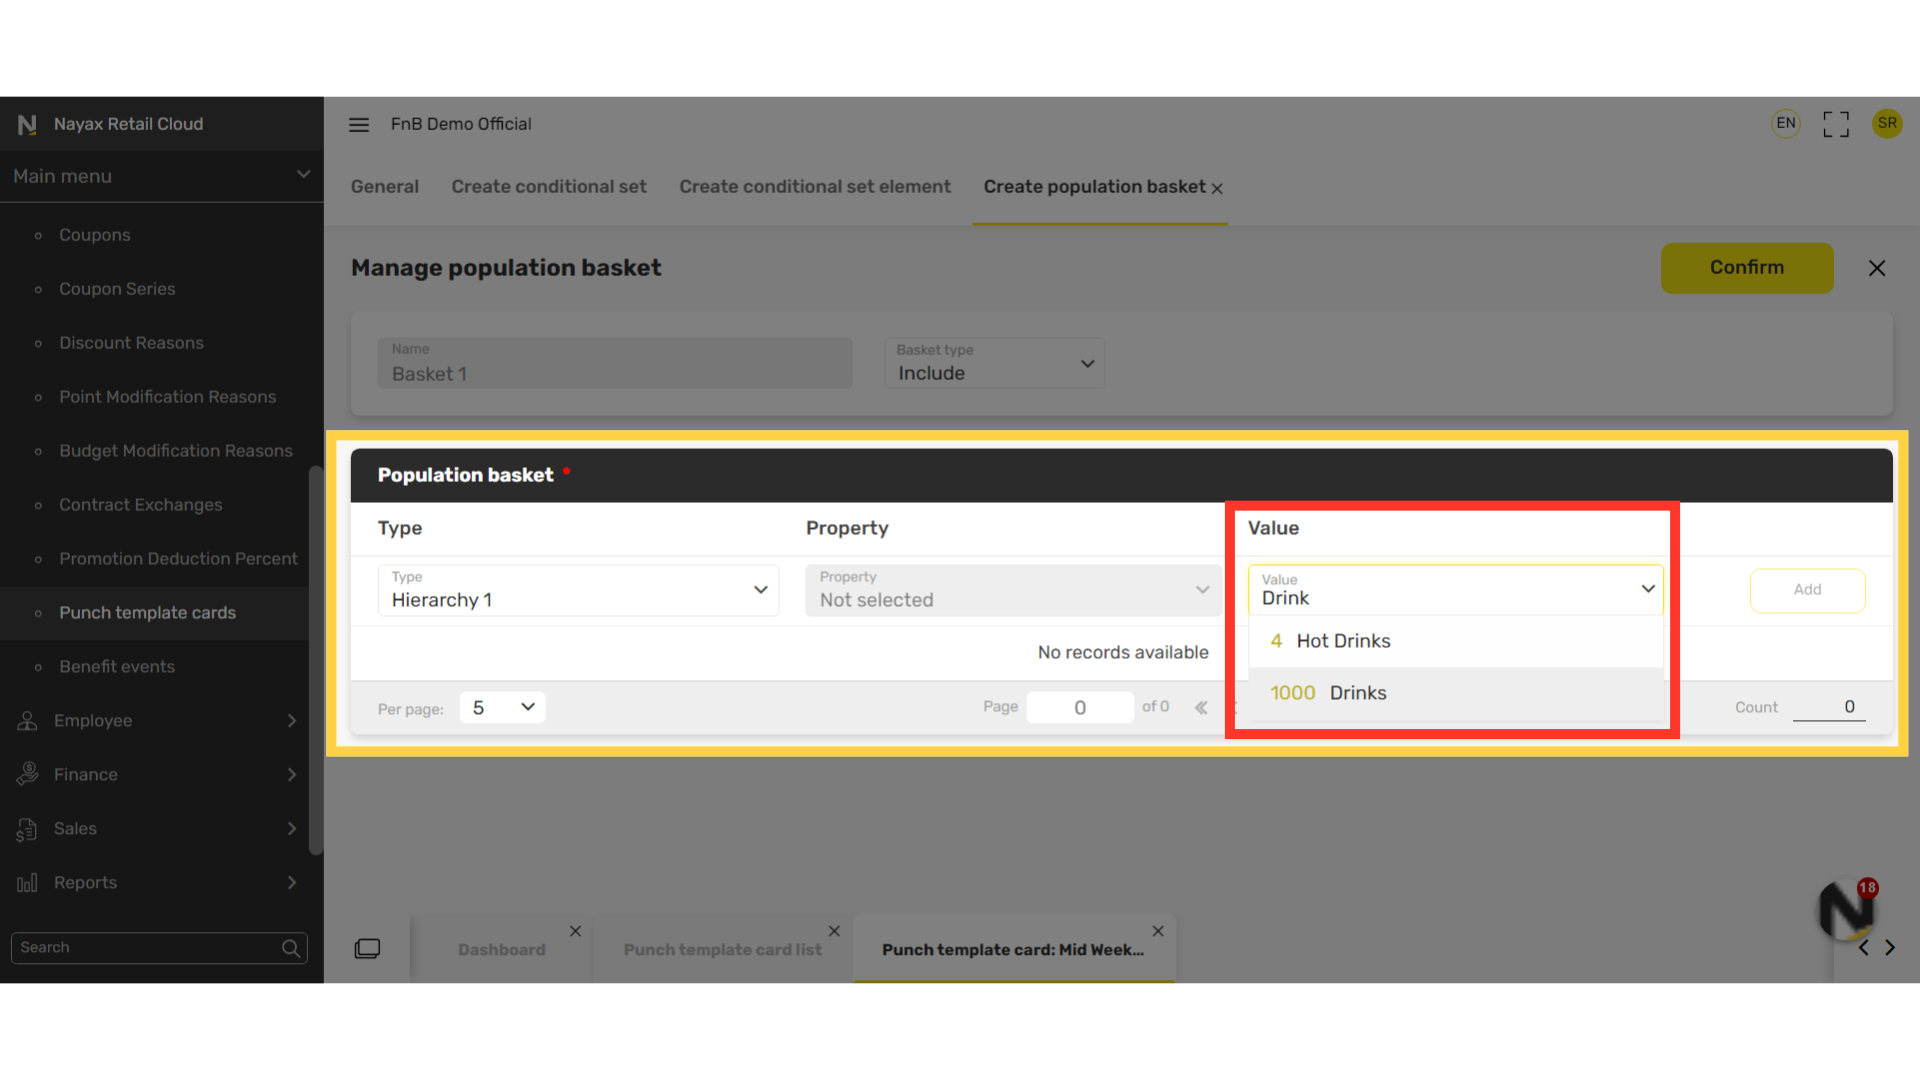
Select the Value
Image Attached
Select the value as highlighted in RED on the visual.
18
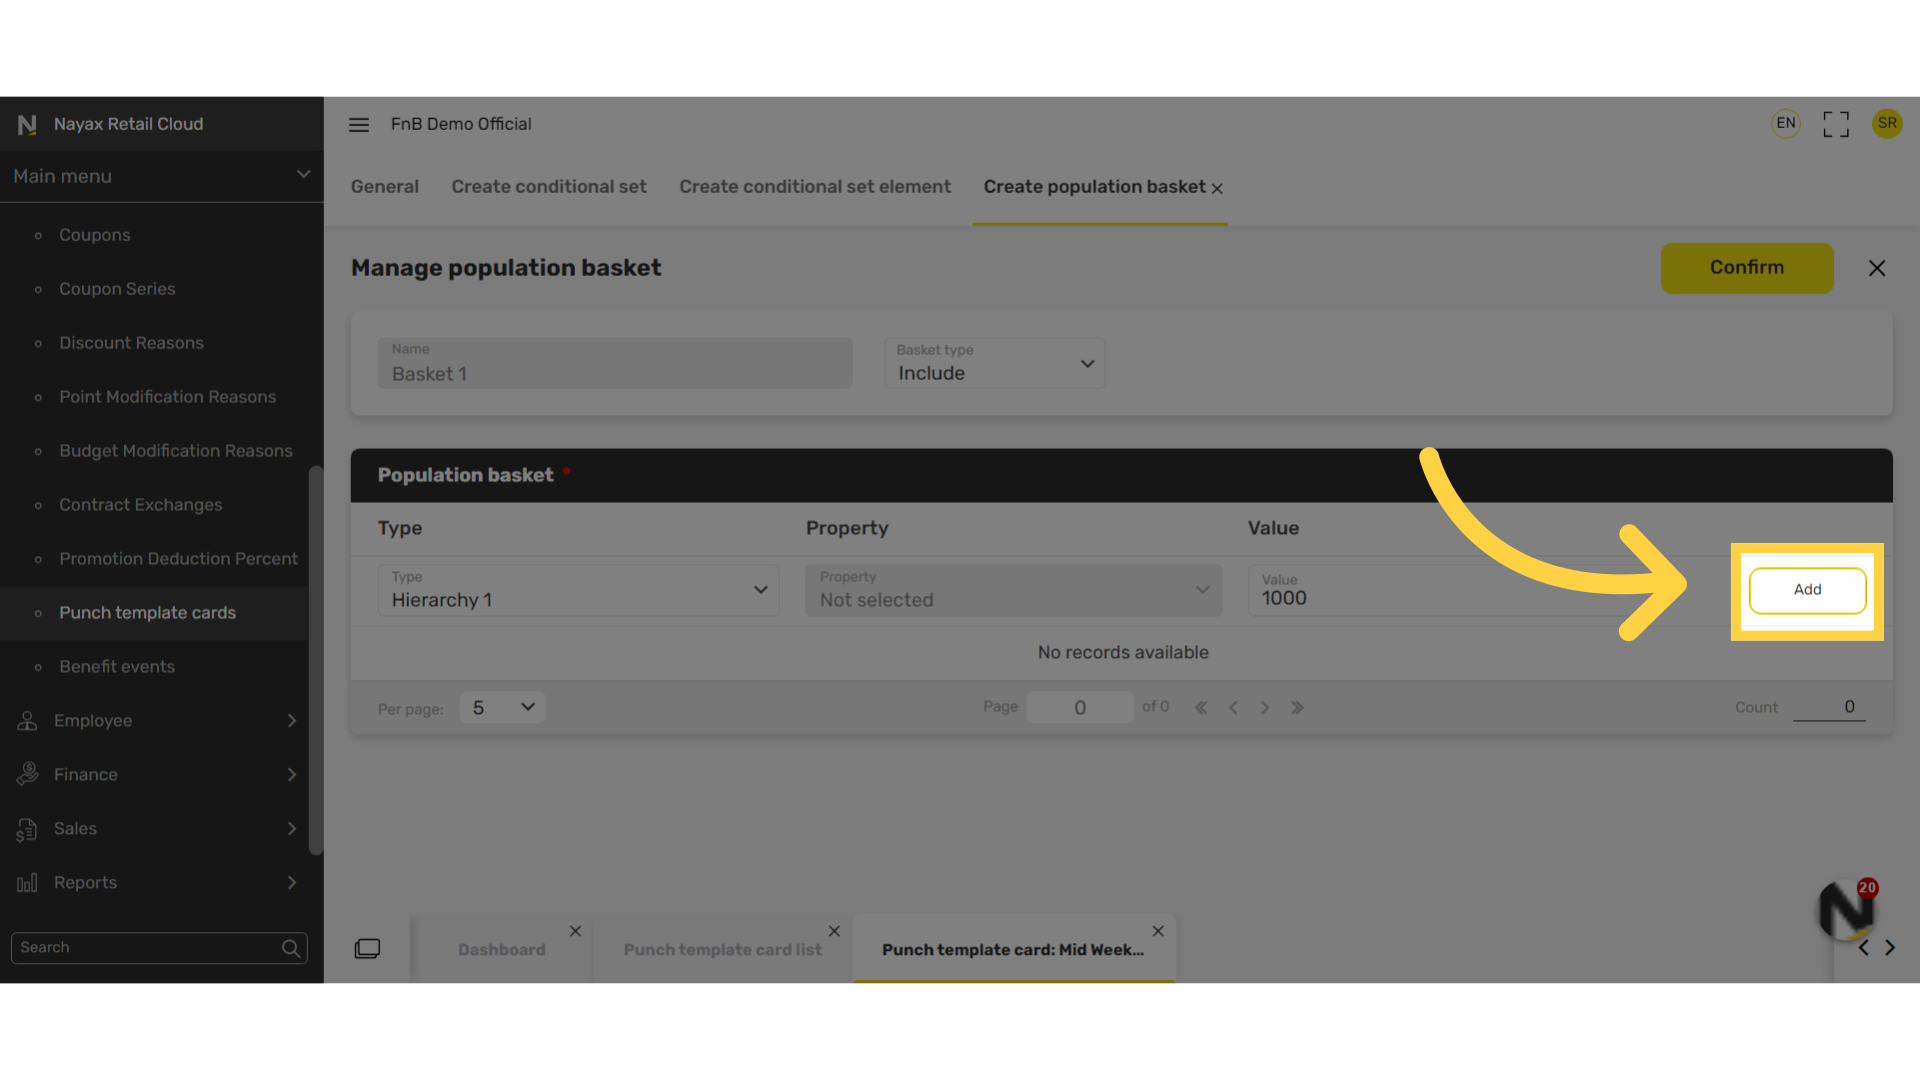
Click Add
Image AttachedClick the Add button to save your selections.
19
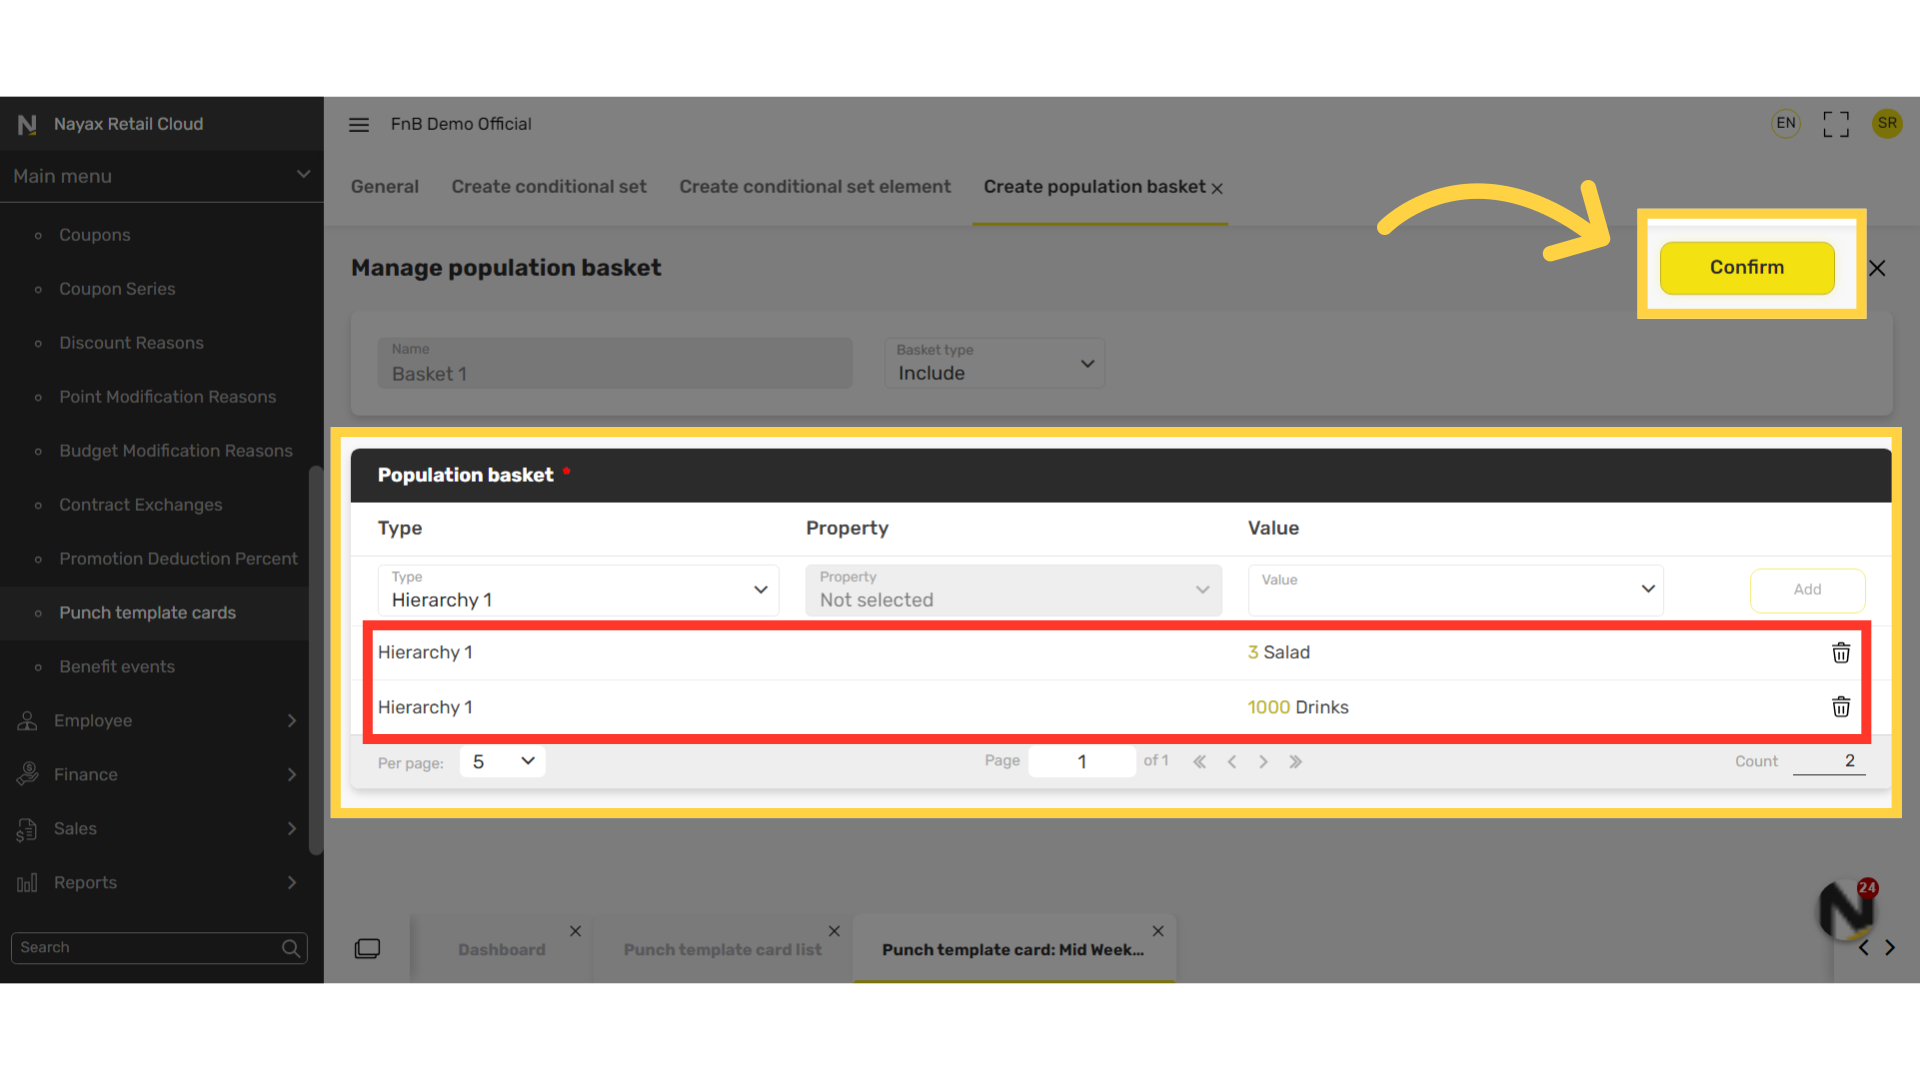
Click Confirm
Image Attached
Repeat the process until all items for each individual deal is showing as highlighted in RED on the visual and the click Confirm to proceed.
20
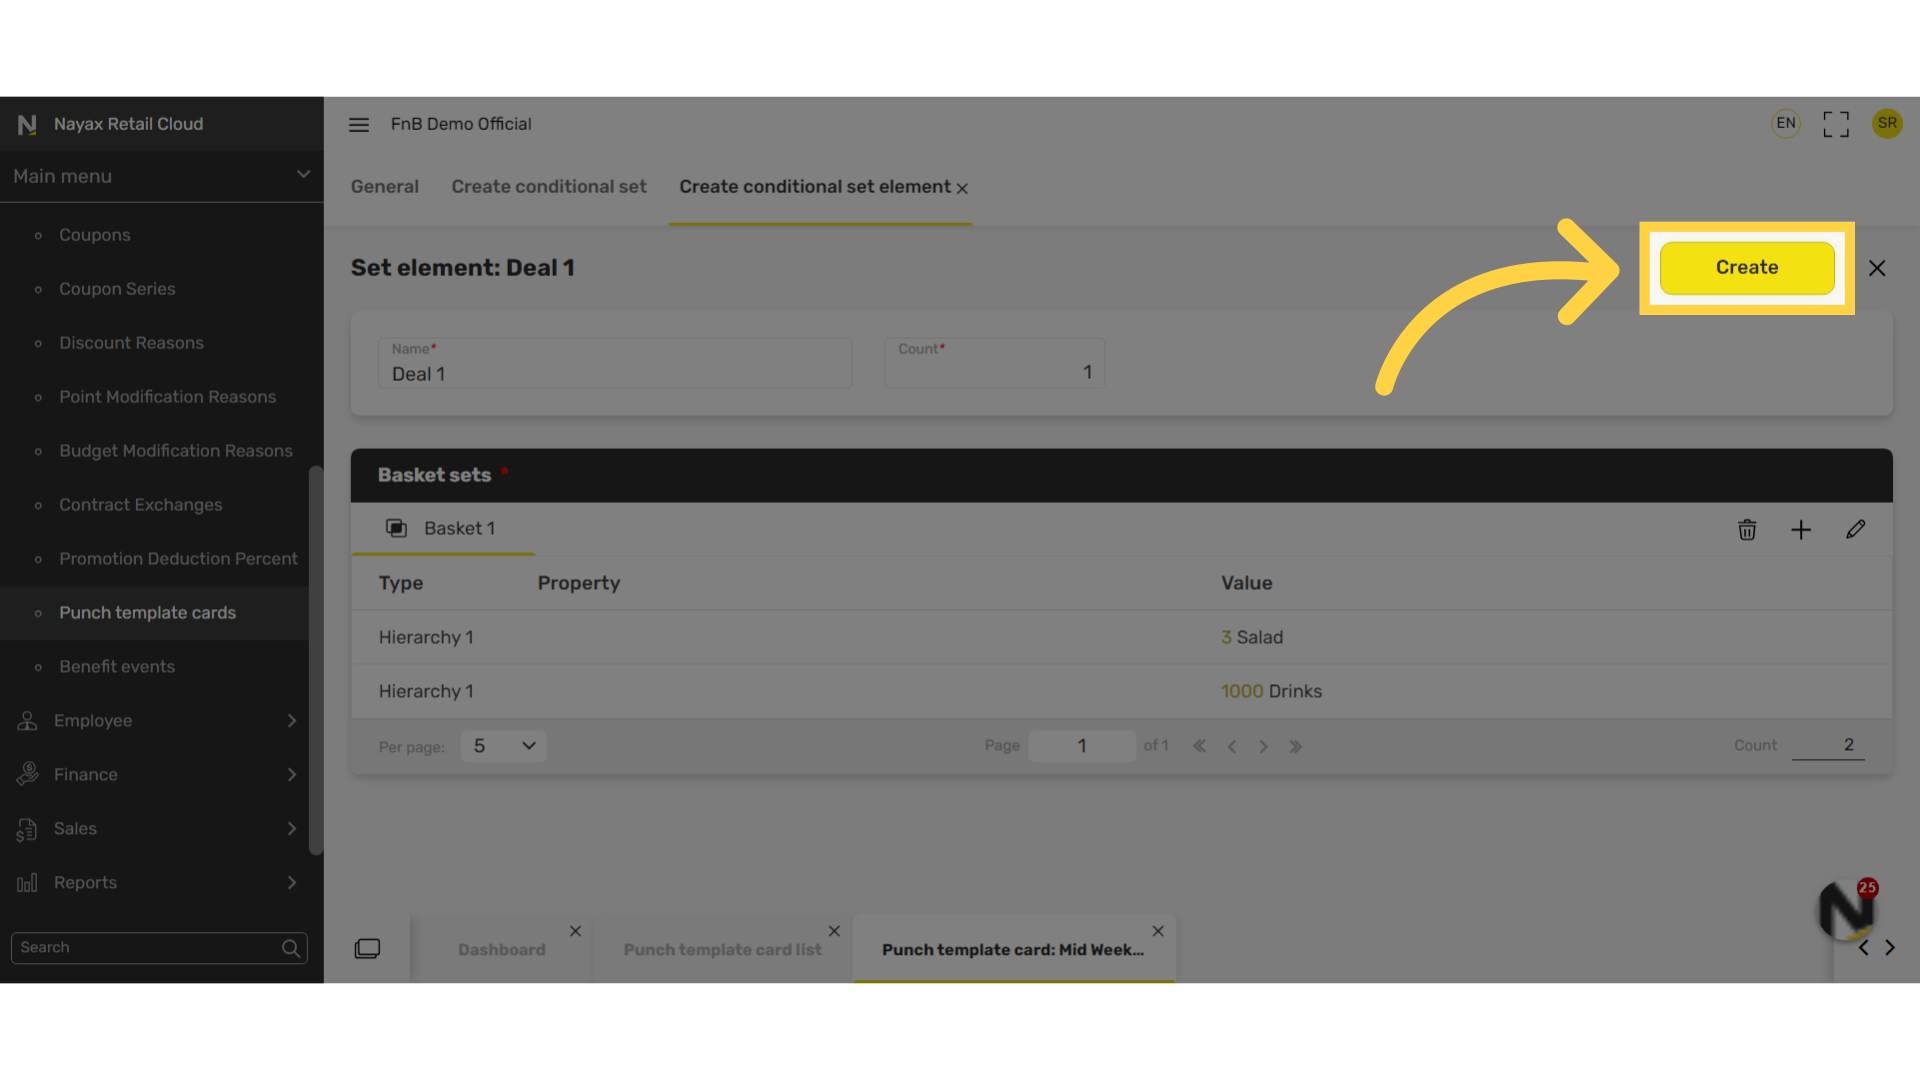
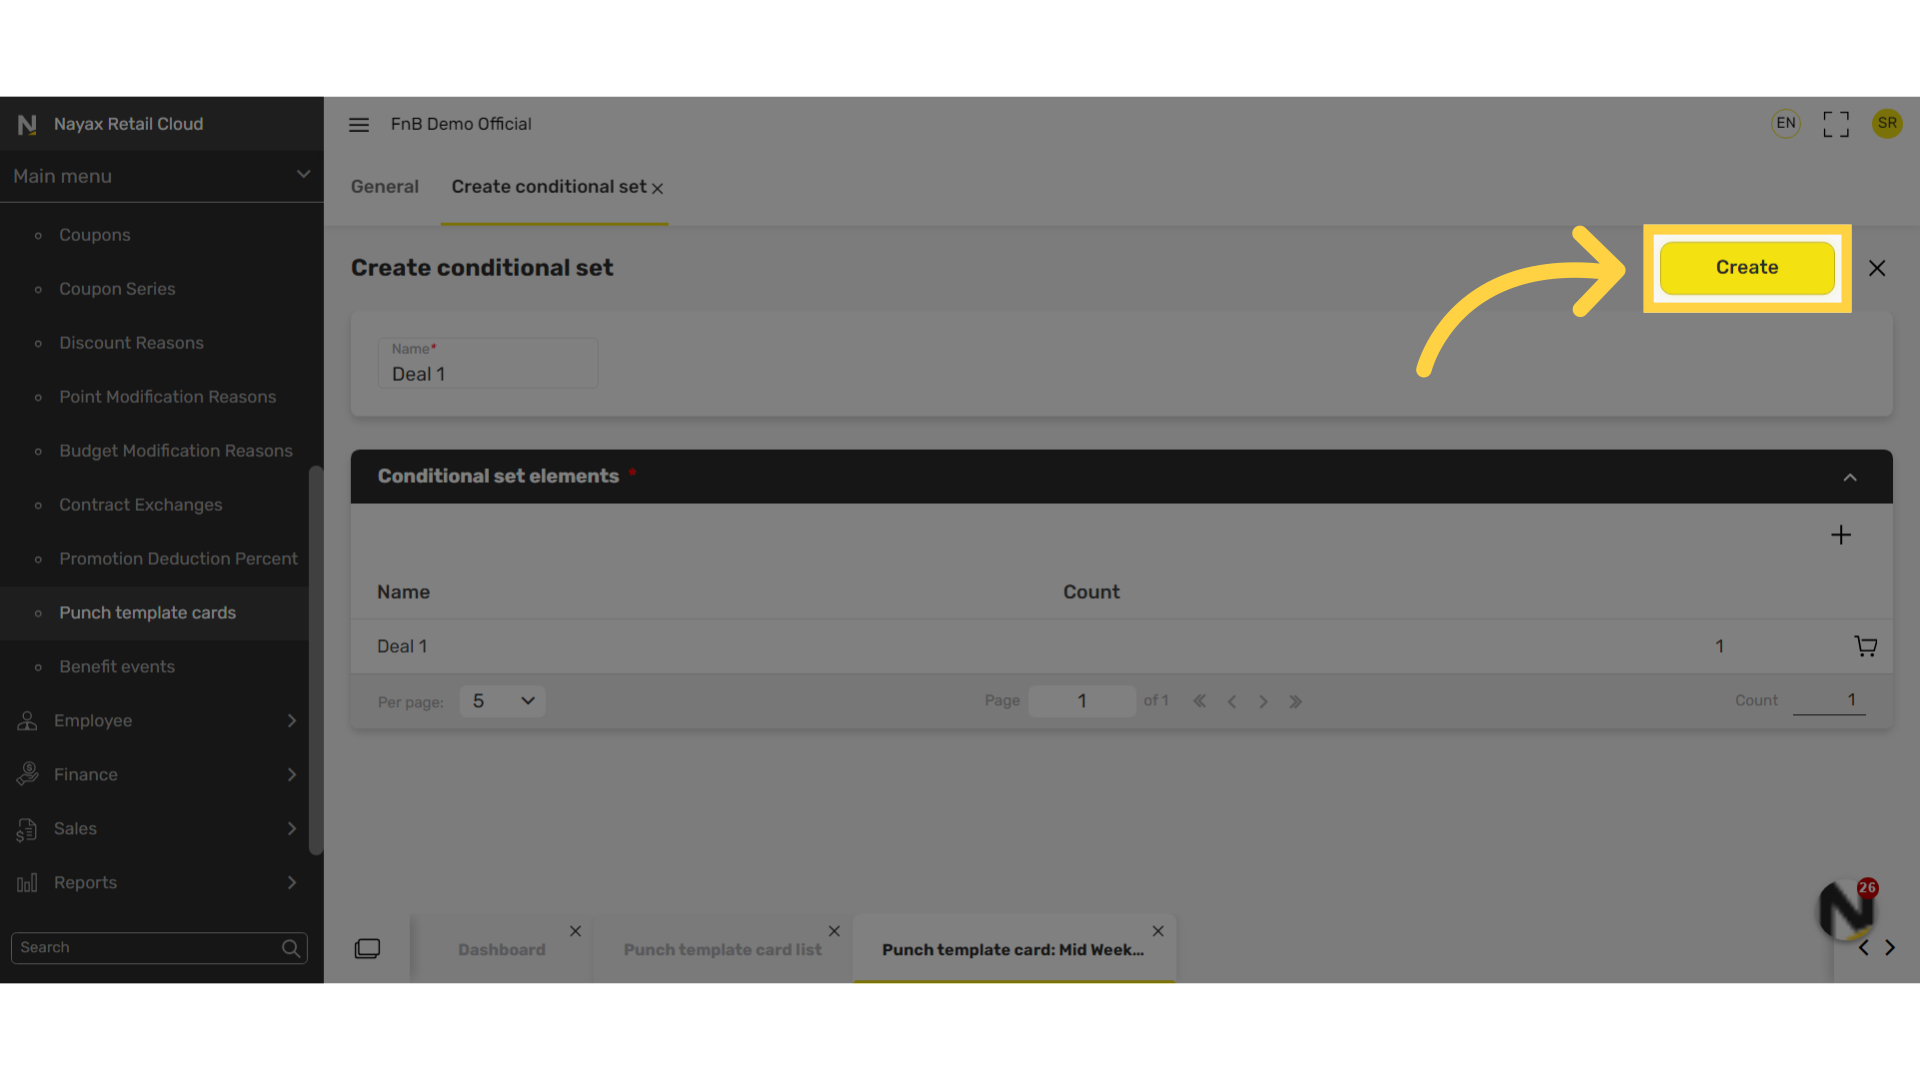
Click Create
Image AttachedThen click the Create button
21
Click Create
Image AttachedClick the Create button again to finalize the action.
22
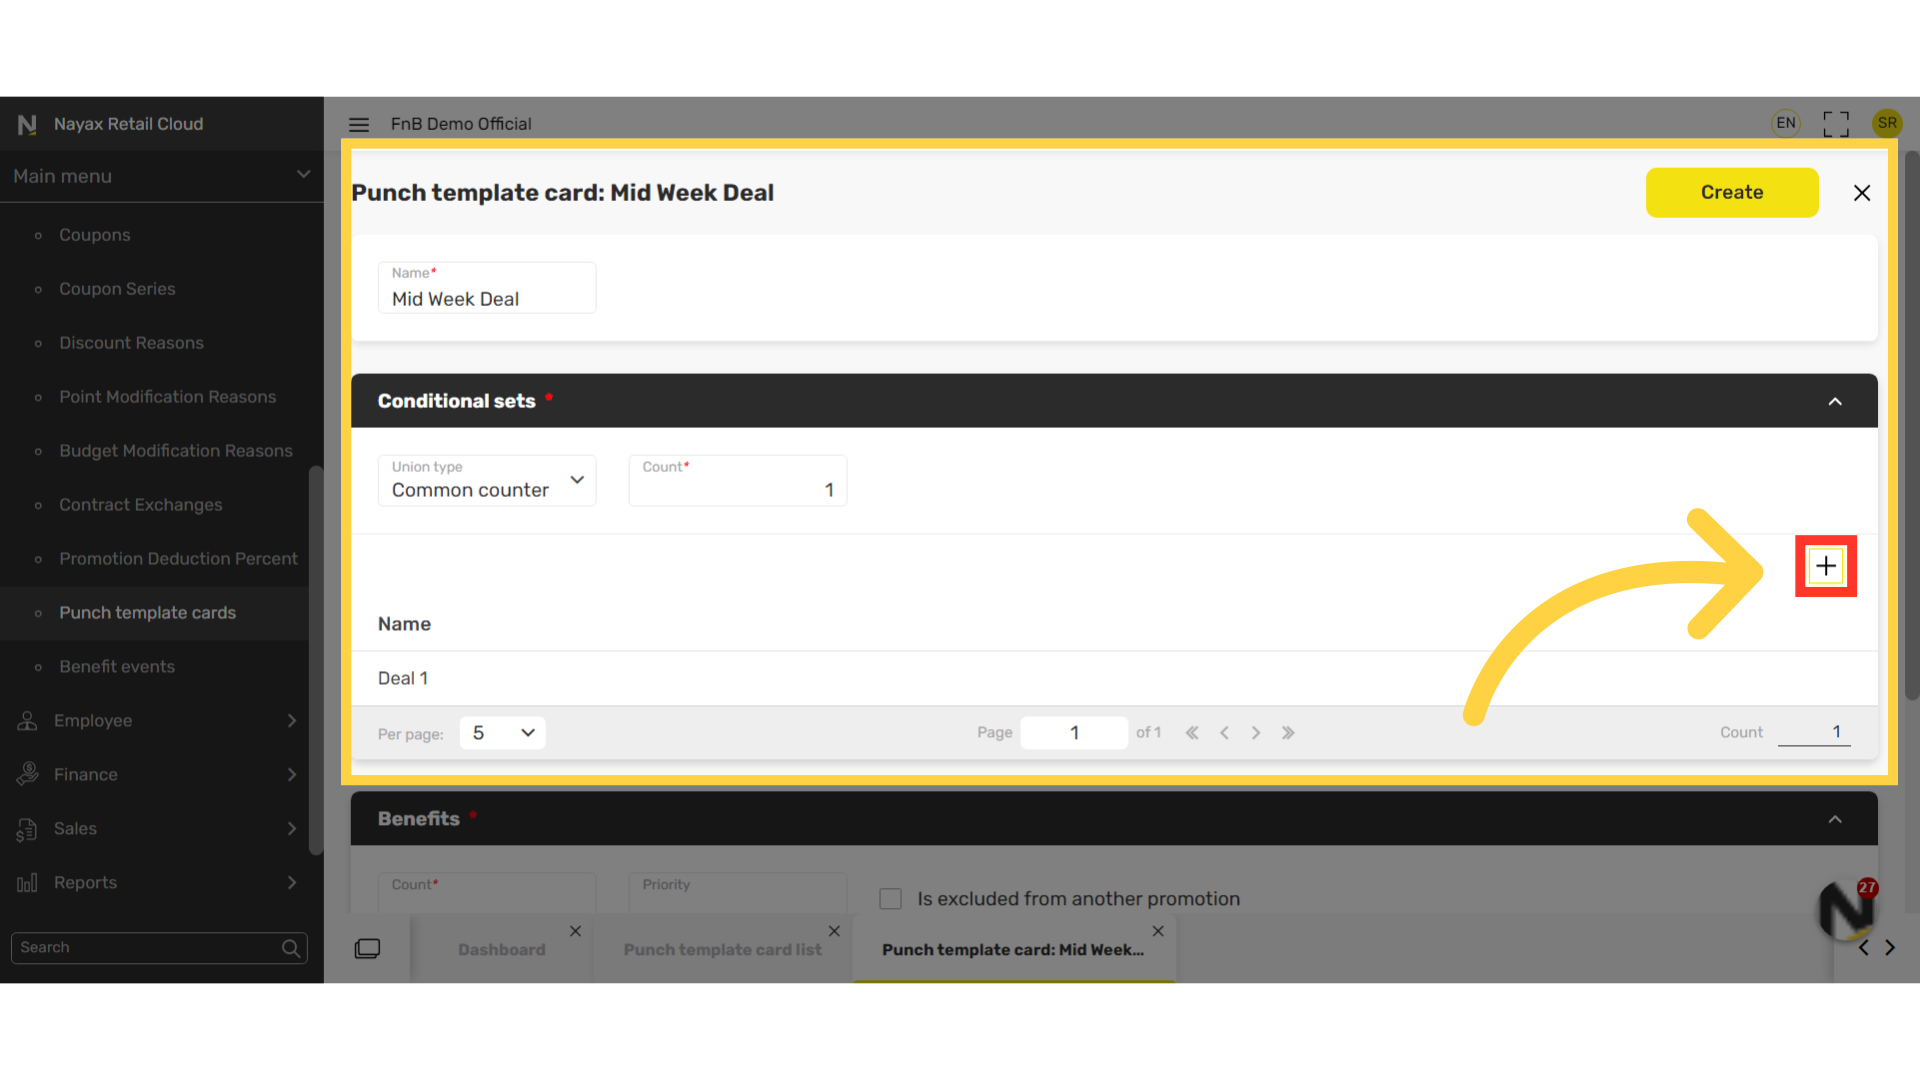
Click + Icon
Image Attached
To add another deal valid for this punch card we repeat the process again, and click plus Icon as highlighted in RED on the visual.
23
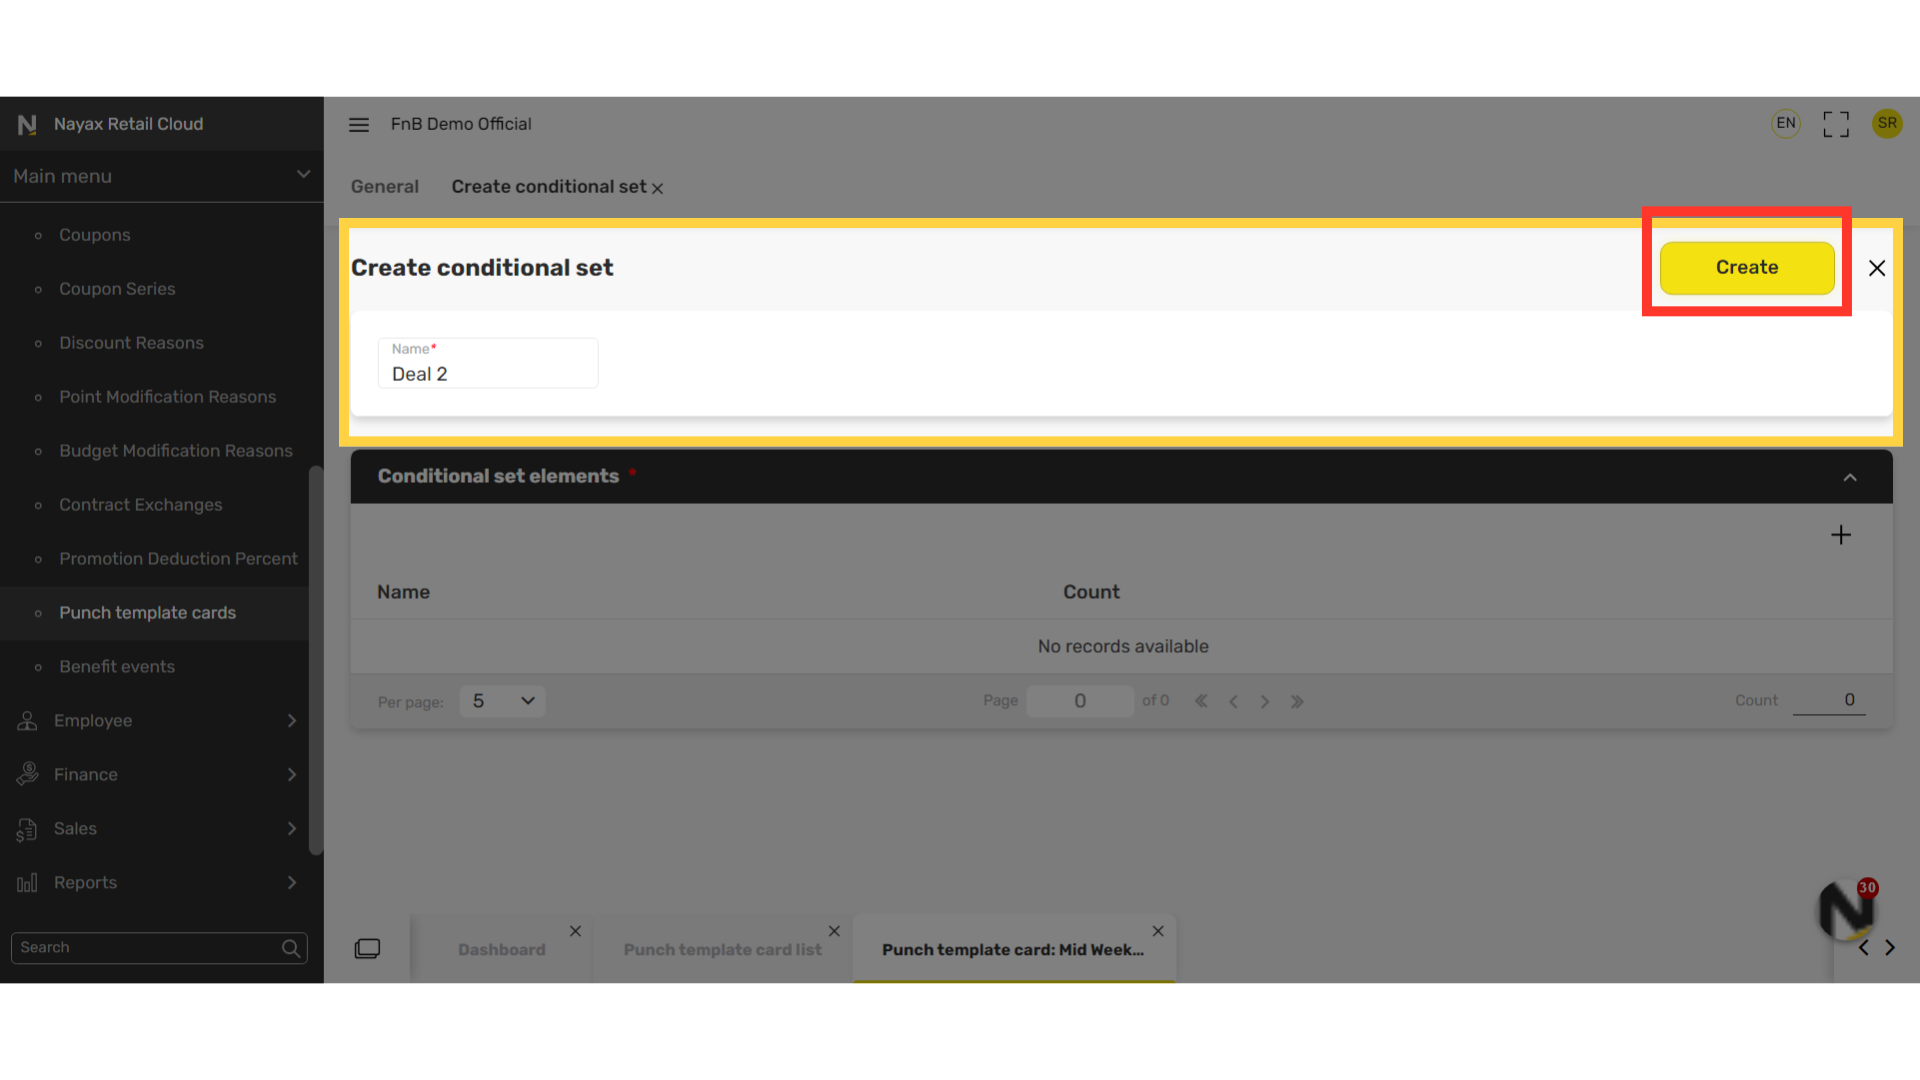
Name Deal Set and Click Create
Image Attached
Type a name for this set. For example Deal 2, then click on the create button as highlighted in RED on the visual.
24
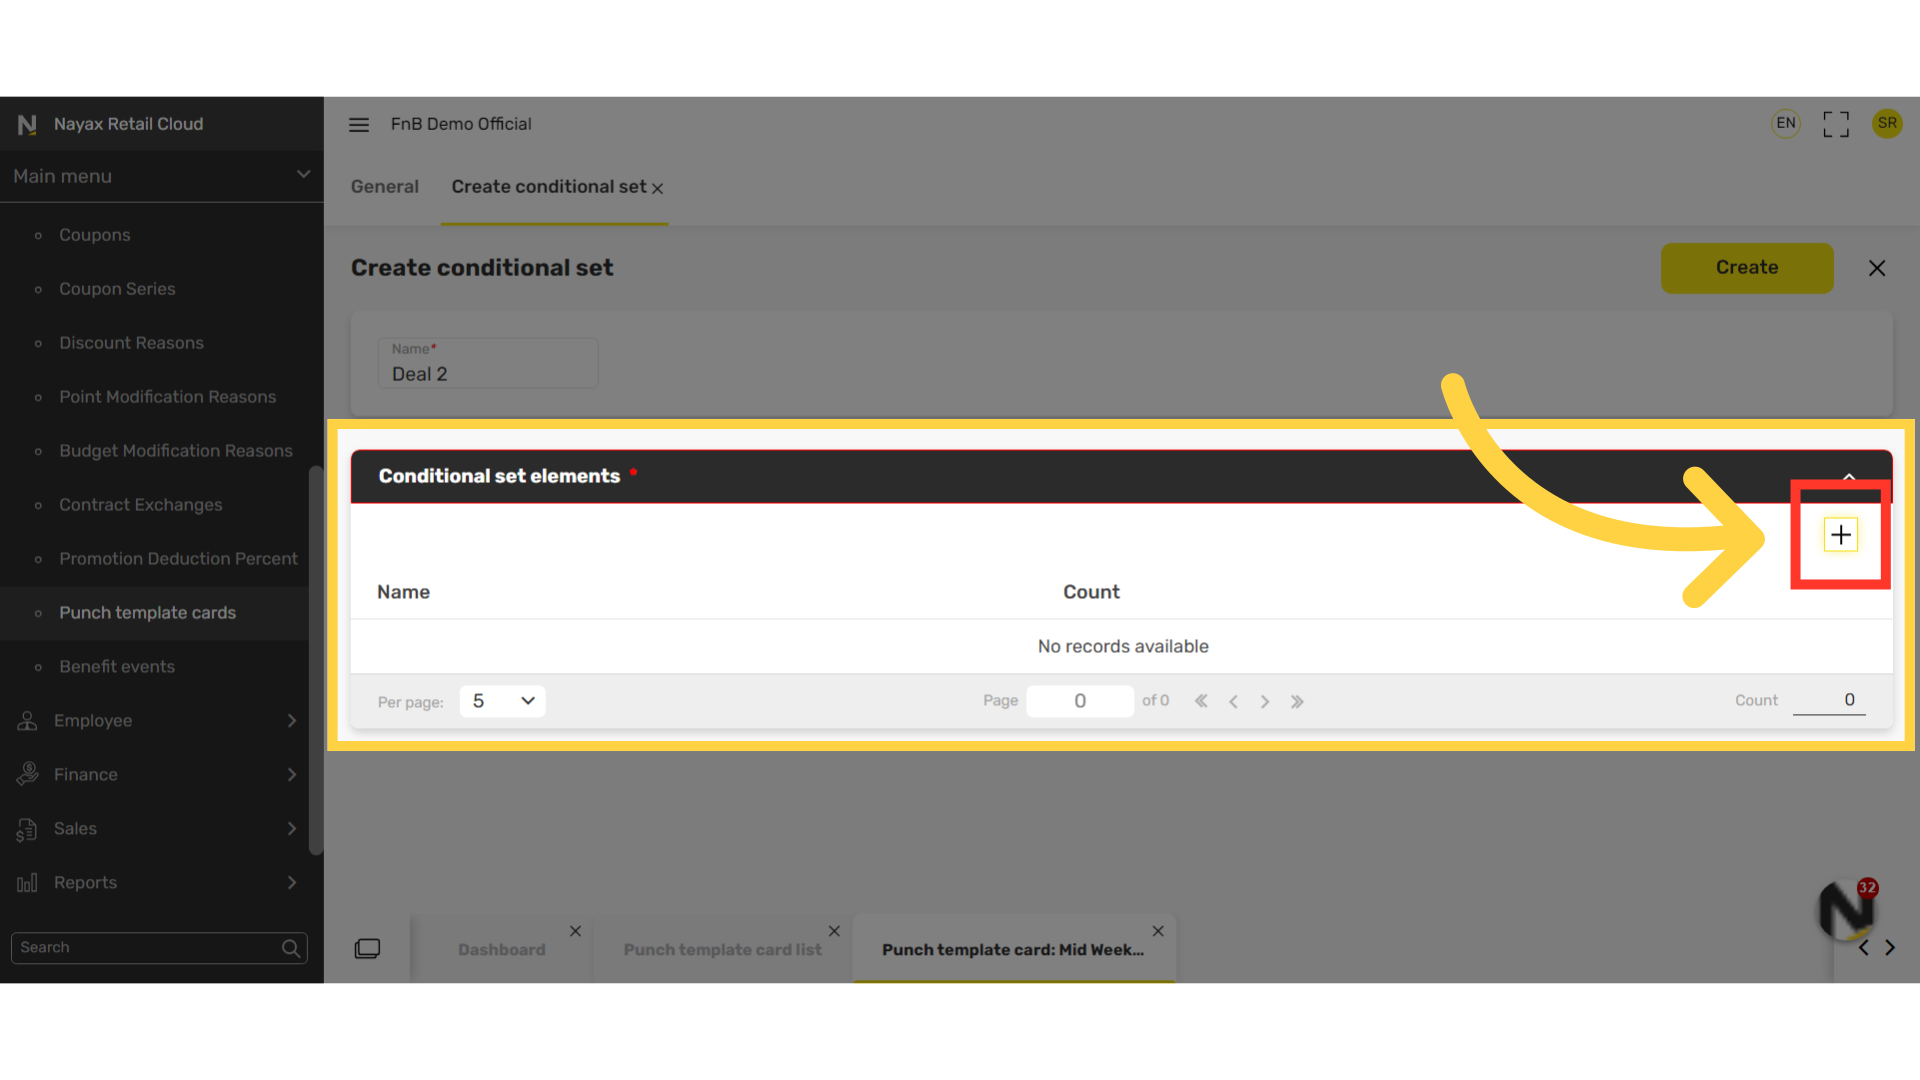
Click + Icon
Image AttachedIn the conditional sets elements section, click the plus icon.
25
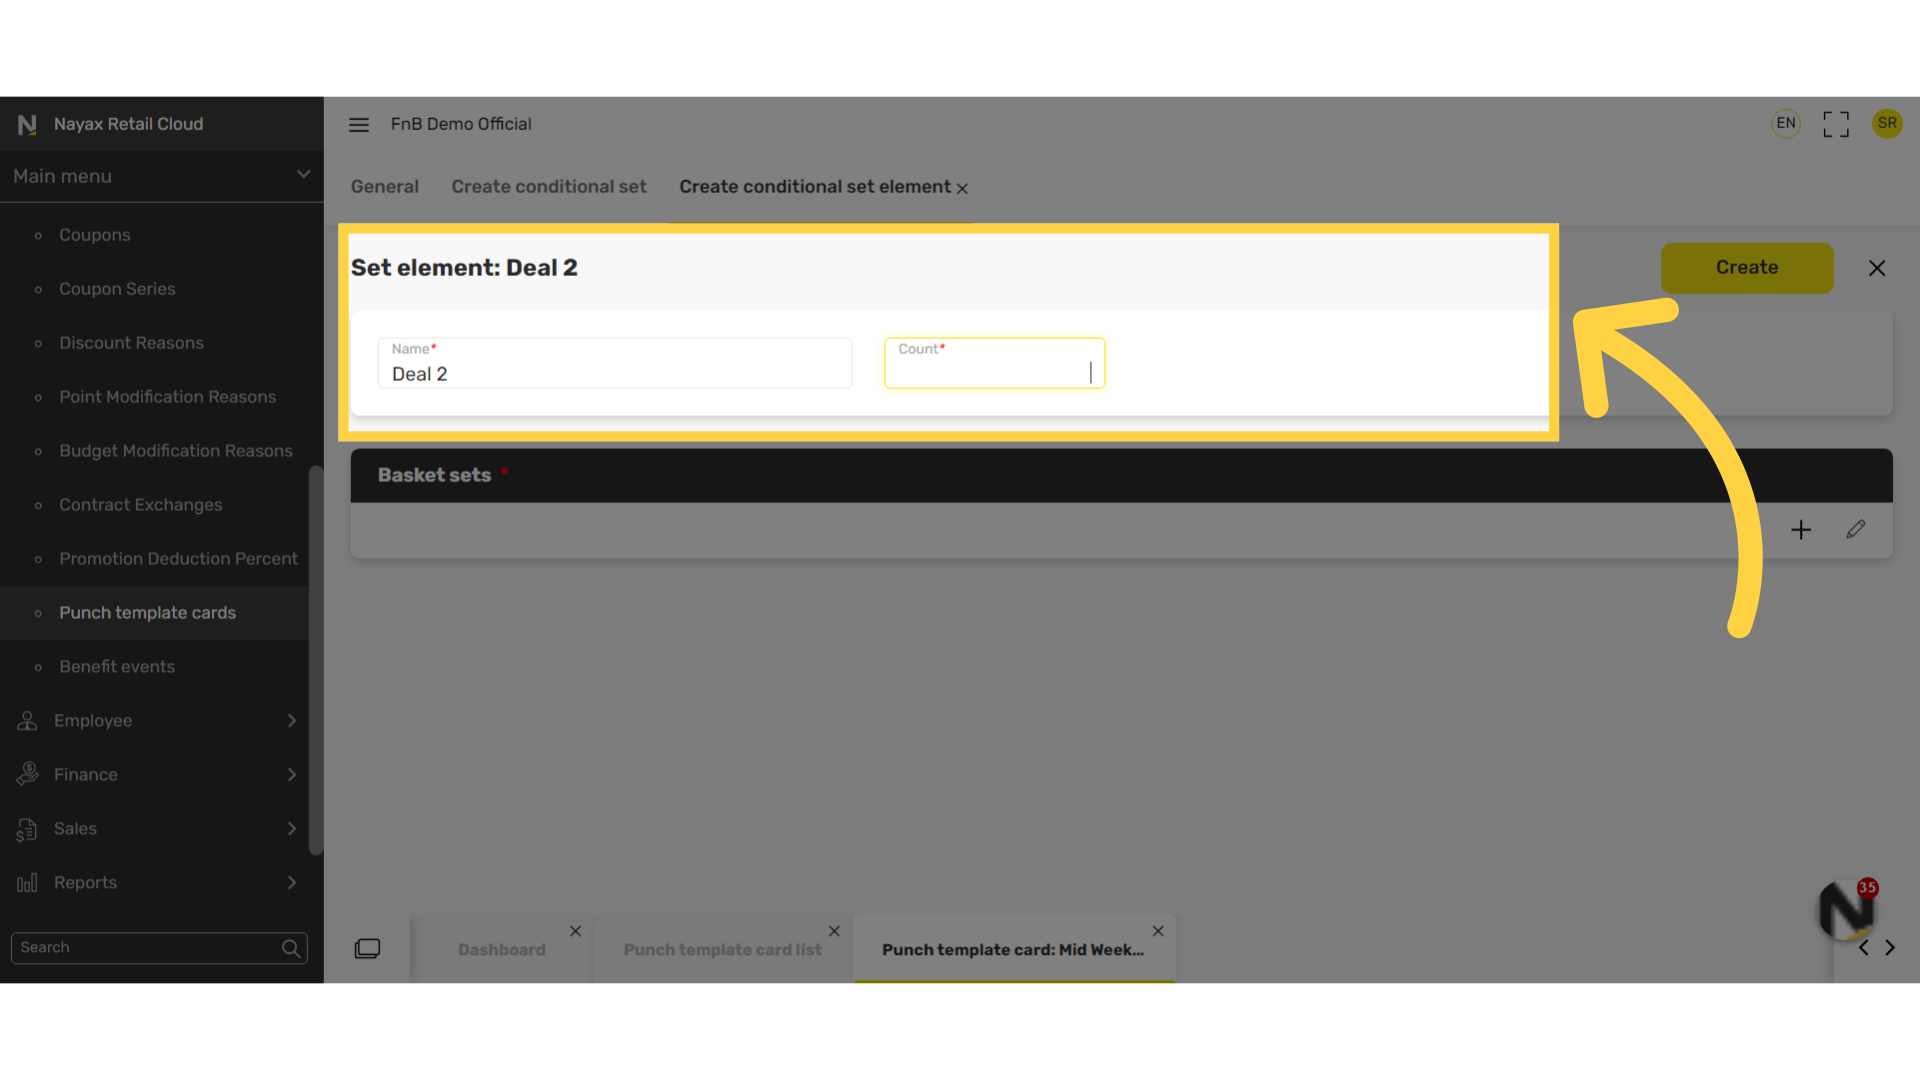
Type Set Name & Set Count
Image AttachedType Name set name again, for example Deal 2 and set a count for the number of purchases the deal offers.
26
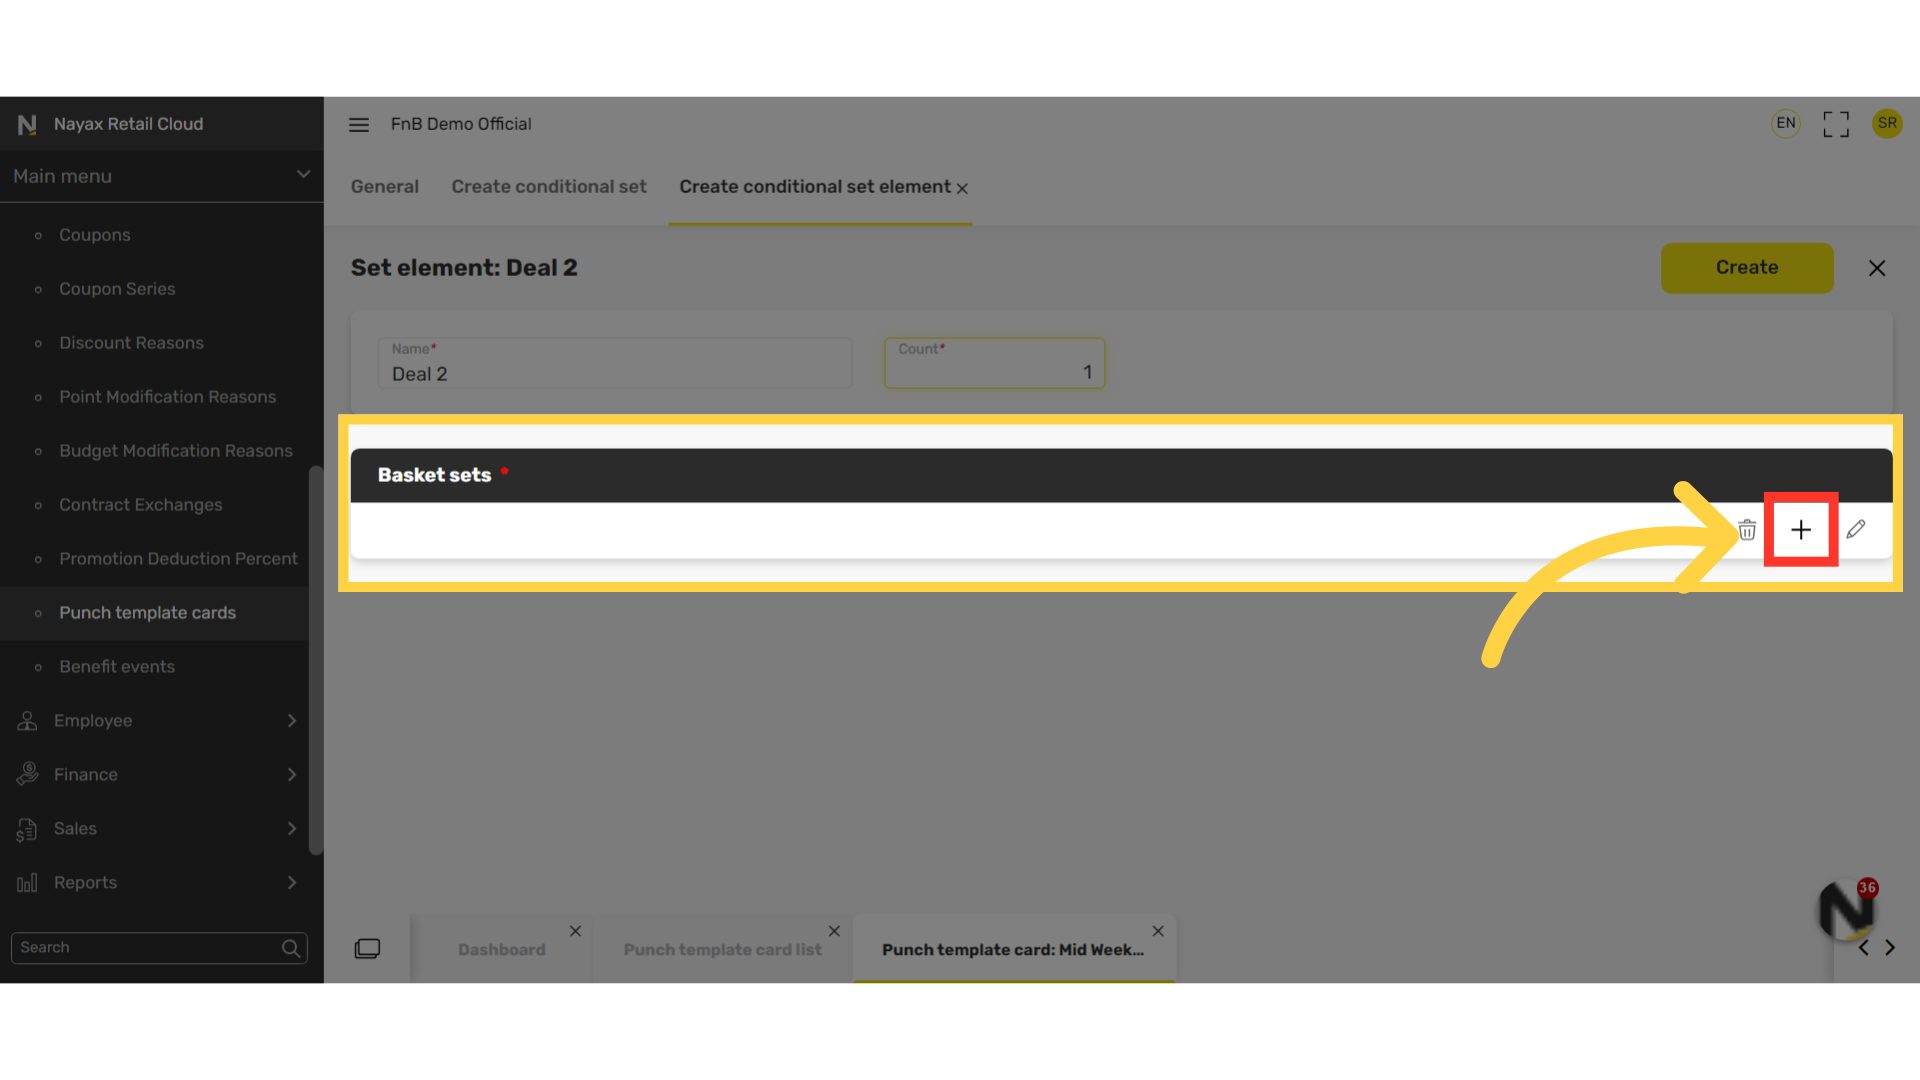
Click + Icon
Image Attached
Click plus Icon as highlighted in RED on the visual.
27
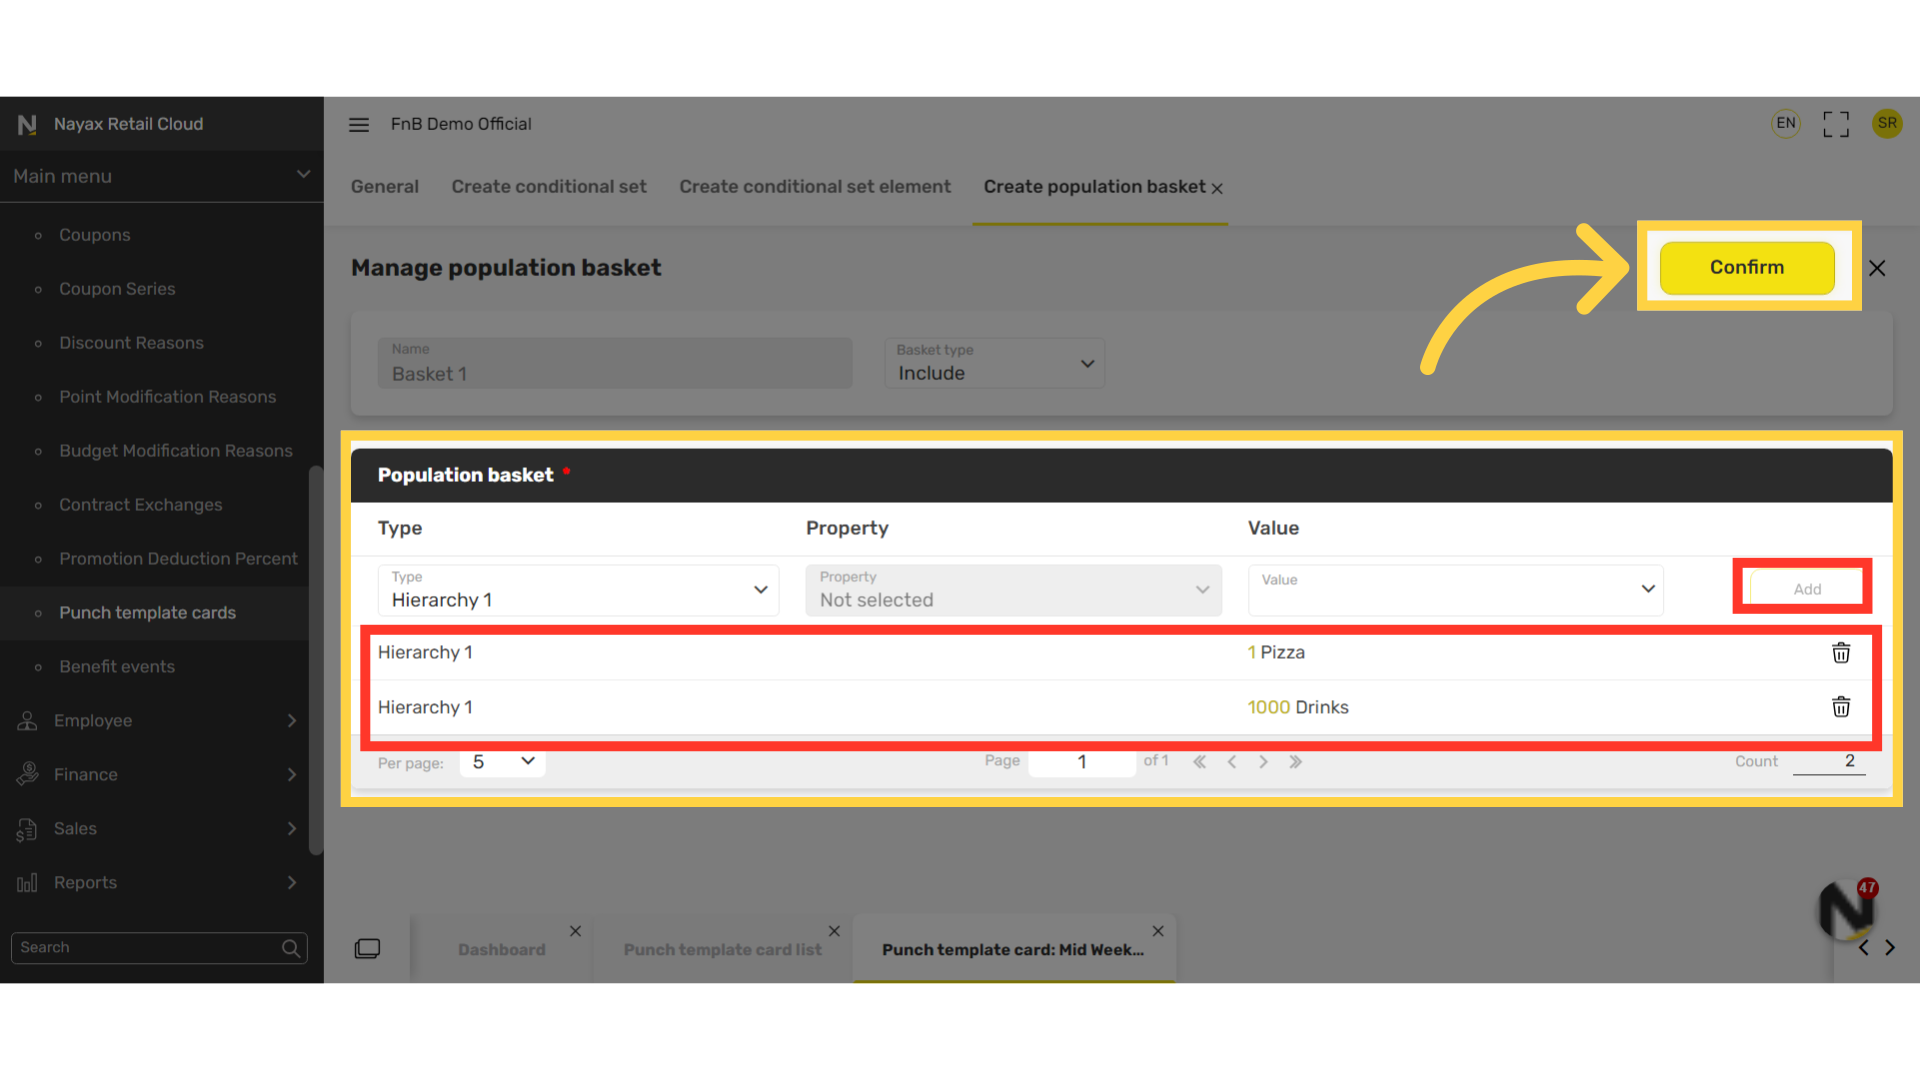
Click Confirm
Image Attached
Then repeating the process of building the set to be included in the punchcard Set the hierarchy then the value and click add for it to appear in this deal as highlighted in RED on the visual. Then click confirm to save this set.
28
Click Create
Image AttachedThen click the Create button
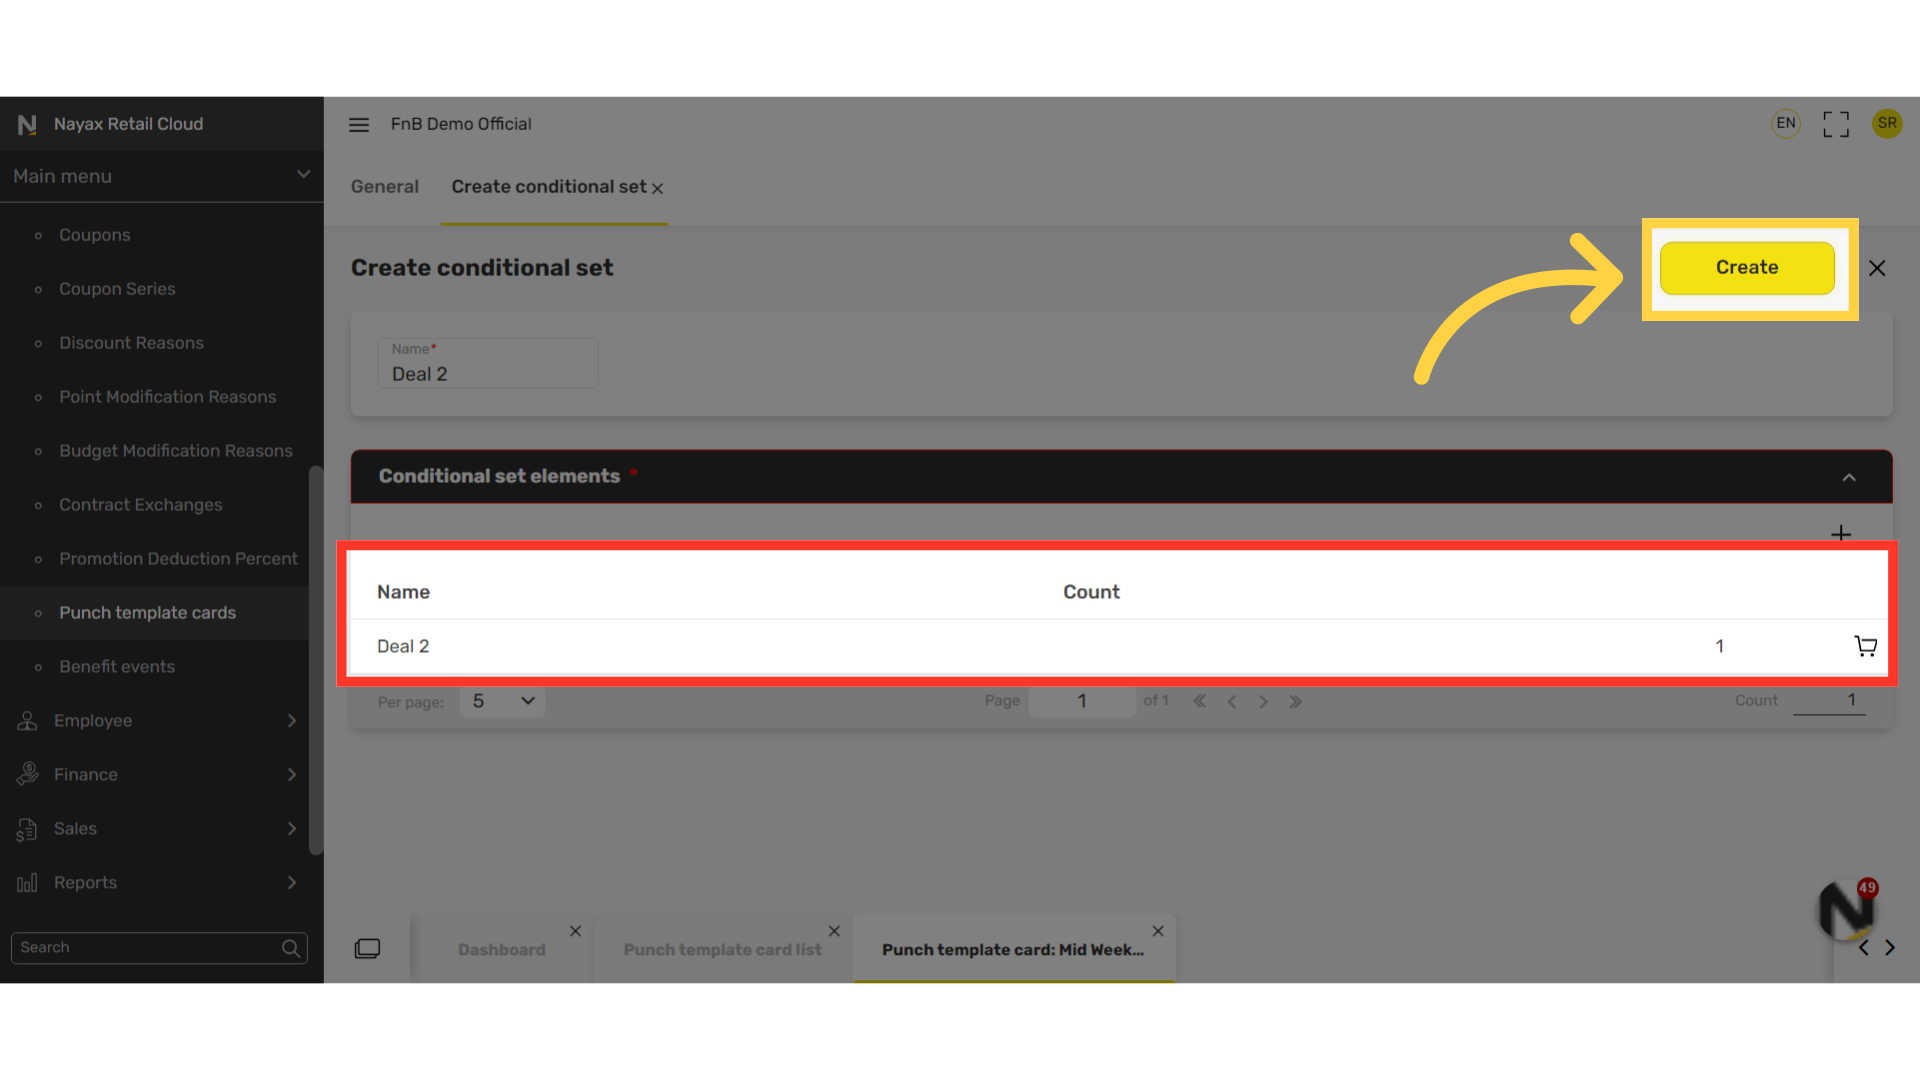
29
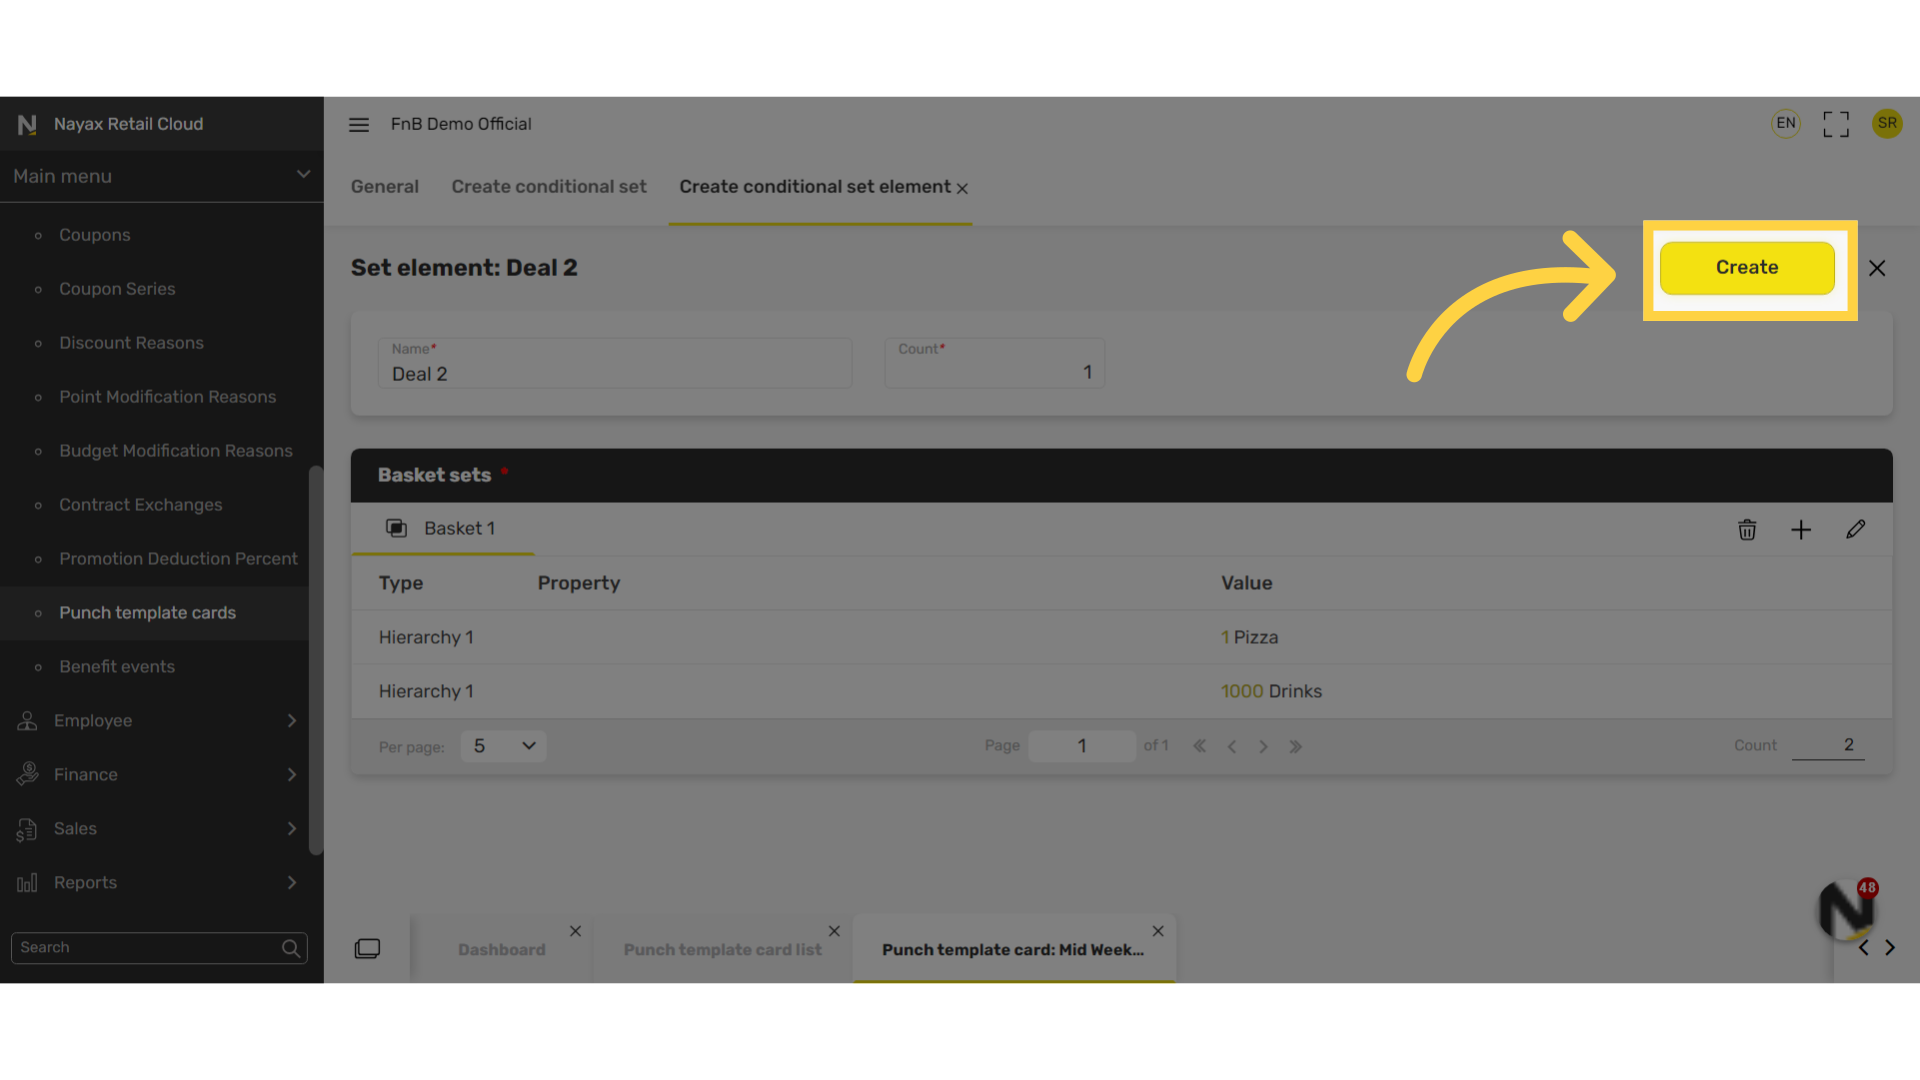
Click Create
Image Attached
The window will show the new set for the punch card as highlighted in RED on the visual then click Create to finalize the process. Repeat this process for all the sets you want to part of this punch card template.
30
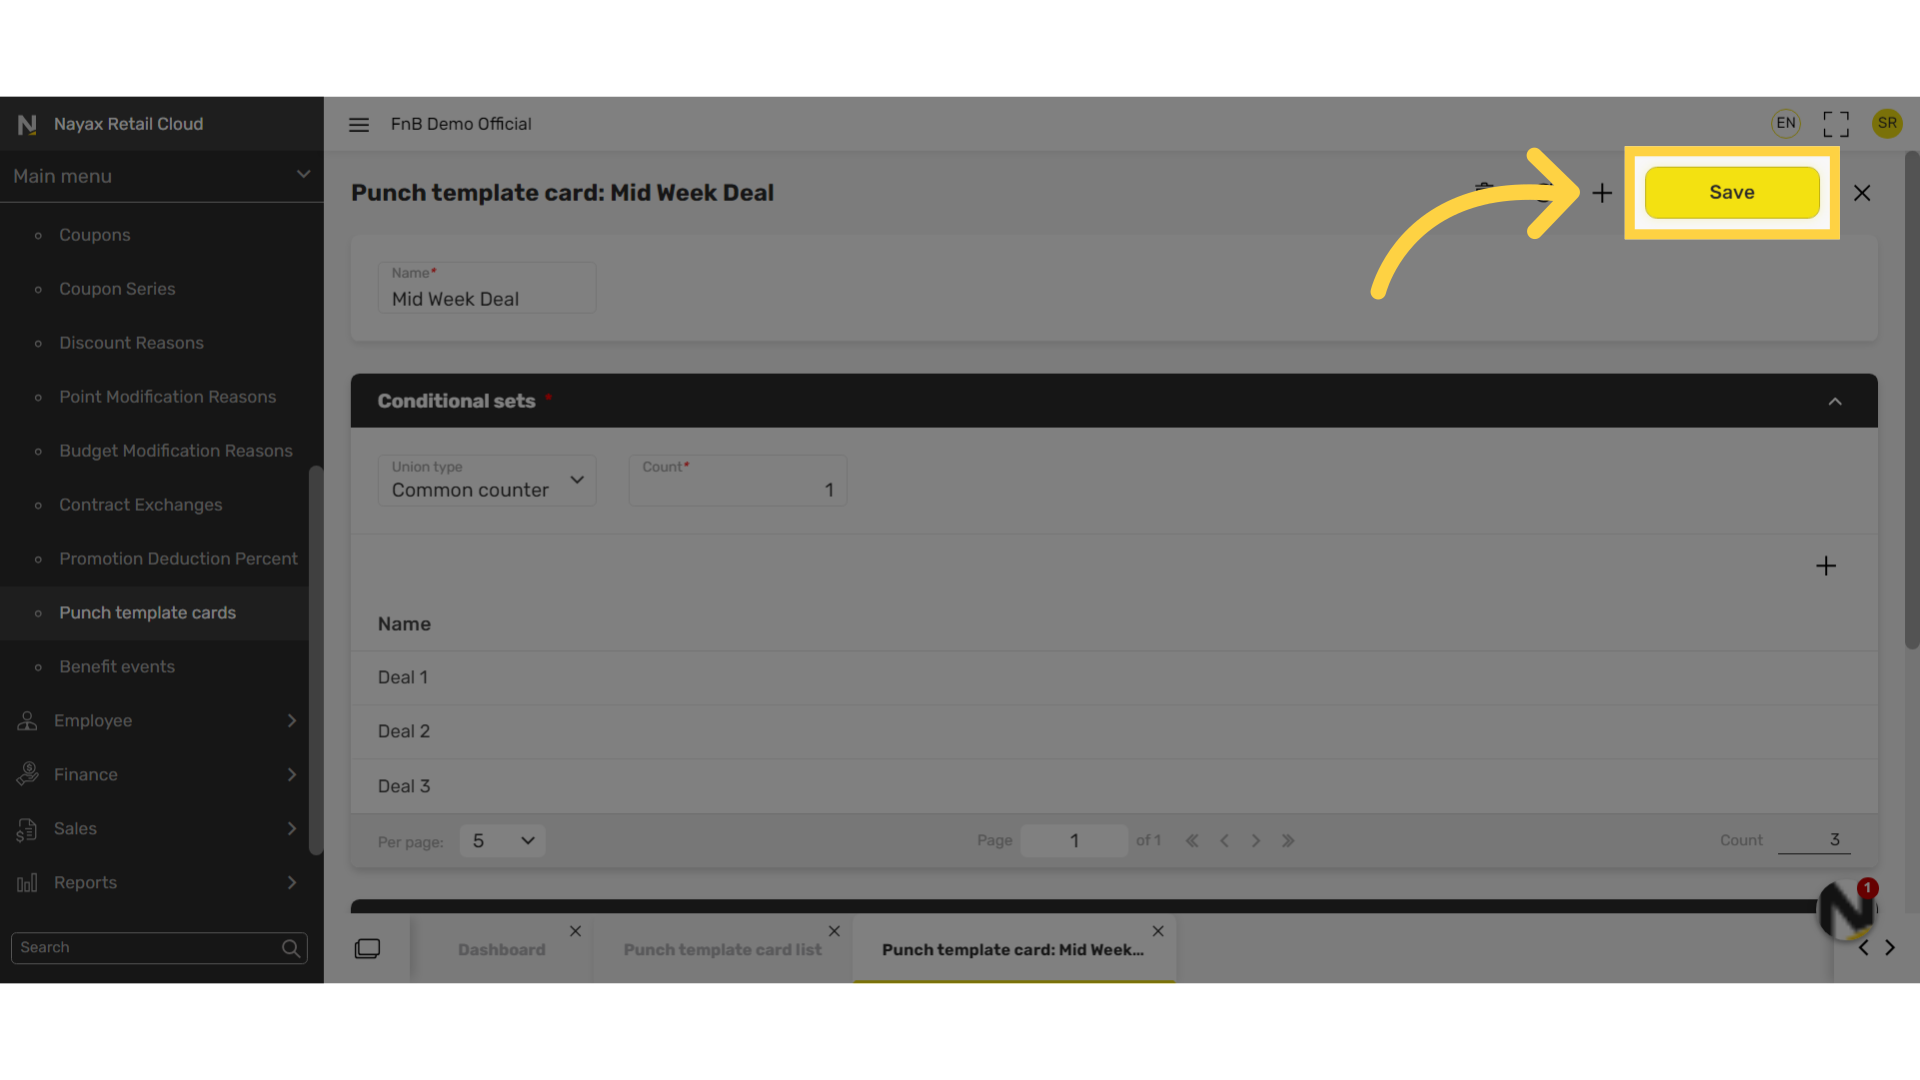
Click Save
Image Attached
Once finished with your punch card template sets click the Save Button and your punch card template is ready to create a promotion! Click here to learn How to Create Promotions for Customer Groups
Thank you!
Did you find this article helpful?