How to Add or Link a POS to a Store Location | Company
Link a Point of Sale device to a store location in Nayax Retail Core so your Nova or kiosk device is correctly associated with a branch and ready to process transactions.
1
Prerequisites: Before You Start
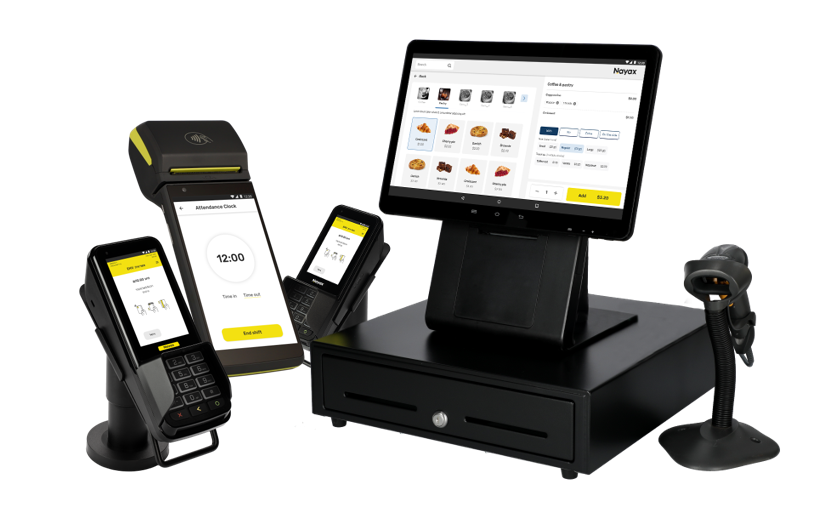
Image Attached- ✅ You have access to Nayax Retail Core with Company administration permissions.
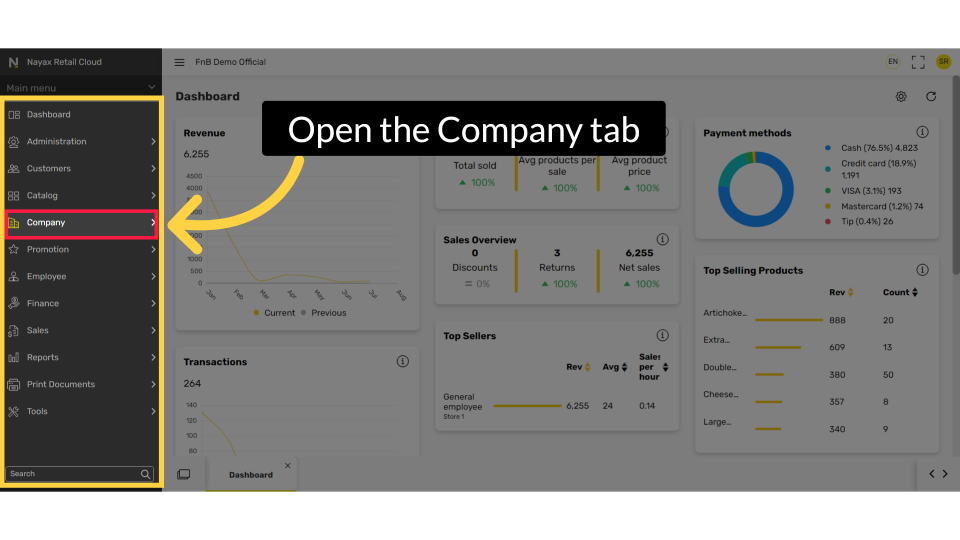
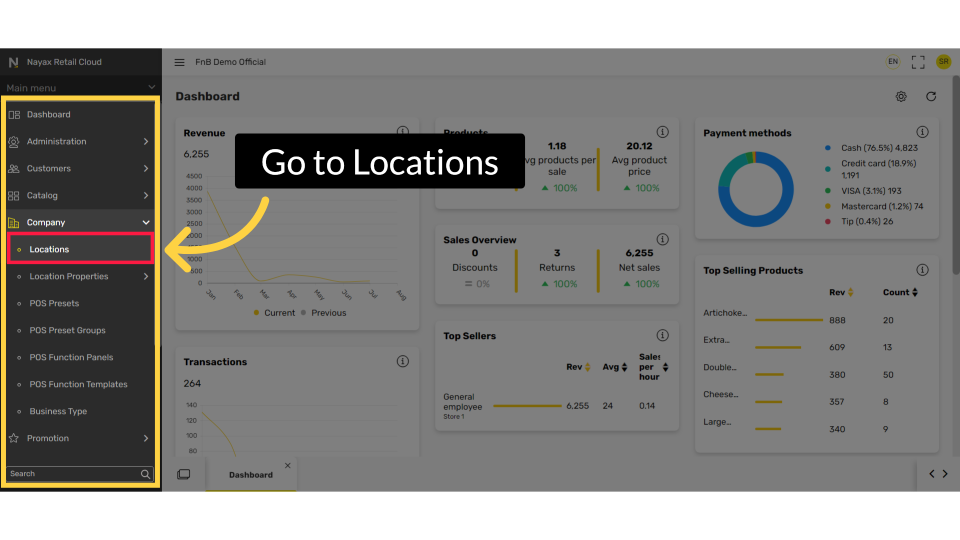
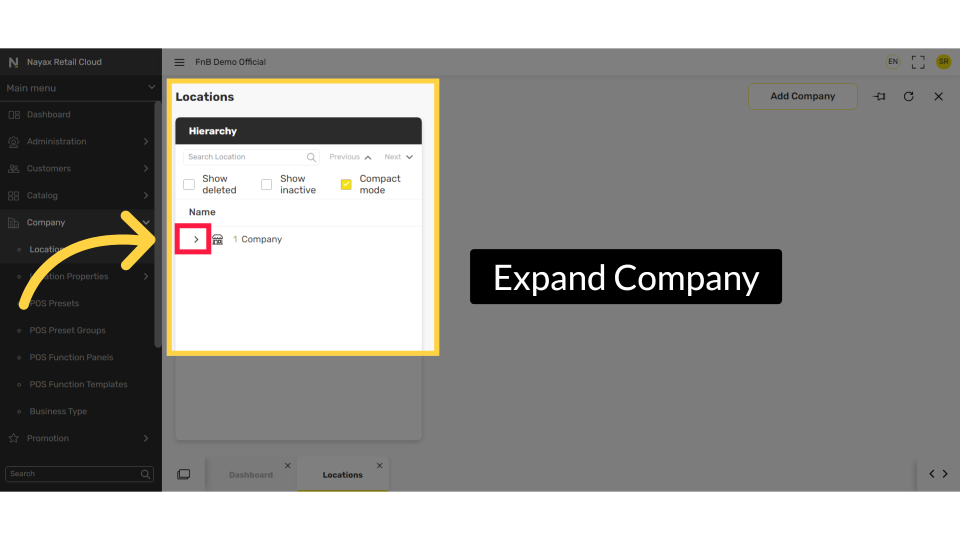
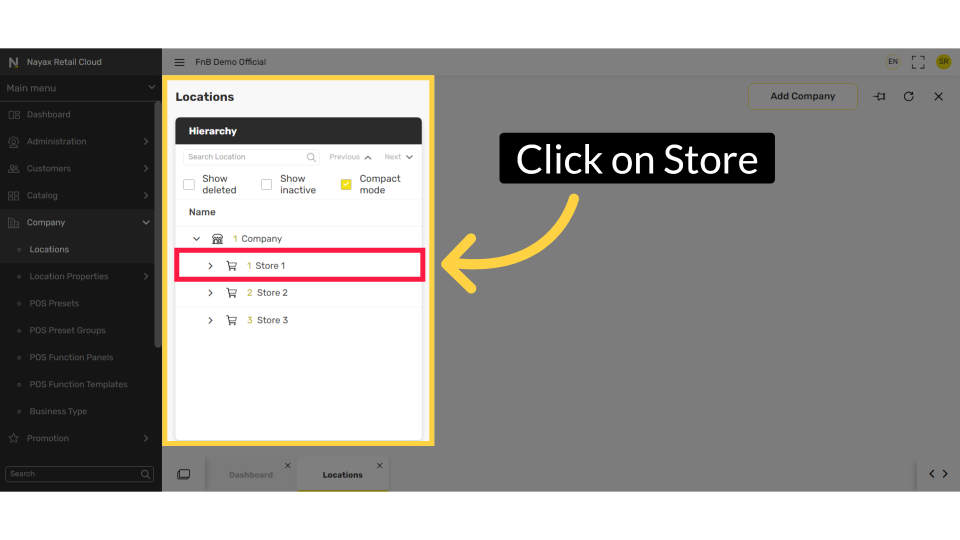
- ✅ At least one store location has been created under your company in Company > Locations.
- ✅ You have the serial number of the device you want to link. Find it by tapping the three-line icon on the device to open the side menu.
- ✅ You know the device model and the ECR mode required for your setup.
ECR devices: This guide applies to ECR devices - Nova models and kiosks. If your POS is a different type, the required fields may differ. Contact your Nayax distributor to confirm the correct ECR mode for your device model.
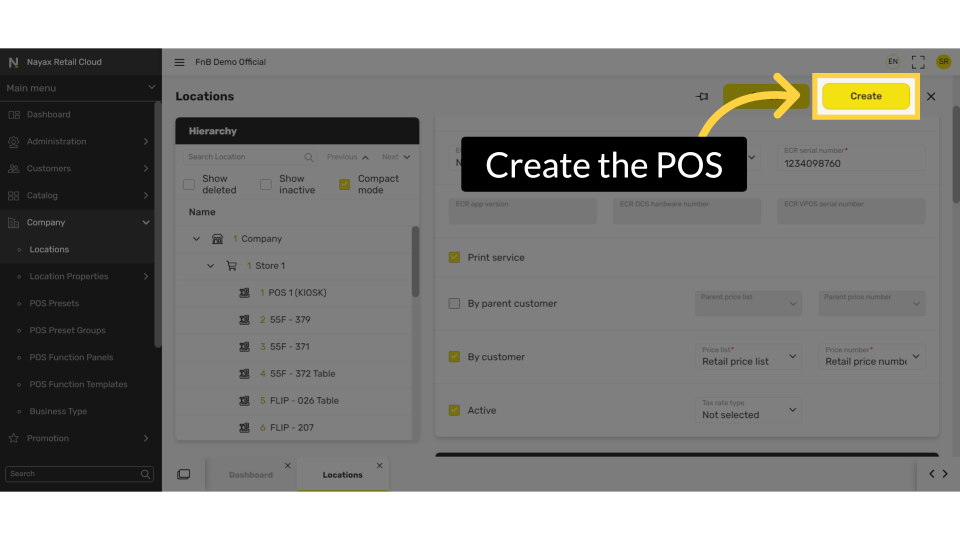
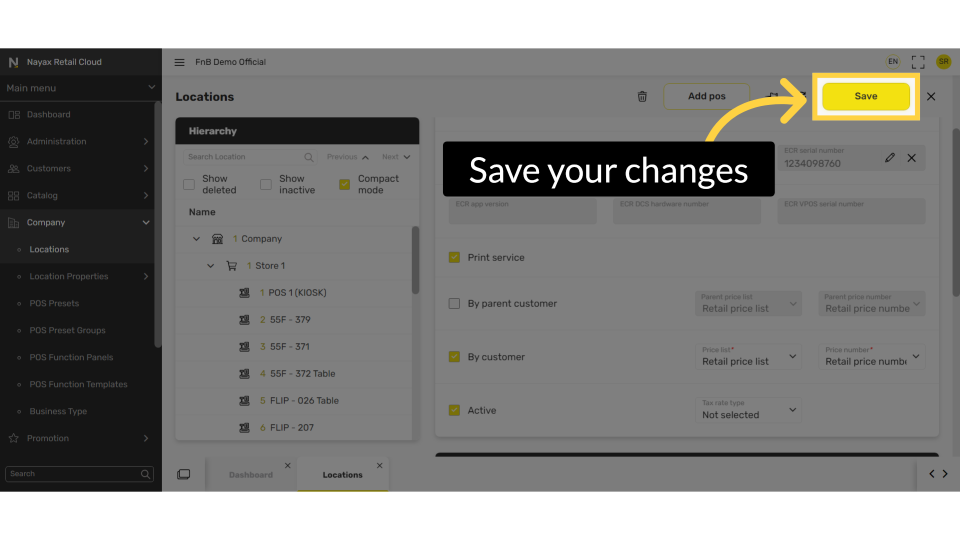
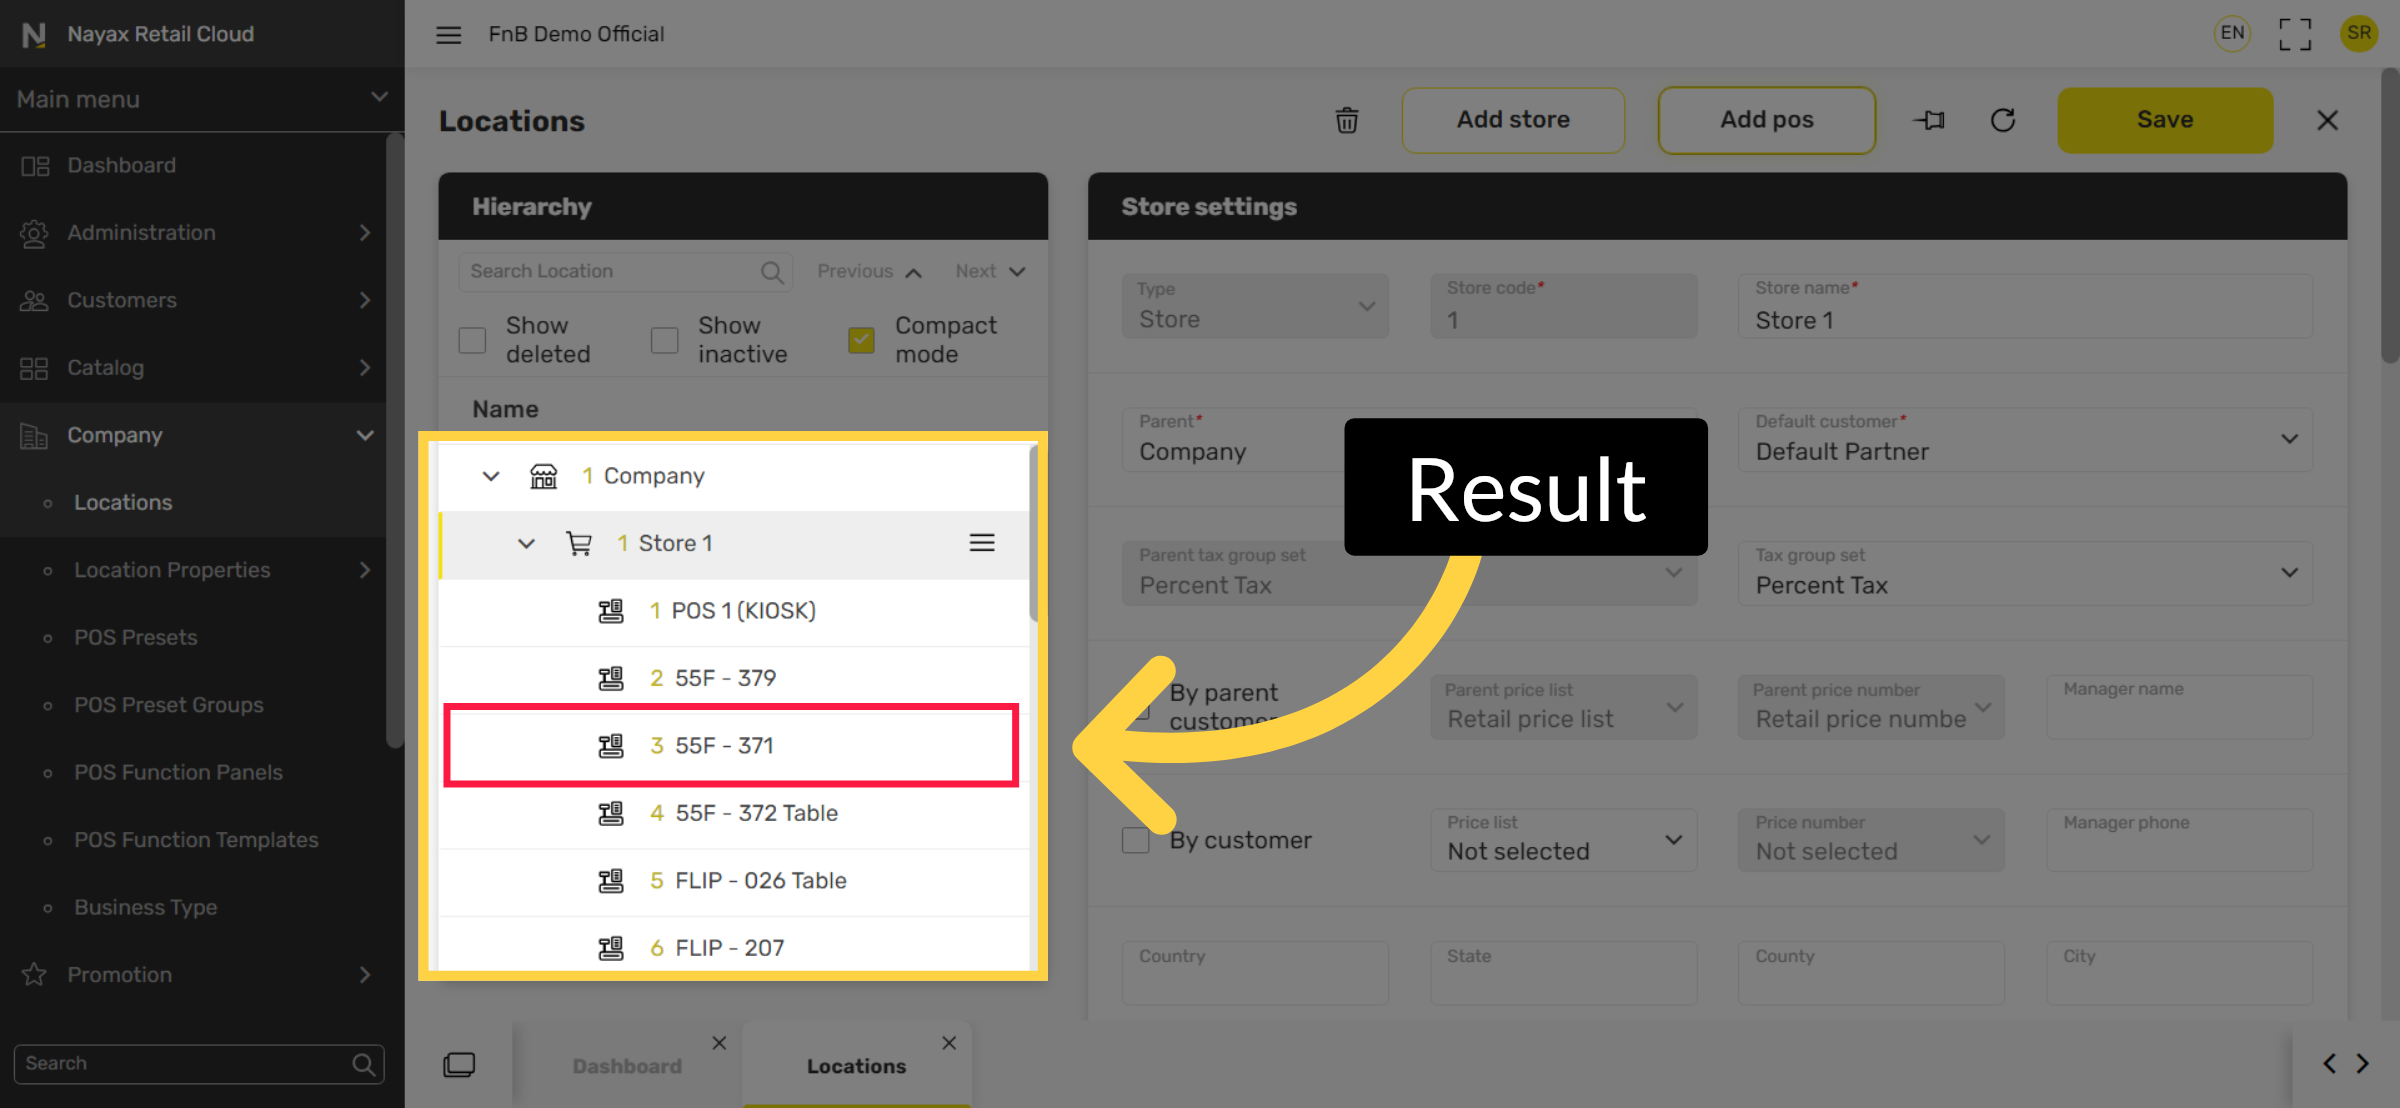
Linking a POS to a store location is the link between Nayax Core (the device) and Retail Core (the location).
Did you find this article helpful?