How to Set Language / Audio on Devices | Operations
The Language / Audio section defines the Audio language of the device.
Video Guide
Click Operations
Image Attached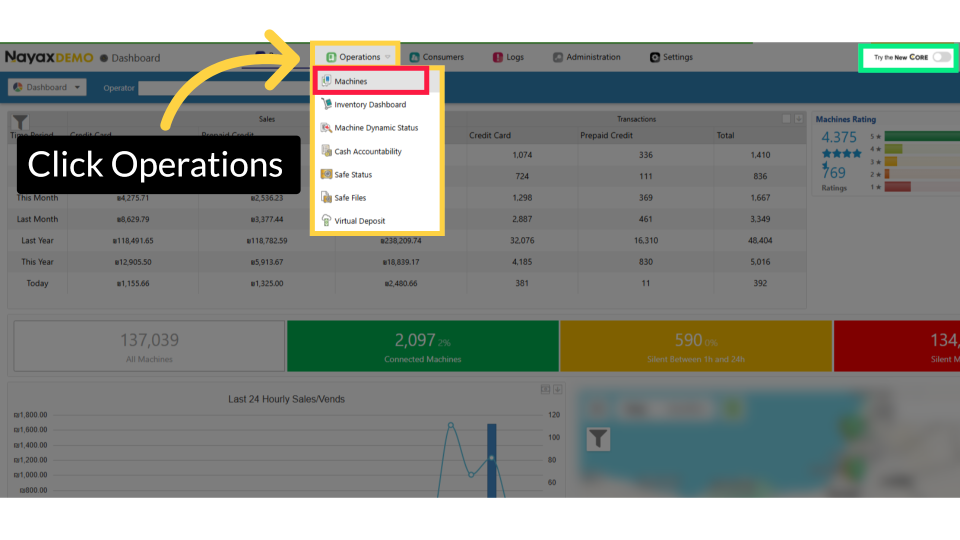
Fill in Operator Details
Image Attached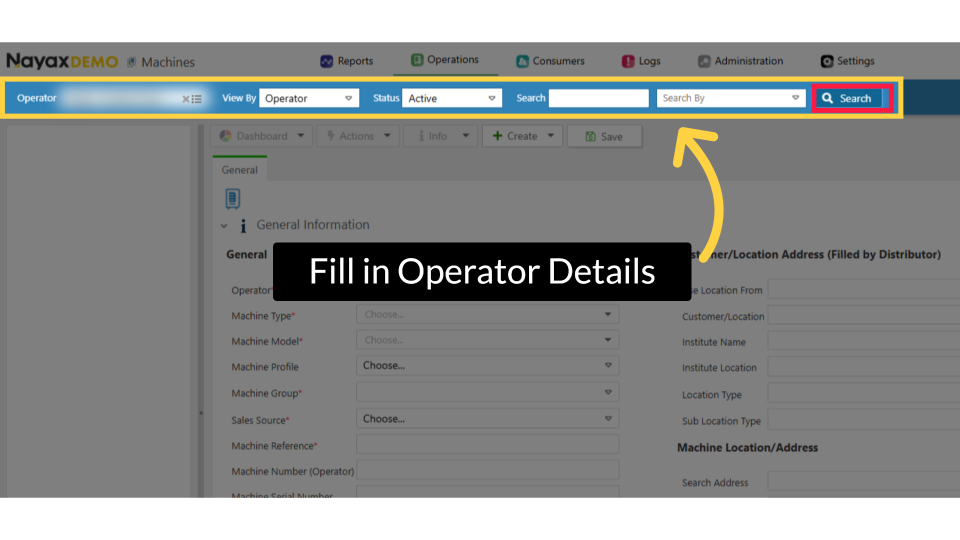
Locate Machine in Hierarchy
Image Attached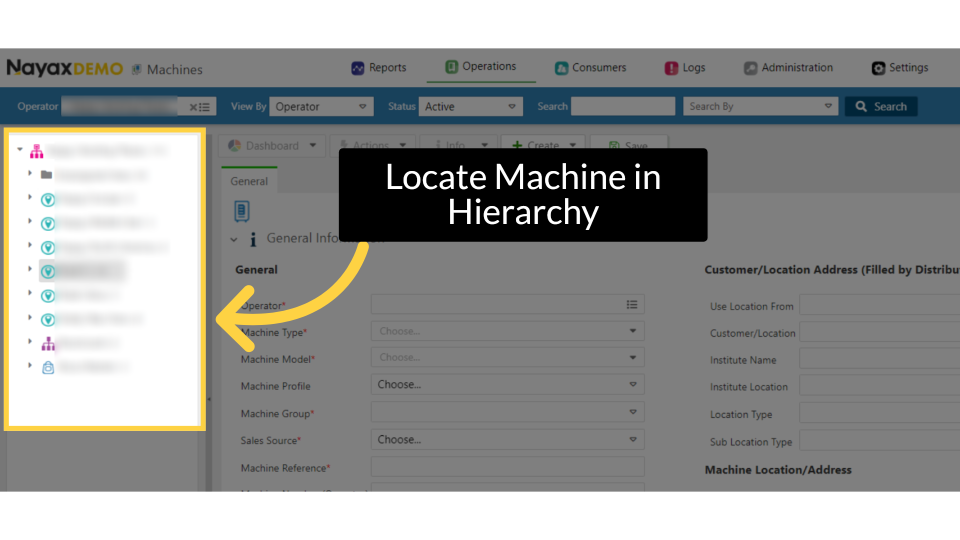
Click on Attributes
Image Attached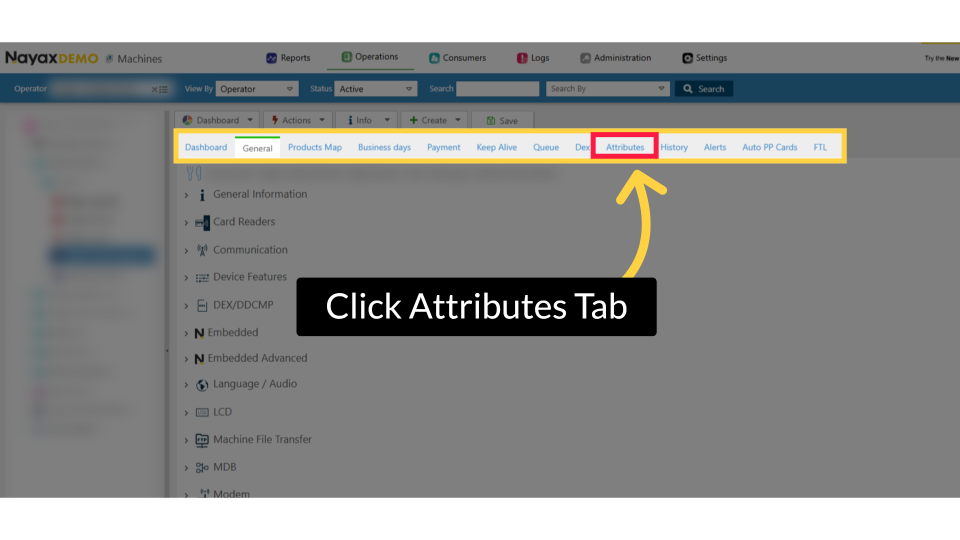
Filter Group
Image Attached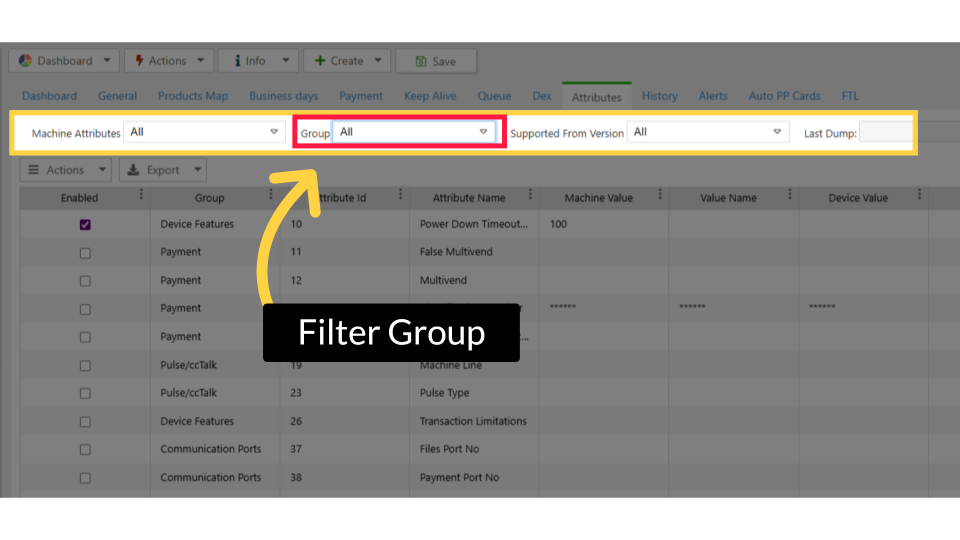
Select Language and Audio
Image Attached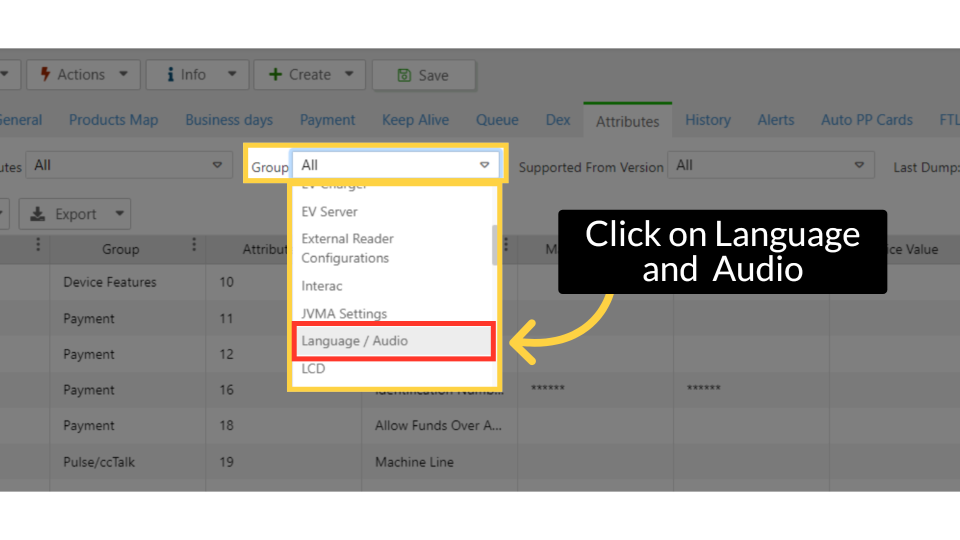
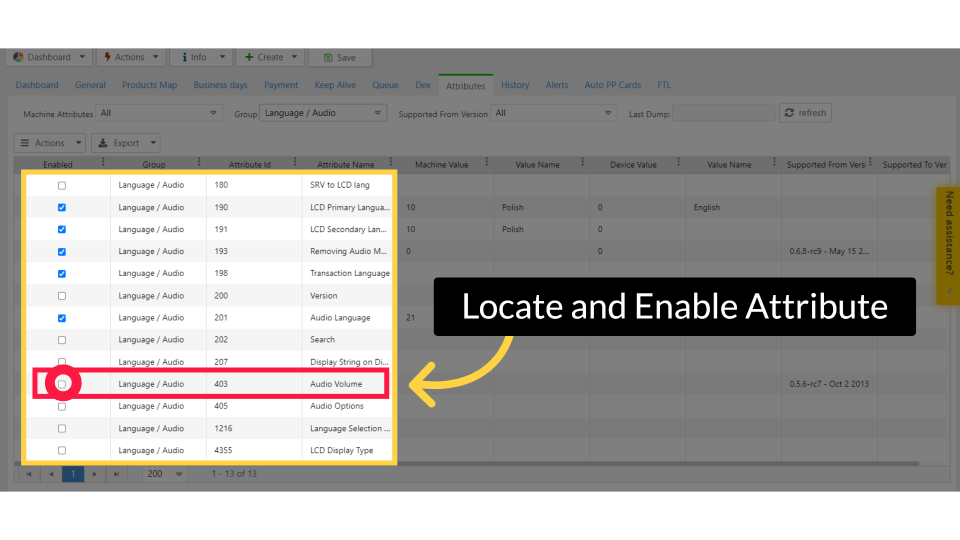
Locate and Enable Attribute
Image AttachedThen locate the 403 audio volume attribute and click the checkbox to enable it.
Click Save
Image Attached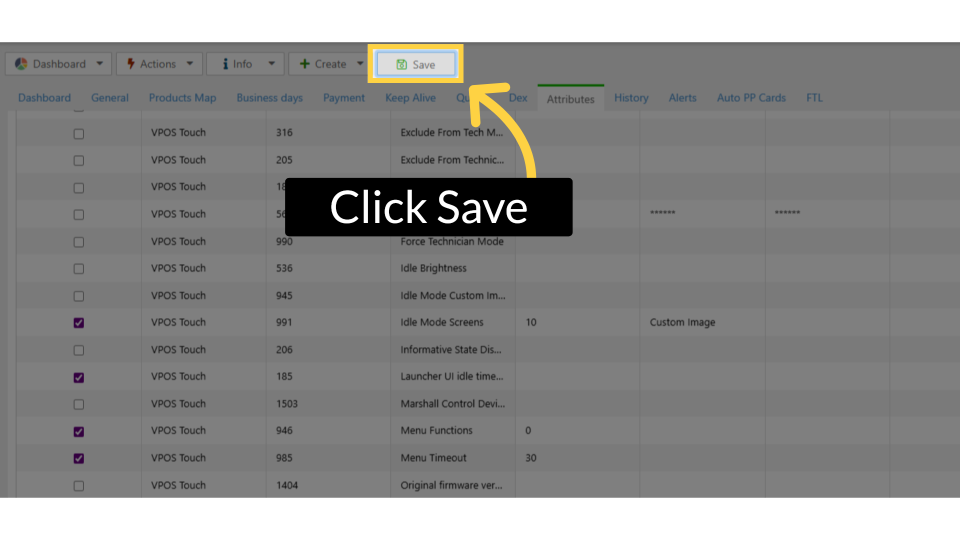
Completed Successfully
Image Attached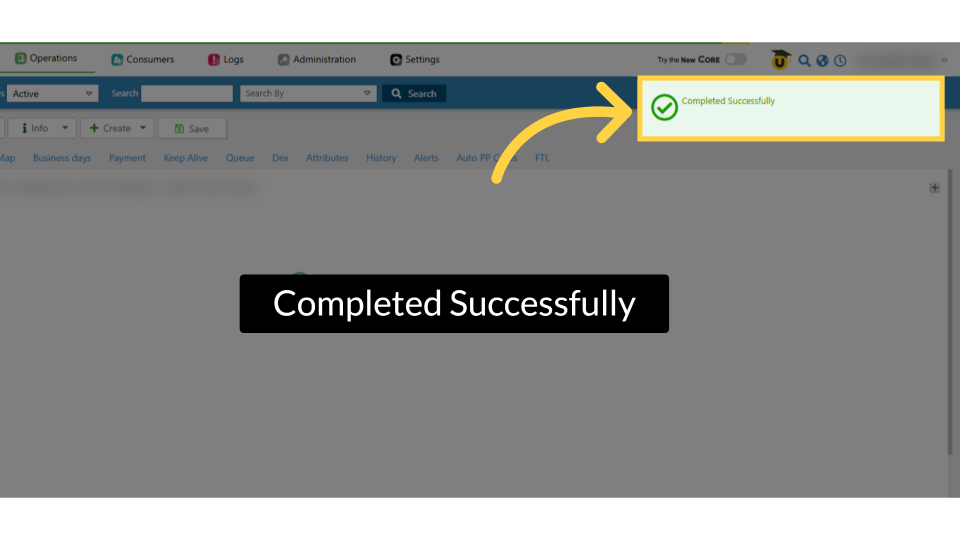
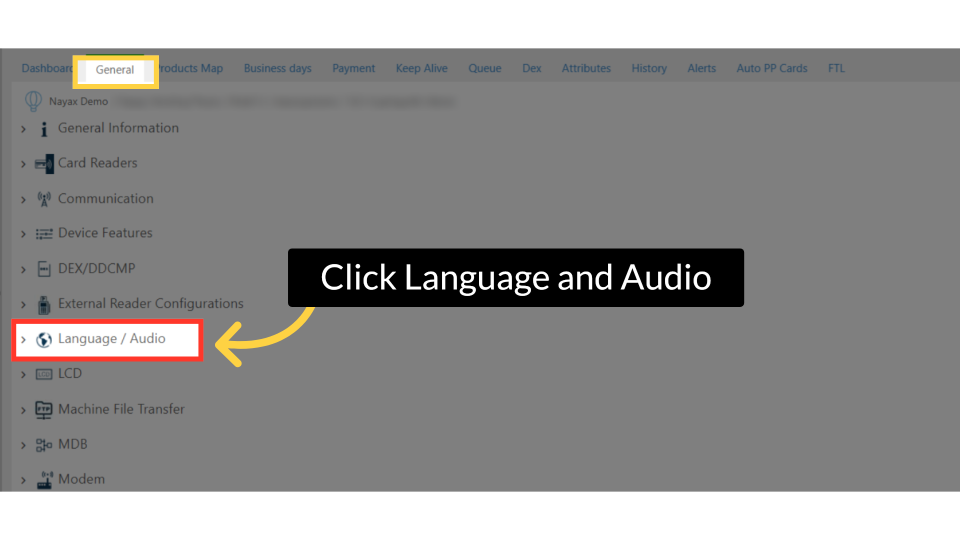
Click Language and Audio
Image AttachedNow, when you return to the General tab, the attribute is enabled and displayed under its group tab.
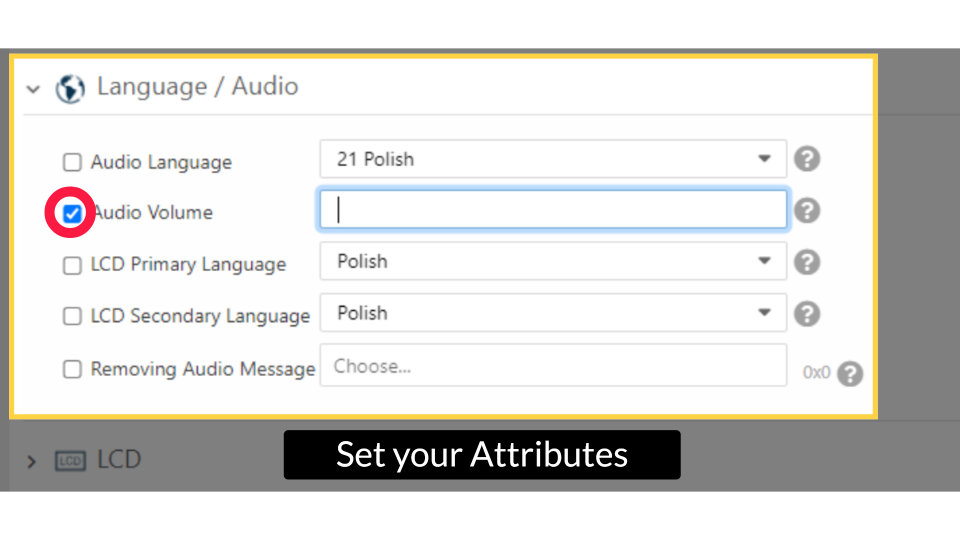
Set Attributes
Image AttachedLCD Primary Language - This Parameter will set the primary LCD language.
LCD Secondary Language - This Parameter will set the secondary LCD language.
Removing Audio Message - This parameter allows you to remove unwanted audio messages.
Audio Language - This Parameter will set the audio language.
Audio Volume - This parameter controls the Audio Volume.
The value should be between 0 to 85%, where 0% means mute and 85% means max volume.
Removing Audio Message - Ability to remove unwanted audio message (the selected message won't be played).
Tool Tip!
Image Attached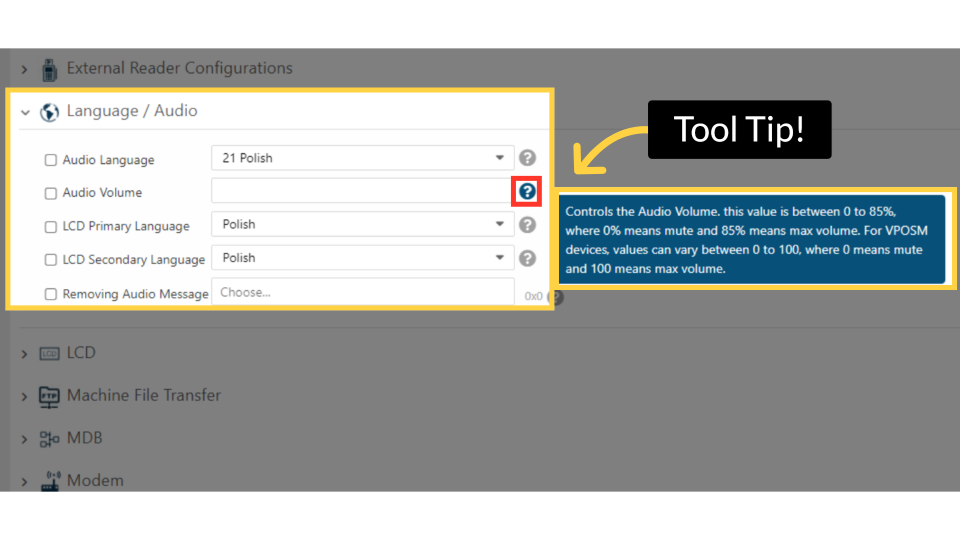
Click Save
Image Attached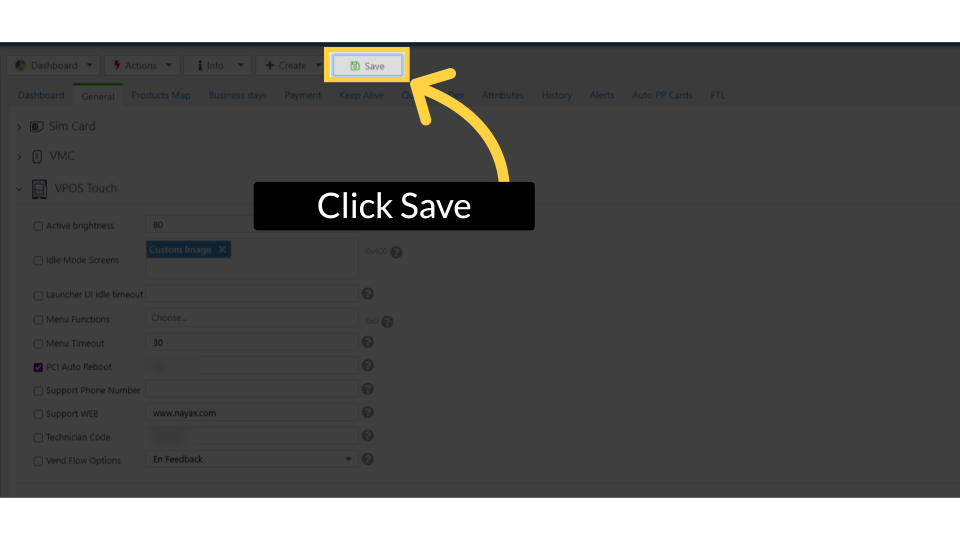
Completed Successfully
Image Attached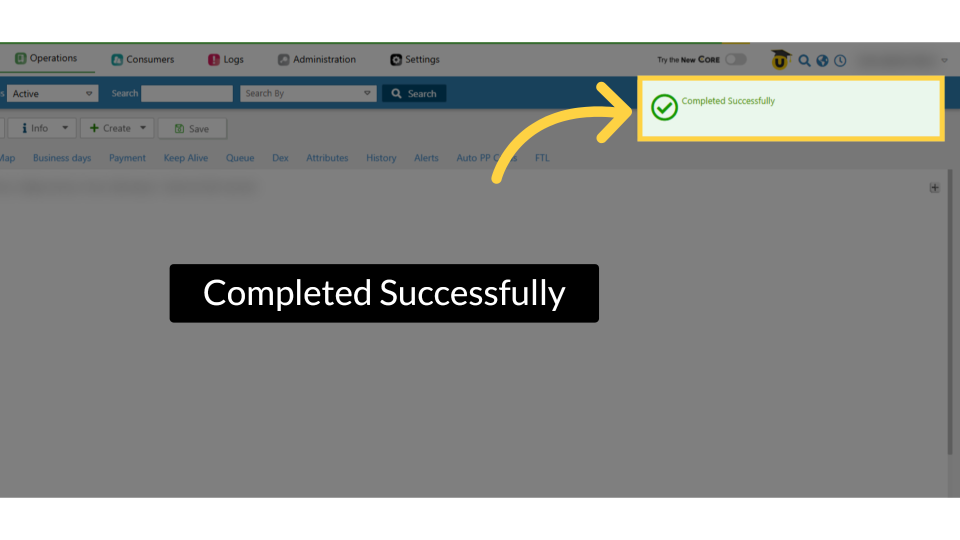
Please Note!
Image AttachedNote:
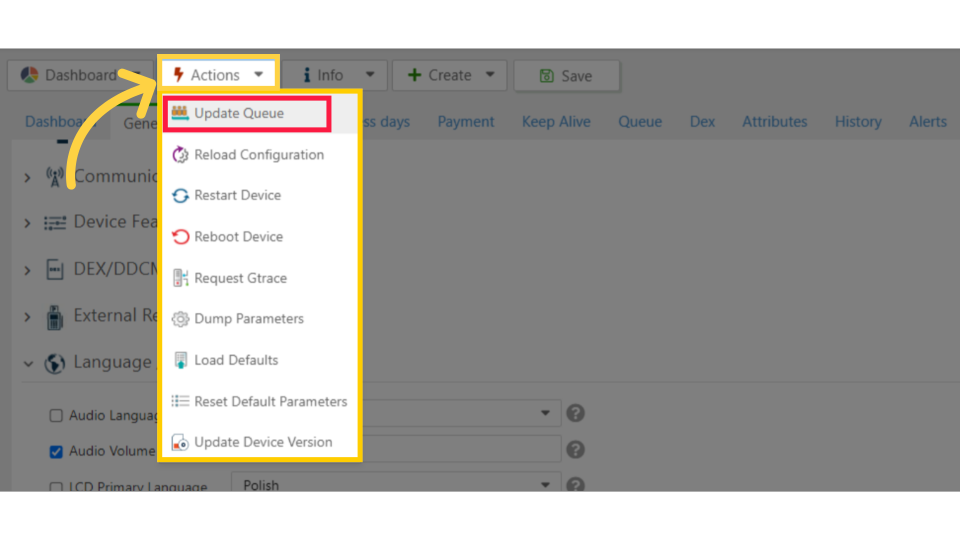
- Optional: Initiate an update by clicking Actions and selecting 'Update Queue.'
- The parameters showing on the screenshots may differ from the parameters available on your Machines page due to different device configurations
- If some attributes are missing, go to the Attributes tab and enable the ones you need from the lists provided
- To apply changes to the device, make sure to check the box of the relevant parameter > click "Actions" > Update Queue. Then, click on "Action" again > Restart device.
Thank you!
Did you find this article helpful?